


Corsair Obsidian 800D

A Closer Look
Â
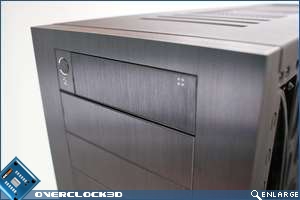
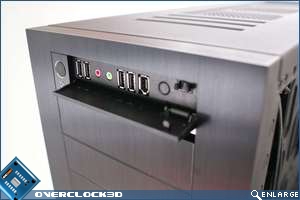
Theres quite a lot to get through, so Ill start at the top. The top 5.25″ bay houses the power switch and activity light. It also has a drop down panel to expose the reset switch, headphone and microphone connections, Firewire and 4x USB ports. The drop down panel has a very slow quality action to it, I think I must have played with this in a daze for about 10 minutes before I realised how much of a nerd Ive turn into when front panels become so fascinating.
Â
Â
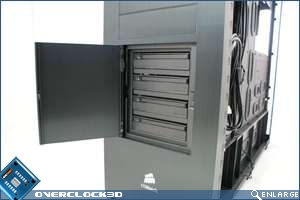
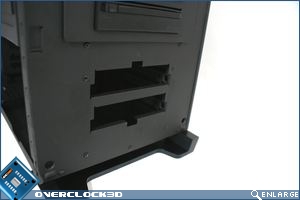
Moving down past the other 4 usable 5.25″ bays you get the SATA hot swap bay. Its concealed behind a door which doesn’t have the same slow action as the USB panel so I saved some time not playing with this one! Behind it is 4x server style quick release bays.
Â
Â
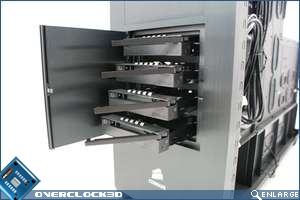
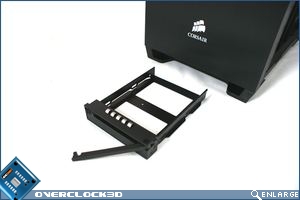
To removes the bays you just press a button and slide out the bay you require. You simply screw your hard drive in to the caddy and slide back in to place, job done. There is a PCB at the back of the hot swap bay you attach SATA power and data cables to like normal, once wired up you can change drives quickly and easily. There are 2 other hard drive bays at the bottom of the case, to access these you have to remove the front panel, you just slide your hard drives in on rails but you will have to run connections to these.
Â
Â
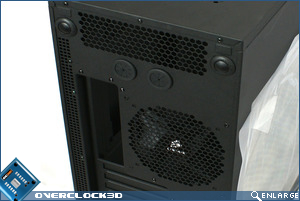
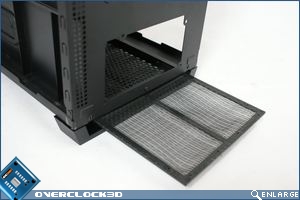
Moving round to the back, at either side of the case are the panel release buttons, you need to press these to remove and reattach the side panels. There is also 2 grommets for external water cooling for anyone strange enough to think they need it in this case. The rear exhaust fan is 140mm but has mounts for 120mm fans should you wish to change it. At the very bottom there is a removable air filter, this filters all of the air that comes into the bottom of the case for the PSU and main air intake fan.
Â
Â
Head over the page for a look inside the case.