Scythe Mugan4 Review


Â
The Build
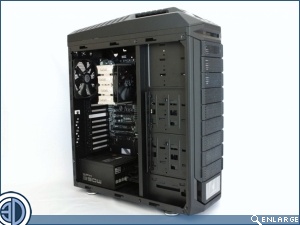
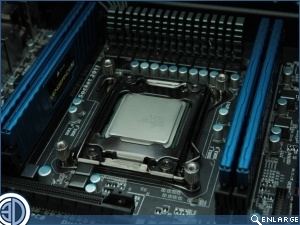
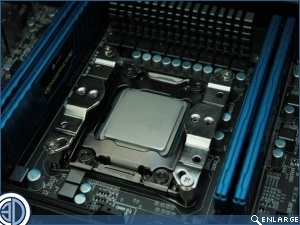
The mounting method is pretty much the same regardless of whether you’re mounting to Intel or AMD hardware. Here we are of course mounting to socket 2011 set up inside our CoolerMaster “Test Trooper” rig, so we’ve no need for the multi platform back plate.  Step one is to screw stand off bolts into the motherboard holes. As you might imagine there are varying sets of these inside the Bag’o’bolts that comes with the cooler. Next step is to screw down the required cross braces. These will act as the mounting points for the cooler itself.      Â
Â
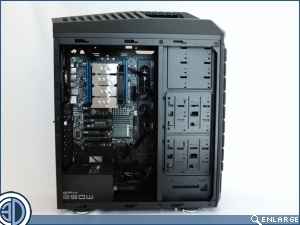
A cross brace is slid through the bottom of the cooler, locating on a lug on top of the contact plate to stop it slipping. The Cooler is then eased down onto the CPU, not forgetting of course to apply TIM by whichever method you absolutely swear by. The Cross brace is then tightened down using the supplied short spanner, Alternatively you can use a long shaft screw driver if you have one to hand. There are no tensioning springs here to guide your torsion, however the instructions do very handily state that you should not over tighten the screws! We screwed ours all the way down till they stopped and all seemed fine.
Â
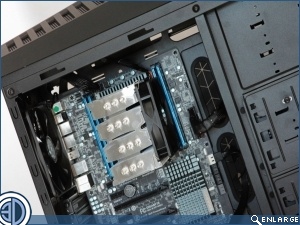
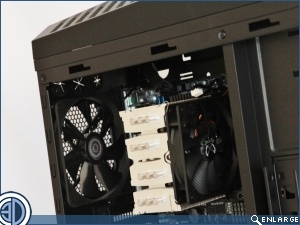
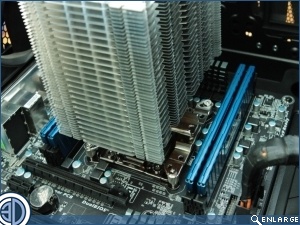
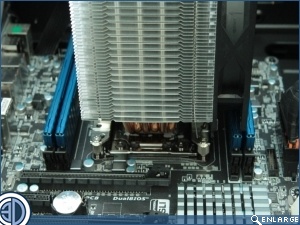
Even without the fan in place the Mugan4 gets awfully close to the first RAM slot. With the fan attached it’s clear to see that this cooler will not be compatible with anything other than standard RAM, so if you’re rocking humungous or even humble heatsinks you need to look elsewhere.
Â
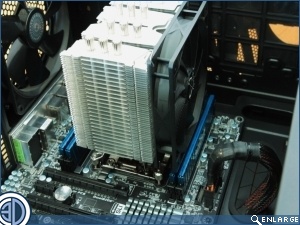
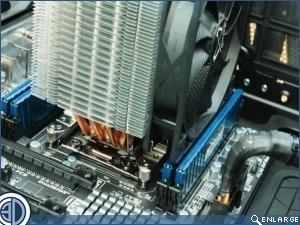
The Mugan4Â fits nicely into our CoolerMaster Test Trooper, and even though it doesn’t have the visual clout of some of the sexier coolers on the market it still looks the part in a sort of old school way.