


Asus EAH 4890 1GB DDR5 PCIe Graphics card

Packaging & Appearance
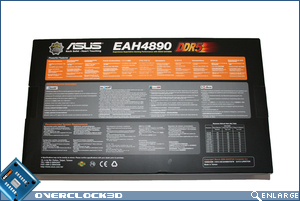
The outer packaging is typical of ATI/Asus fashion. The front of the box is adorned with a black knight on a horse but the eyes of the overclockers among us will be drawn to the Voltage Tweak emblem which dominates the scene (more on this in the test setup section). The rear of the box goes on to describe the feature set, and power requirements of the EAH4890 card which Asus recommend a PSU of 550W with a 12v rating of 40A.

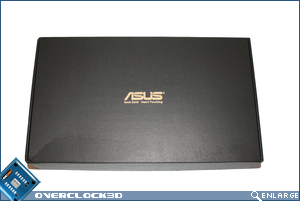
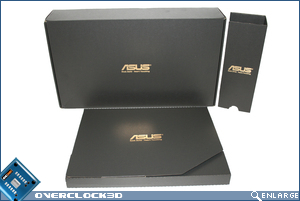
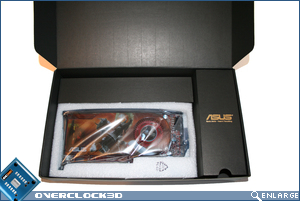
We first saw the new style ‘box in a box’ packaging from Asus in our previous review of the GTX285 and IÂ am happy to report this style has been transfered to the EAH4890. The corrugated matte black box is a definite leap from the plain brown boxes of old and adorned with a gold Asus emblem it does give the consumer the feeling they have invested some money into something special.
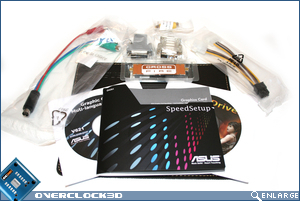
The accessory list is complete with all the bits and bobs you could want from a dual Molex to 6 pin adaptor to HDMI and VGA/DVI adaptors. Also included is a Crossfire bridge and a small fake leather mouse mat. Looking past the accessories we finally get to the card which is held in securely place by Styrofoam and wrapped in an anti-static bag. Be under no illusions, this card should reach you in perfect condition.
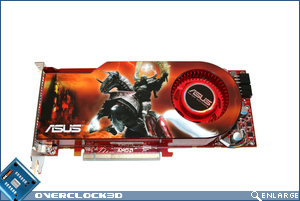
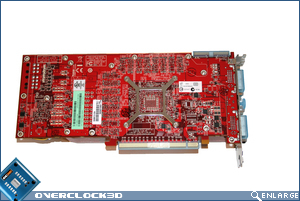
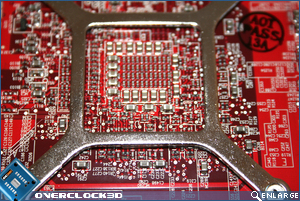
The card itself does not look to dissimilar from an ATI 4870, being the same size and using the same style cooler. Asus have opted to use the standard red PCB of ATI which matches the cooler perfectly. Again we see the black knight making an appearance on the card’s sticker which is nice if you like that sort of thing. Flipping the card over we see that the cooler is attached by a number of spring loaded screws and a small backplate cross sectioning the GPU core.
Â
Â
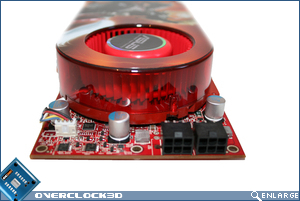
Another nice little feature of the Asus card is the inclusion of little blue shields that protect all of the connections and ports or the card from the PCIe slot to the two crossfire slots on the opposing side of the card.

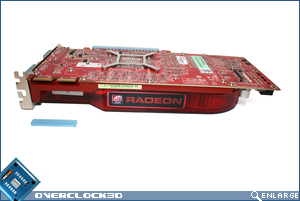
The two power ports of the EAH4890 are both PCIe 6 pin variants so thankfully you will not need an upgrade in PSU if your supply unit doesn’t have an 8-pin cable. The requirements of a 550w PSU with 40A on the 12v line is a requirement though and should be recommended as a minimum.
Â
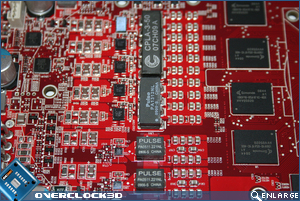
Removing the cooler was a relatively straightforward affair and thanks to Asus using thermal paste rather than some derivative of cement, the card came free of the cooler without issue. Full size thermal strips are used on both the memory and VRM’s too which made the process all the more easy rather than individual pads which can be messy at times.
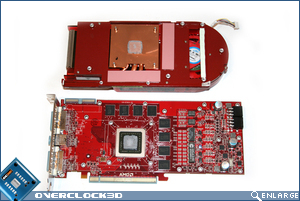
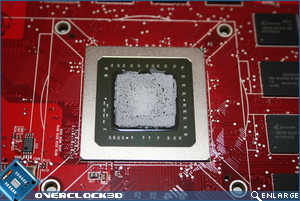
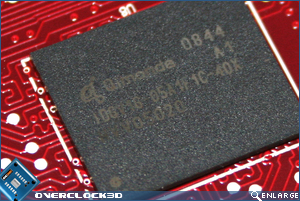
Asus have on this occasion have opted to use memory chips from Qimonda and as you will see in the overclocking section, this babies fly! The power regulation of the Asus 4890 has been revised from the ground up allowing much higher clocks from standard and as Asus have also provided software to adjust voltage on the GPU, overclocking should be a very interesting procedure.
With the card put carefully back together, a clean install of Vista 64bit and the latest ATI beta drivers installed, I set about installing the EAH4890 and got to see what it was capable of.
Let’s move on to the test setup and overclocking section of the review…