bequiet Shadow Rock Slim Review

The Build
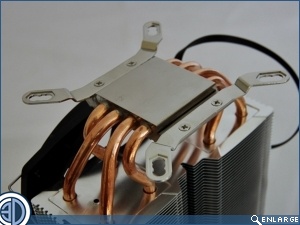
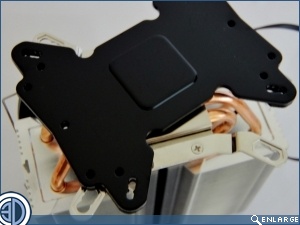
Regardless of whether you’re sticking it to an Intel or AMD chip, the assembly and fitting of the Shadow Rock Slim is by fairly traditional and straight forward means. First step is to secure the appropriate set of mounting brackets to the base of the heat sink. A universal back plate is used for both AMD and Intel with slotted holes to accept the varying inter screw distances of the Intel chips over the years.Â
Â
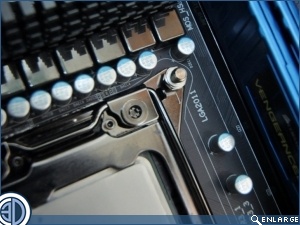
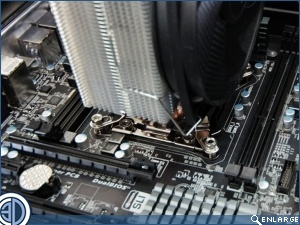
If you’re using the back plate then the next step is to use the pass through bolts to lock it in place. As we’re not we simply screw into the 2011 boards own retained back plate with double ended bolts.
Â
As the cooler is indeed very slim we’re not going to be getting overly vexed about access to the nuts that fit over the bolts and hold the whole assembly firmly in place. It is however necessary to remove the RAM to make the job considerably easier. That said, we didn’t feel the need to take the fan off.
Â
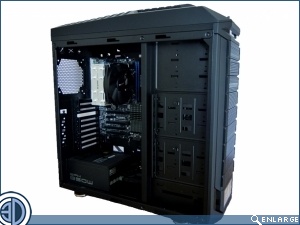
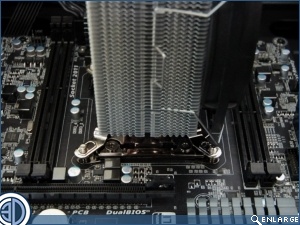
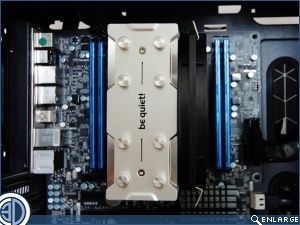
Neither the cooler or the fan come anywhere close to encroaching on the RAM area so feel free to use RAM with heatsinks to rival the Eiffel tower. Just a shame that Logo is on its side though.

Â
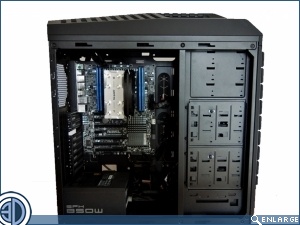
The Shadow Rock slim is somewhat dwarfed by the cavernous interior of the Cooler Master “Test Trooper” case we use to undertake all our heatsink testing in. What is of note though for a cooler with such purportedly demure dimensions is that it stands quite tall at 161mm. Not a problem in this case but it may cause some issues for those trying to fit it into some of the smaller Mid towers it is perhaps aimed atÂ