BitFenix Colossus MITX Review


Â
Interior Overview and LiteTrak     Â
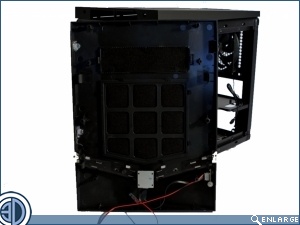
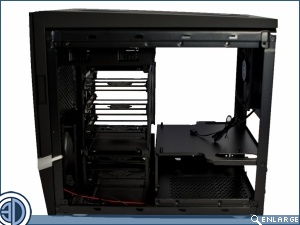
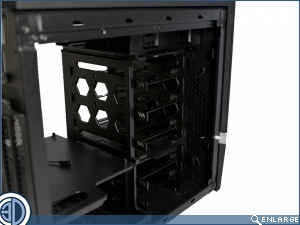
We’re not going to be covering the interior in any great depth as we’ve done it before in our reviews of the Prodigy and Phenom Mini-ITX cases. Suffice to say the Colossus mini shares this interior and so has the same removable drive bays creating room for roof and front mounted 240mm rads.

Â
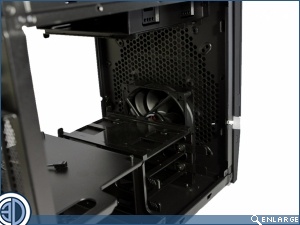
Intake airflow comes from a 120mm fan mounted low down in the front of the case. Much bigger fans can be fitted in here so given the limited ventilation if you’re planning an air cooled build you might want to think about upgrading to a bigger fan in the front.
Â
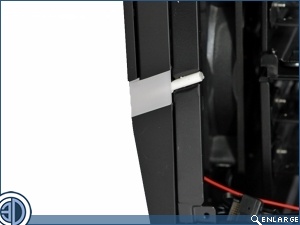
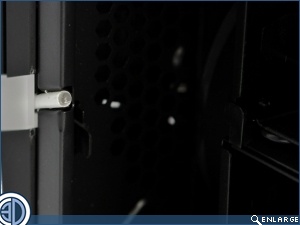
In the images below we’ve tried to show the LiteTrak system. As you can see a small tube emanating from the front LiteTrak feeds light through to the side panels on each side. It’s critically important when you remove and replace the doors that you take the time to ensure the tubes line up with the tubes on the doors. If they don’t then you’re not going to get a good dispersion of light.
Â
The whole of the case front pops off really easily owing to what seems an ever increasing level of build quality from BitFenix. The picture below left shows the front panels’ LiteTrak assembly on the reverse side of the panel.