BitFenix Spectre Pro Range Review

 Â Â
 Â
Â
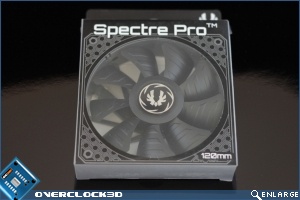
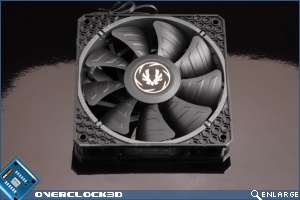
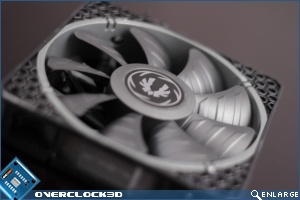
Up Close:Â 120mm Spectre Pro.
Â
| 140mm | Spectre Pro | Sprectre |
| Price | £10.99 | £5.99 |
| Speed (RPM) | 1200 | 1000 |
| Airflow (CFM) | 56.22 | 43.5 |
| Static Pressure (mmH2O) | 1.24 | 0.62 |
| Noise (dB-A) | 18.9 | 18 |
Â
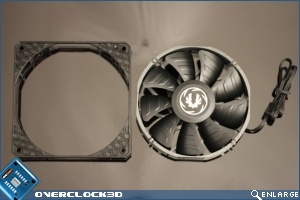
The 120mm version we’re looking at here is actually the Non LED version, but like the rest of the sizes available is also available in a red, blue and white LED variant. Unlike the LED fans which are made of a semi transparent smoked plastic the non LED has a dense satin black finish to it.  Packaging wise the fans come in a rather classy looking card box with a window the size of the full width of the fan. The rear of the box details a full list of product features and technical specifications, but being as I’ve listed them on the first page I’m not going to inflict them on you again.Â
Â
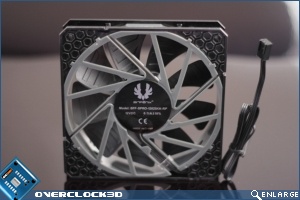
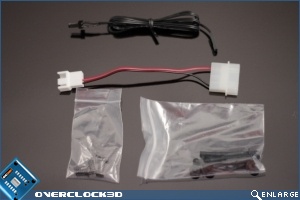
From the rear we can see that BitFenix have employed the technique of using multiple radial fins as a means of achieving a more focused airflow. With regards to goodies included with the fans you’ll get a 7v step down adapter, 4 black fan mounting screws and 4 rubber isolation mounting pins. With the LED models you also get a wire that attaches the fan to a compatible lighting controller such as the Hydra or the units fitted in certain BitFenix cases. With the larger fans you also get 4 long mounting bolts to aid mounting in roof and front panel locations.
Â
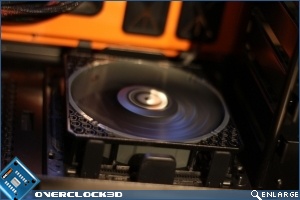
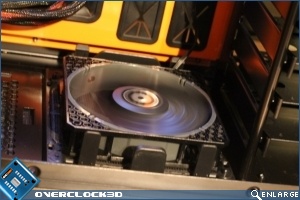
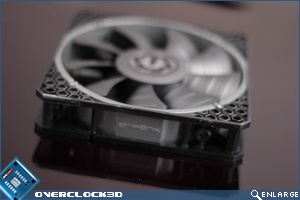
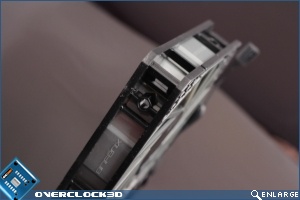
If like me you’re a modder and no matter how nice something looks you can’t resist stamping your own personal style on it then the 2 images below are probably the most important in this review. Why, because the image on the left shows that owing to the Spectre Pros dual frame construction the inner cowling which houses the fan can actually be split from the outer frame of the cowling with very little effort. Why is this important? Well if you’re a modder you’ll know why. Painting, that’s why, it’s a heck of a lot easier to paint a fan if you can split it. With most fans you can at least take the blades off if you’re careful, with this fan you can not only take the blades off but split it still further. The image on the bottom right might look like i’ve dropped the camera in the process of taking a shot but the image is actually centred on a small 5mm hole. On the LED versions this hole would be filled with a 5mm LED, on this version it’s left empty, which means of course that it’s much easier to fit your own LEDs should you be that way inclined.
Â
In use the fan is essentially silent, with the ear up close a very faint whir can be heard but this is to be expected as there is no such thing as a “silent” fan.  Before anyone points out that the fan is on extract at the base of a case I know, i’ve put it in there purely to make photographing it easier. Â