


CoolerMaster HAF 932 Full Tower

Externals
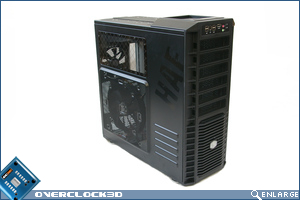
Starting with a quick overview, the case has a very industrial look to it. Reminding me somewhat of a building you might see in a sci-fi movie or a game like Doom 3. It’s certainly not very sleek, with grills, vents and fan mounts littering its surface. The front, once again, is slightly reminiscent of the famous Stacker, and the drive bays take up most of the height at the front. The bottom section houses a grill, hiding one of the case’s massive 230mm fans.
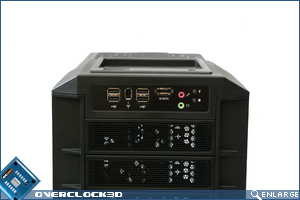
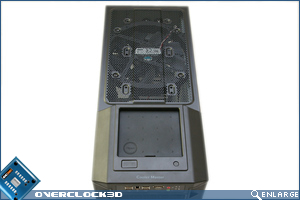
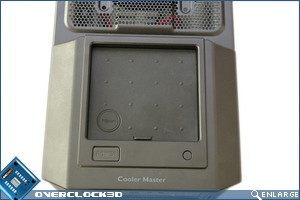
Moving up to the top of the case we can see a mesh top hiding another 230mm fan. In front of that is a little tray with a rubber insert. This insert can be lifted to relieve the fill port below as well as the screws to remove the plastic top – as shown in a latter section of this review. Just next to that are the Power and Reset buttons. Admittedly, these are situated in a different place to the usual ‘half way down the case front’, but this actually makes more sense considering lots of users sit their PC’s under a desk.
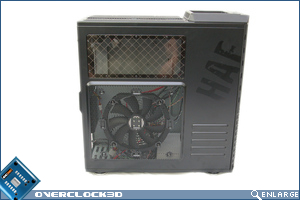
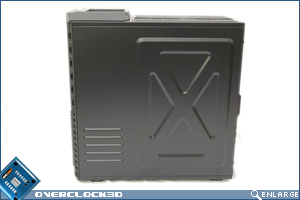
Moving down to the left side of the case we see the third 230mm fan bolted onto a mesh side panel with a vent to the right of that and then a perspex window above. It’s not entirely clear why the window has a square mesh patten on it, as I would have preferred a clear one but it does stick with the theme of the case. The right side isn’t quite as interesting – featuring a vent on the bottom left mirroring the one on the opposite side, and a large ‘X’ pressed in behind the motherboard tray. Perhaps this is to allow thicker cables to run behind the tray, although I am just taking a guess here. Then again it may just be for looks, but either way it makes the panel very sturdy.
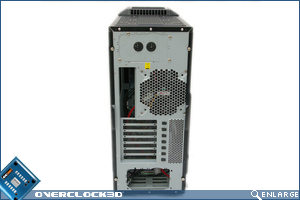
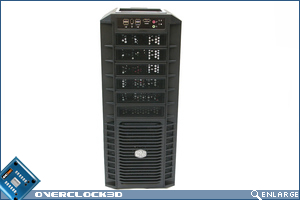
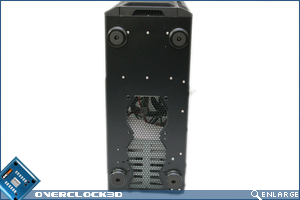
The back shows the smallest fan mount on the case – a 140mm fan, but still able to take accommodate a 120mm one should you wish to swap. The top of the case’s rear shows the ‘spare’ PSU bay, which has two grommet holes in it that would be used for routing water pipes to external components. It is a bit baffling why you’d want to mount anything given some of the case’s fancy features that will be shown in the next section, but they’re there if needed. At the bottom of the rear we see the lower PSU bay. Interestingly, the blanking plate from the upper bay can be moved to the lower one, depending upon where you want to mount your PSU.
Finally, we arrive at the bottom of the case which is something we don’t normally pay a lot of attention to. But this being the HAF chassis, CM decided to include two fan mounts on the bottom of the case. We see here also that the the feet are simply screwed on, allowing easy change over to the supplied feet if you wish. A very nice touch..
Next up we take a look at the internals and features of the case…