Laser Etching a Darth Vader PC Case for Star Wars Day

Final Settings
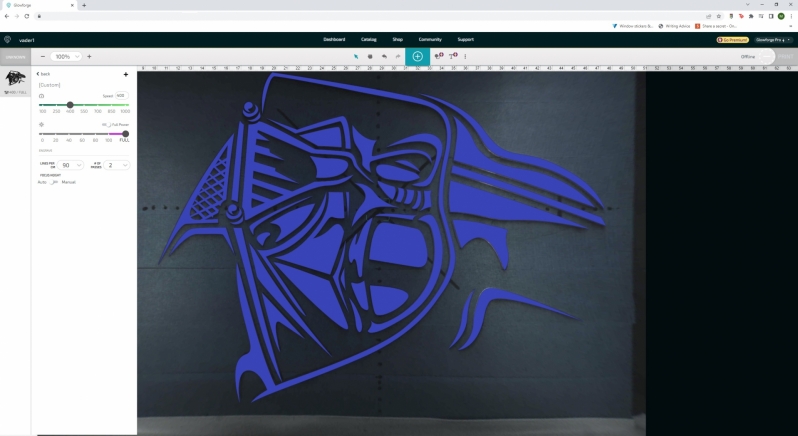
Since we are not using the a Proofgrade material with our Glowforge laser cutter, we needed to input our own custom settings to laser etch our Vader-themed PC case. With some advice from helpful users of the Glowforge Forums, I found settings that some users have used to etch other metals, and made adjustments as needed.
In the end, I set the Glowforge’s speed to 400, set the laser to full power, told the cutter to etch 90 lines per centimetre, and etch the case over two passes. Those settings gave us the best results with our H510. Since we had only one attempt at laser etching this case, we didn’t risk running the machine any faster or attempt the etch with a lower line count. As such, this etch took six hours across its two etching passes. That’s a long time, but this etch covers an area of 38cm x 28cm, which is a lot of area to cover when running at 90 lines per cm.
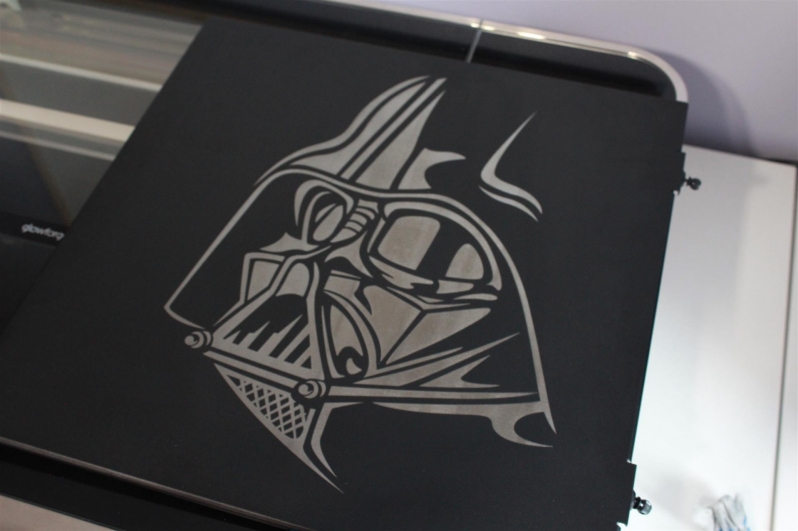
This etch took a while, but the final results were worth it.
Pushing the Glowforge to its limit
I’ll be honest, we got lucky. To center the side panel of our PC case within the Glowforge, we needed to use the laser cutter’s pass-through slot. The NZXT H510’s side panel barely fitted through this slot. That said, we made it work. Had this not worked, we would either need to etch Lord Vader off-center, or find a way to pass-through larger materials inside the Glowforge. Thankfully, we did not need to do that with this side panel.Â
Unforeseen difficulties
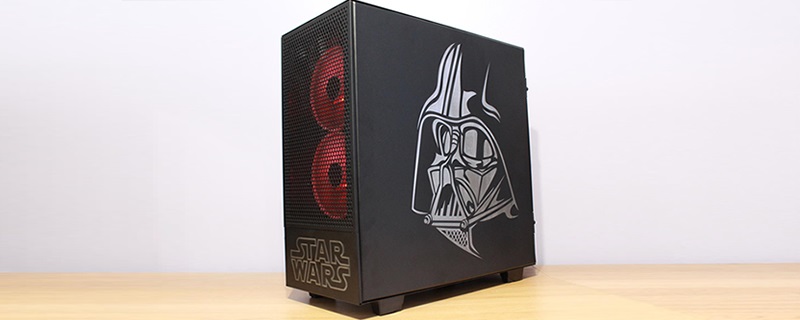
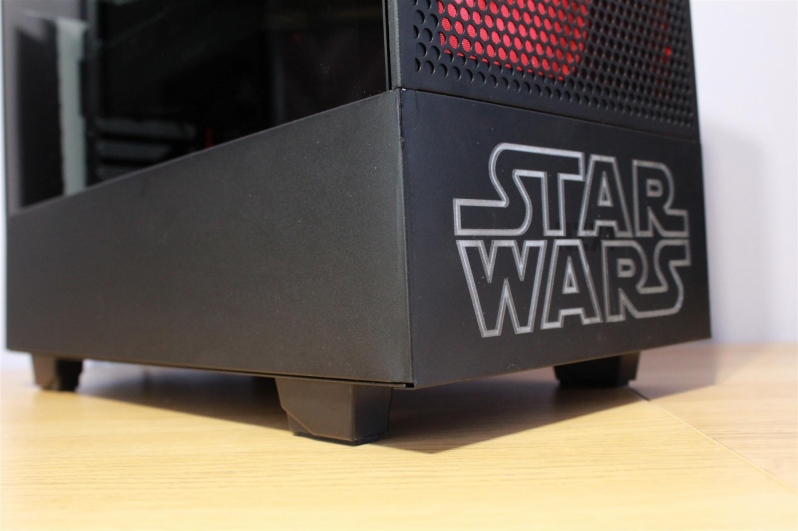
If you are looking at the image below, you will see that the lower panel on the front and left side of NZXT’s H510 is a single panel that has been bent to cover both areas. We forgot about this when designing this Darth Vader themed PC.
So how did we etch the Star Wars logo on the front of this case? Simple, we bent the panel straight and used the Glowforge’s pass-through slot. After the etch, we then bent the panel back into shape. While the final finish is not perfect at the case’s bent corner, it is hard to spot this minor defect unless your are actively looking for it.
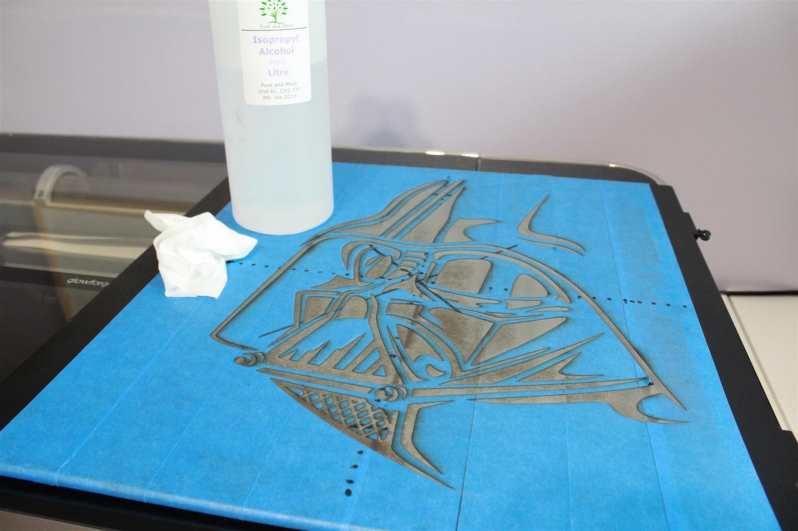
Cleaning Etched panels
After we etched our side panels, the exposed metal on the case was dirty. The metal had some material left behind by the etching process, and thankfully this material can be cleaned away using a wipe and some Isopropyl alcohol. After we cleaned our panels and removed our masking tape, we were left with some excelling looking engravings.Â