Nanoxia DS6 Deep Silence 6 Review

Up Close:Â Stripped
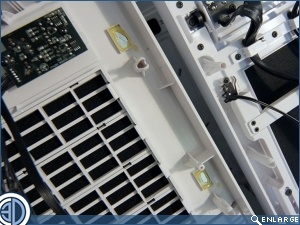
Both the front and rear plastic fascia are held in place with plastic lugs and require quite a degree of force to remove. As the cables for the front I/O remain hard wired to these you’re going to have to be very careful ensuring that all cable ties are released and take great care in feeding the cables through. As the build quality on the rest of the case is on the whole quite high we were surprised to see some really quite shoddy glue gun work back here as seen on the image below left. with an eye to water-cooling , when we first removed the top cover we were quite keen to see if there was enough room to fit 120 or 140mm fans, and although there is plenty of space up here, as the mechanism for the air chimney lives in the roof void, sticking fans or a rad up here is a bit of a non starter, as the cross braces would be restricted from moving and activating the chimney.
Â
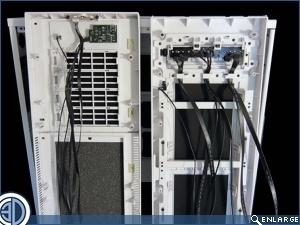
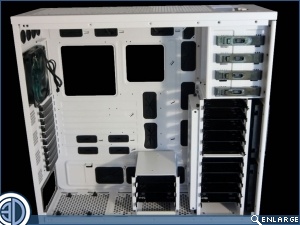
With the fascia removed we get a much better idea of how the case is put together and how easy things will be mod or change should we feel we need to. It’s mostly rivets unfortunately so if you’re planning on a total strip down best get the drill out.

Â
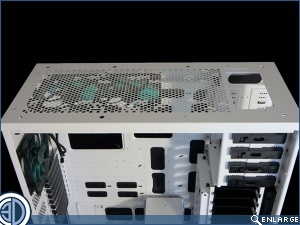
The roof is so large we feel we could stretch out and go to sleep on it. If we did though we’d be left with a rather embarrassing mesh mark from the large expanse of perforations that make up the roof ventilation.Â
Â
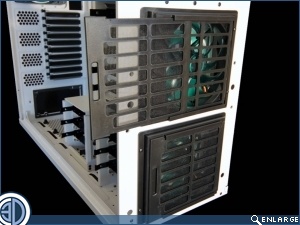
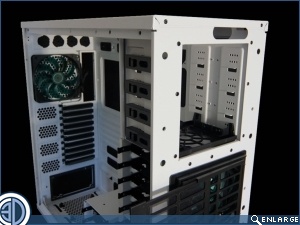
Although the front fan filters can be removed we’ve left them in place to give you a better idea of how they work. Fortunately as the lower section of the fascia has it’s own door there’s no need to remove it as we have to access the filters.