Raijintek Ereboss Black Review

Assembly
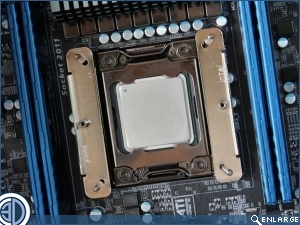
Fitting the Ereboss is a pain in the arse. We say it so bluntly and up front just in case you’ve got the attention span of an excited Jack Russell and are only going to read this first paragraph before moving on. Sure it starts out alright, and the instructions are reasonable but not brilliant, for a start they don’t tell you how to cope with the emotion generated by the desire to throw your PC out of the window when you get that frustrated with missing the screw heads yet again. Whether you’re fitting to AMD or Intel the steps are essentially the same, just with different sized brackets, the first step being to secure them to the motherboard. If you’re not on 2011 as we are here then you’ll need to use the supplied multi platform back plate
Â
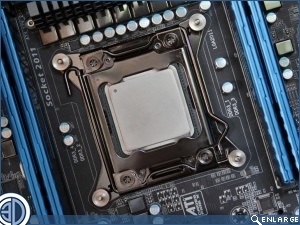
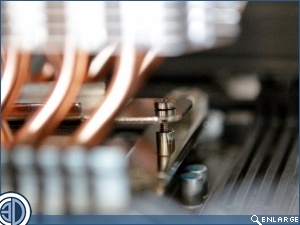
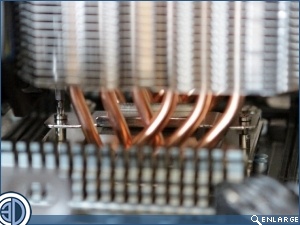
Don’t be fooled, the next step isn’t to attach this cross brace, we’re merely showing a picture of it as it both shows the eventual aim and proved to us after about half an hour of trying with the heatsink in place that the holes do actually line up. The next step is actually to balance the cross bracket in place on the reverse side of the contact plate and lower it onto your CPU. There are locating lugs on the cross brace and corresponding dimples on the contact plate but the fit isn’t a positive one and prone to slipping off as you lower the assembly down. The problem of course is that with the heat sink in place you can no longer see the screw holes, or indeed the head of the screws you’re aiming the driver at. In the picture below right you can see the bracket in place with the screw rested in it ready to be tightened. This picture was actually obtained by taking the top off the case and poking the lens through the holes, which if your case has the facility is the only real way to see what you’re doing. If you can’t take the roof off then the only other way is to remove the Motherboard from the case.

Â
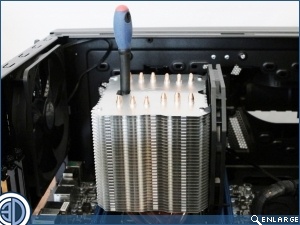
Assuming you’ve found a way to see the screws, perhaps by rigging up an eccentric system of mirrors, or maybe resorted to removing the board from the case, the second problem is that you’re going to need a thin shafted long reach screw driver to actually get at the screws. We should point out that up until now we’ve used the same regular Philips head screw driver to fit every other cooler we’ve ever tested, even the huge offerings from Noctua and the like.

Â
Screwing down the fittings while peering at 90 degrees through the roof of the case feels kind of like performing keyhole surgery from the room next door, and with no tensioning springs to guide you’re left wondering just how tight is tight enough.
Â
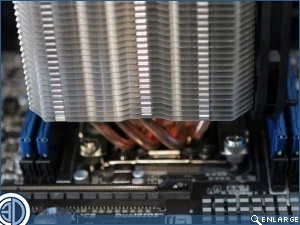
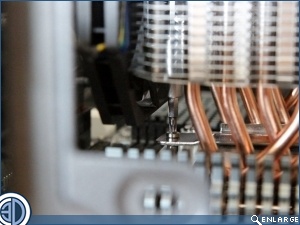
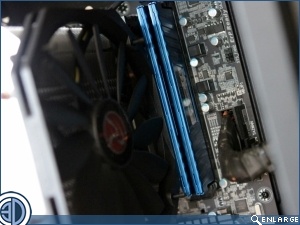
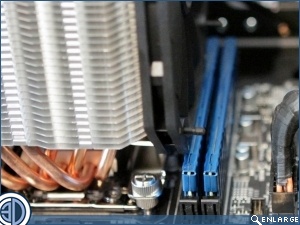
The aim of using the slim fan with such a big heat sink and so trading off some of the static pressure offered by standard thickness fans is to negate the issue of the fan overhanging the RAM. Unfortunately even with the slim fan there is still a slight overhang meaning that you’re still going to have to use standard height RAM.
Â
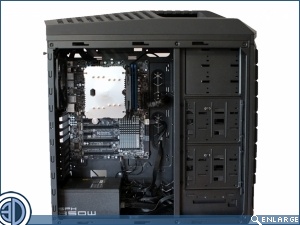
You’re doubly buggered if you’re using 2011 or similar with RAM slots either side of the Motherboard as there’s a significant over hang back there. RAM with heat sinks taller than 15mm just won’t fit under the fin stack. All that said, with the cooler in place in our Cooler Master “Test Trooper” it does cut an imposing sight. The glinting Aluminium fins do however make it look more than a little dated by todays standards, especially as it’s the “Black” edition of the Ereboss.