Scythe Orochi CPU Cooler
Installation
Â
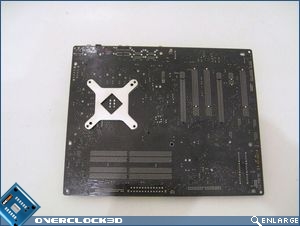
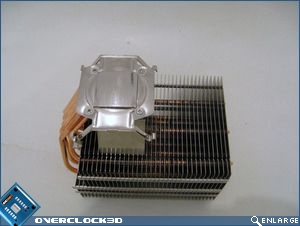
Installation of the Scythe Orochi requires the motherboard backplate to be positioned and socket mount to be screwed to the heatsink.
Â
Â
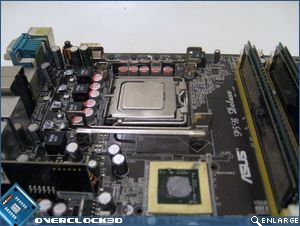
The two mounting bars are screwed directly into the motherboard backplate with thin nylon washers in between. I found this part of the installation quite fiddly. You’ll also notice that I had to remove my Noctua NC-U6 passive NB heatsink in order to install the Orochi.
Â
Â
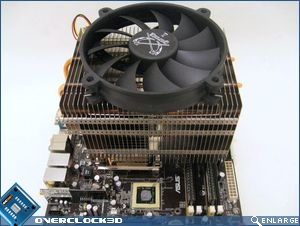
Once you’ve applied your thermal paste onto your CPU, simply orientate the Orochi and press down the two retaining clips and voila. The beauty of the Orochi’s mounting system is that it is quite flexible in its orientation, although Scythe do recommend that it isn’t placed with the front of the heatsink facing down.
Â
Â
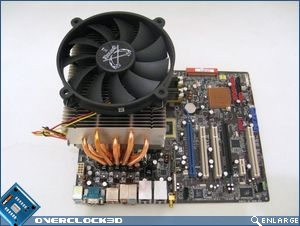
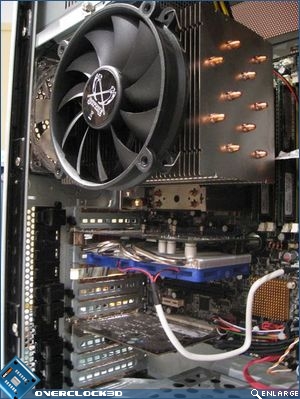
As long as you have sufficient headroom in your chassis, the Scythe Orochi will complement any rig (or dwarf it lol), but please be mindful of the width required in order to accommodate it as shown in the image below.
Â
Â
Let’s head over the page to see how we’re going to test the Scythe Orochi.


