SilverStone PS10 Review

The Build
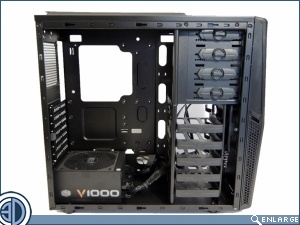
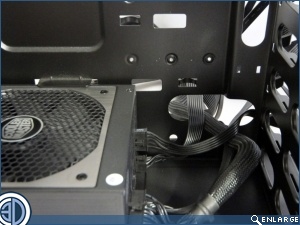
Even with the Cooler Master V1000 PSU in there’s still plenty of room to spare before we hit the edge of the PSU management hole. Lack of Grommets however do make this area messier than it would be had they been fitted.
Â
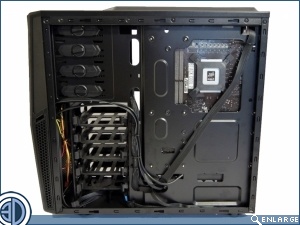
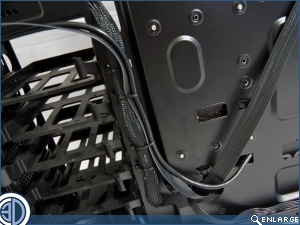
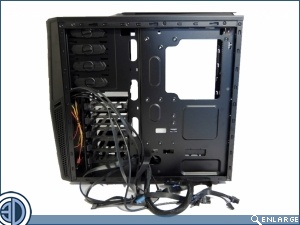
Round the back we have the usual pre management vipers nest to deal with. We’re a bit concerned about the lack of cable tie pints but the 14 mm of space should be enough to work with. With the Motherboard in you can see just how little room there is between it and the posterior edge of the drive bays. Remember, the 3.5″ rack isn’t removable.

Â
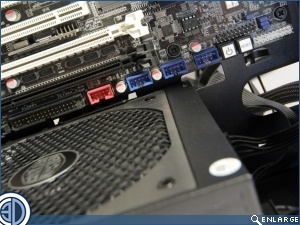
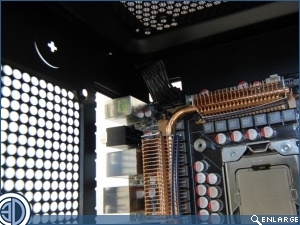
It’s also pretty tight in the space between the PSU and the inferior border of the Motherboard. We mention this as a small gap here is often handy for tucking away USB and Audio header cables. With most components wired in however, things still look fairly neat and tidy up front.
Â
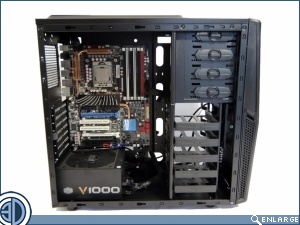
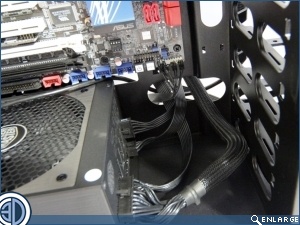
Did we say neat and tidy? Not so much down here at the PSU. Ok, a few cable ties would help but then so would rubber grommets. At least there’s an 8 pin CPU power cable cut out up top. Unlike a certain, recently reviewed Cooler Master case we could mention.
Â
As it happens, things weren’t too bad round the back as the three (yes three) cable tie points just happened to be extremely well situated. We also wiggled some cable ties through some other small cut outs we found in the motherboard tray to help us along. While not directly identified as traditional cable tie mounts they do the job very well.