Antec ISK600 Review

Up Close: Interior
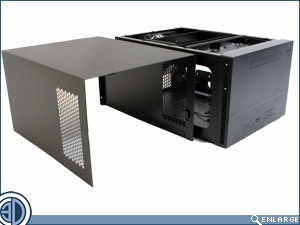
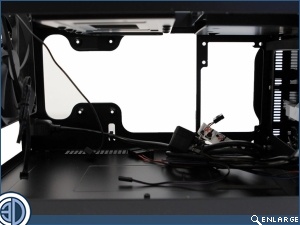
Releasing three screws at the rear of the case enables the roof and side panels to be lifted of as a single piece, revealing the simple box framework chassis underneath.
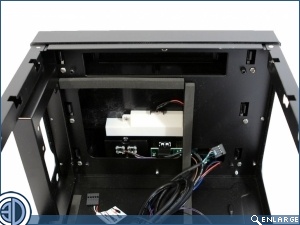
The Mini-ITX motherboard is situated in the base of the case towards the rear, with a small gap between it and the PSU mount. There’s no motherboard back panel here so all cables will need to be routed within the body of the case.
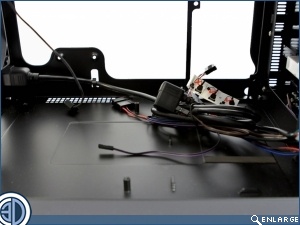
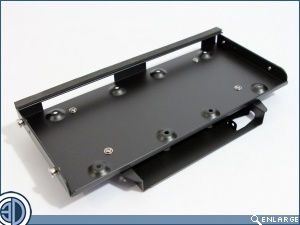
Looking down on the case from above now we can get a better view of the internal storage area. there’s space for two 3.5″ drives the rear most of the two caddies, with the first drive inserted into the top and the other slung underneath. The caddy is removed from the case, and once the drives are fited it is then re inserted. Although there are no anti vibration mounts for the drives themselves, the caddy is actually located via four tool free rubber isolation discs, making fitting it extremely easy and 100% tool free, as it simply drops into cut outs on the upper edge of the case interior.

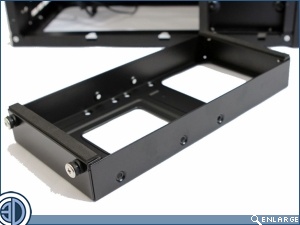
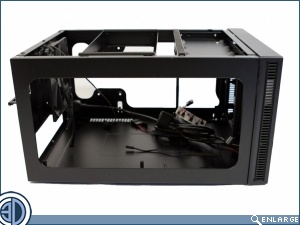
The anterior caddy has the job of holding up to two 2.5″ drives and the under-slung slimline ODD should you choose to fit one. The caddy is located in a very similar way to he 3.5″ caddy. With all the drive caddies removed we can now see better into the case interior, which is..well…empty.

Those of you familiar with our case reviews will be used to our normal method of touring the interior. Obviously with a case such as this we need ot break from the norm and mix things up a bit. We appreciate it’s a bit hard to understand what goes where a this point but all should become clear when we commence the build. What we will draw you attention to though is the additional 3.5″ drive mount built into the chassis framework seen towards the rear of the lower right image.
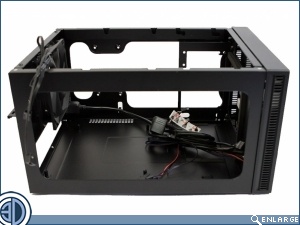
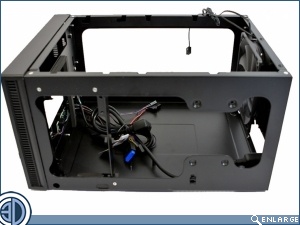
Looking at the case from the front and rear does help a little as on the image below left we can see the PSU mount resplendent with foam isolation strips. Whether you decide to mount your PSU with the fan facing in or out is up to you but bear in mind there’s limited ventilation afforded if the fan faces outwards. Alhough the case can take a standard ATX PSU we recommend sticking to a unit no longer than 160mm and preferably shorter as you’re going to need room to turn the cables round. We’re also a bit concerned that the cable mass that usually forms at the rear of the PSU may decrease the stated 12.5″ max GPU length. The rear of the case is a simple affair, with the main feature being the 120mm fan. The fan comes with a wired in 3 speed controller oft seen on Antec cases. The switch is tiny and hard wired to the fan body, so it’s most likely you’re going to set the speed to a level you’re happy with and then leave it inside