APNX V1 PC Case Review

Up Close with the APNX V1
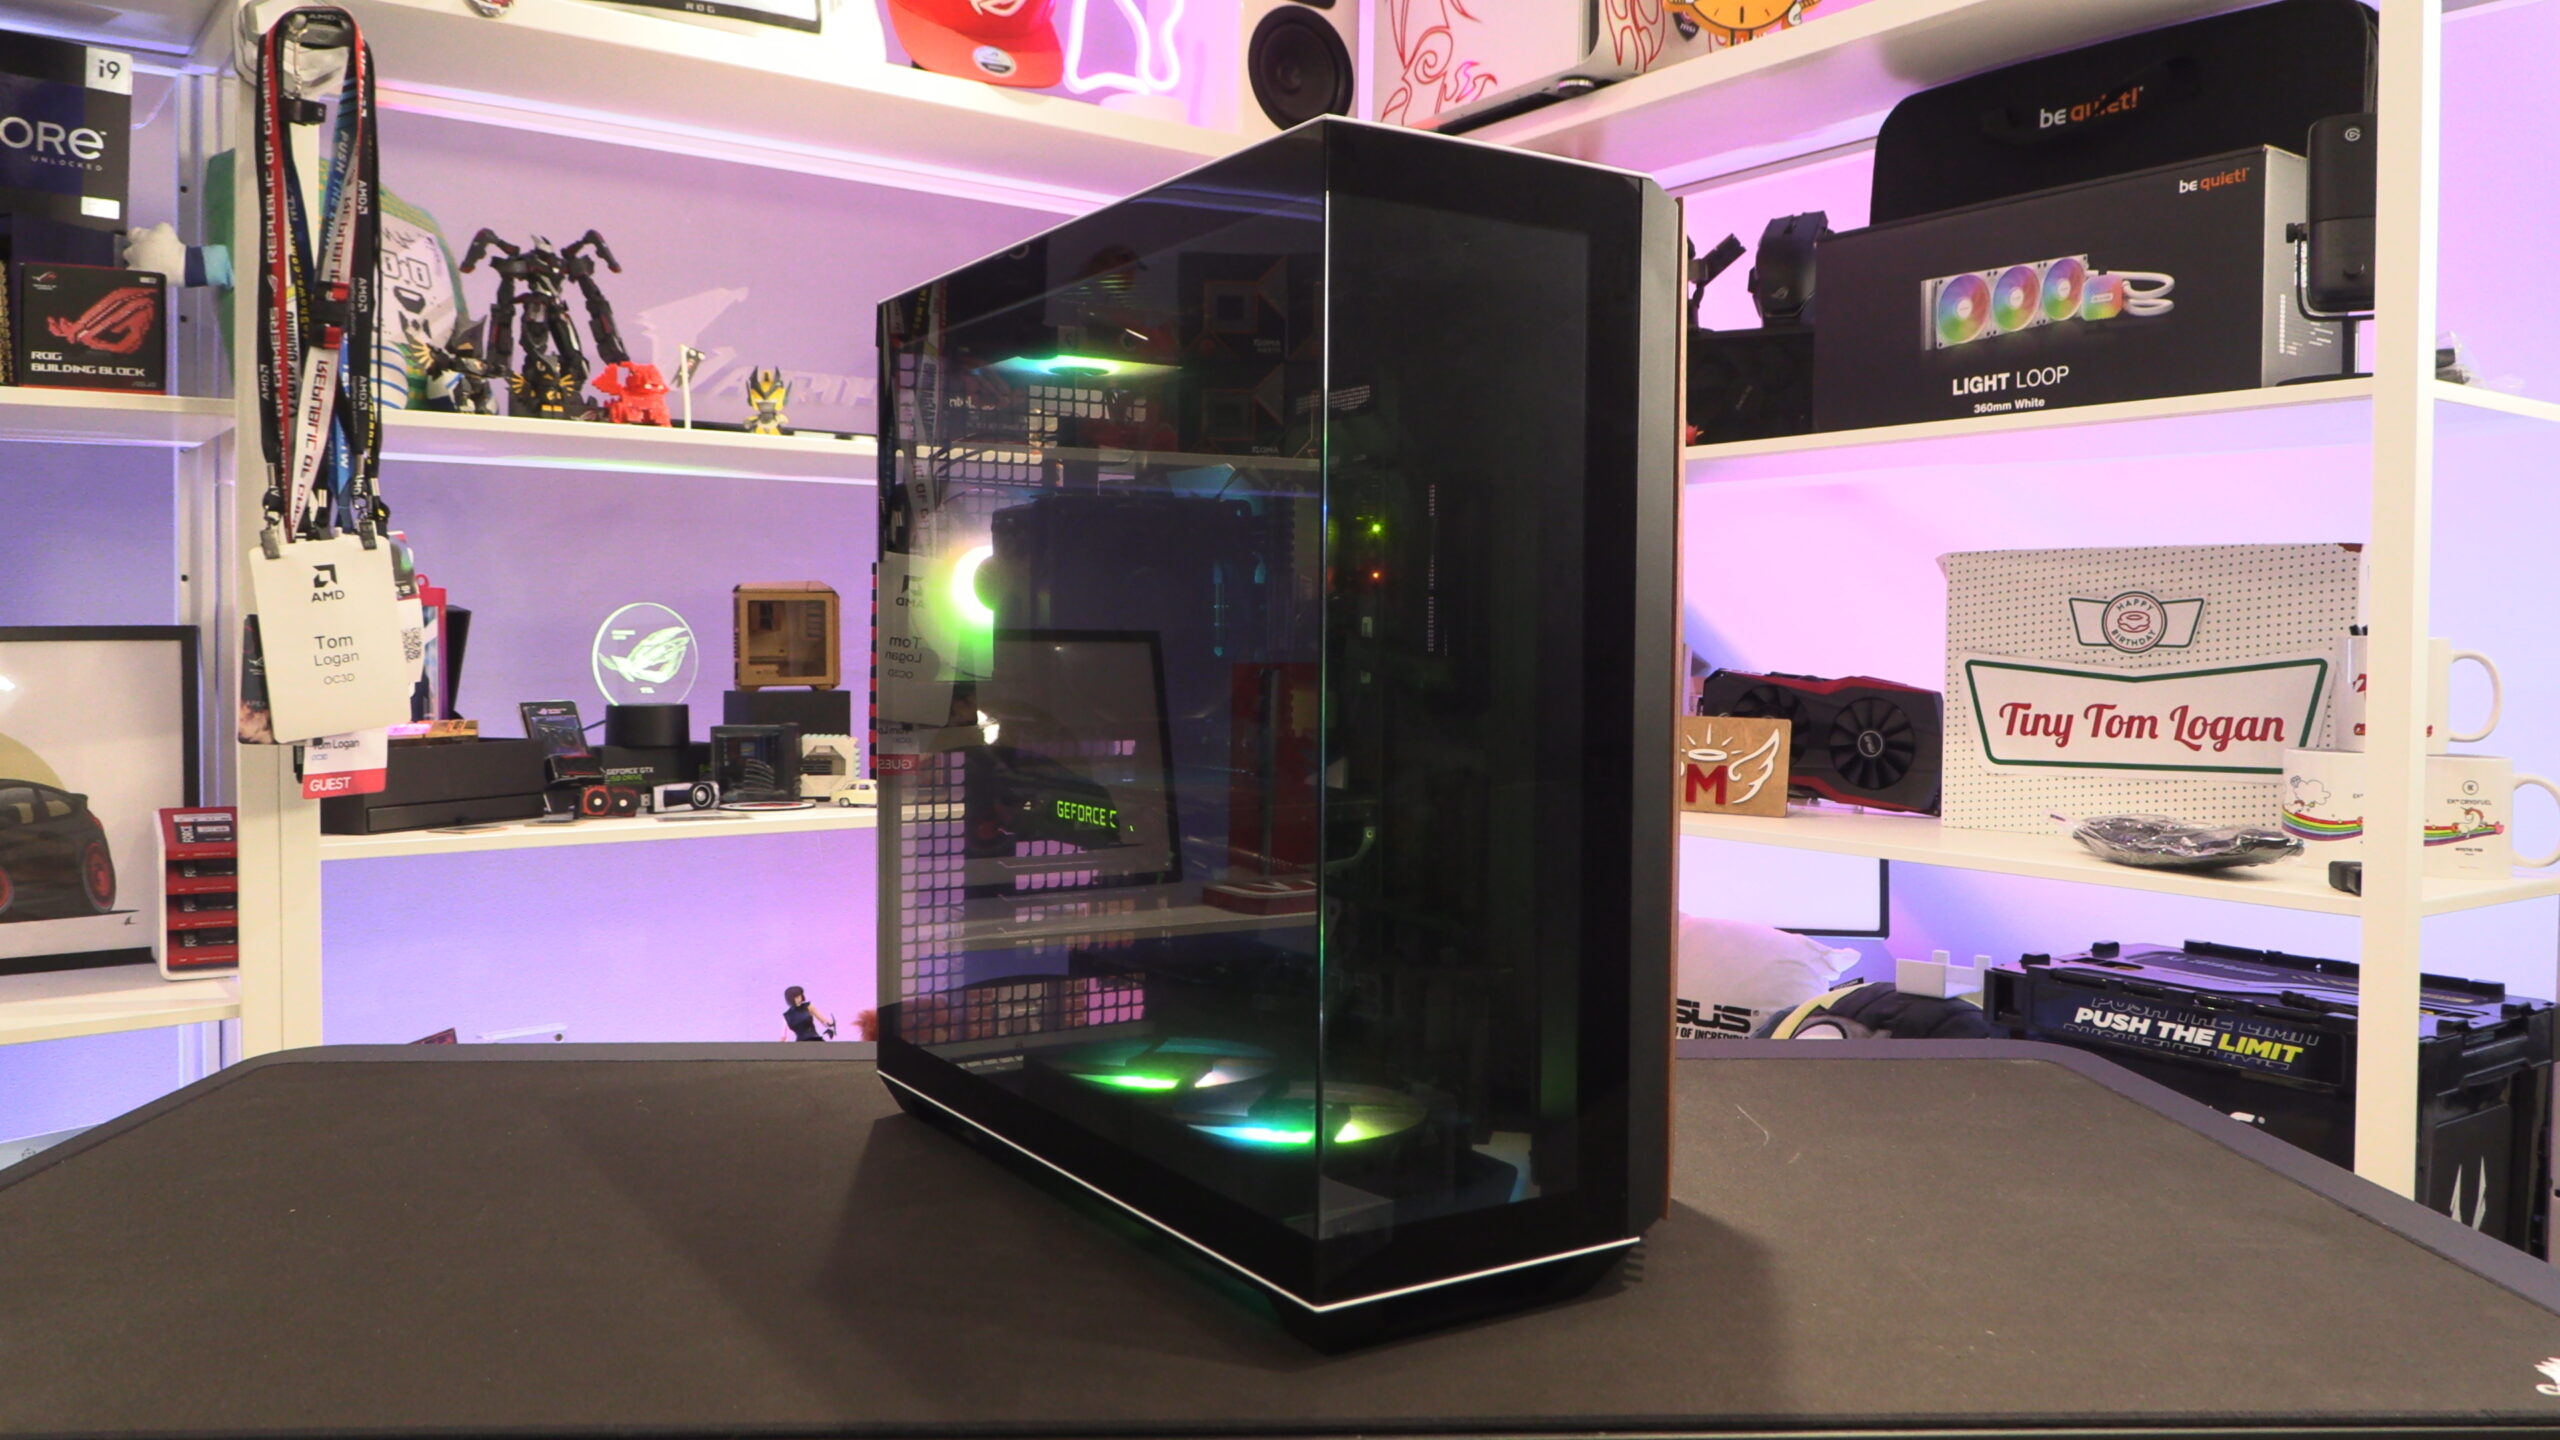
Up close with the APNX V1
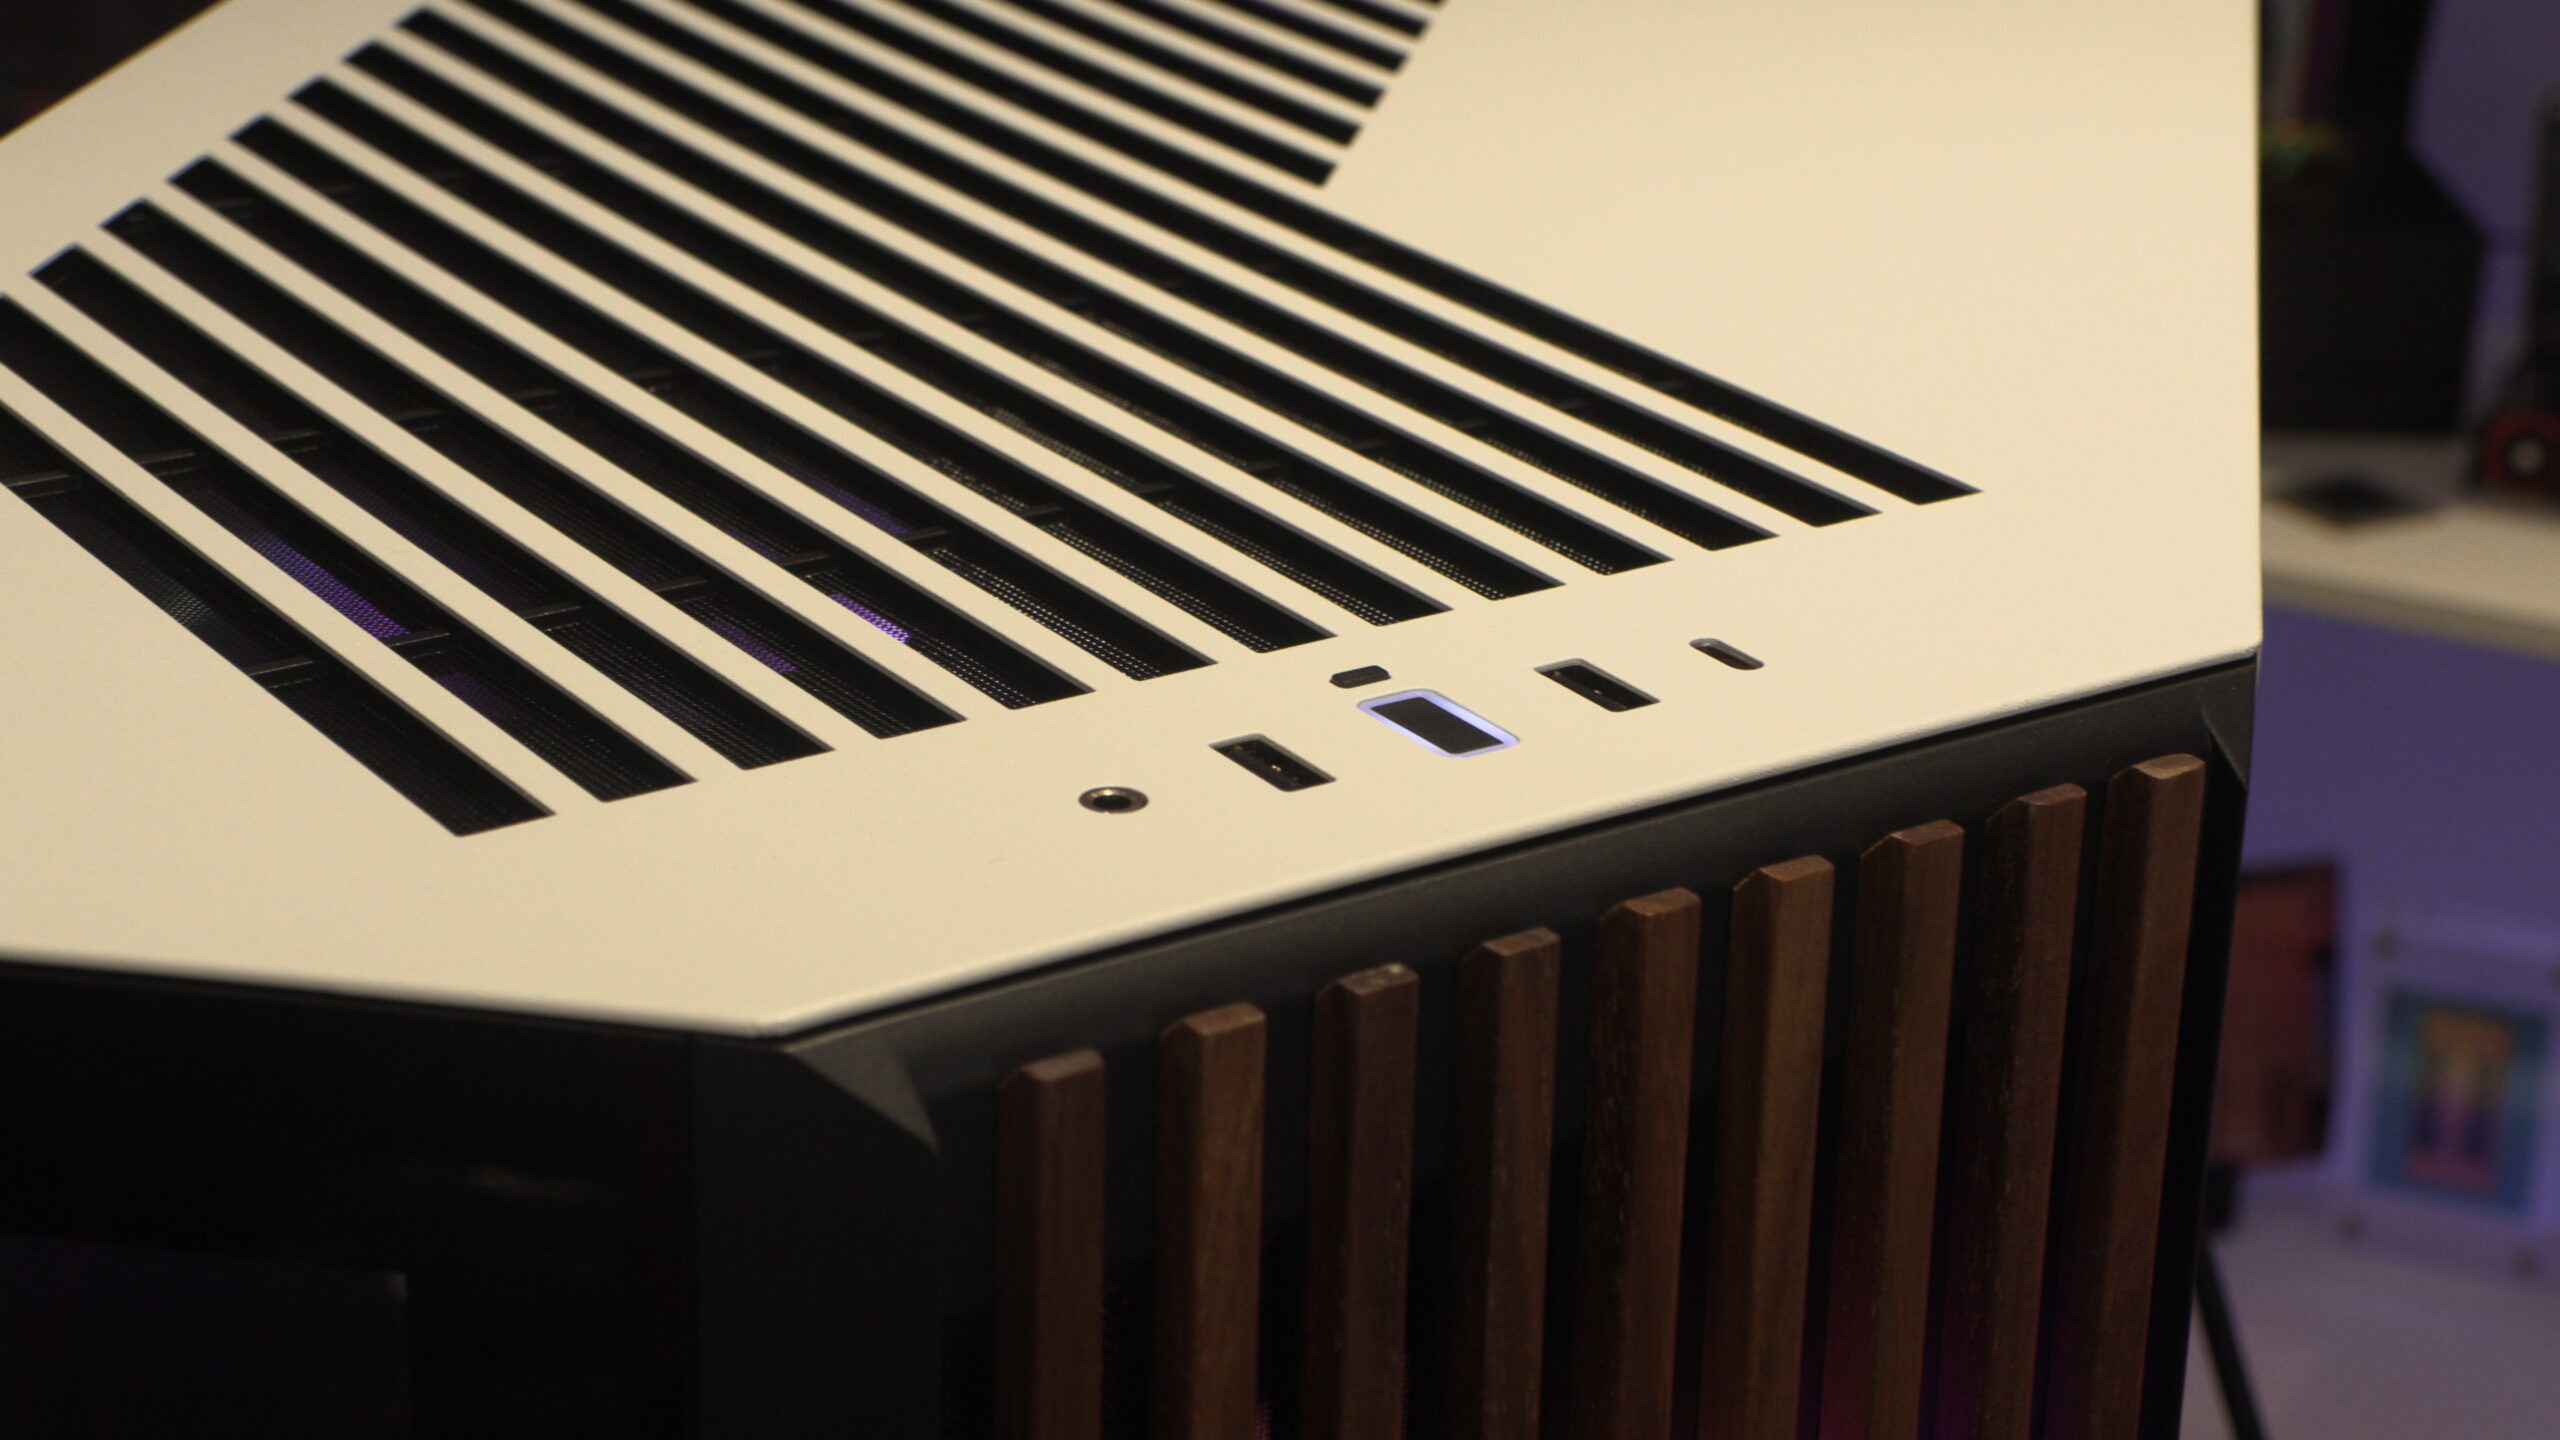
Starting at the top of the case, we have a fairly standard set of IO options. We have a central power button flanked by two USB 3.0 Type-A ports, a single Type-C port, and an audio in/out jack at the sides. It may be standard, but not many PC builders need more than this.
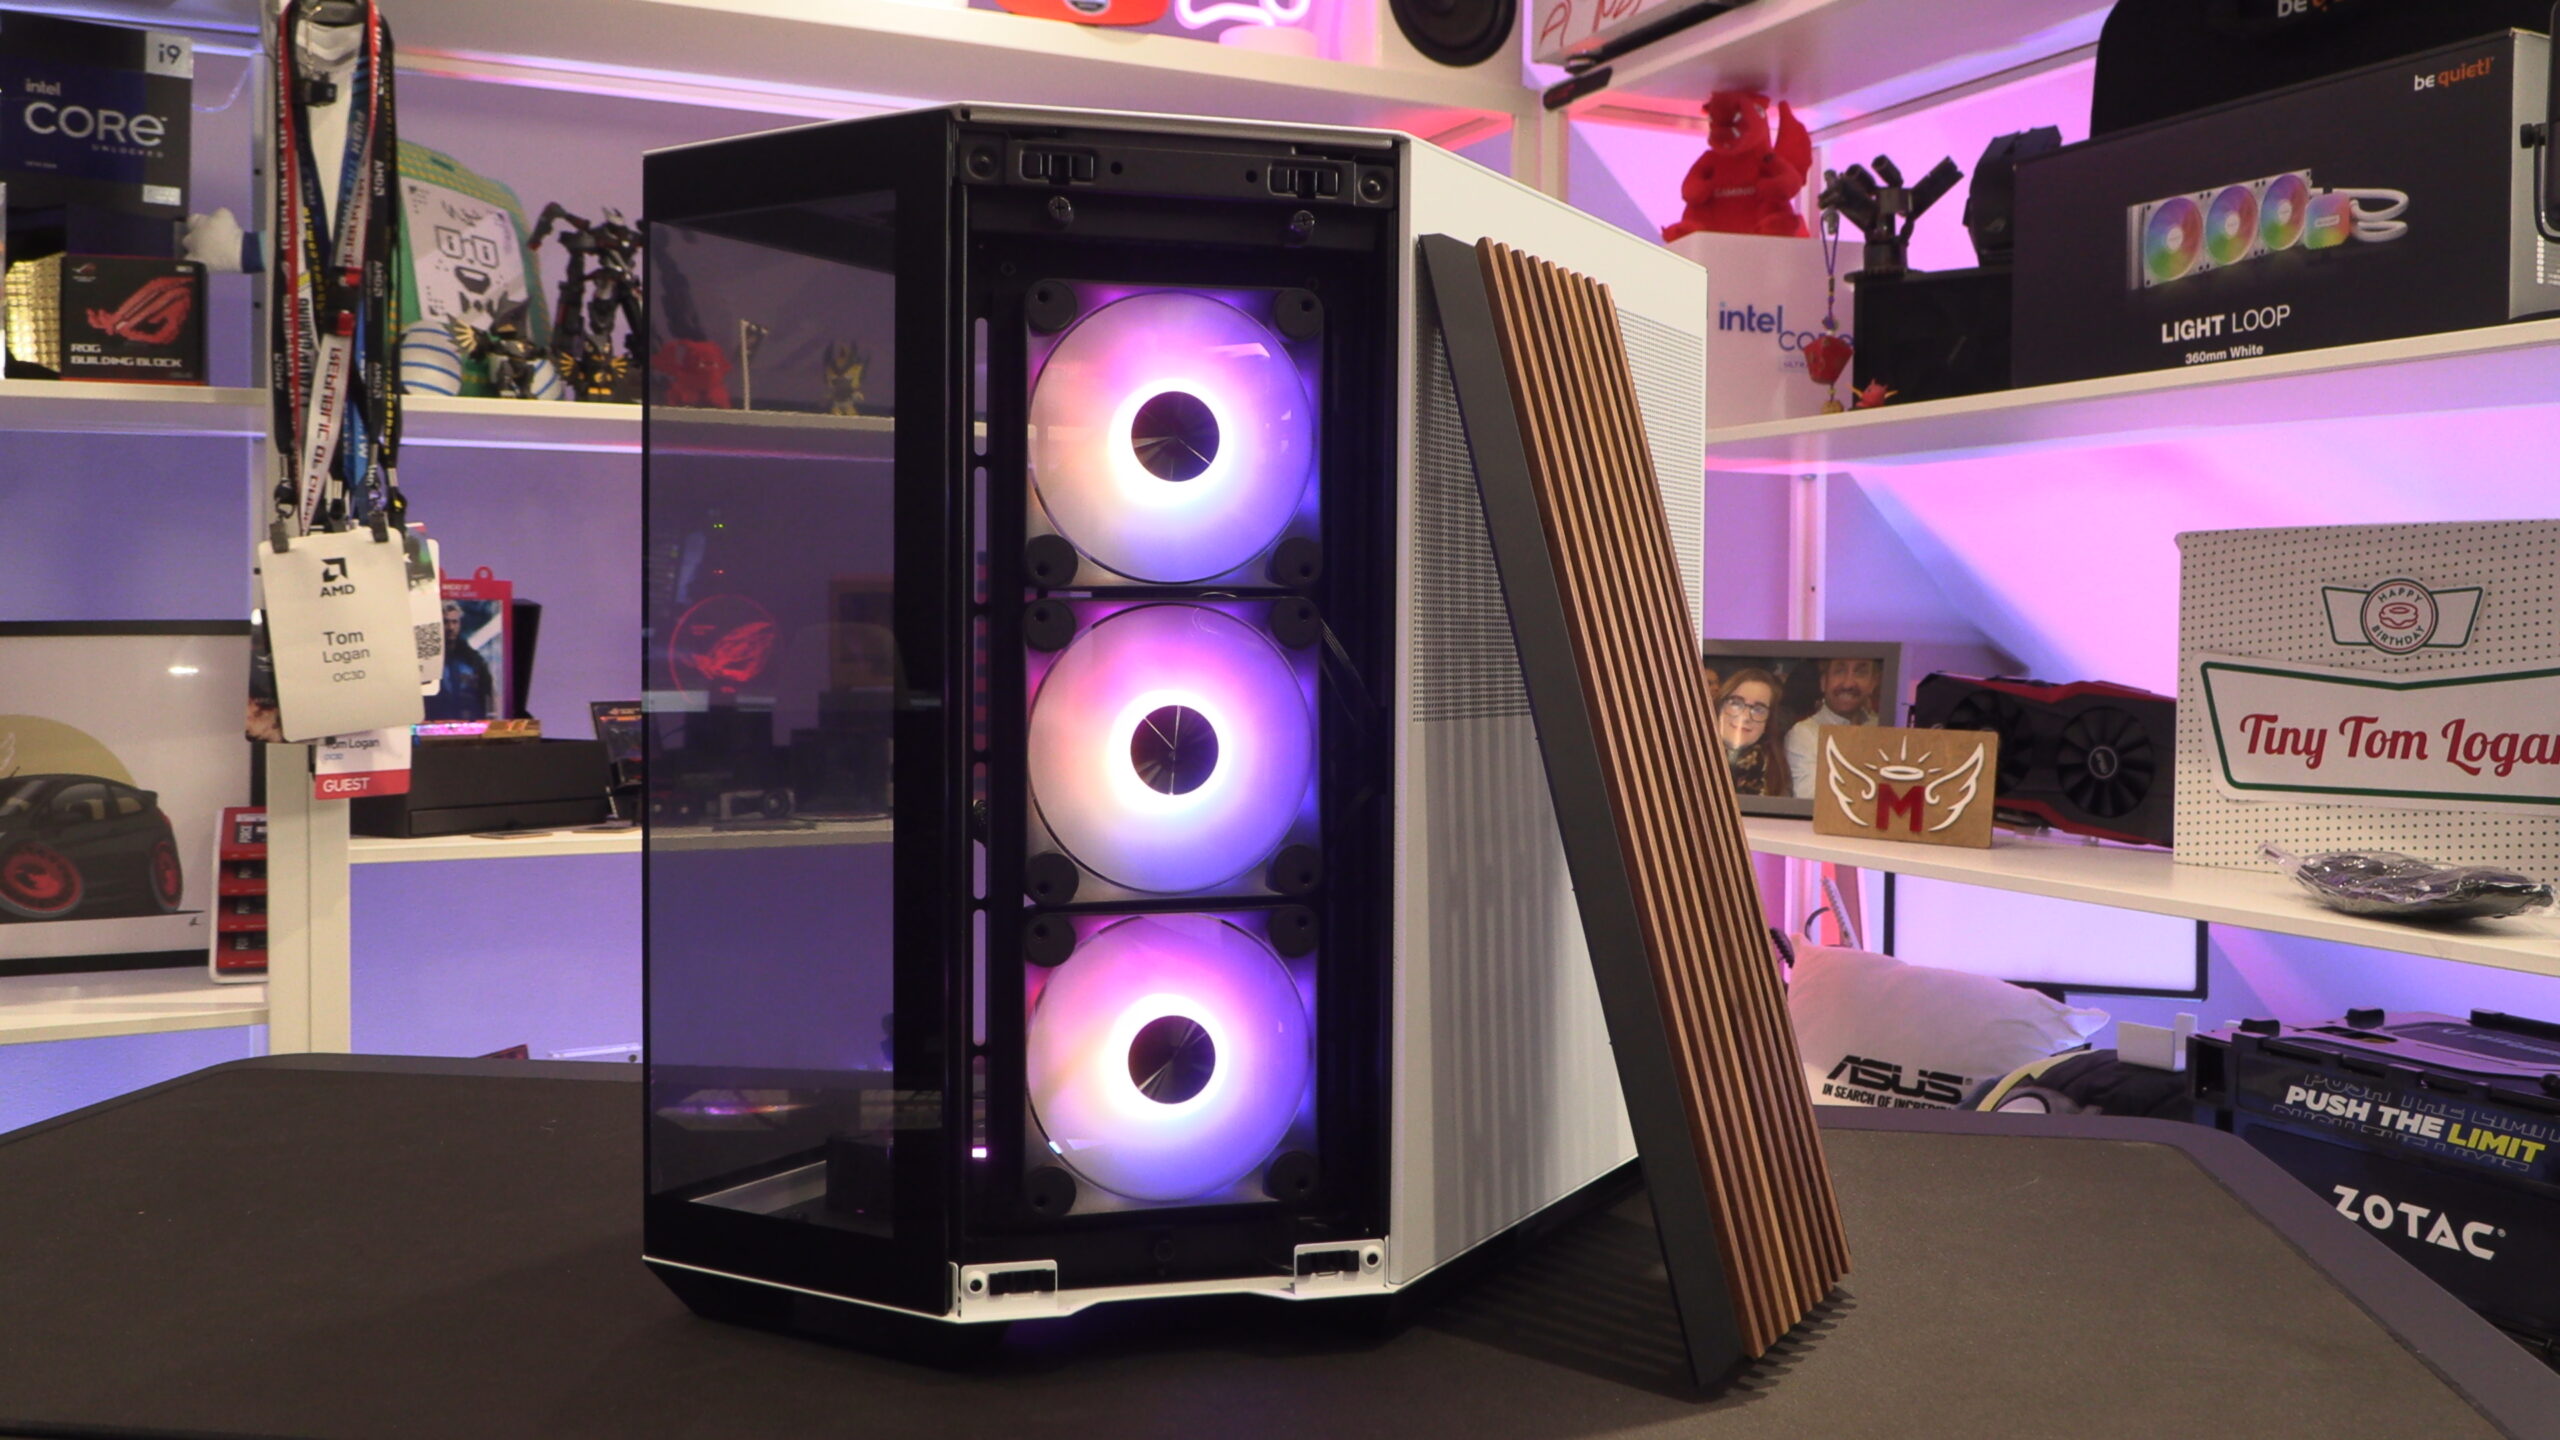
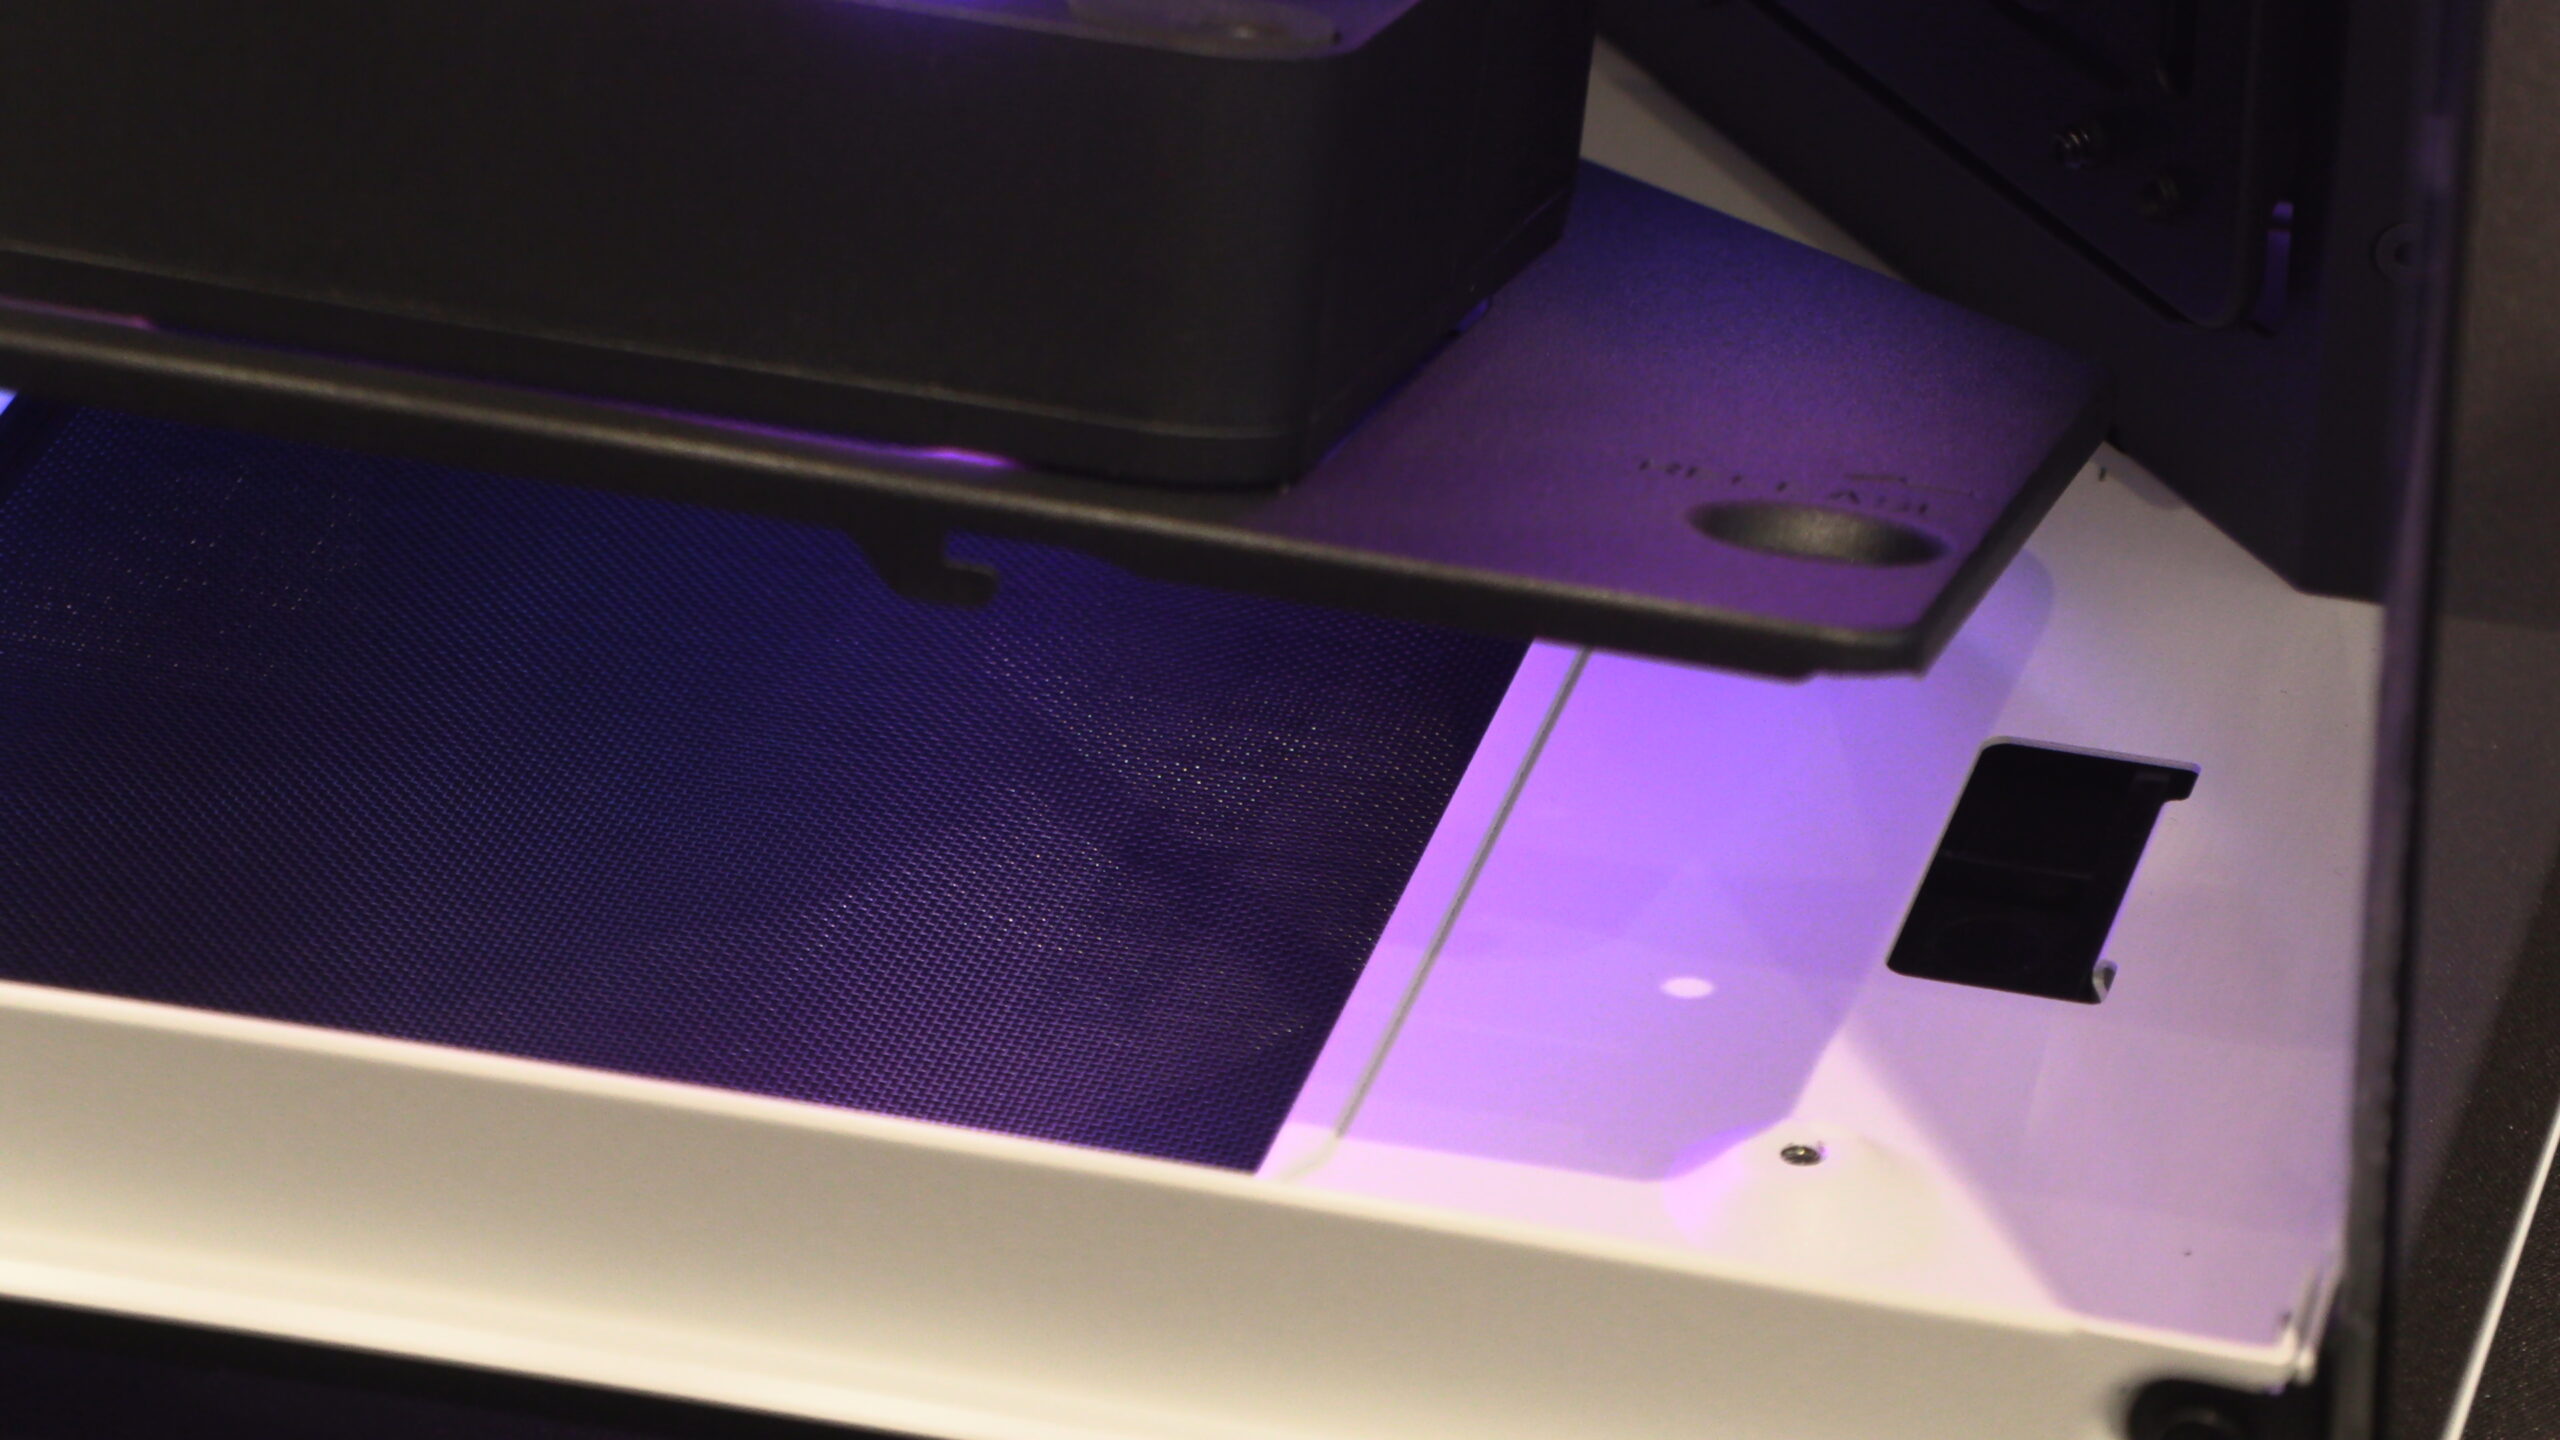
This case’s front/side fan cover/filter mount is easily removed by hand. Just pull gently, and it should release. This will reveal a fan mounting bracket that supports two 160mm/140mm fans, or three 120mm fans. Below, you can see that we have installed three 120mm fans inside this case.
Note that all of this case’s main fan mounting brackets are removable. Just unscrew a few screws and you are ready to go. This makes fan and radiator installation a breeze.
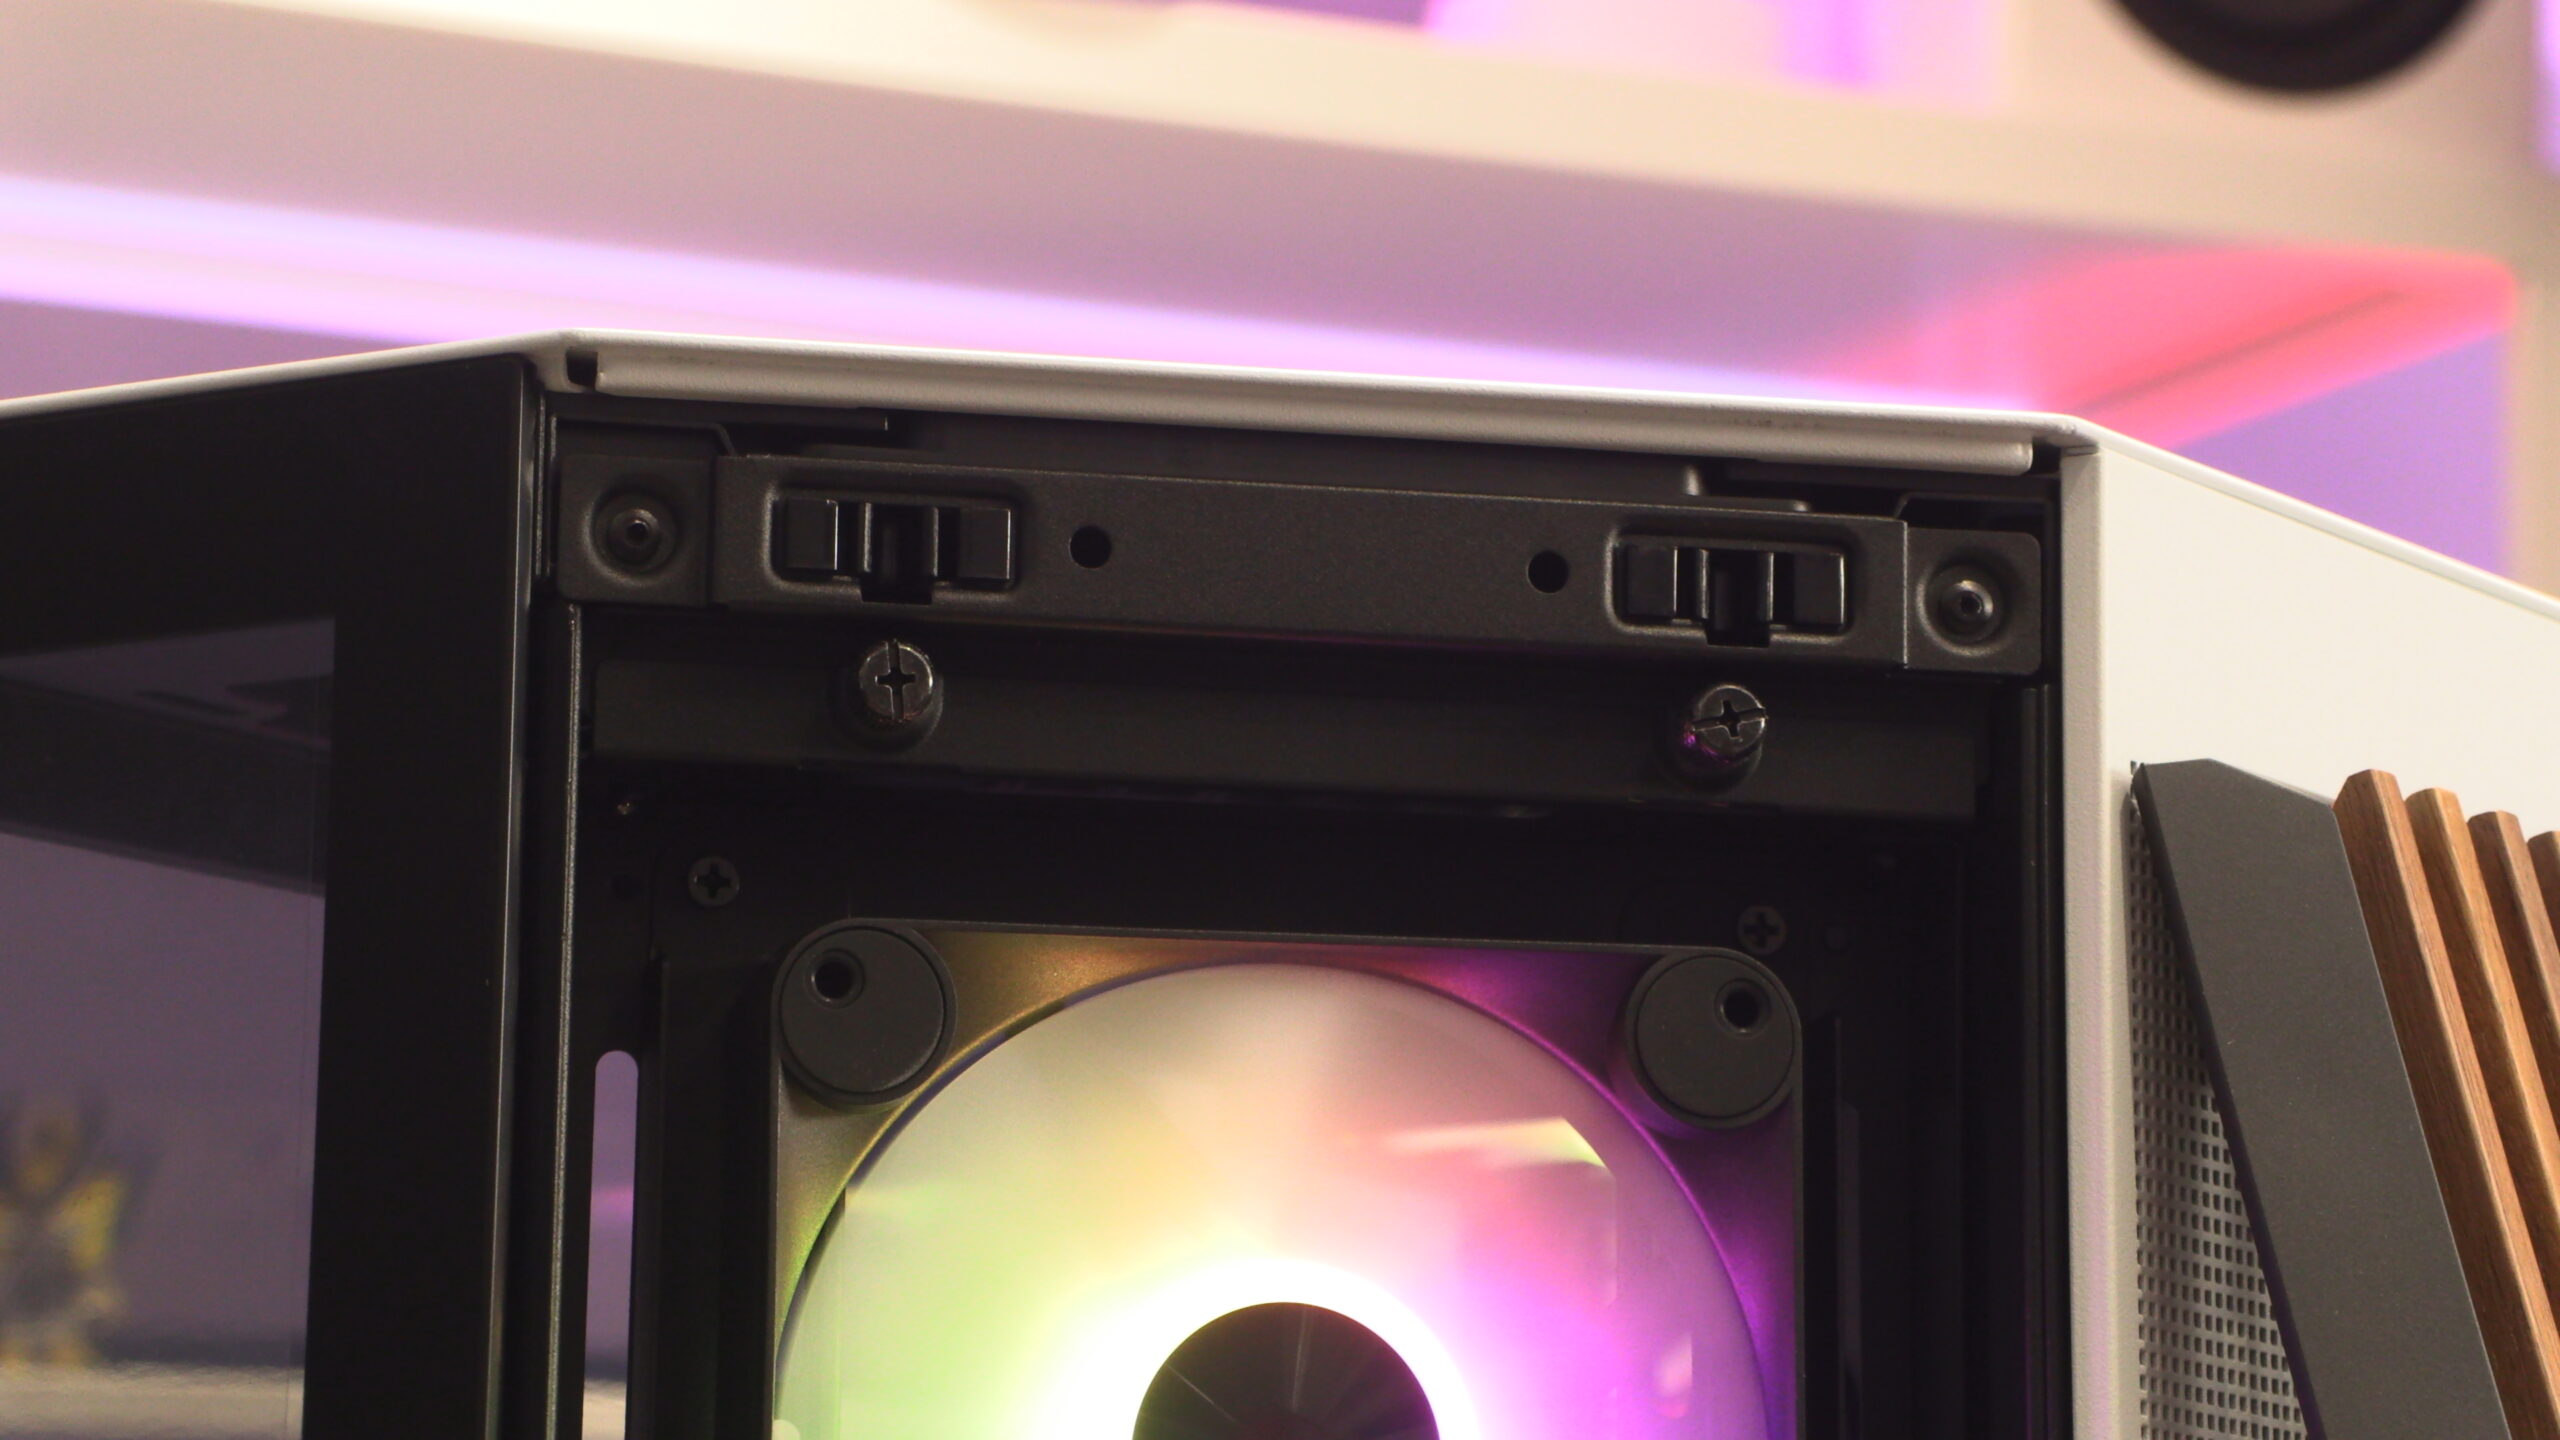
The top of the APNX is also released with a gentle pull. This reveals mounting locations for more fans, either two 140mm fans or three 120mm fans.
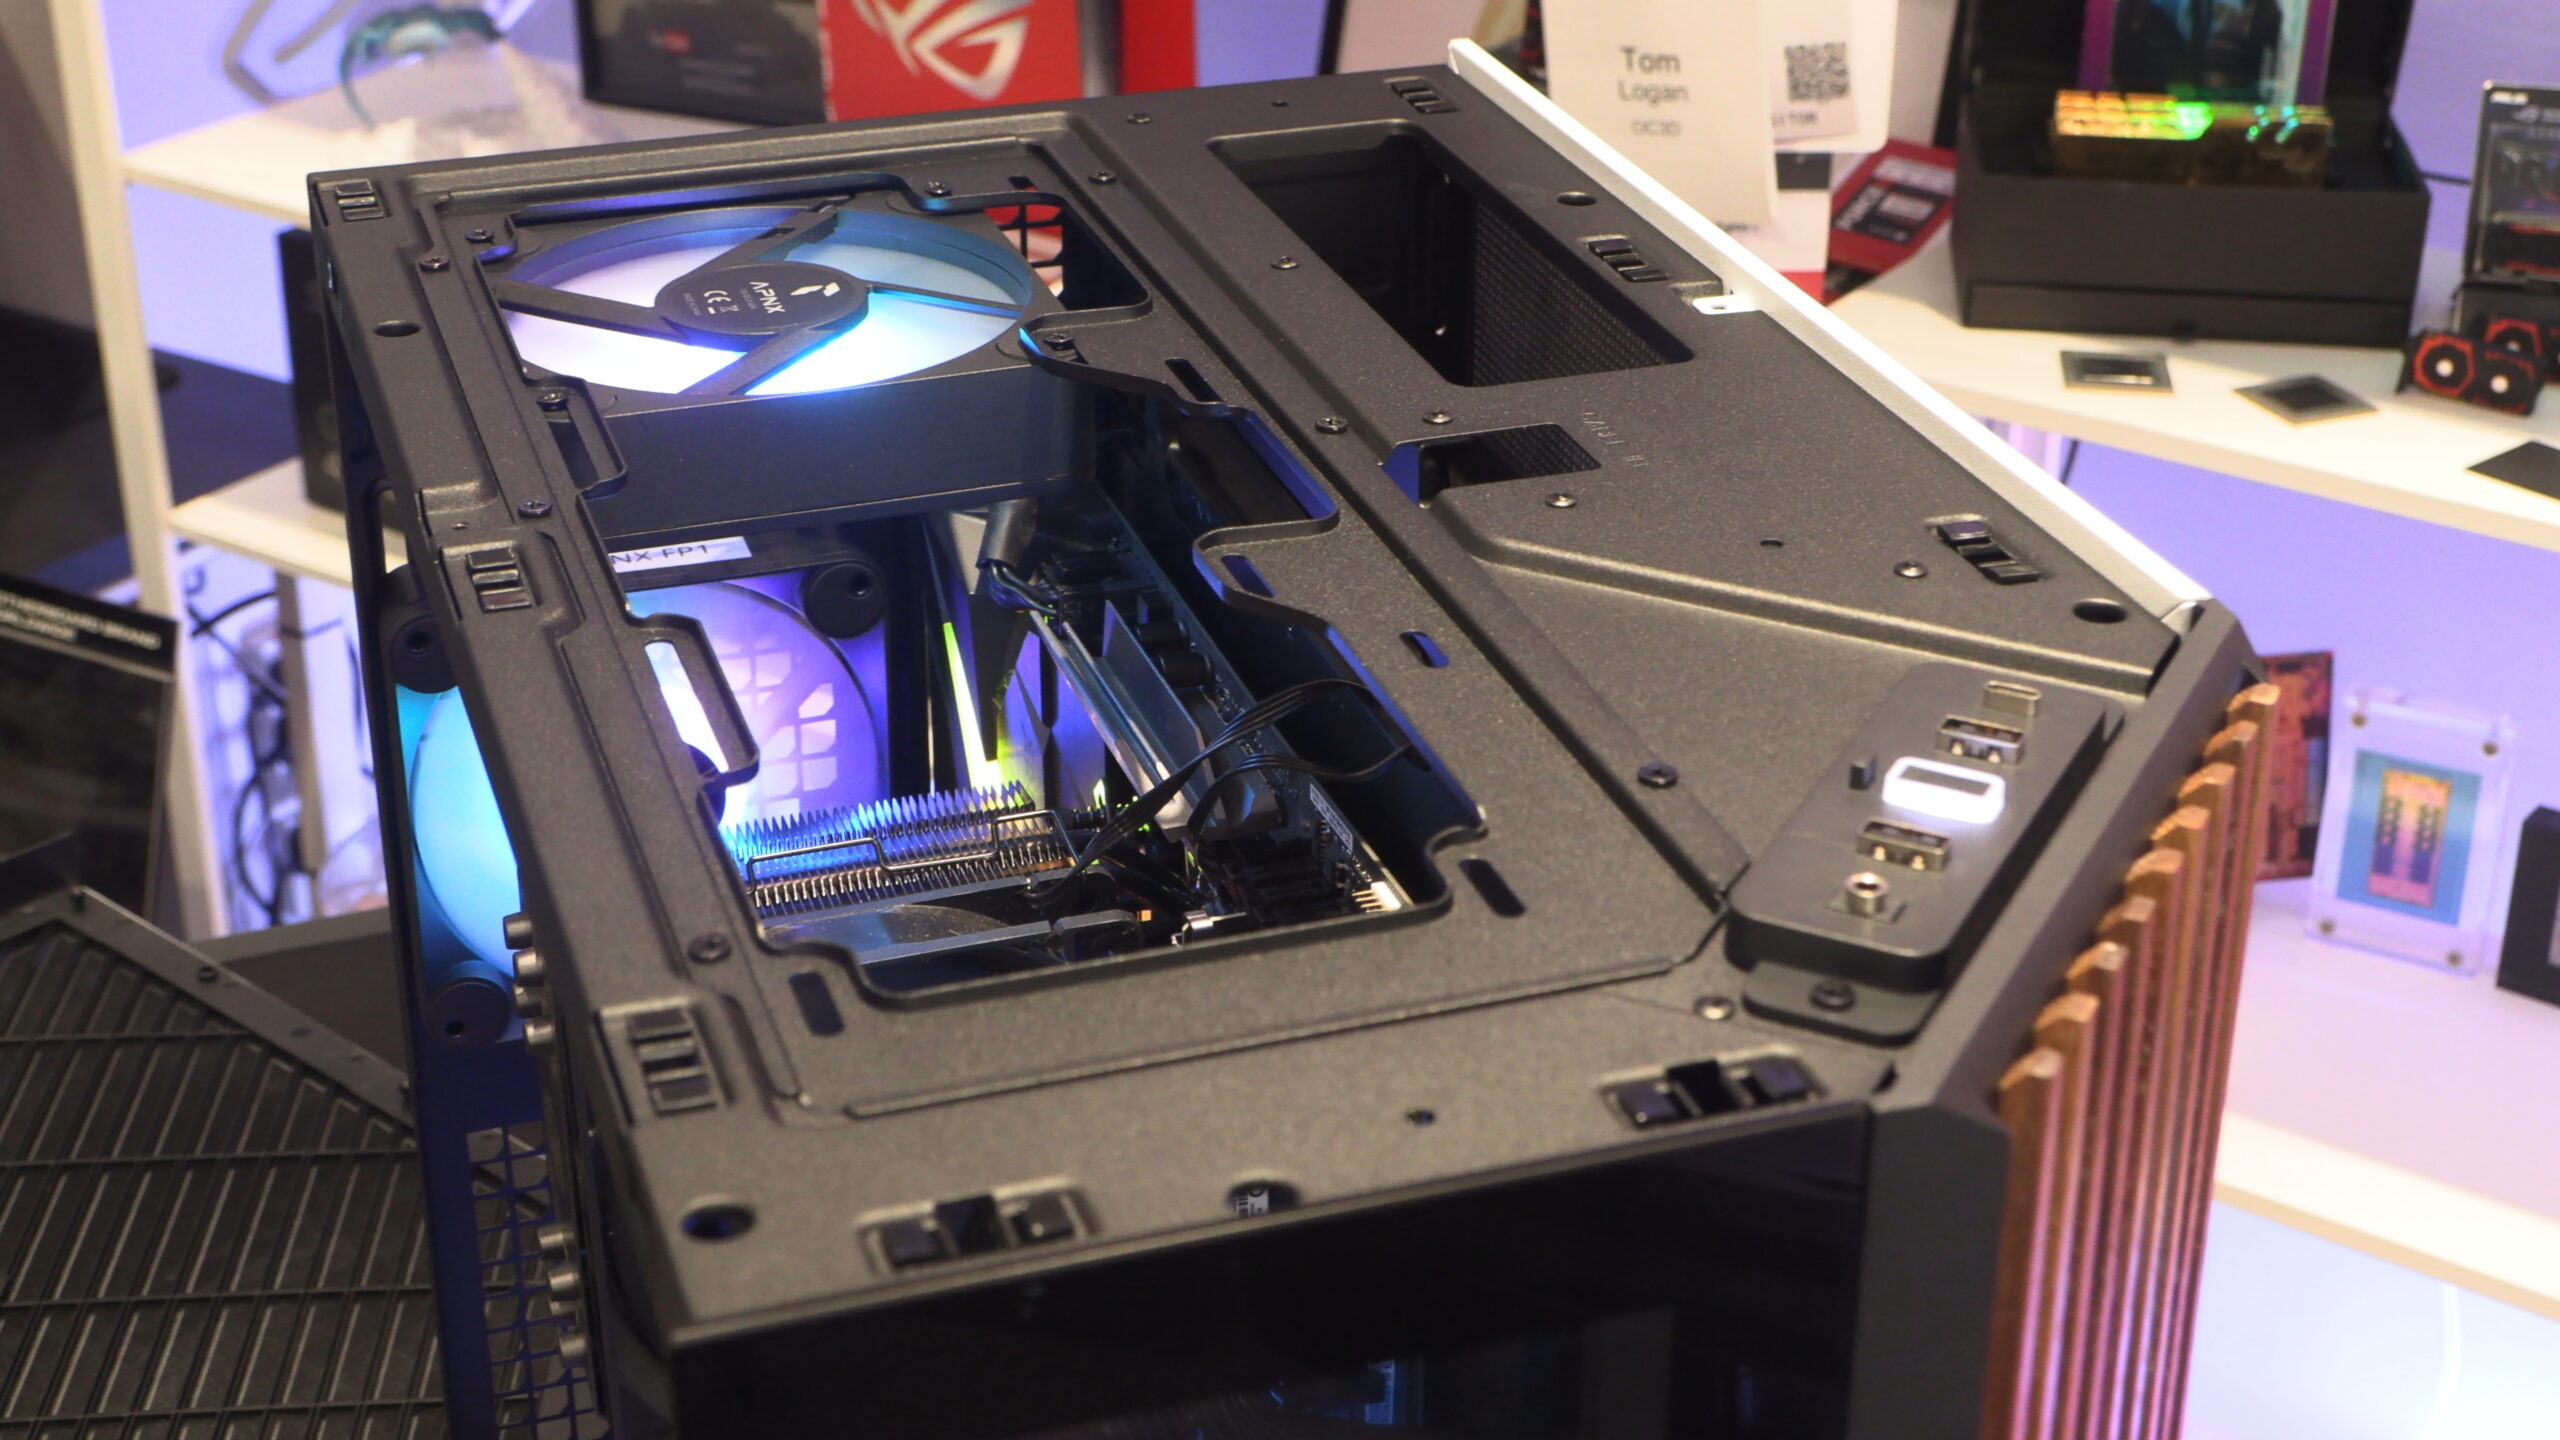
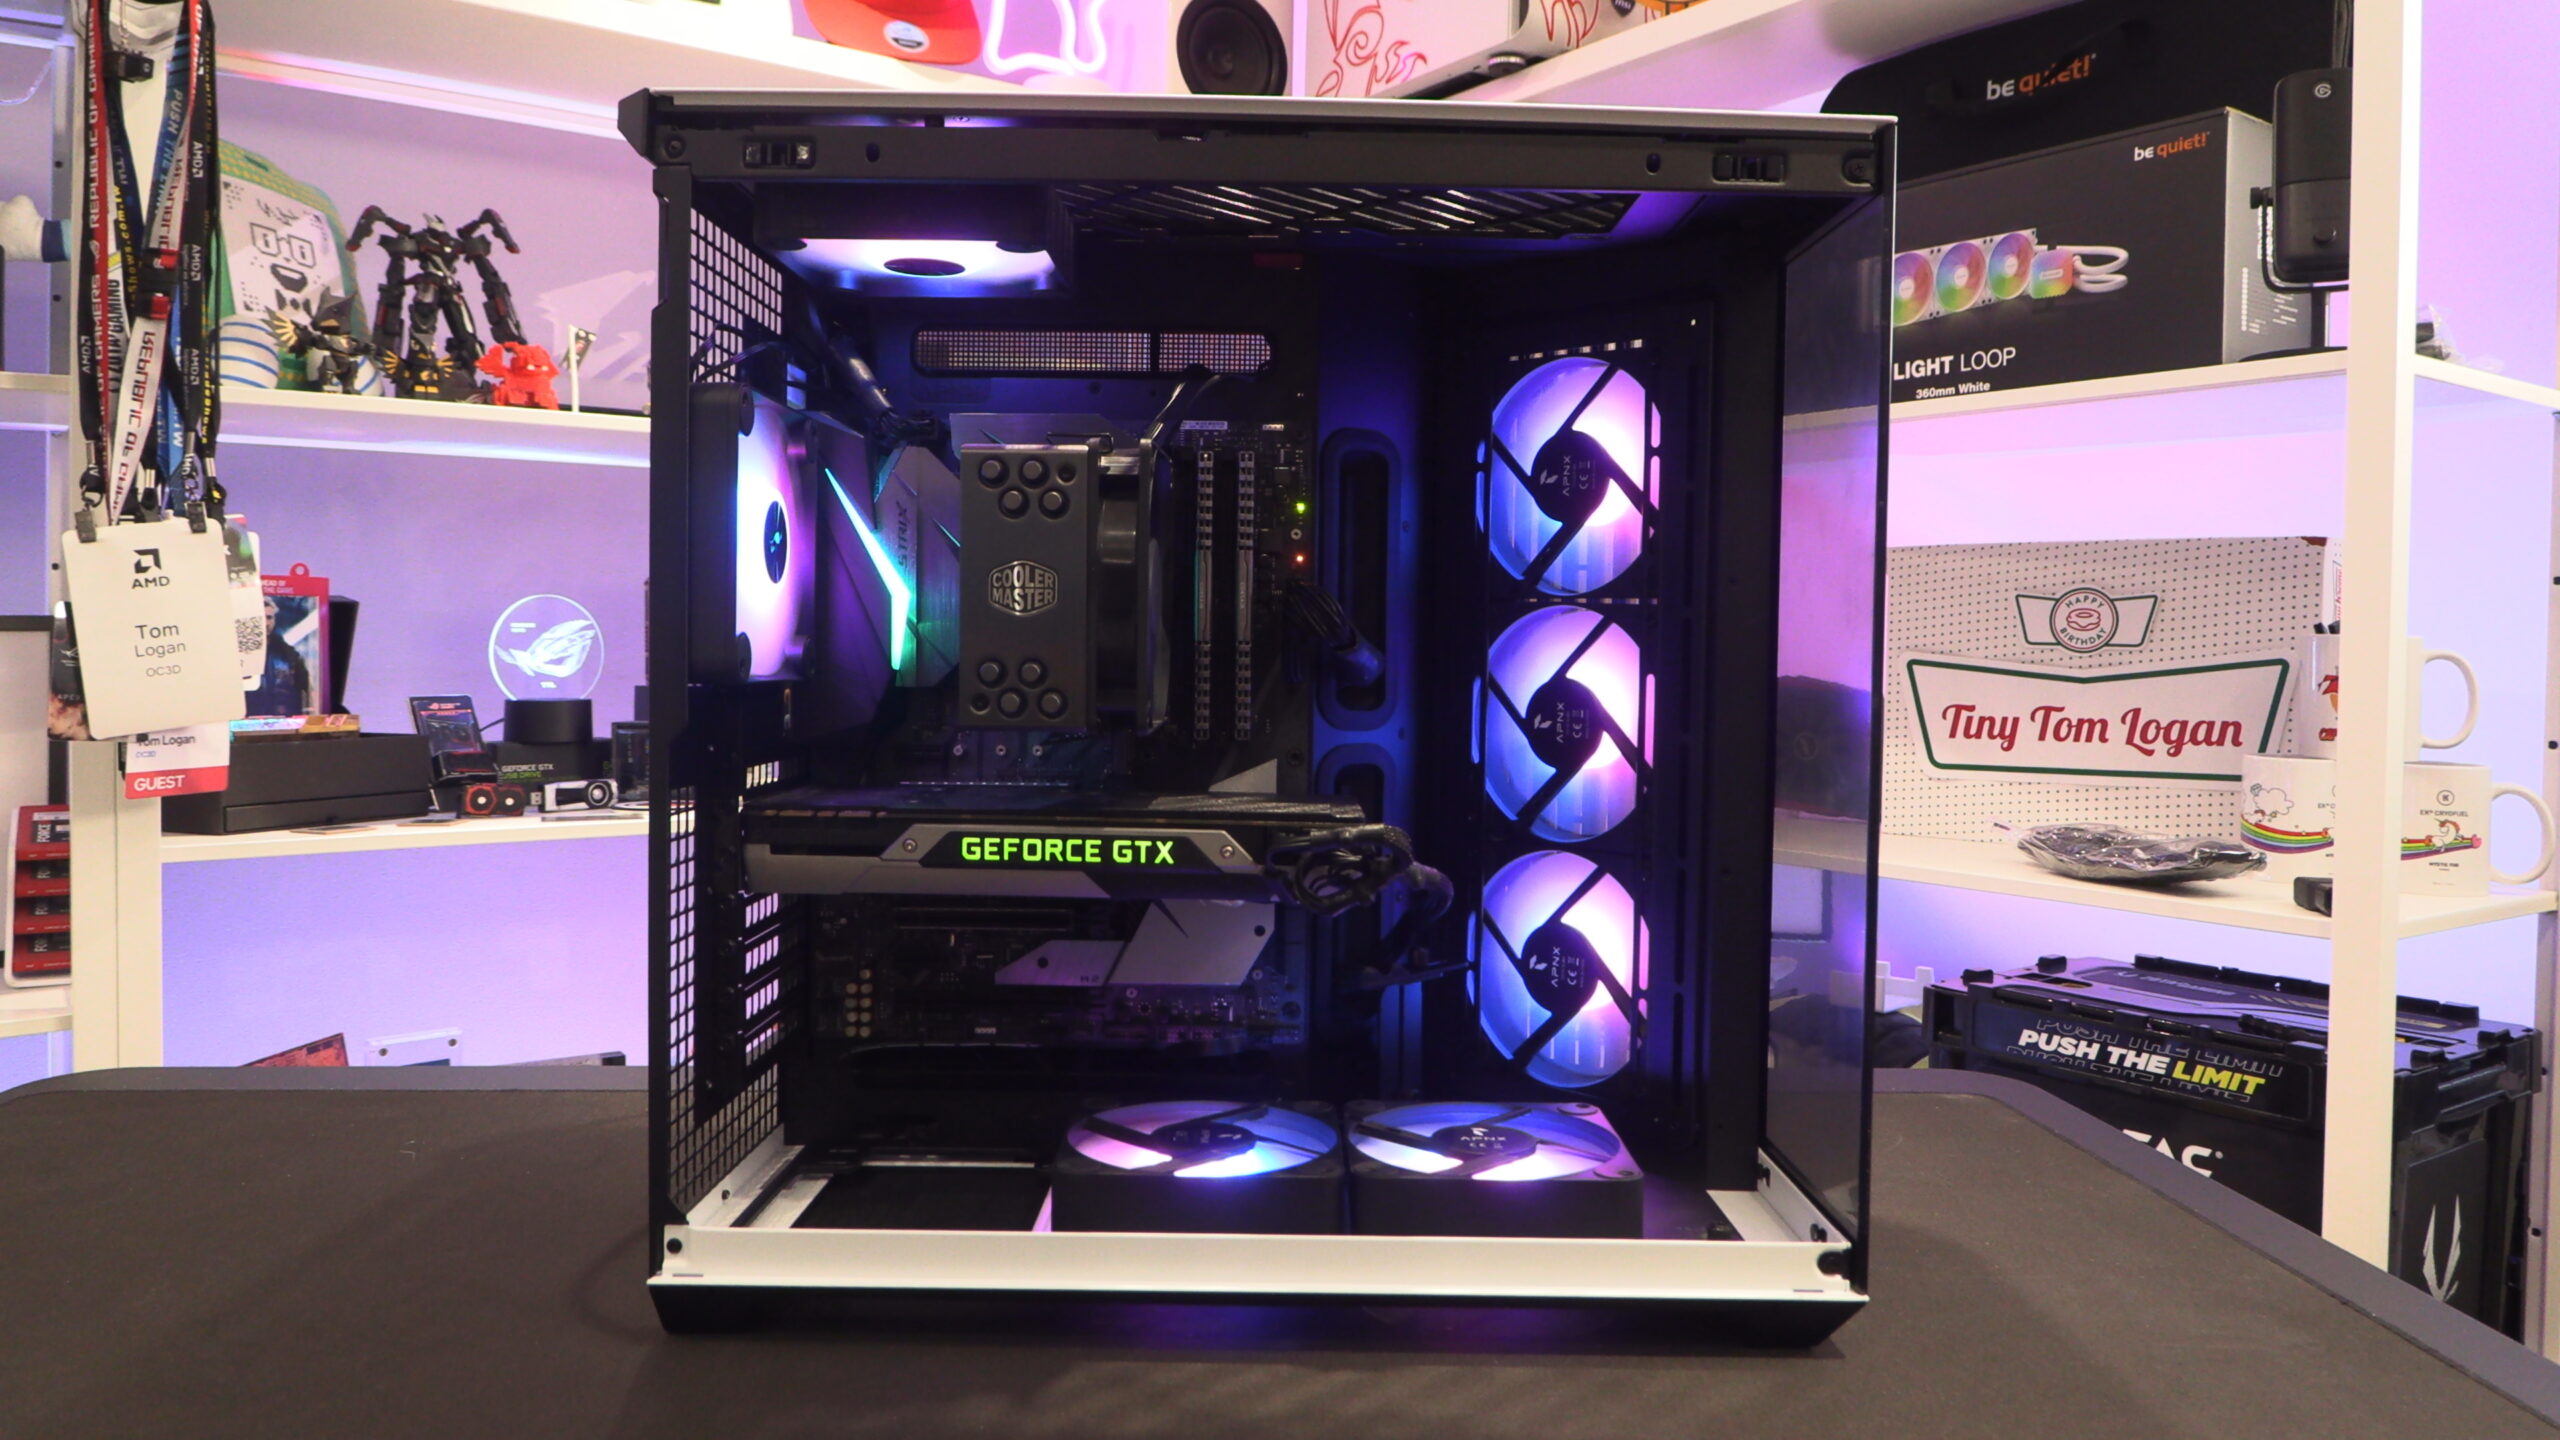
The main chamber of this PC case is highly visible through its panoramic glass panels. Note that this case doesn’t ship with any fans, though APNX did provide us with seven fans for the purposes of this review.
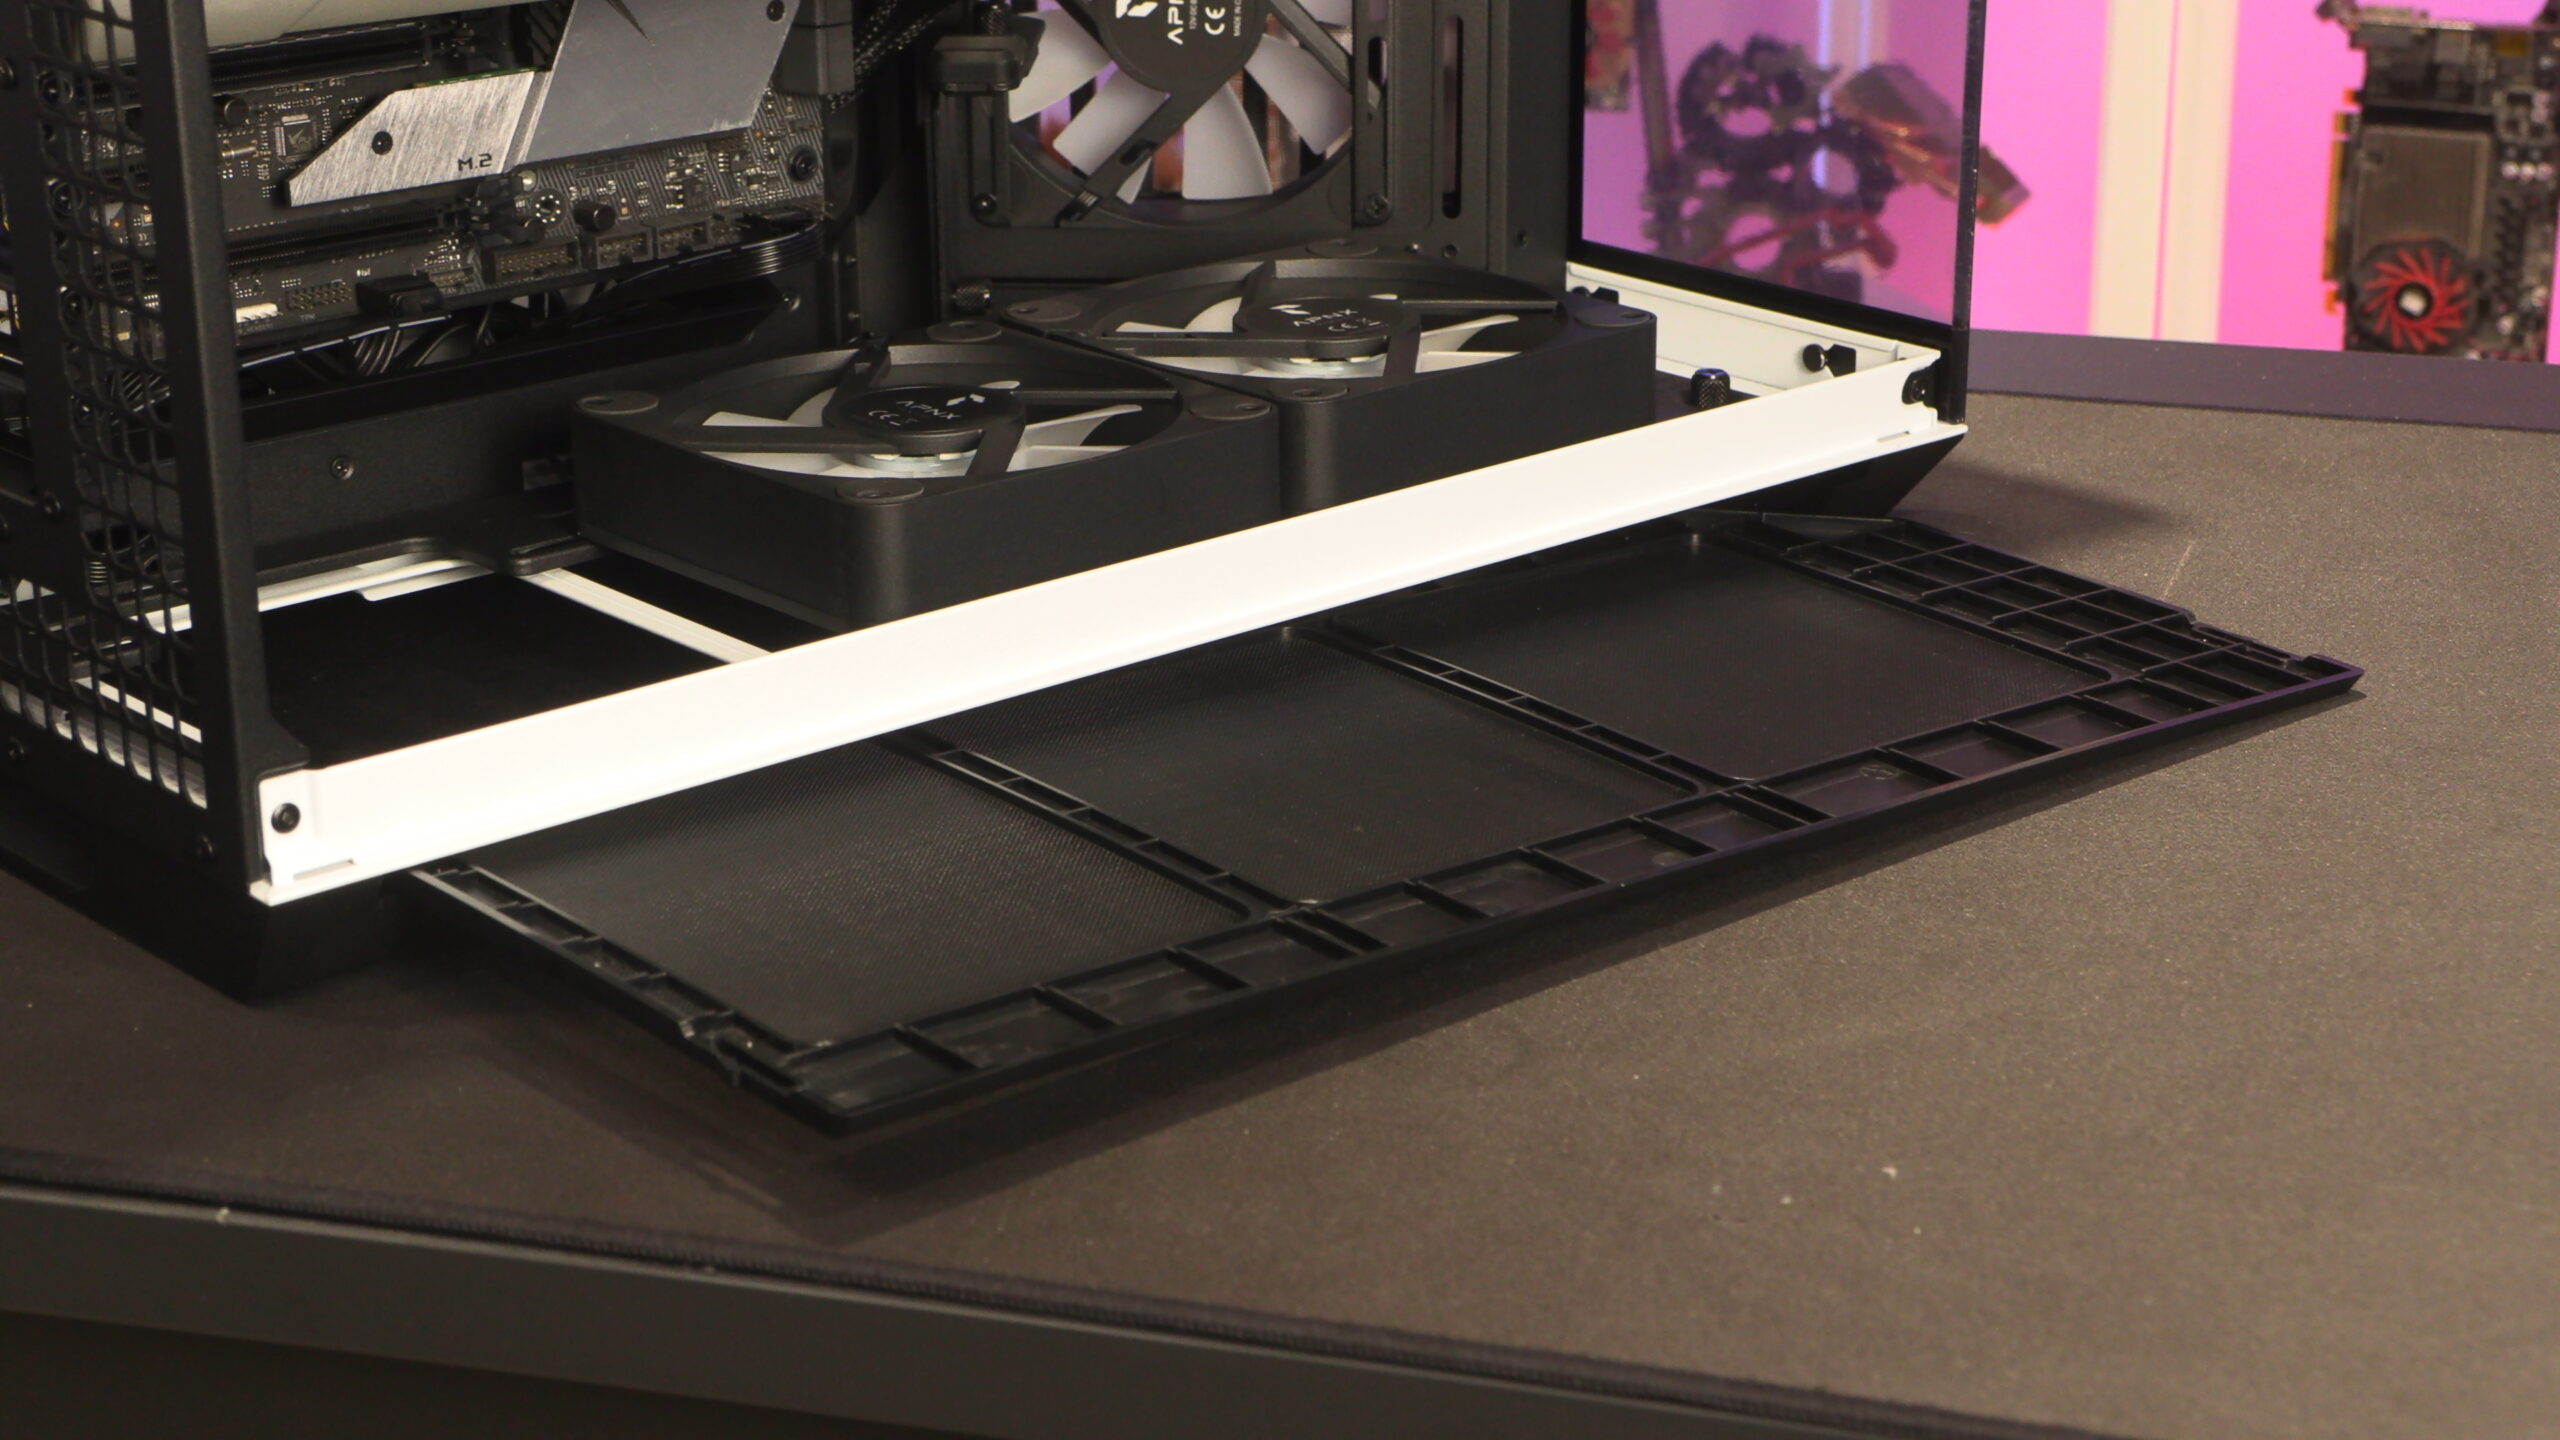
At the base of this case, we have another removable fan mounting plate that supports three 120mm fans or two 140mm fans. It can be easily removed using the thumbscrew at the bottom front of the case.
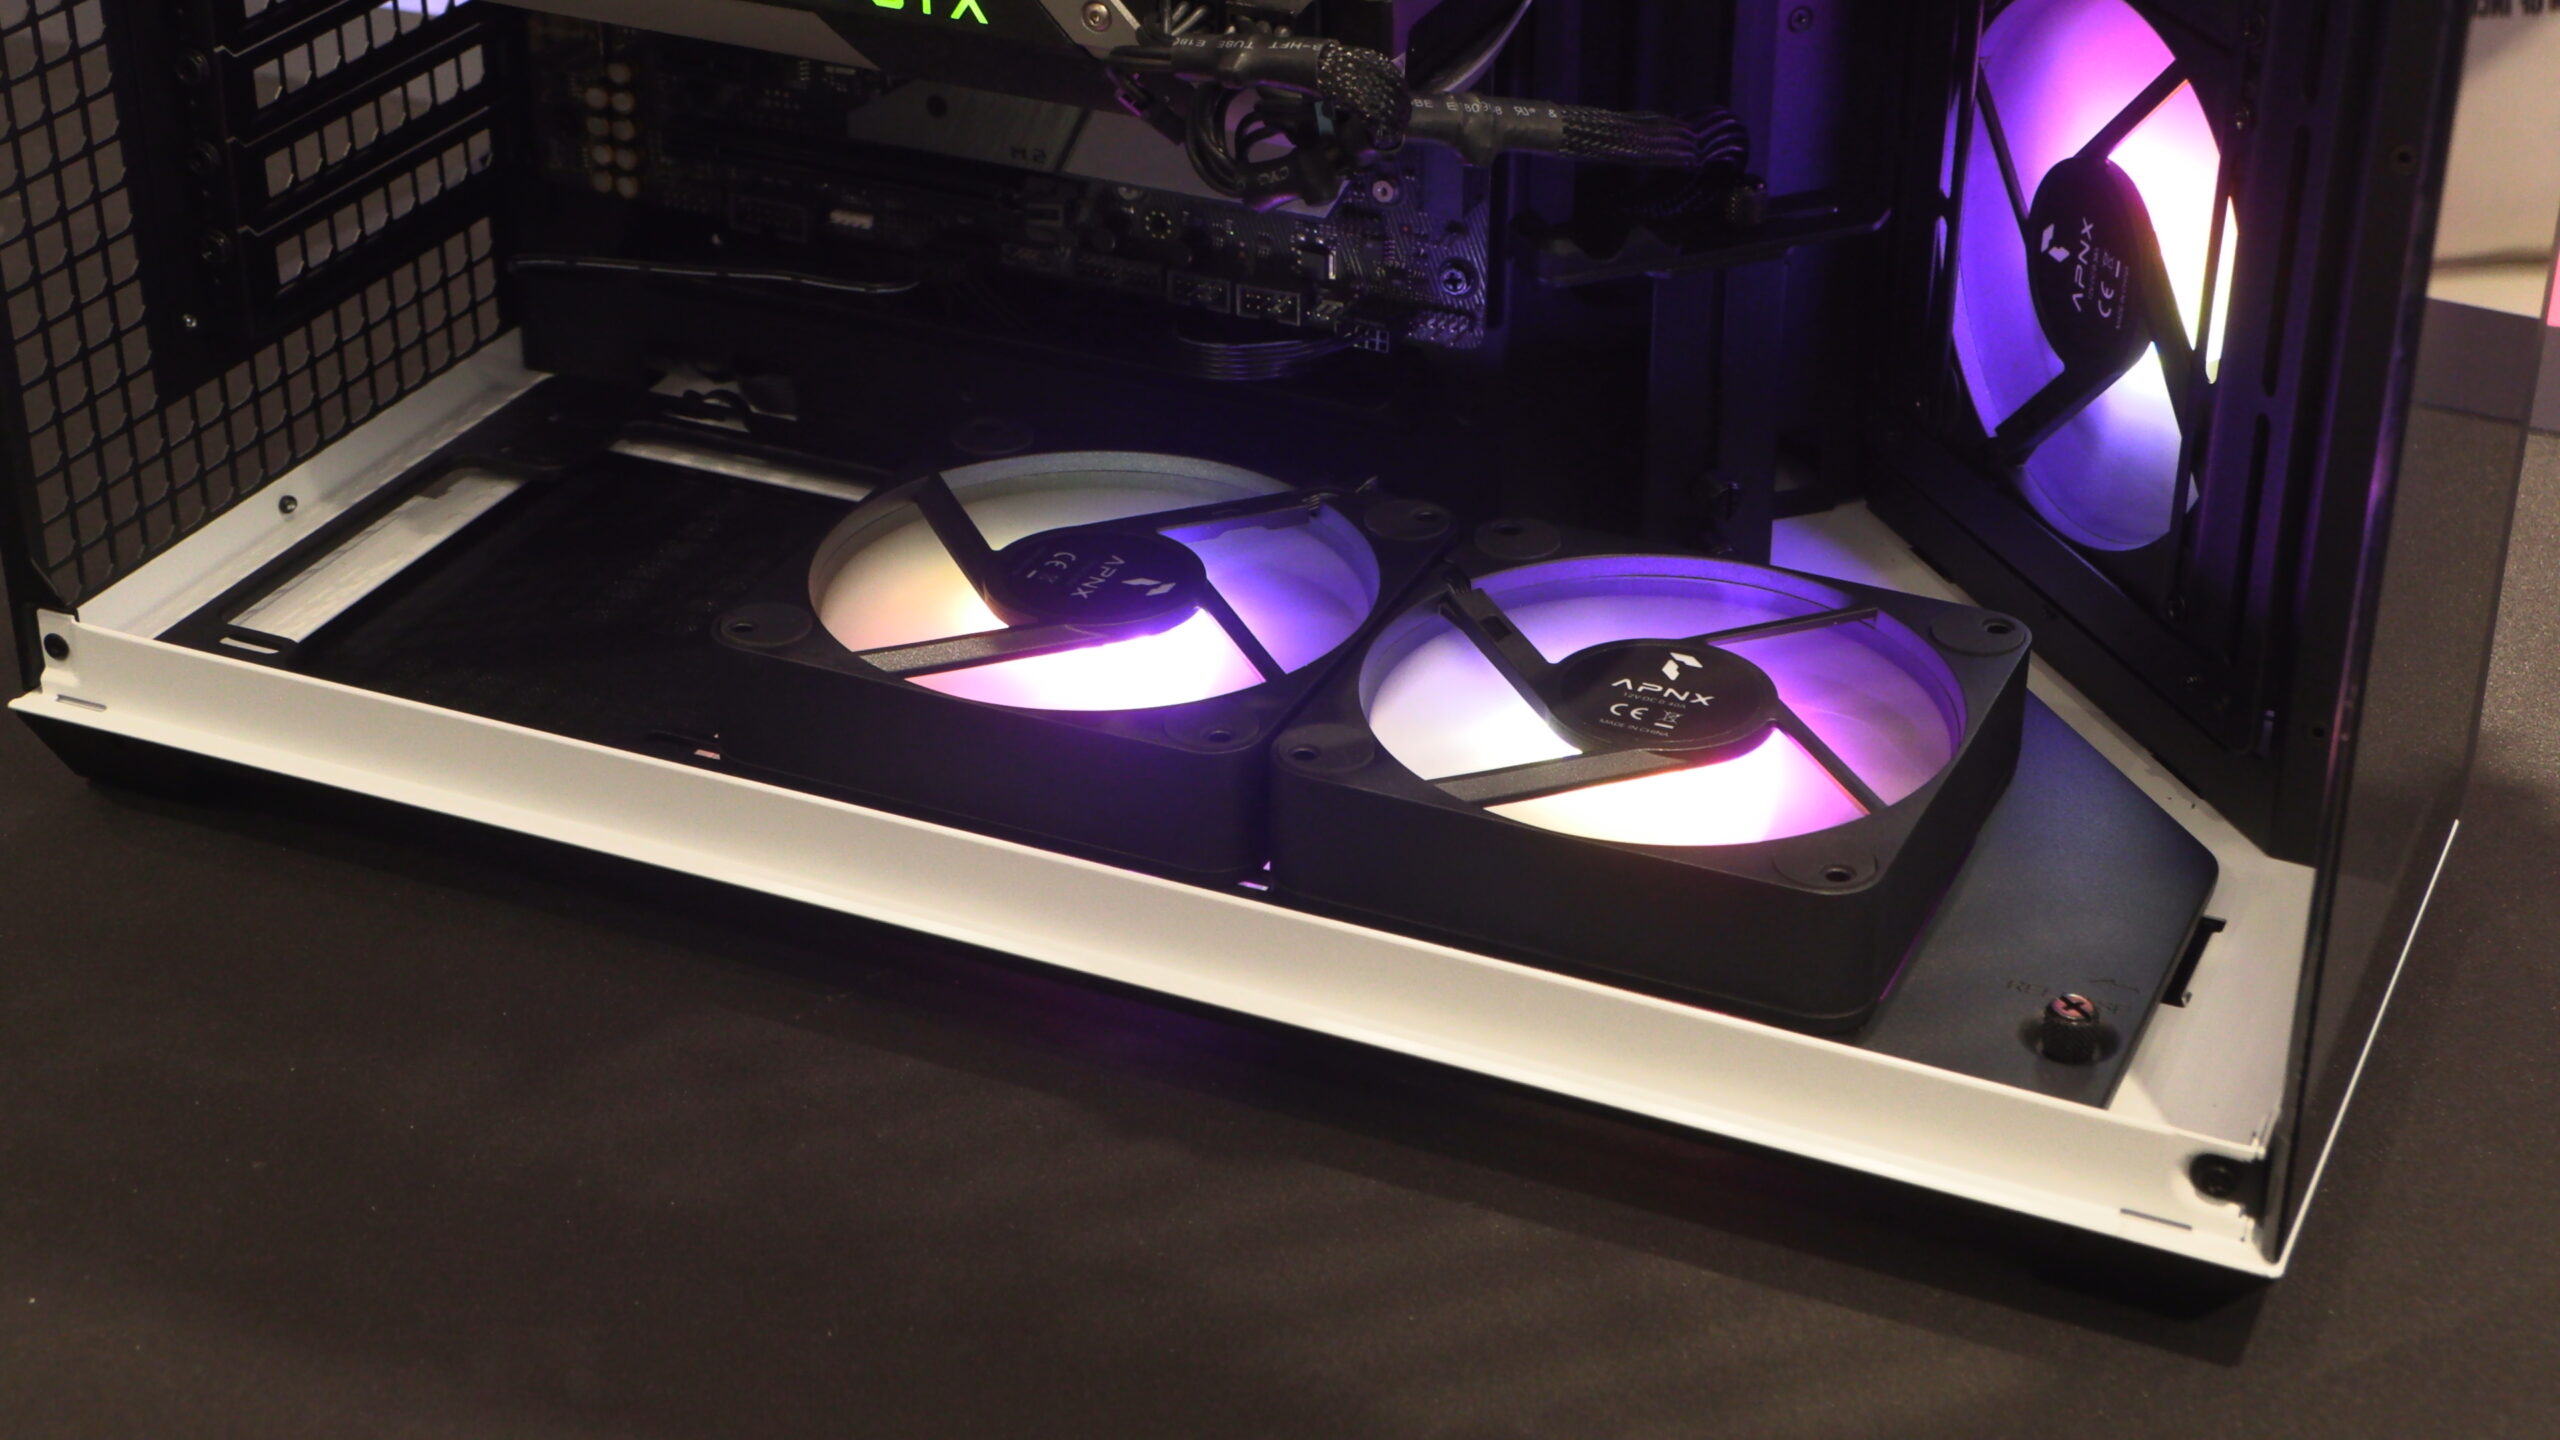
See how easy it is to remove this fan mounting plate.
GPU support
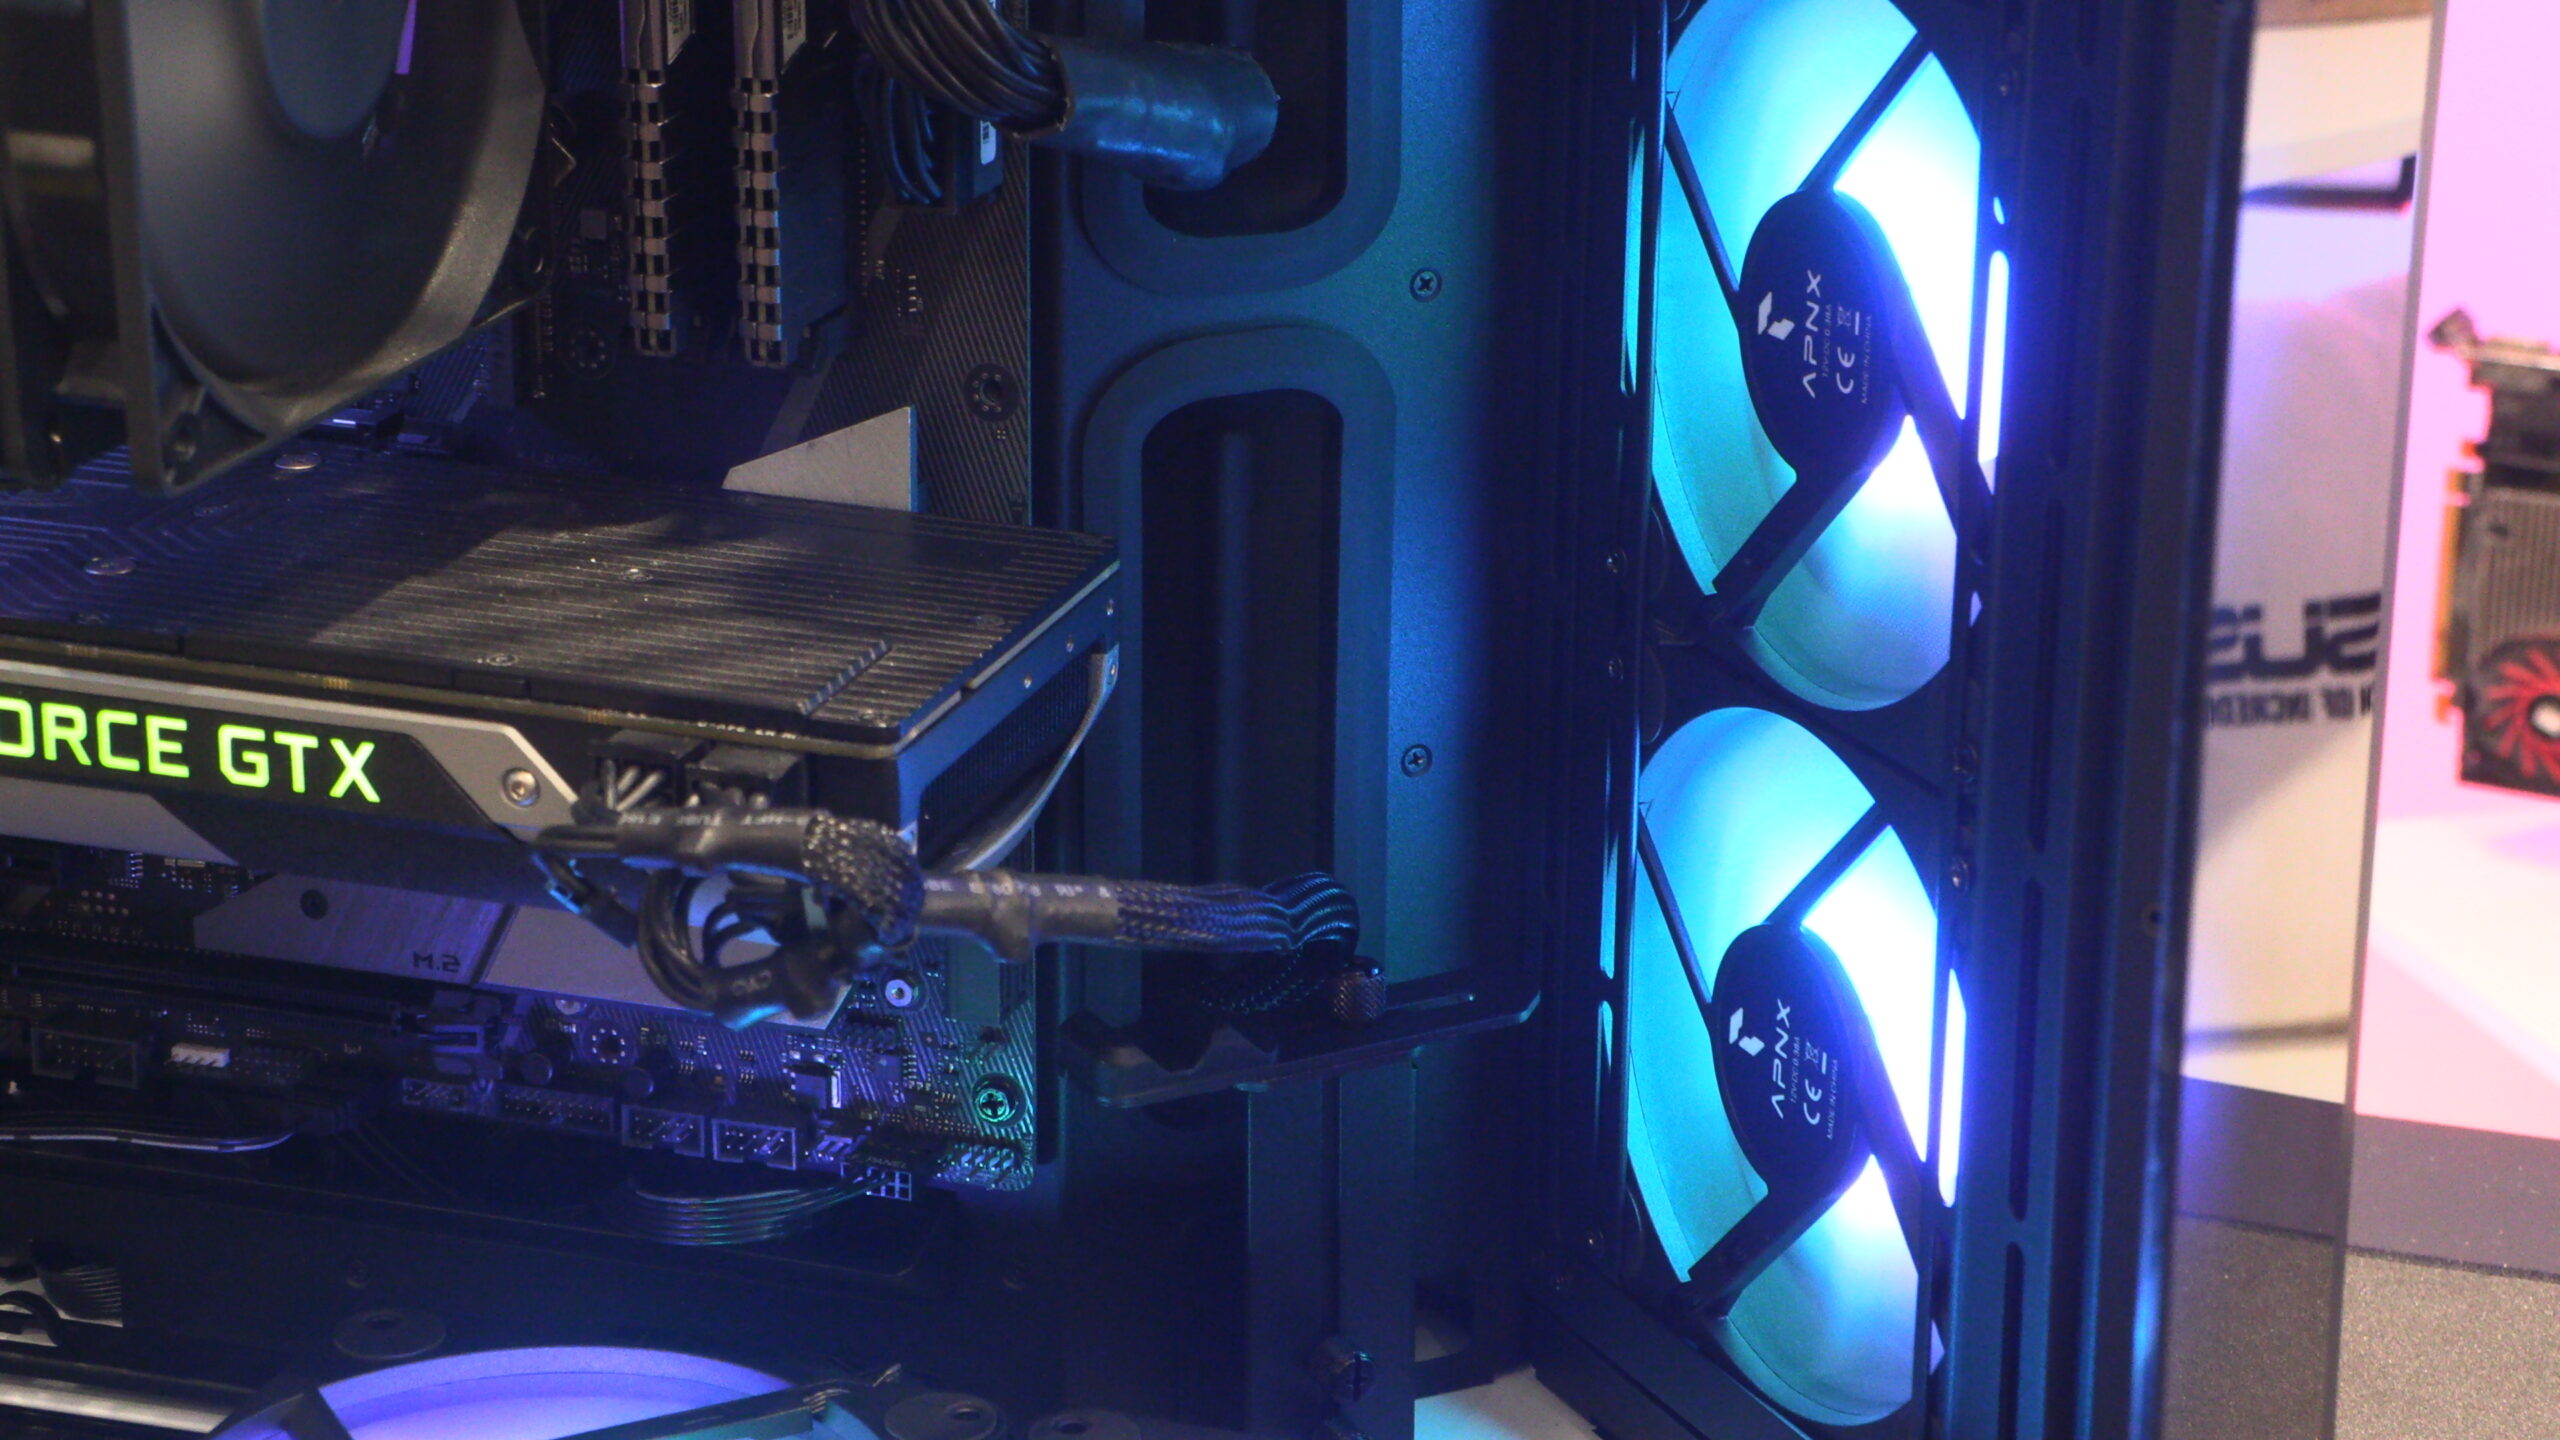
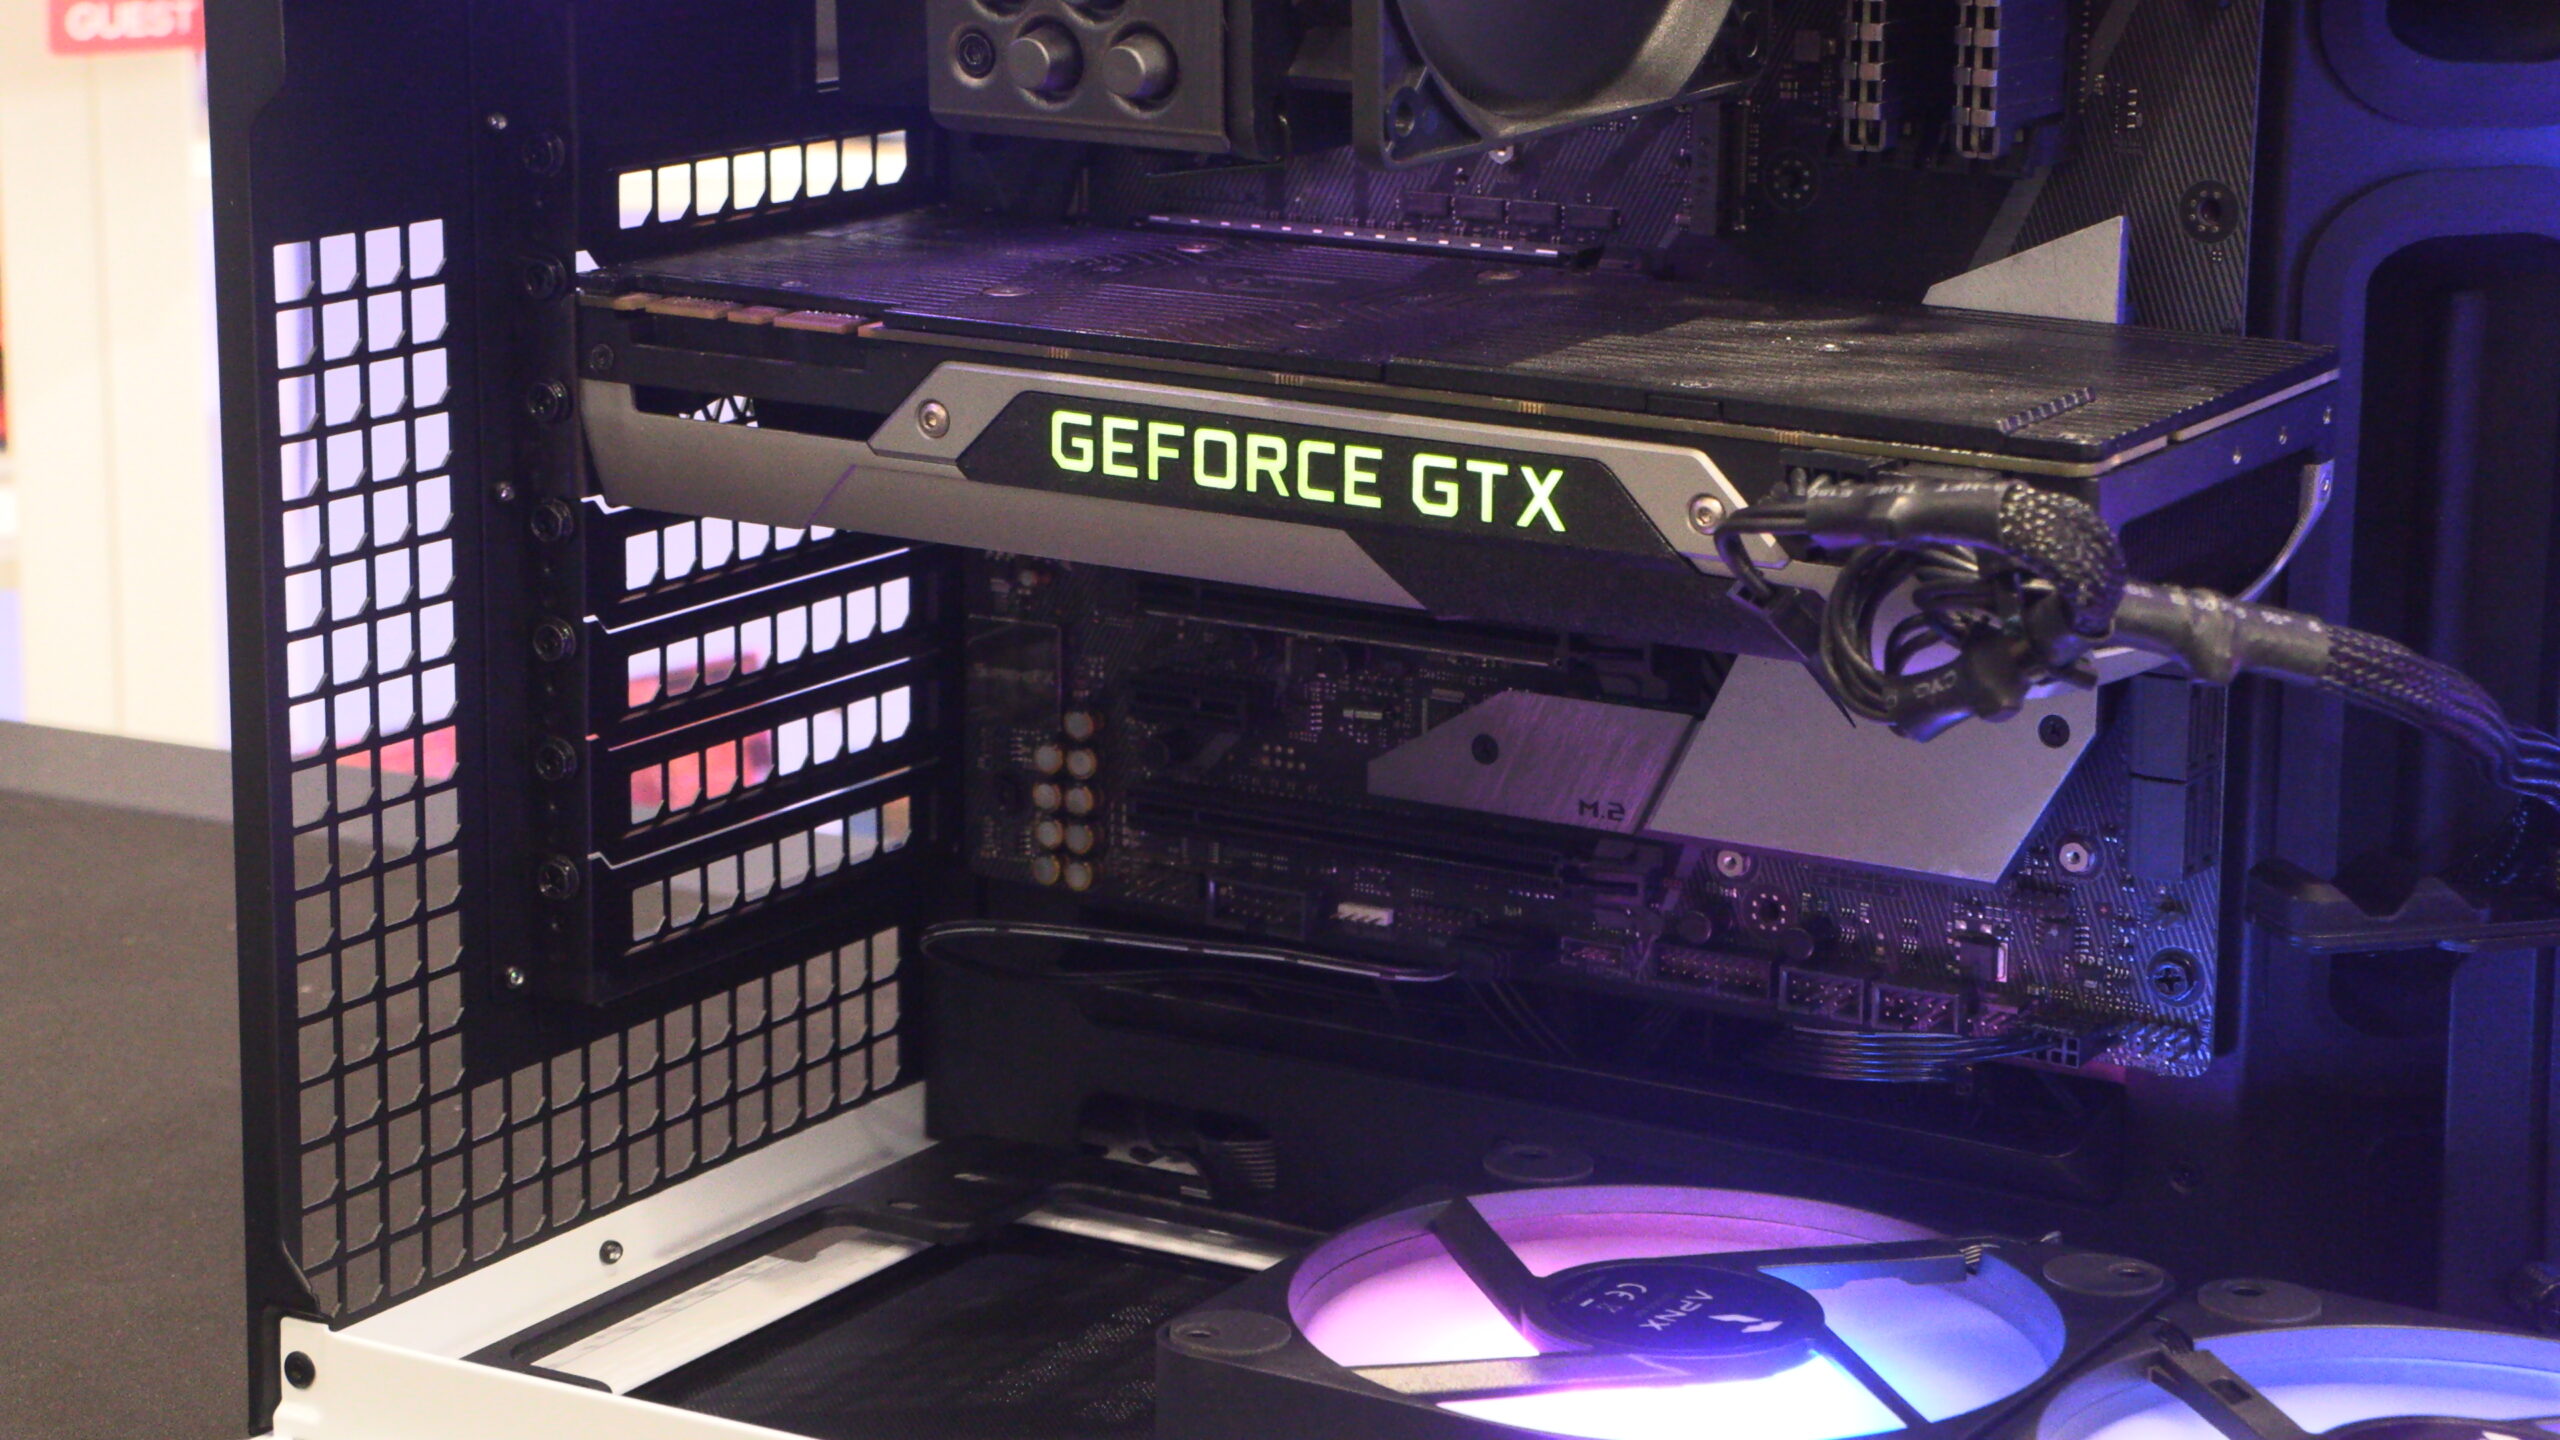
The APNX V1 supports GPUs up to 395mm long. However, users should note that using a front/side-mounted radiator will lower this GPU space significantly. As you can see below, a structural support is available for users of larger graphics cards. This can prevent GPU sag, and ensure that your GPU remains stable and secure at all times.
While we like this case’s included rubber grommets, we don’t like the fact that the top cutout lacks one entirely. This allows users to see through the entire case, as this case’s right side panel is perforated. While this can be covered using a liquid cooling radiator, users of air cooling will need to deal with this oversight. APNX should have included a rubber grommet here.
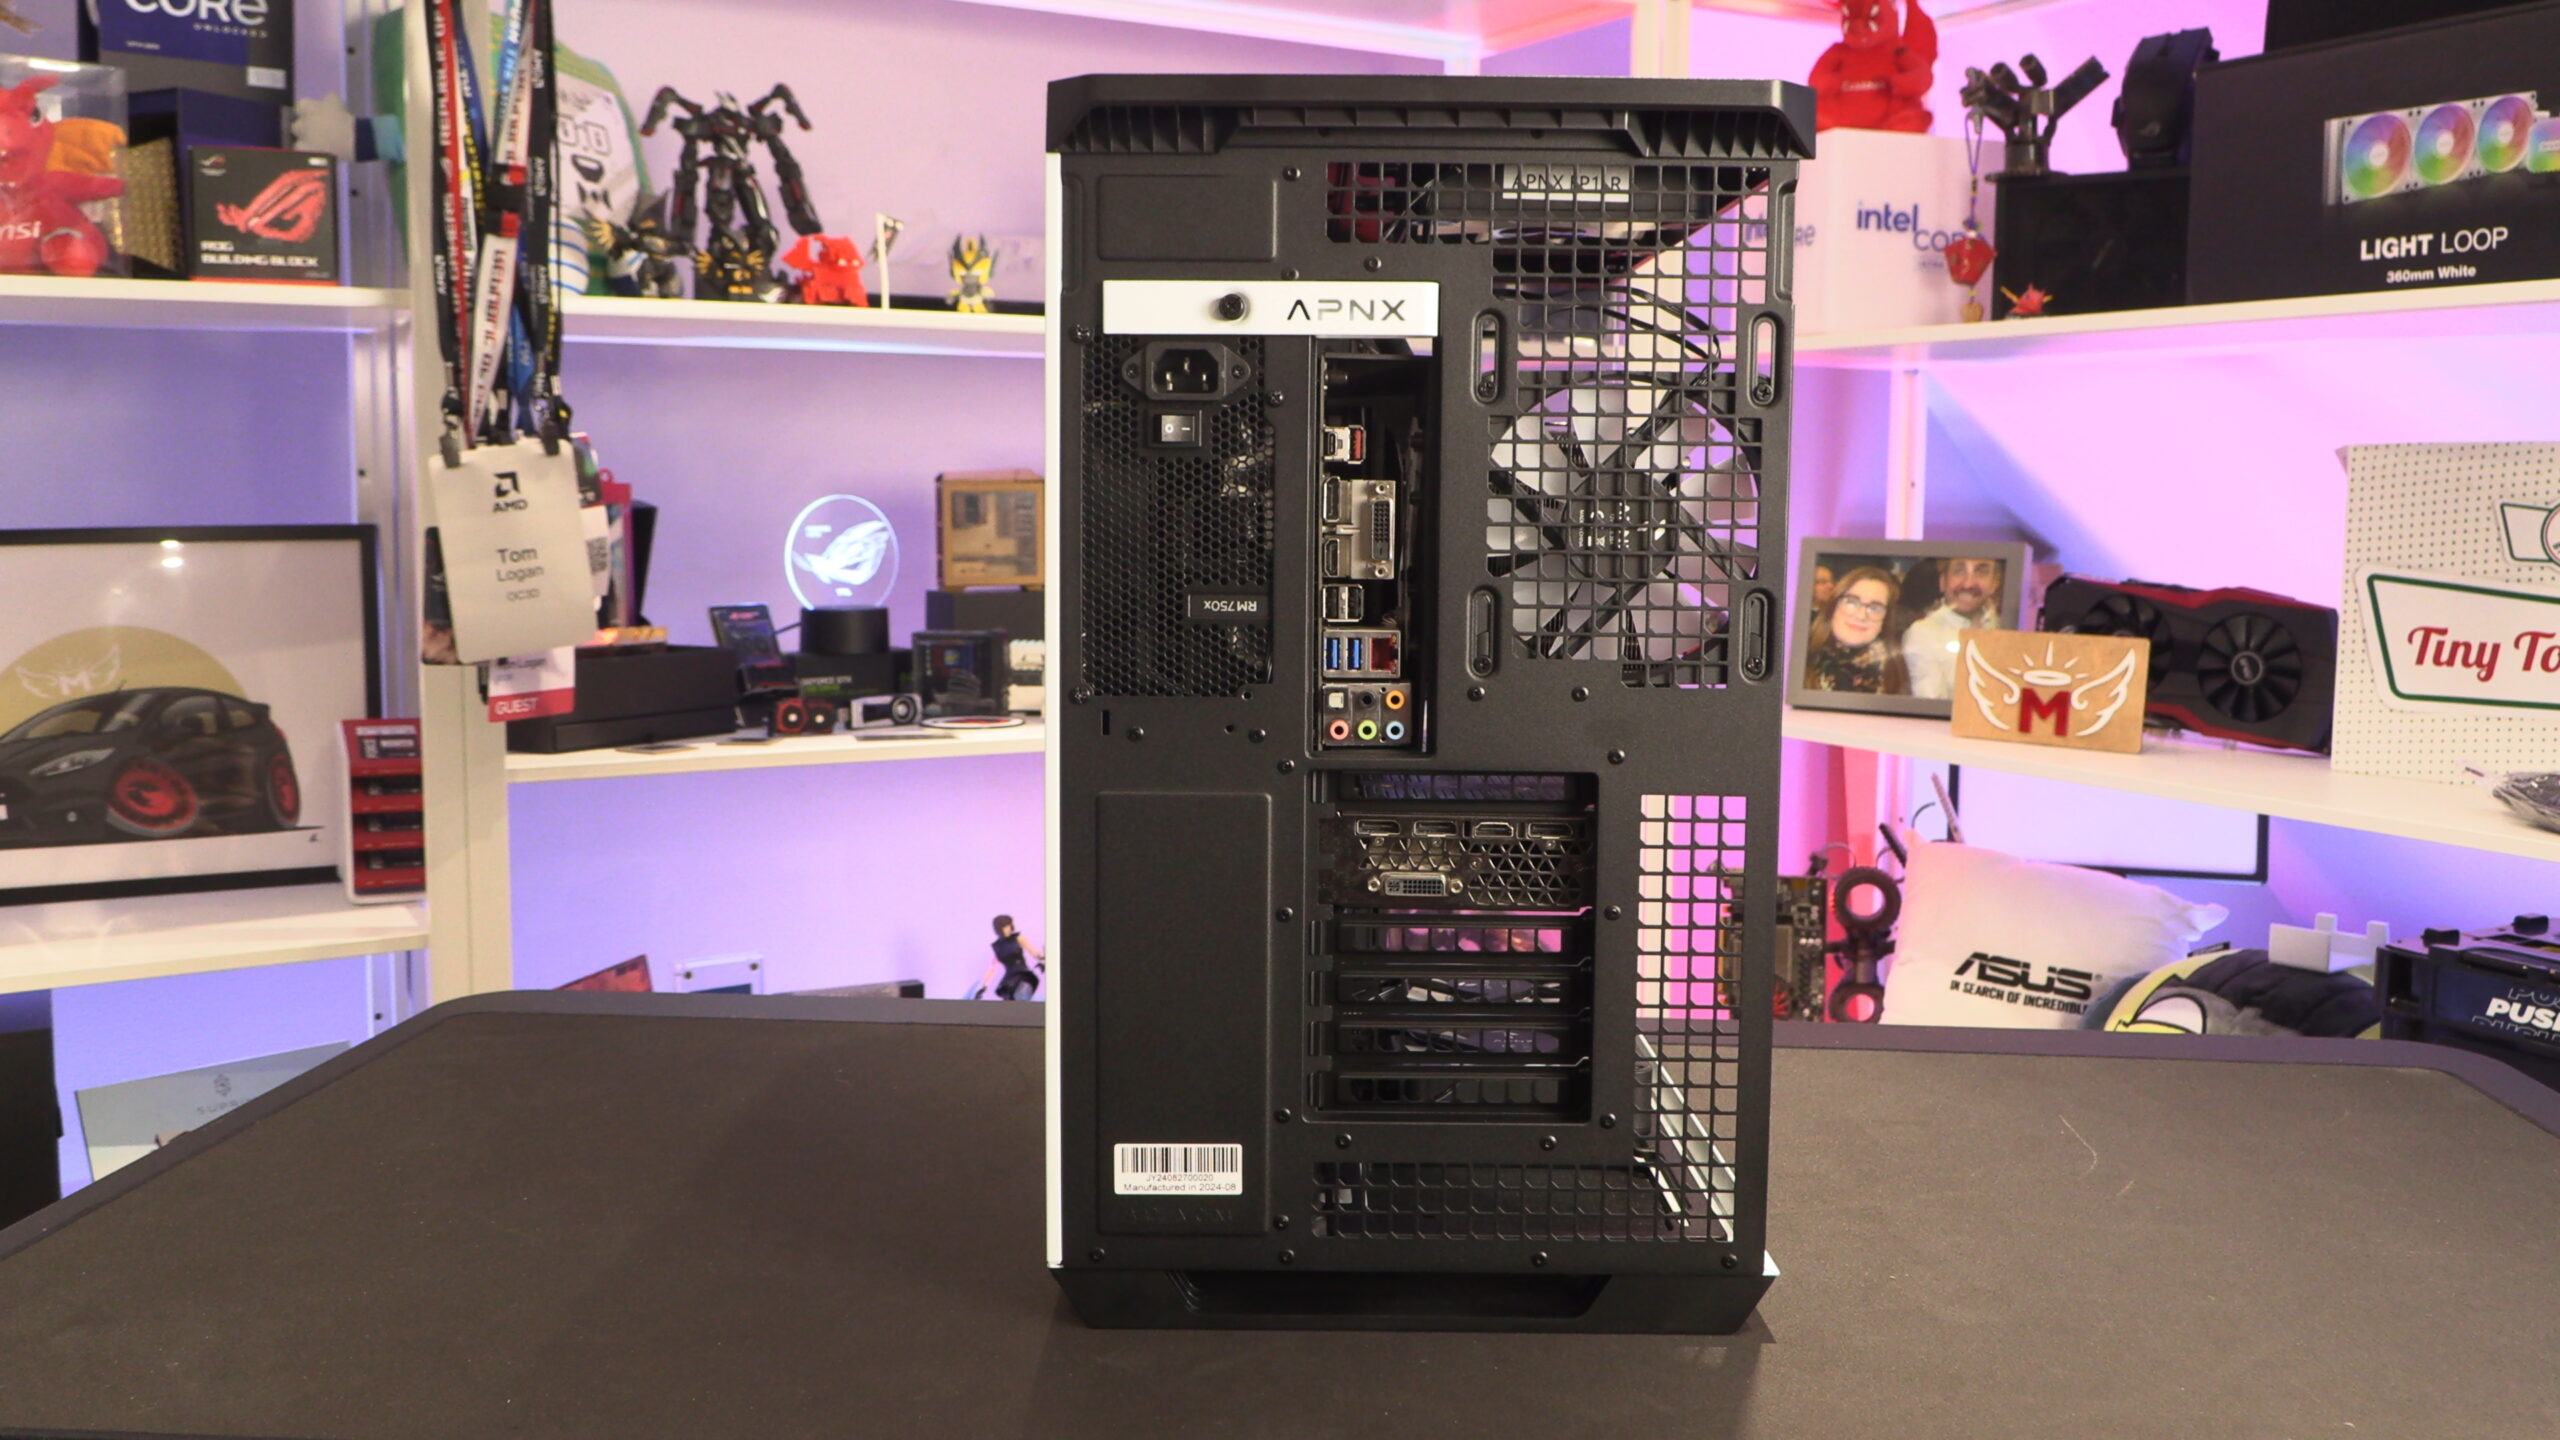
The V1 is designed to allow for high levels of airflow. That’s why the rear panel of this case is highly perforated. An optional vertical GPU mount is available from APNX, though we do not have one available for this review.
The base of the V1 features a long, but easily accessible fan filter. This is great news for those who want to use this case’s three bottom fan mounts.
Rear and Side
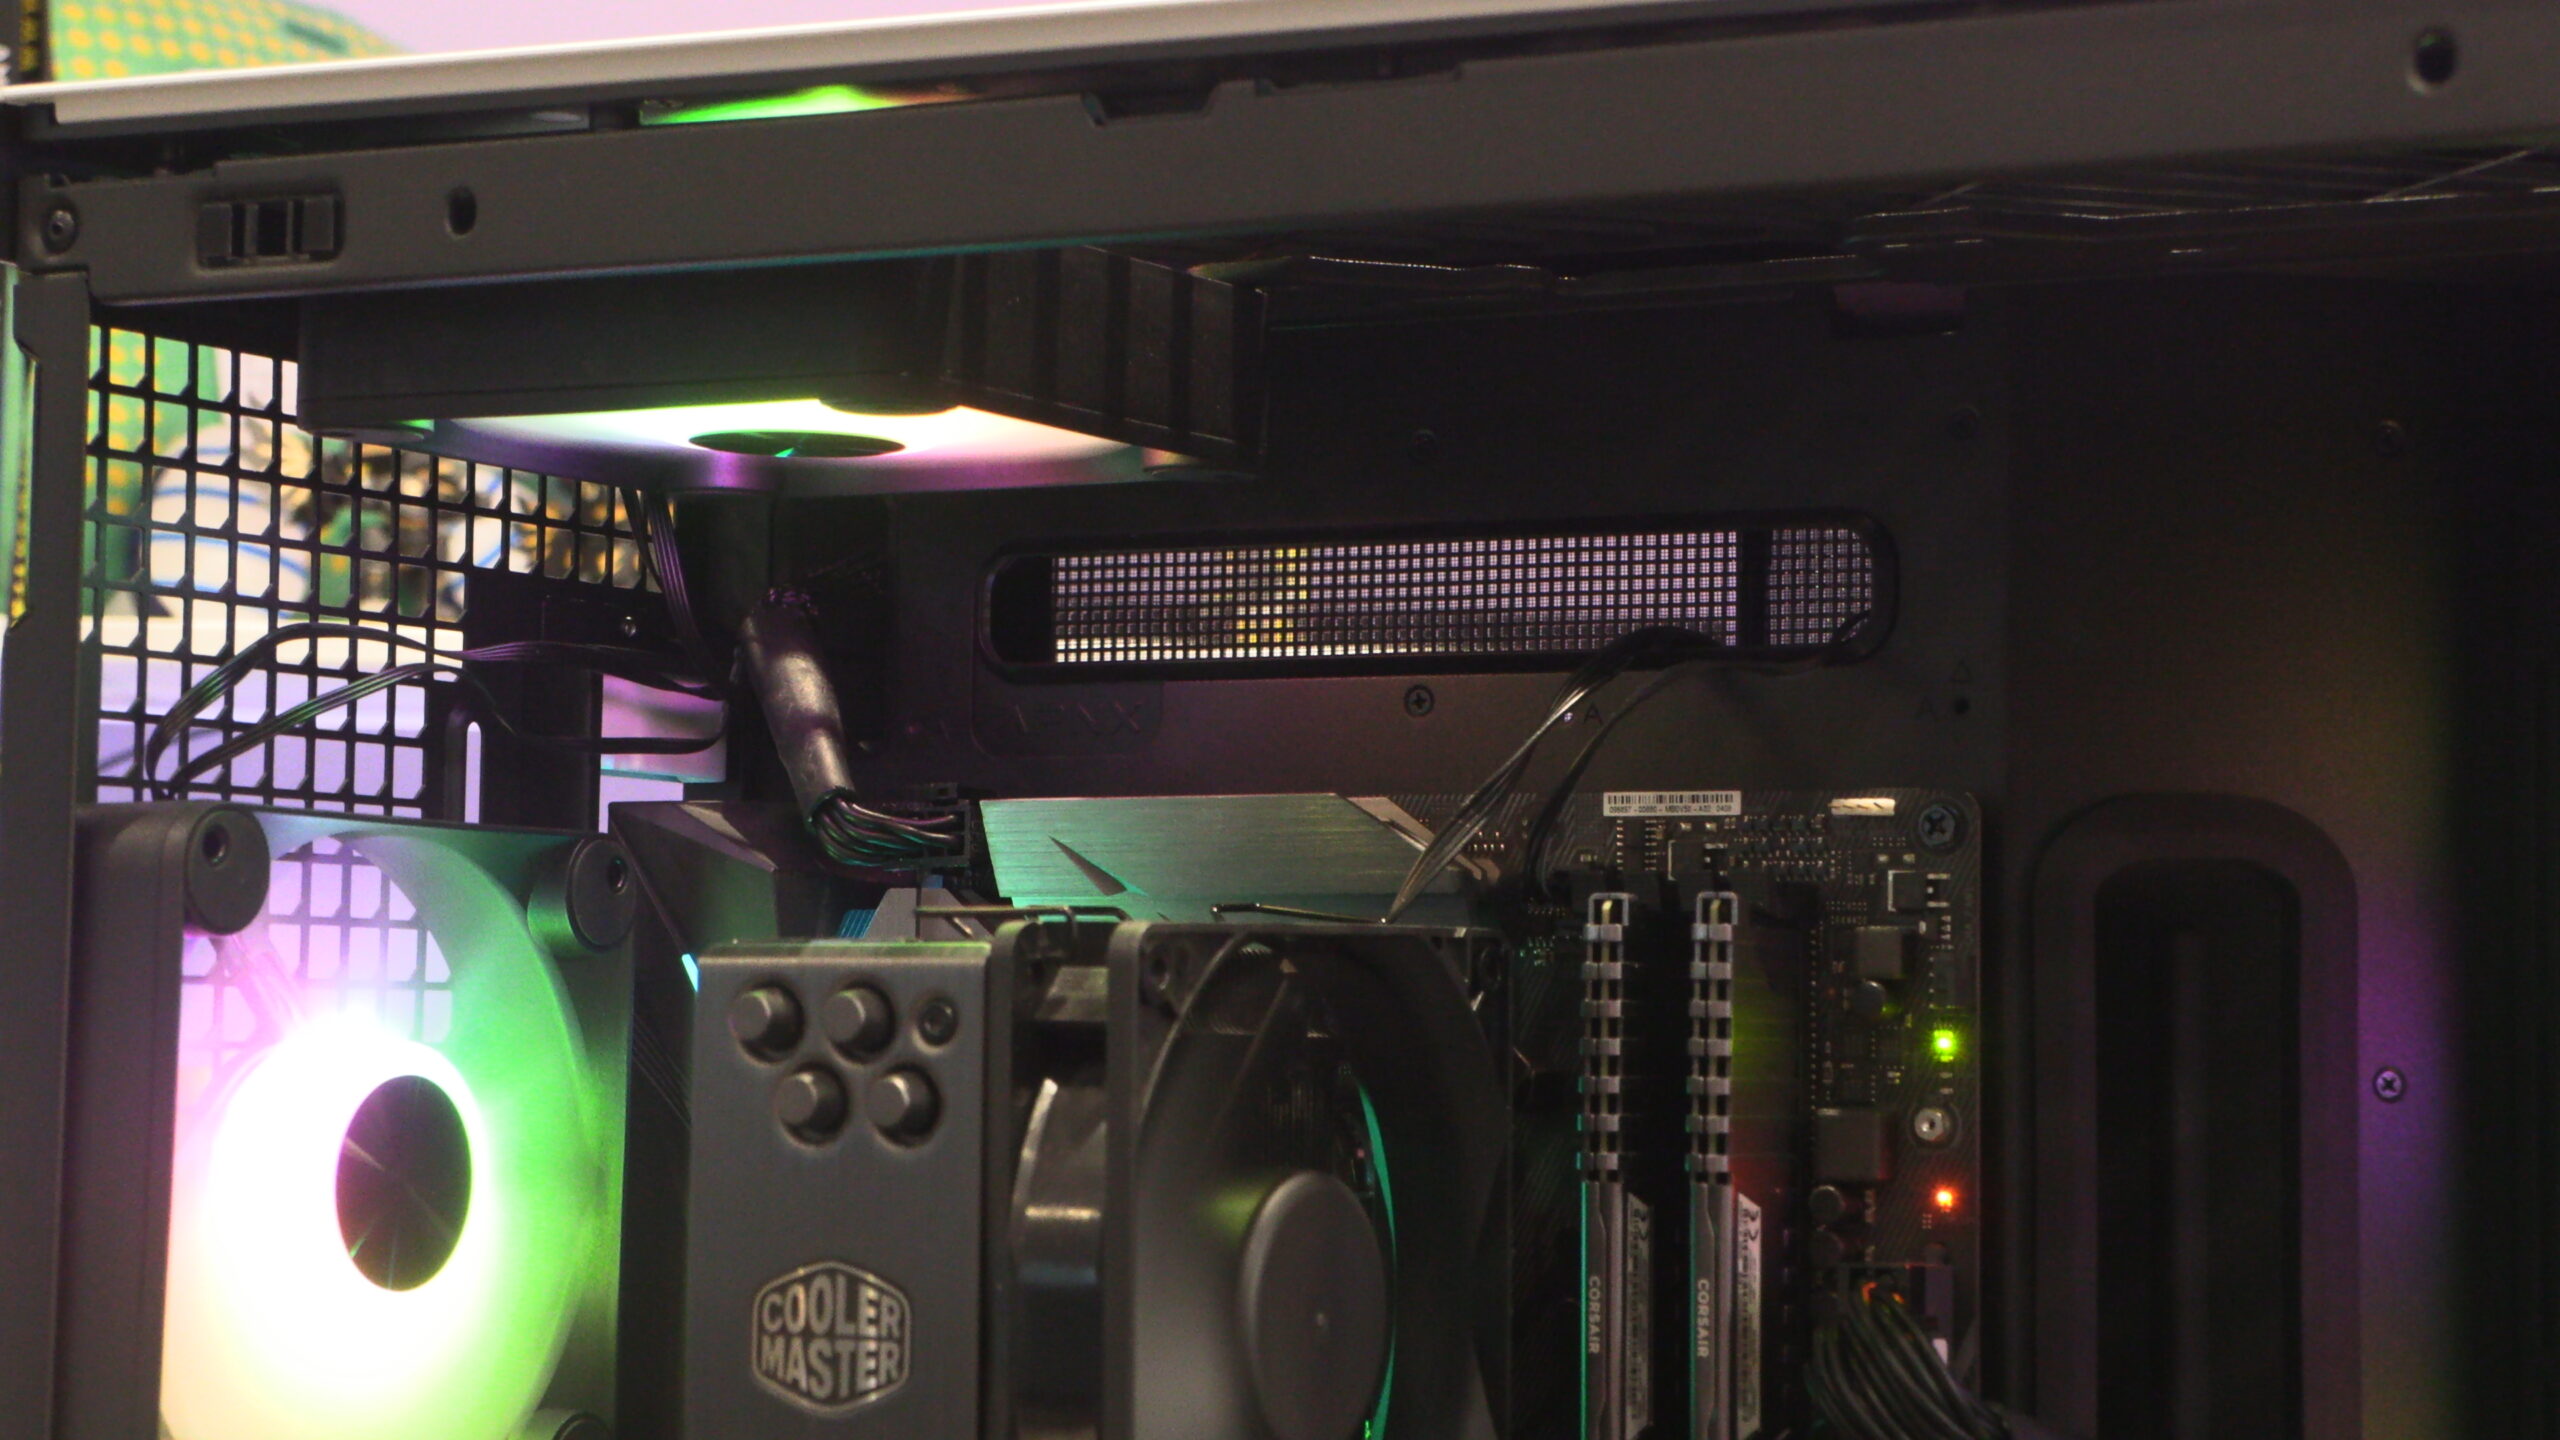
From here, you can see that this case’s PSU mount is installed behind this case’s motherboard tray. This places your PSU behind your CPU, making access to behind your processor difficult. This will make replacing your CPU cooler a challenge. Thankfully, this is something that doesn’t need to be done that often.
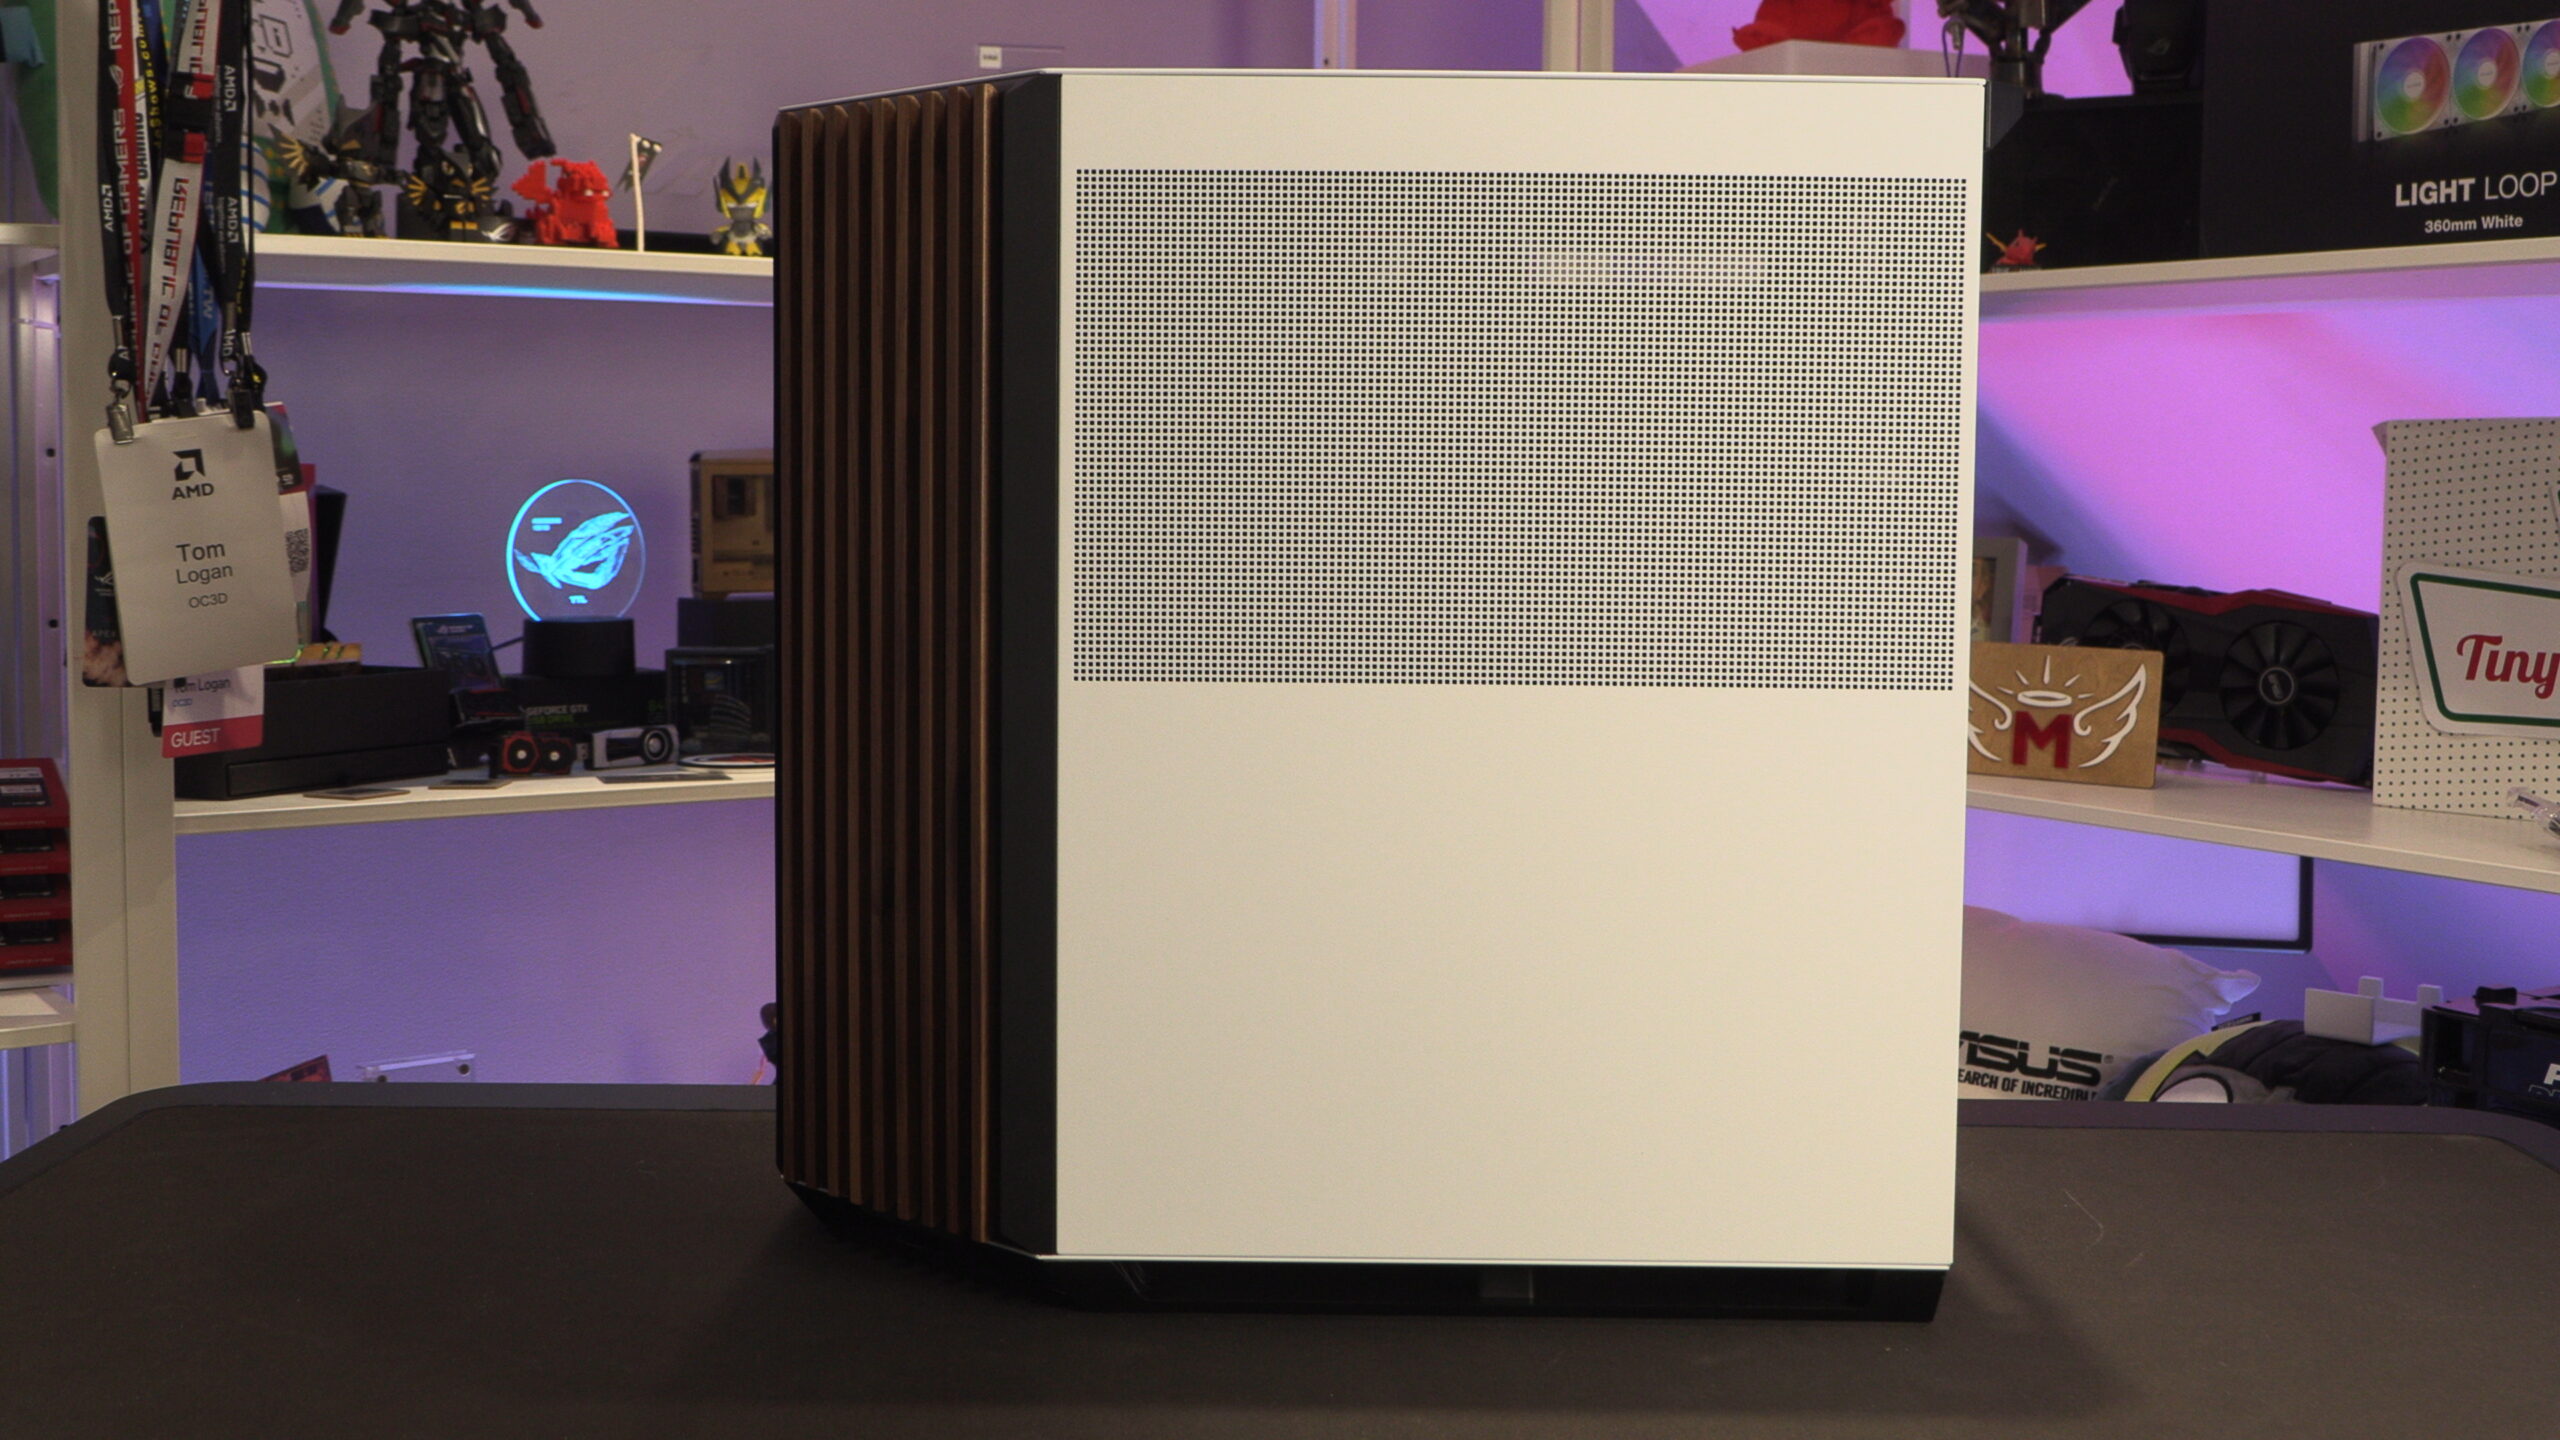
To feed air to the PSU below, the top half of this case’s right side panel is perforated.
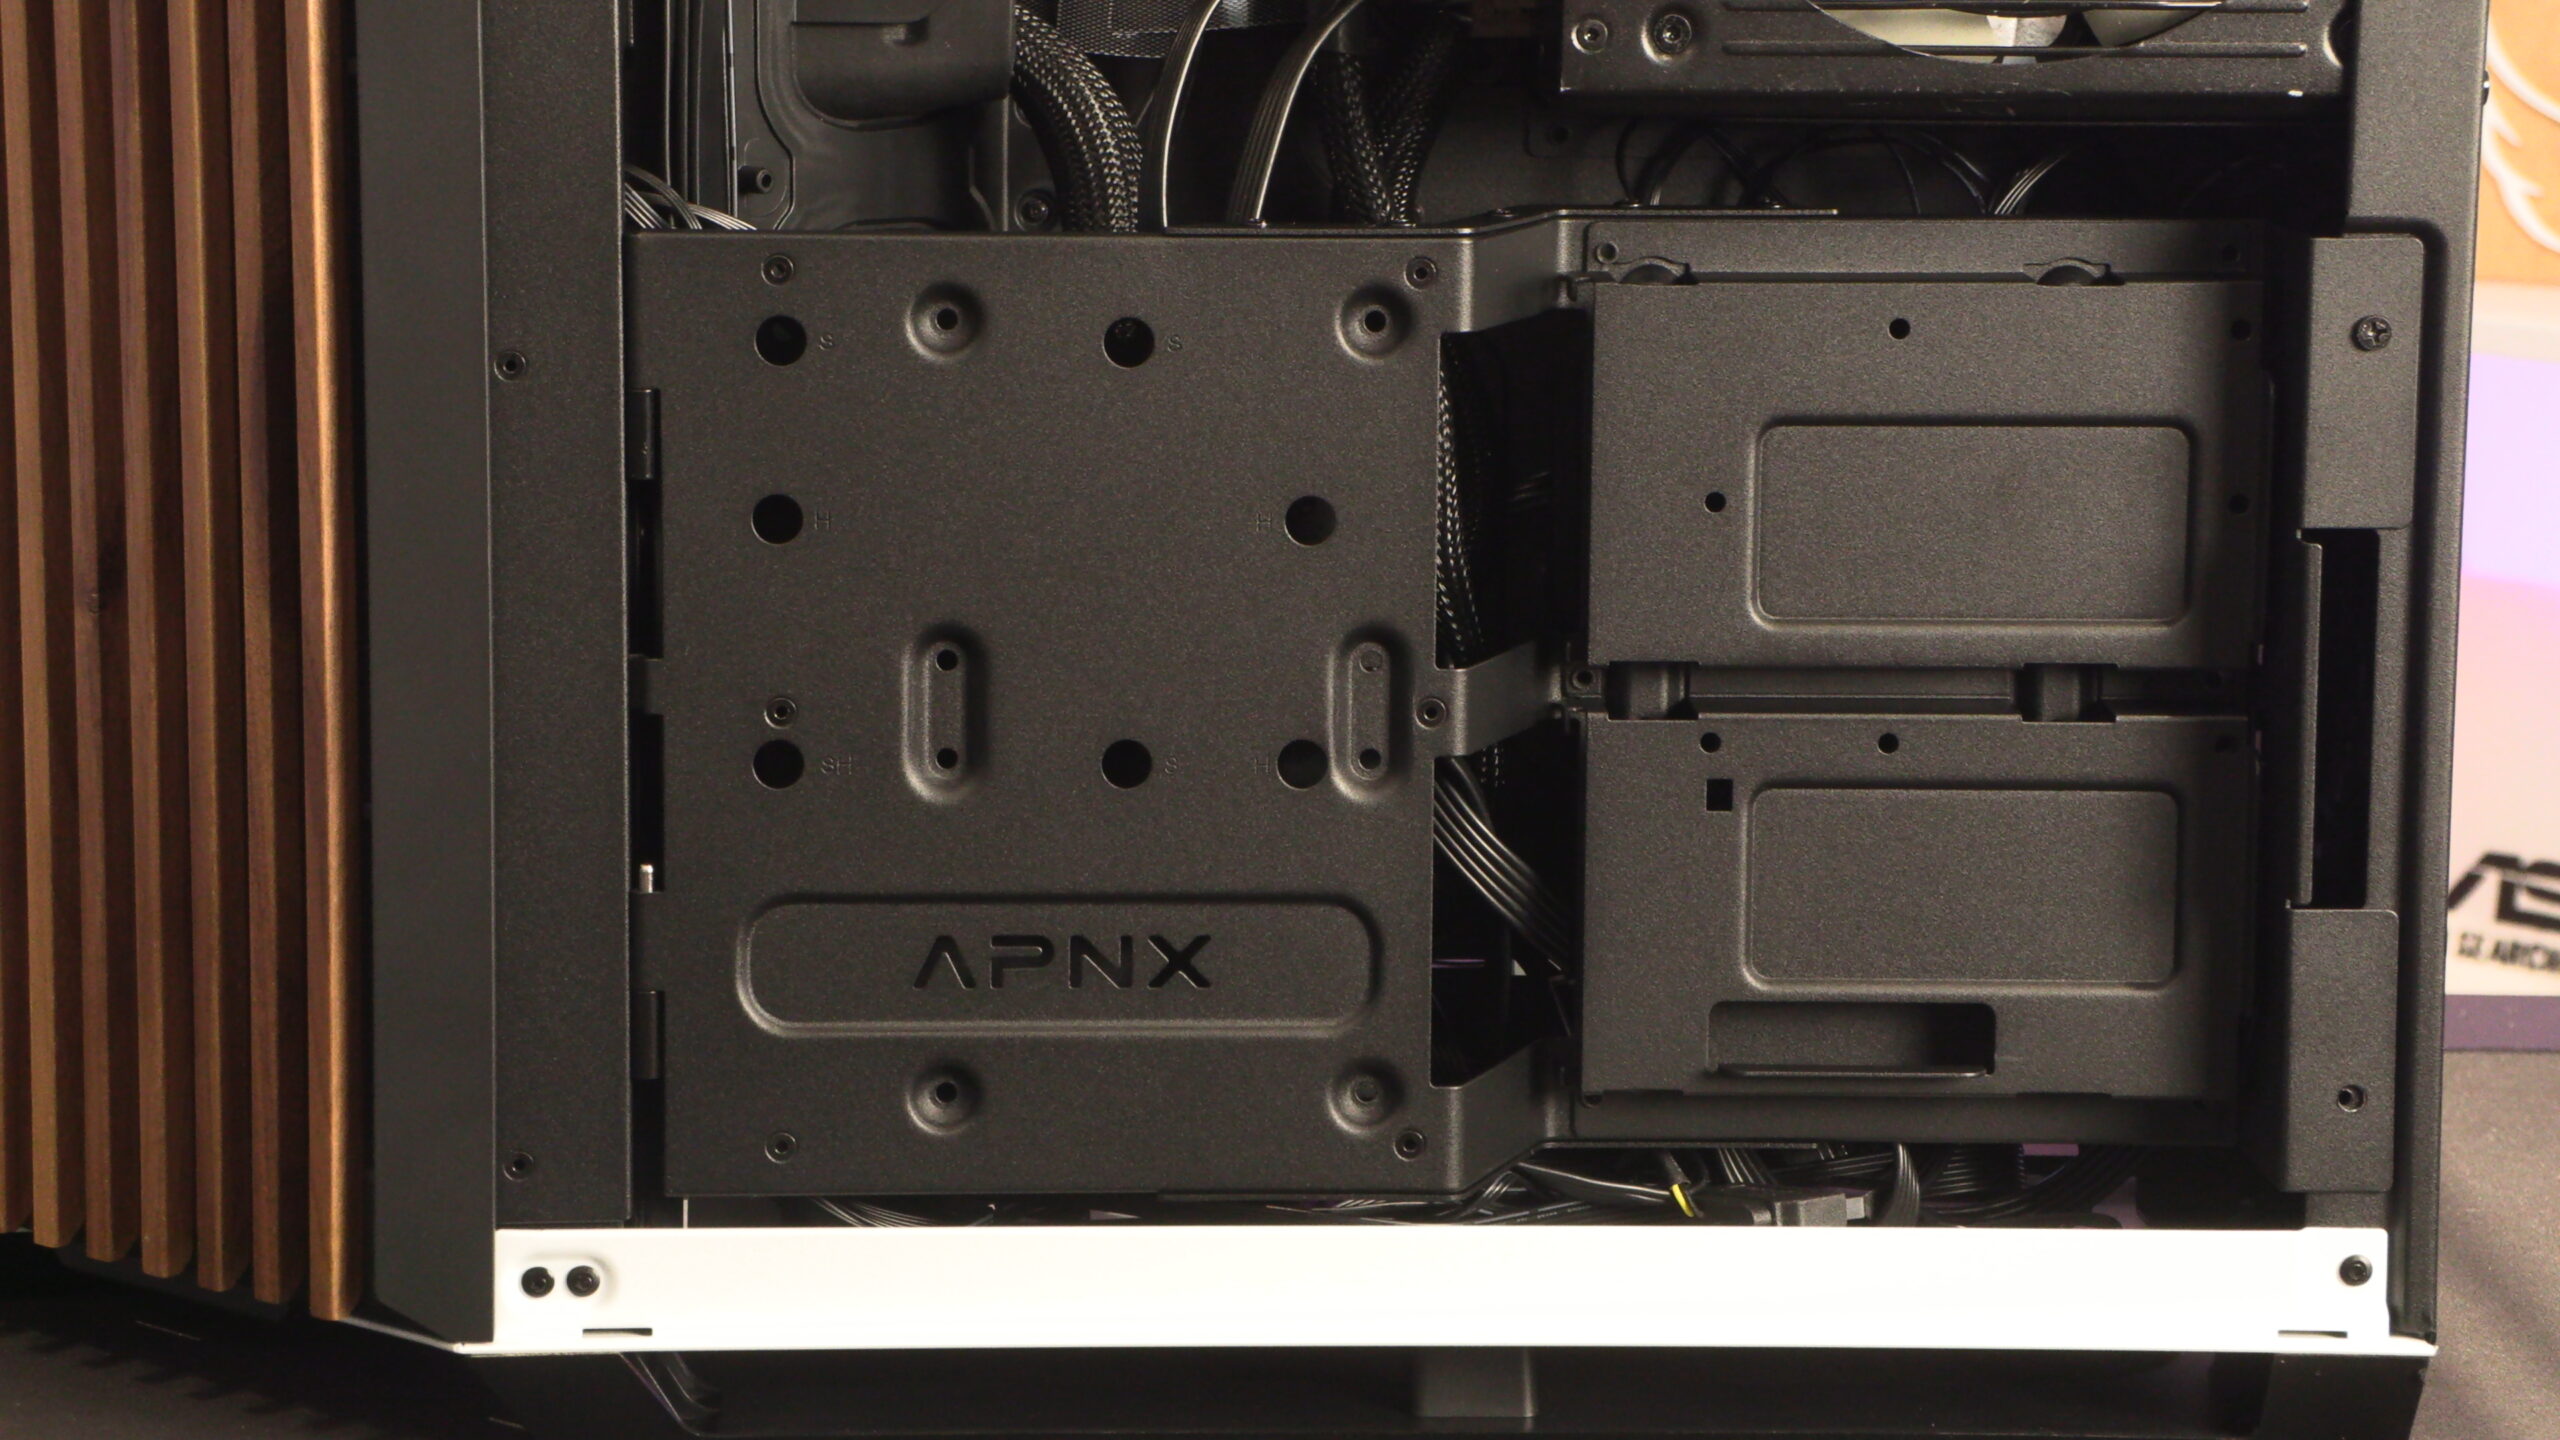
Beneatht his side panel we can see our test system’s PSU and this case’s 3.5-inch and 2.5-inch drive mount.
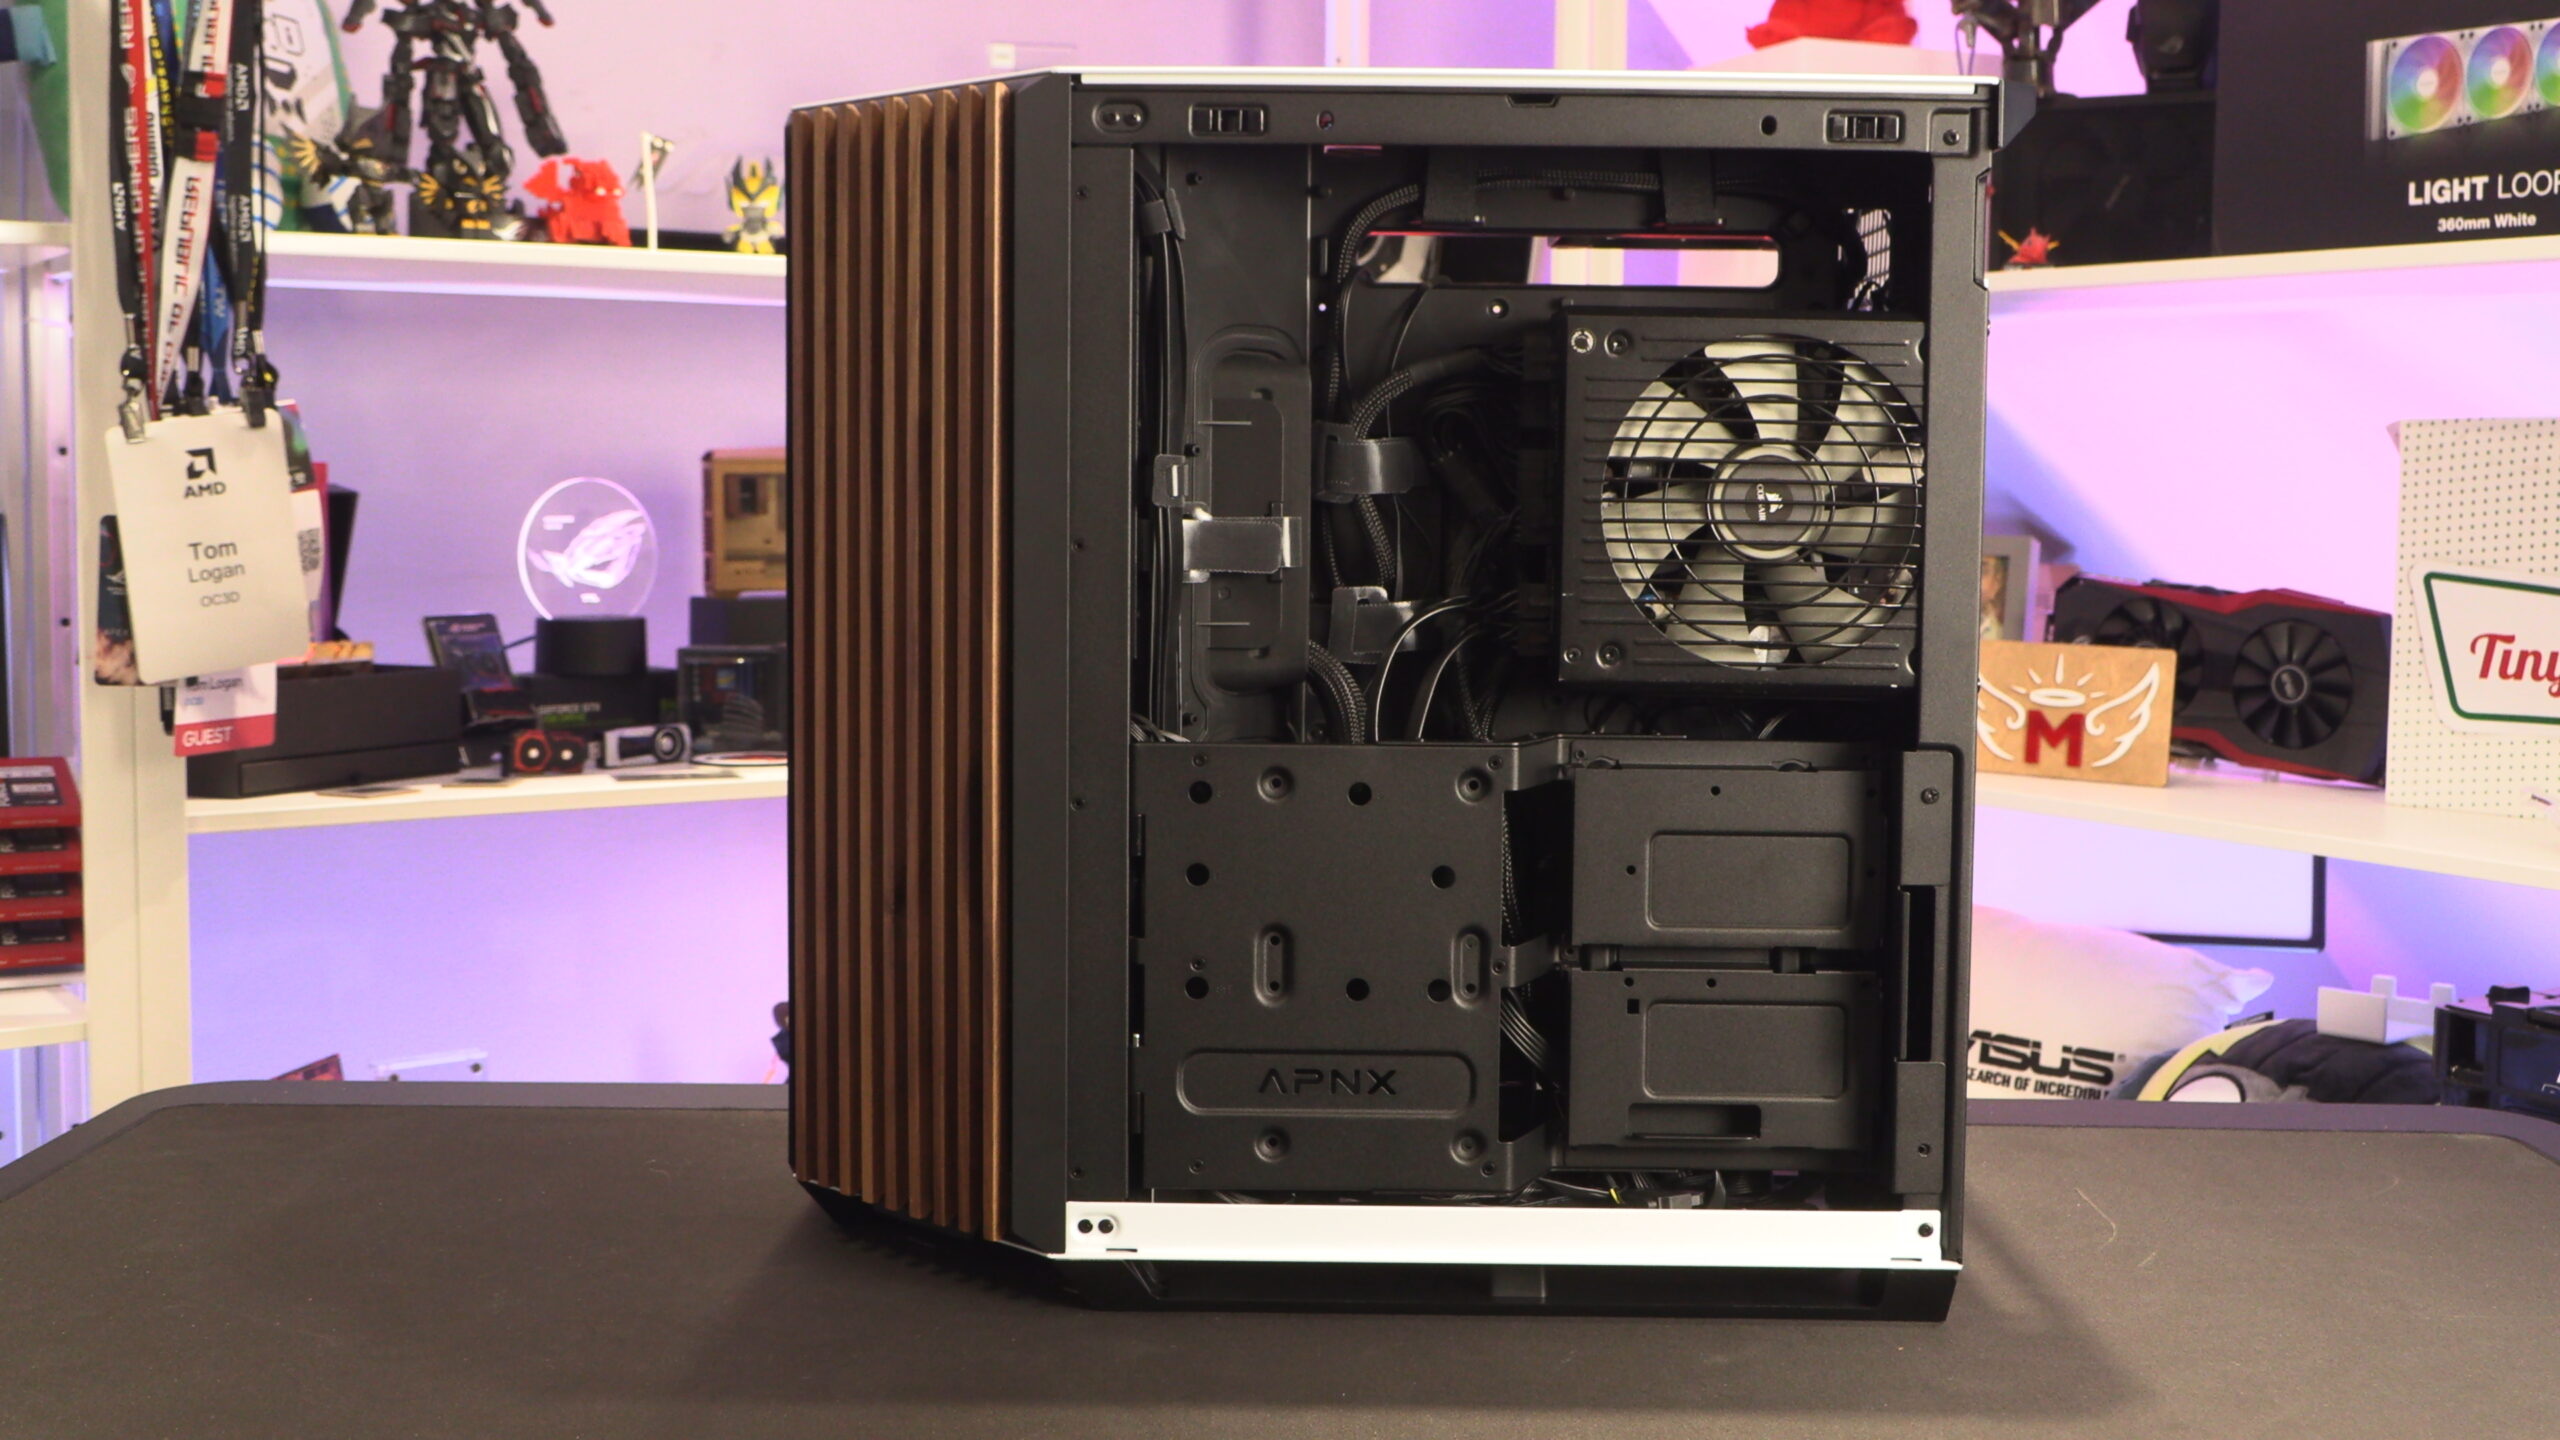
This mount can support up to two 3.5-inch drives and six 2.5-inch drives or six 2.5-inch drives. That’s more than enough space for the storage needs of most users. Since most PC gamers now use NVMe SSDs, users can remove this mount entirely to add more cable routing/hiding space. Magnets hold this mount in place, and we feel that these magnets are not strong enough. However, this mount can be screwed down, alleviating this issue.
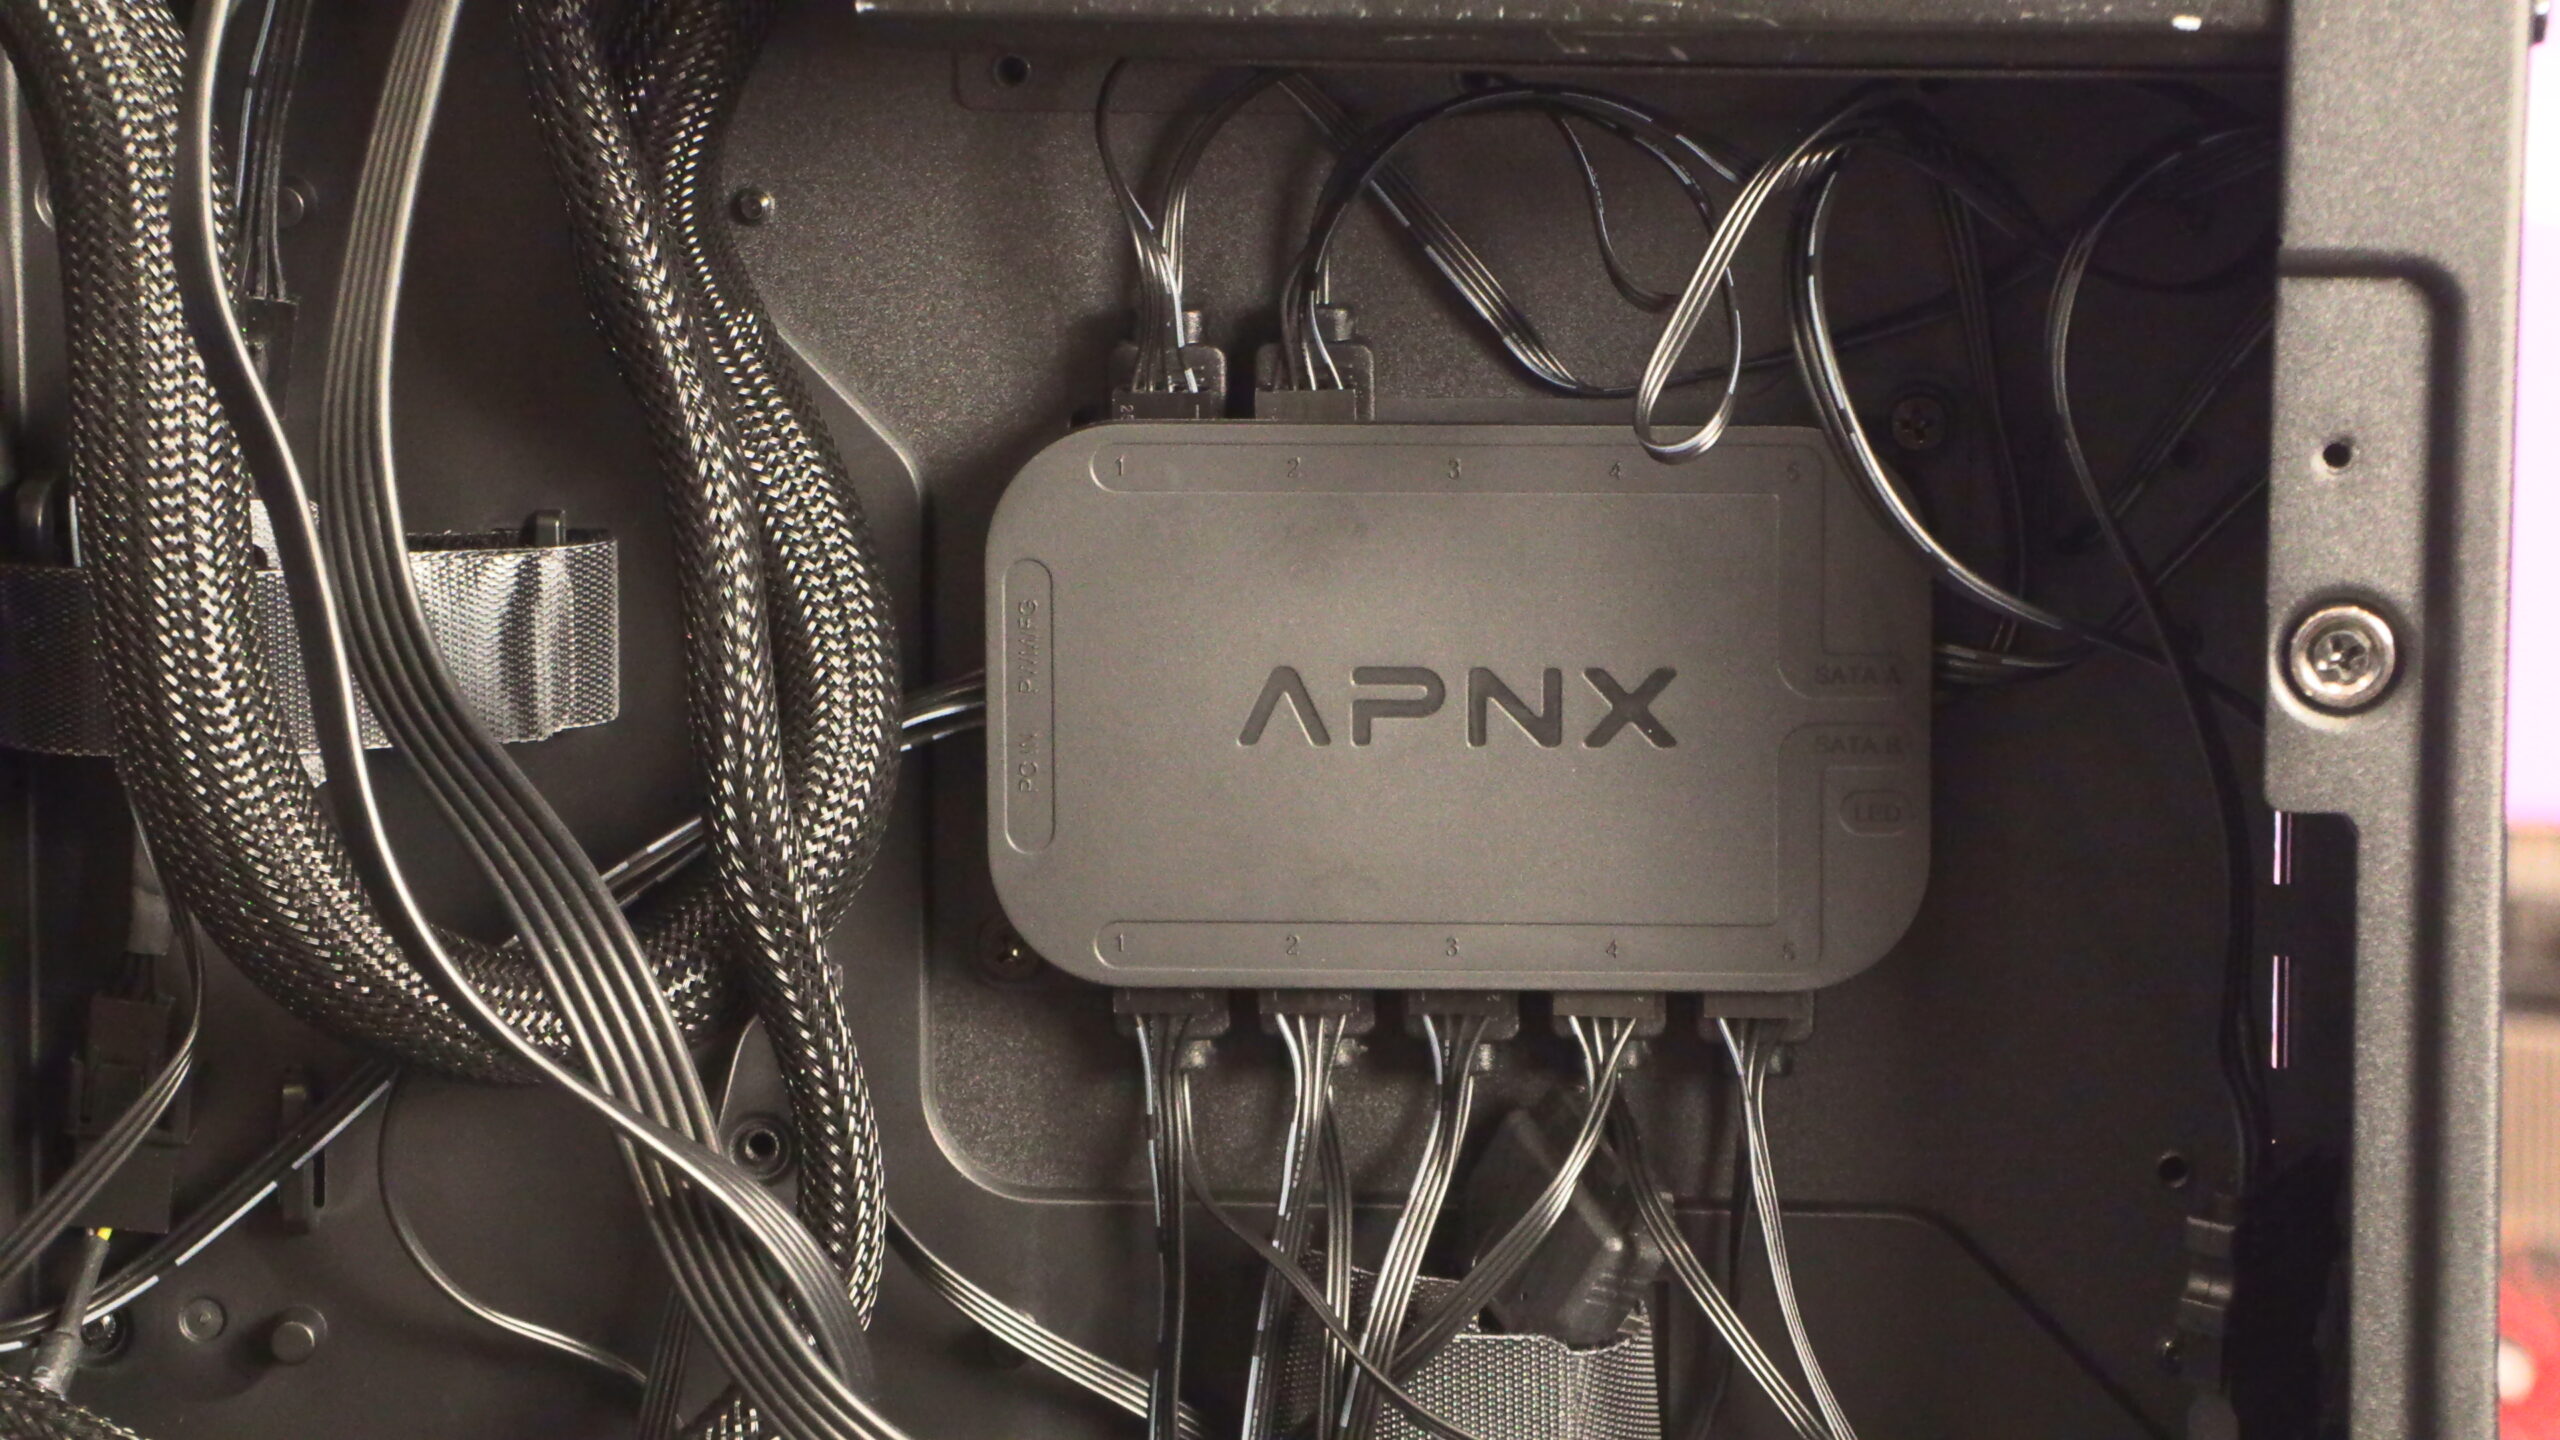
Below this mount, we have plenty of cable routing space. We even have an APNX fan/RGB controller, which was provided to us for this review. This mount is not available separately and doesn’t come as part of this PC case.
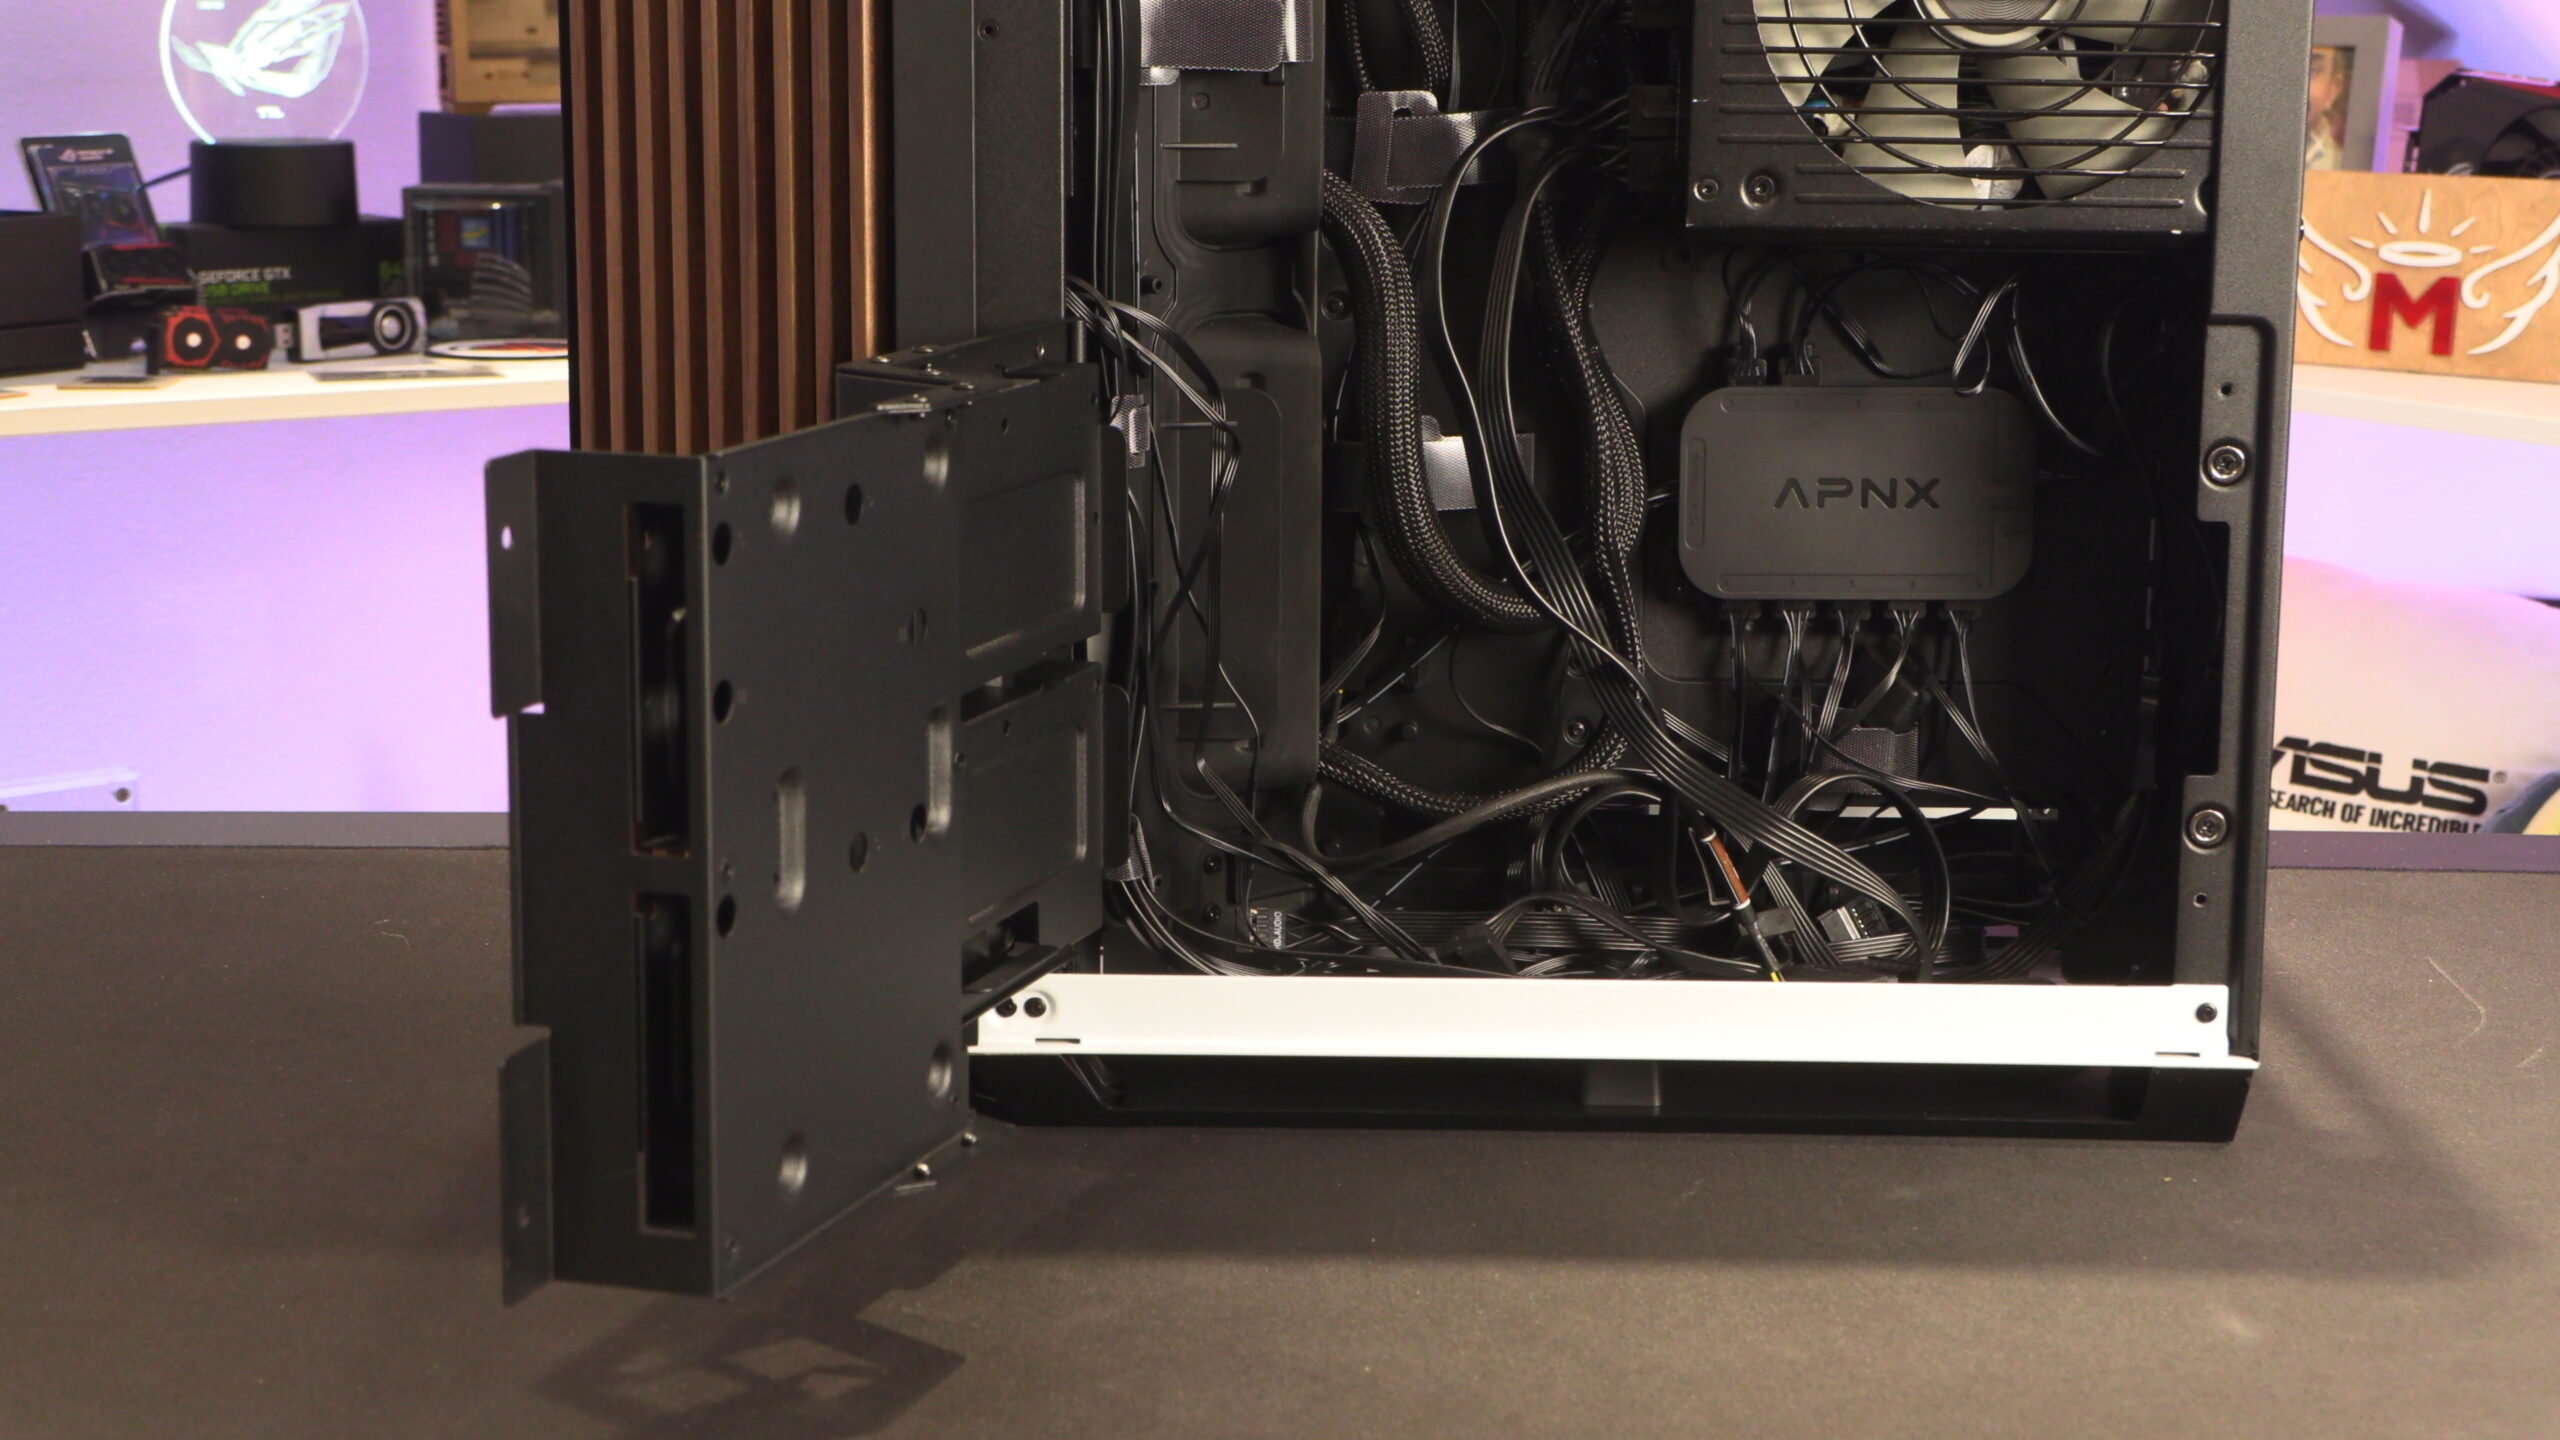
We love this mount, and are baffled that it isn’t available as a standalone product. It supports up to 10 fans/RGB devices, which is more than most controllers of this kind. Too often we need to install two controllers in large systems. This APNX fan controller give us enough ports with one controller!