


REMOVE


DS411j Pictured…
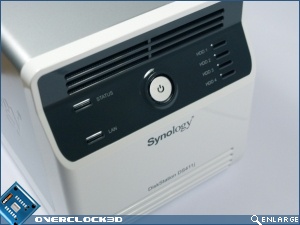
On the other hand, the DS411j touts a more retail themed package design. Despite the white colour scheme the details remain clear and concise, merely highlighting key features by means of self descriptive logos.

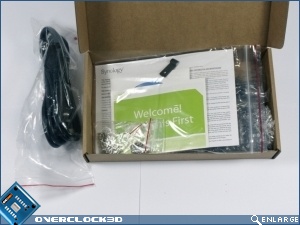
The accessory set is more or less identical to the DS211, with the exception of the driver disc (for obvious reasons).
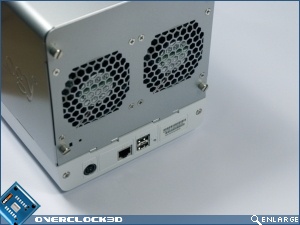
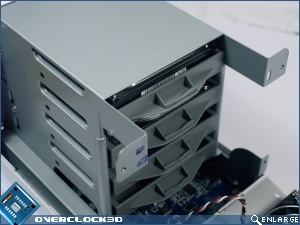
Naturally as a 4 drive NAS, it is almost twice as tall as the 211. On the other hand it is constructed from solid material; aside the plastic front bezel the outer shell is entirely metal.
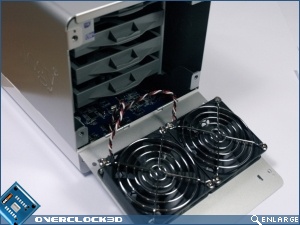
Synology saw fit to implement two fans in the 411j. Unfortunately under certain conditions a NAS box is likely to need active cooling. Once again, time will tell if these devices are able to keep noise relatively low…
Installation Process & Synology Assistant
A major aspect these products is the ease of use, starting from installation. After all we are living in an era where devices such as these are becoming common place in many (non technically minded people’s) homes. Thankfully this is an area where we can commend Synology as the installation process was a breeze.
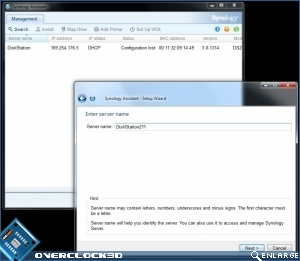
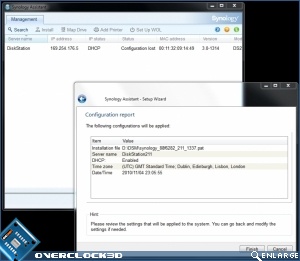
The installation CD is fully automated. Once the “Synology Assistant” is installed, all you have to do is open the application where it will locate your NAS on the local area network. You will be asked to locate the device’s firmware on the CD however it is easily accessible. From here on the server is ready to use.
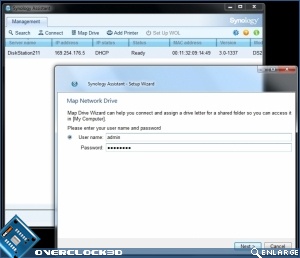
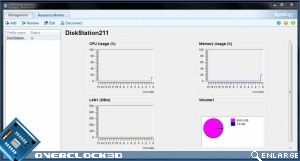
The Assistant offers other basic facilities such as the ability to add a network printer, map your NAS’ Hard Disk volume to client machines as well as view real time information pertaining to CPU, LAN and Memory utilisation.
Synology Assistant barely scratches the surface of these NAS Servers’ facilities. Let’s press on…