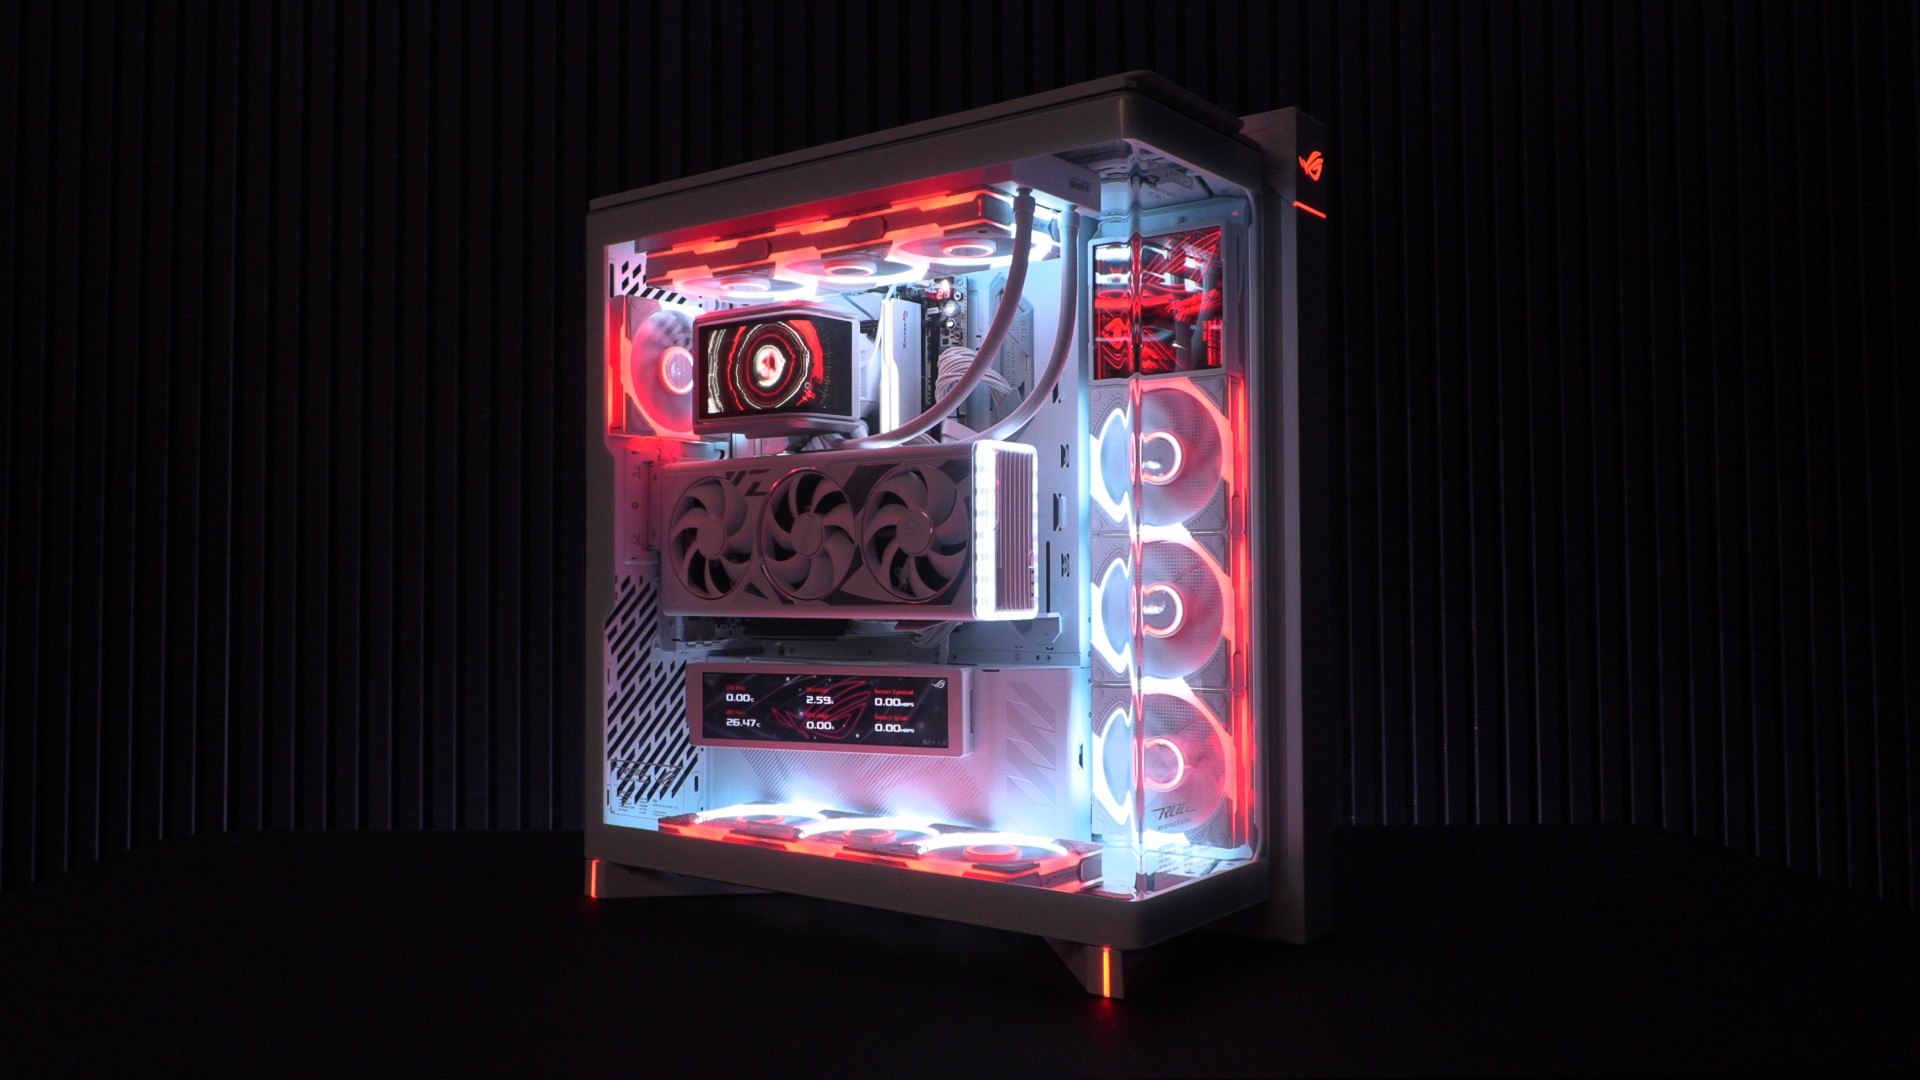


A Worthy Flagship – ASUS ROG Cronox GR801 ARGB PC Case Review

Up Close with the ROG Cronox
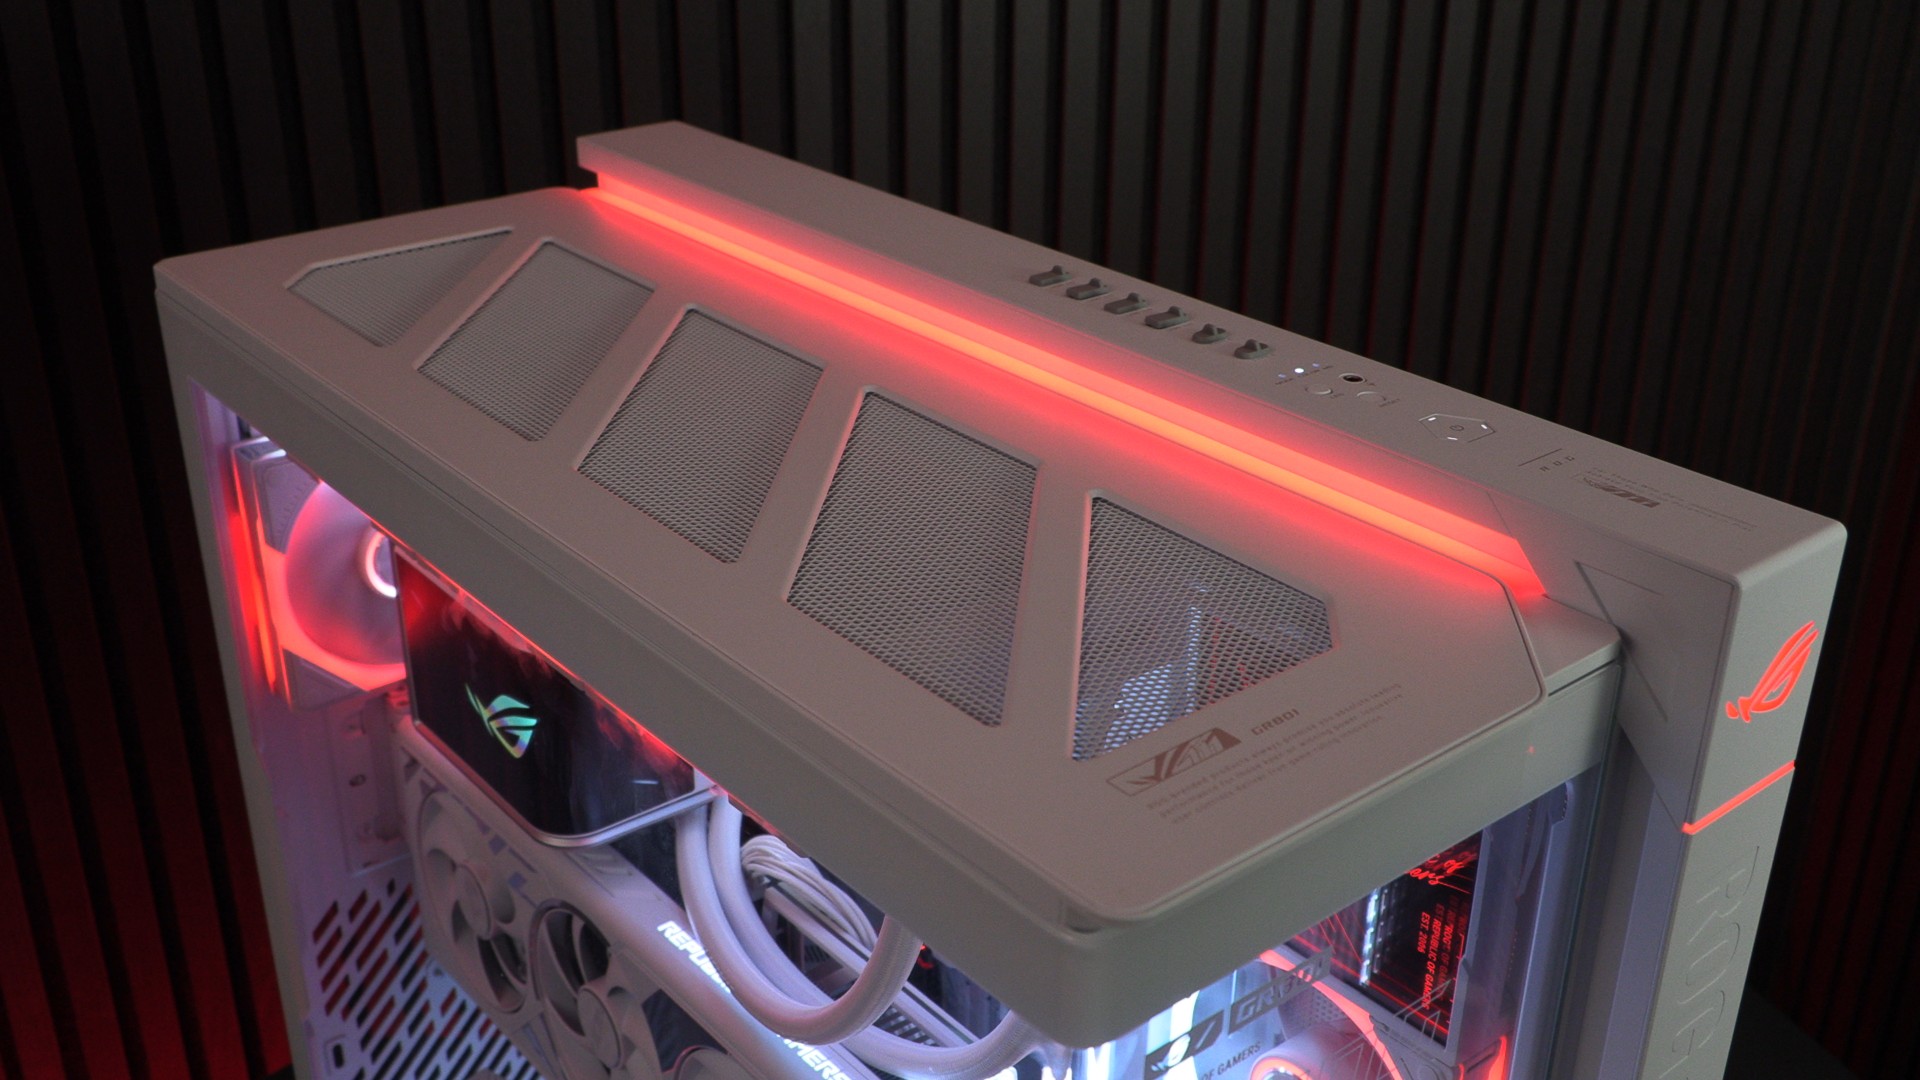
The top
Starting off at the top of the ROG Cronox we can see some of the case’s ambient RGB lighting, alongside a cover/filter for the case’s top four 120mm fan mounts. We also have a power button, ambient RGB lighting controls, a headphone jack, and six USB ports. All of these USB ports have optional dust covers.
This case features two USB Gen 2×2 Type-C ports and four USB 3.2 Gen 1 Type-A ports. These run at up to 20 Gbps and up to 5 Gbps, respectively.
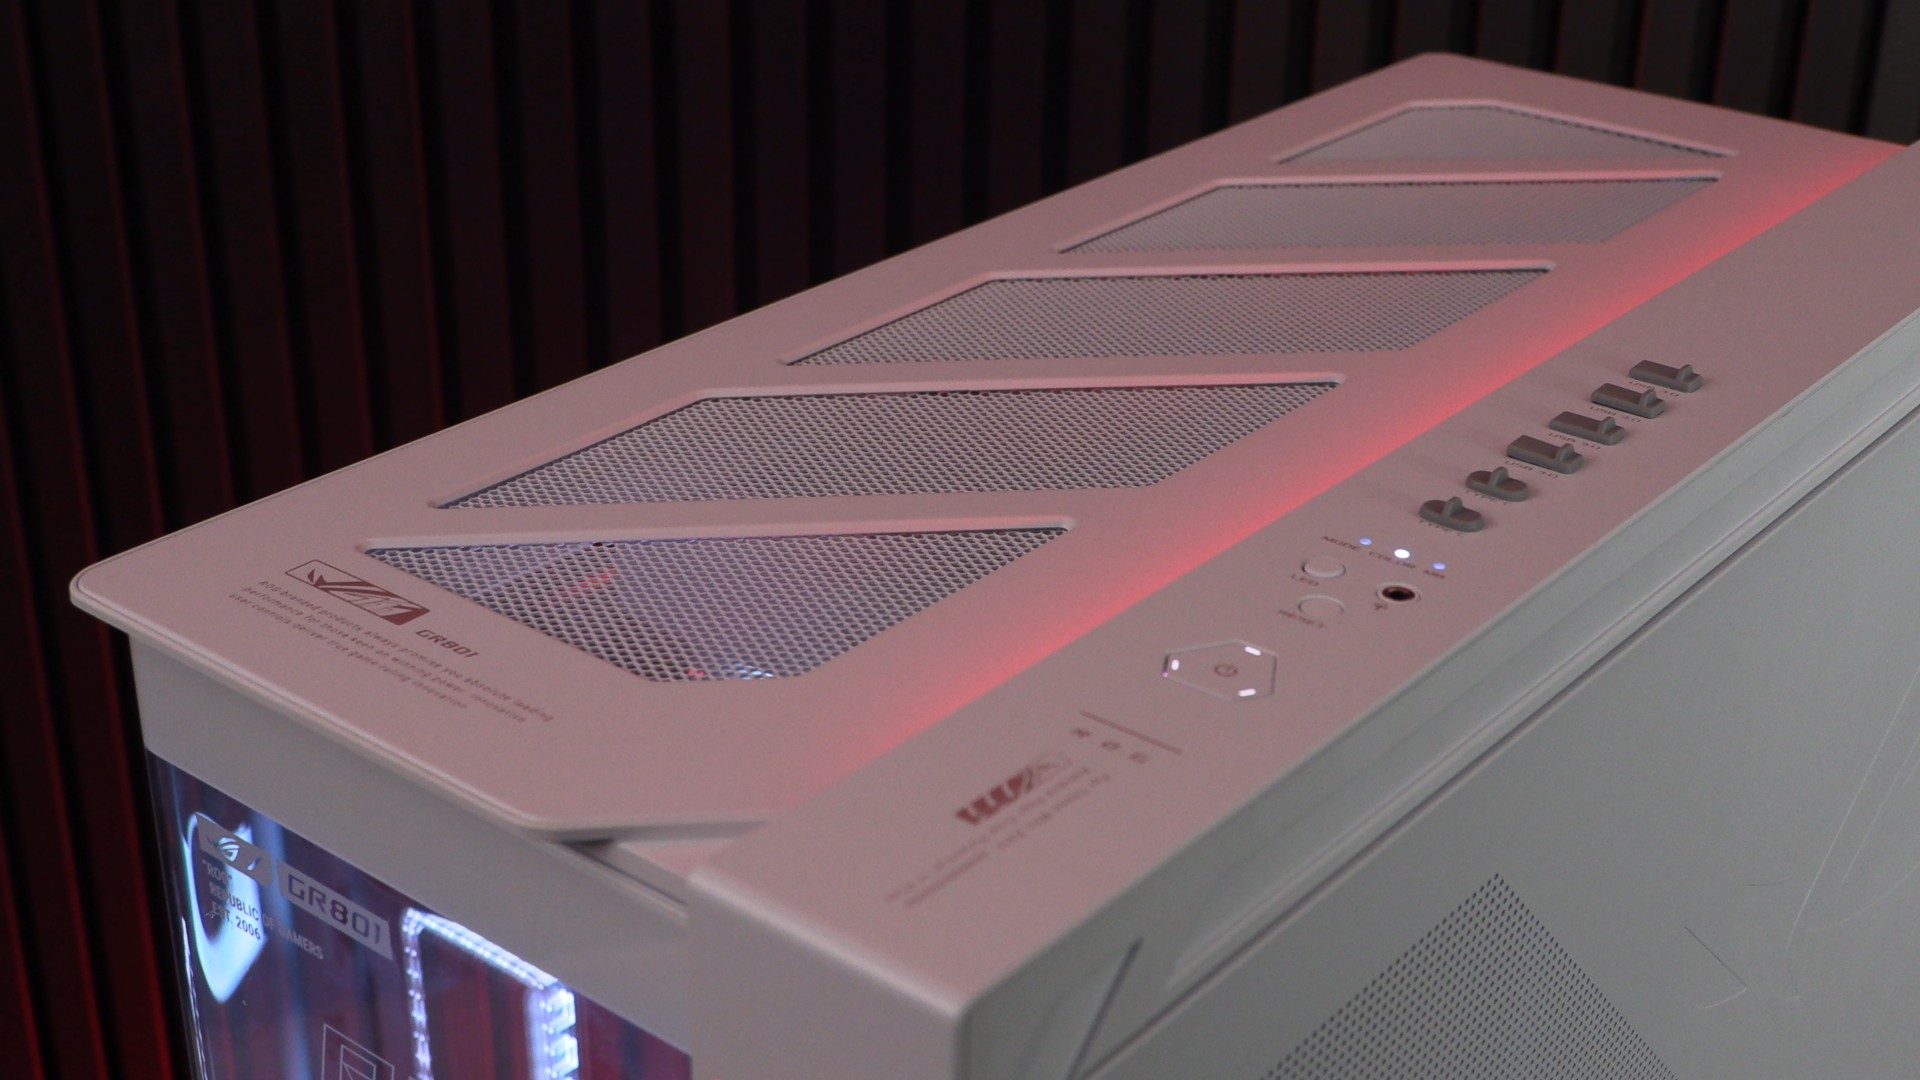
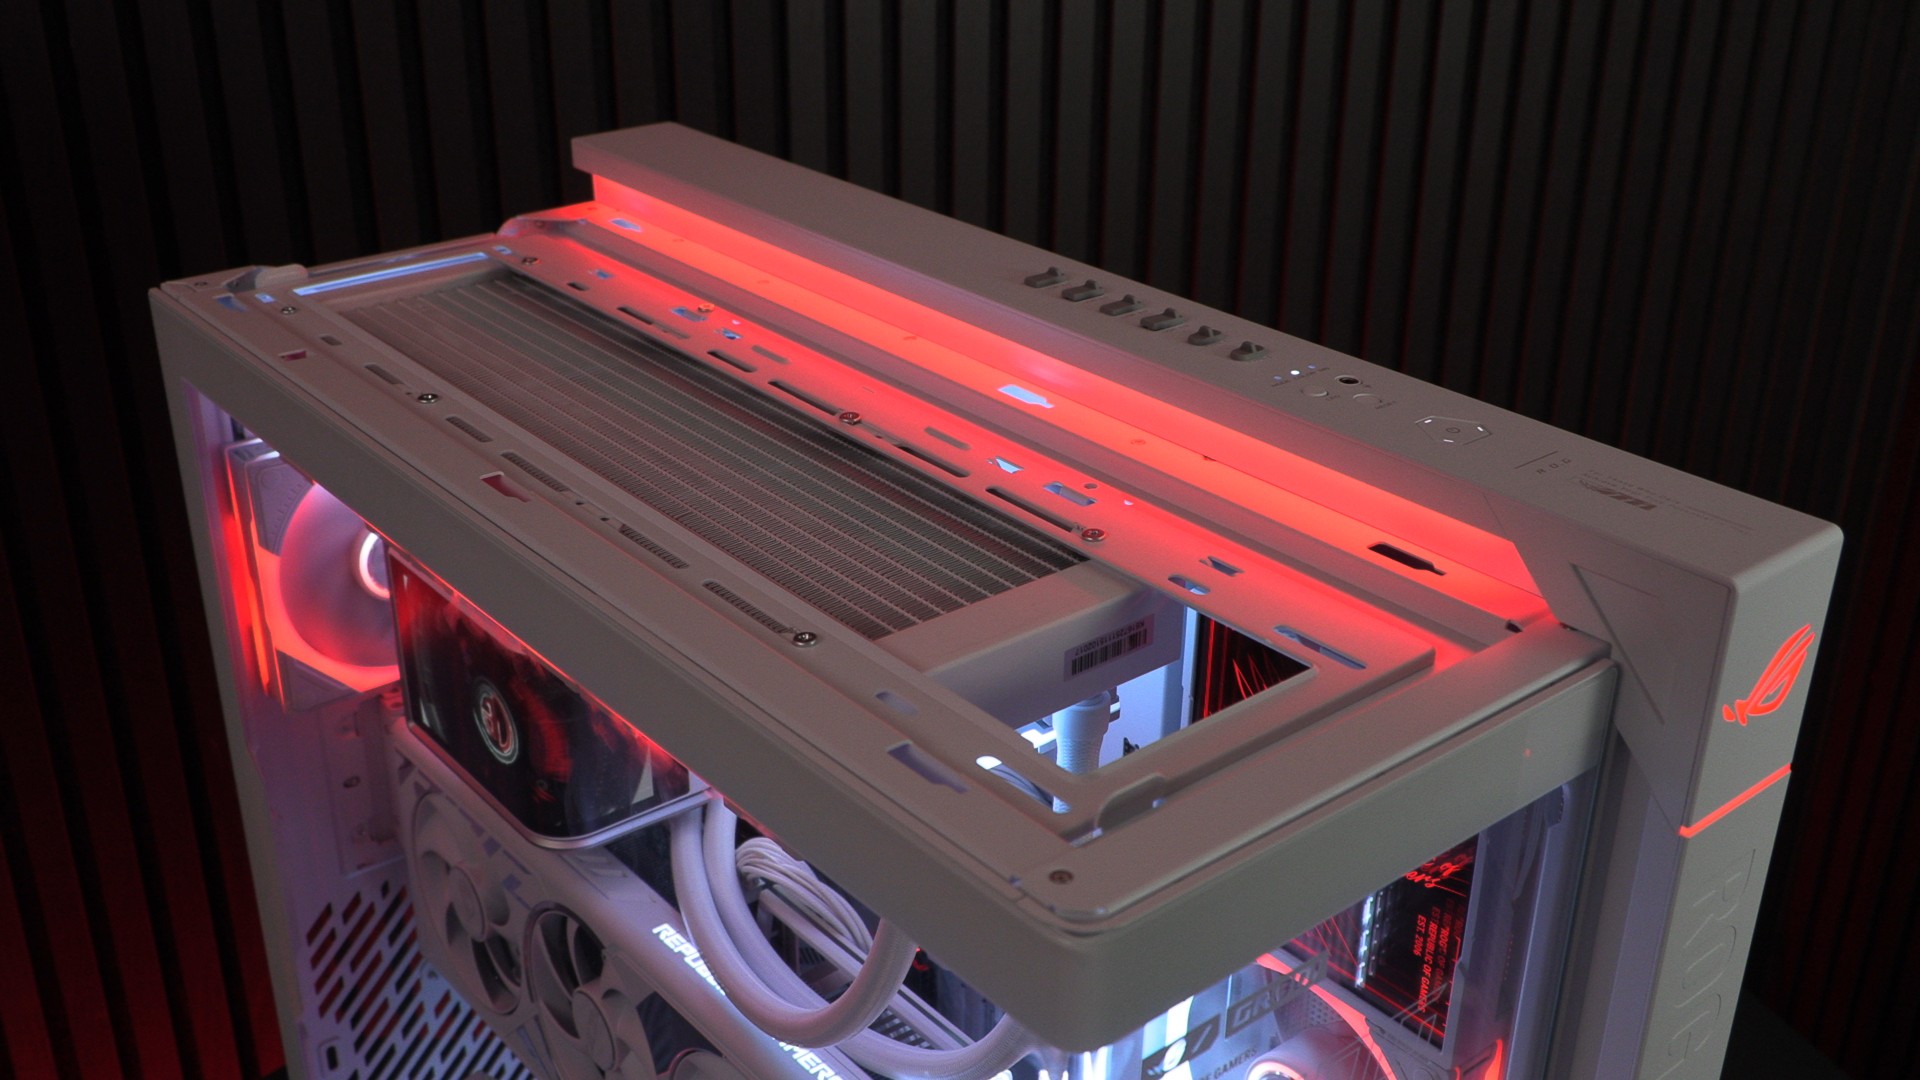
The top 120mm fan mounts give us plenty of leeway when installing a 360 mm liquid cooler. This allows us to place it in an optimal location aesthetically. For this reason, sliding mounts are always preferable to fixed mounts.
HUGE glass panel
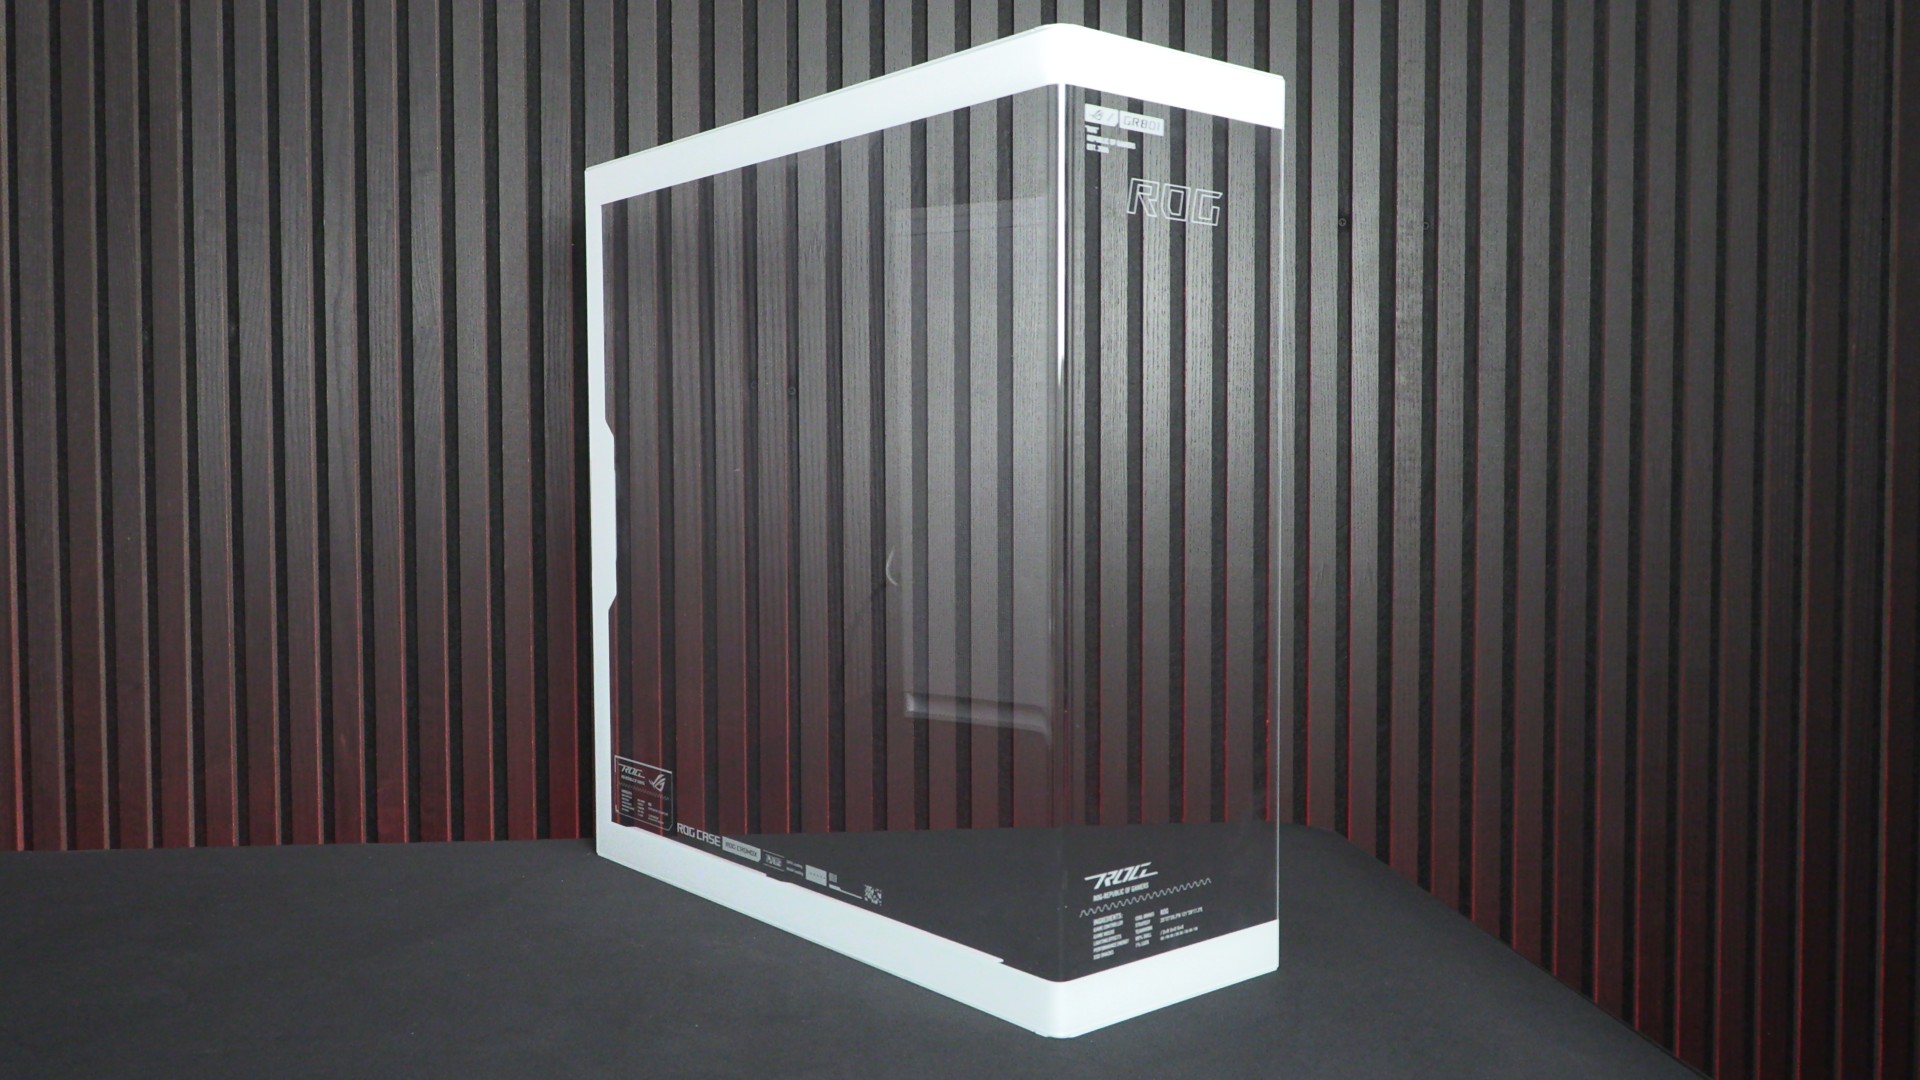
The ROG Cronox has a large glass panel covering the front and left side. It features a relatively tight bend radius, giving users a clear view inside the system with minimal distortion. The glass also has ASUS ROG letters and iconography, making it clear that this is an ROG product. We can also see below that this case’s ambient lighting includes an illuminated ROG logo.
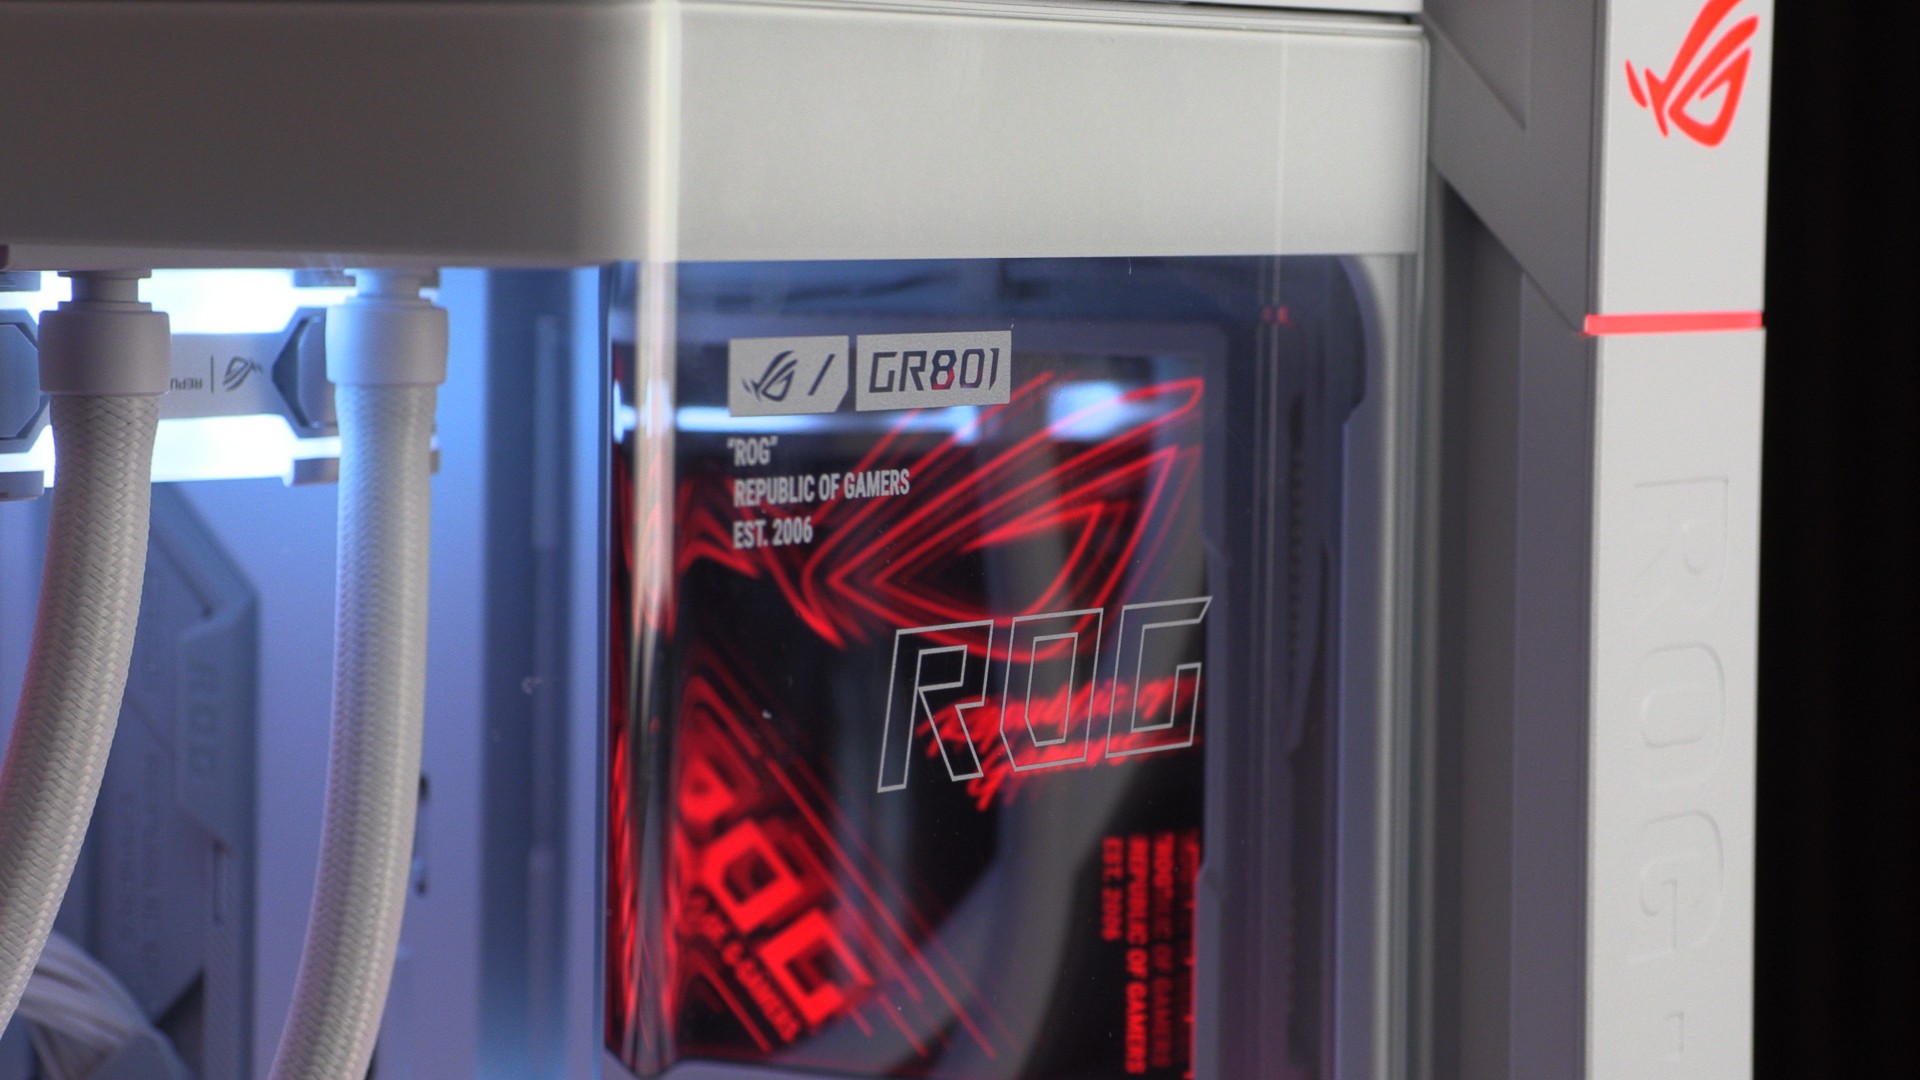
Below, we can have a clearer look at ASUS’ on-glass ROG iconography.
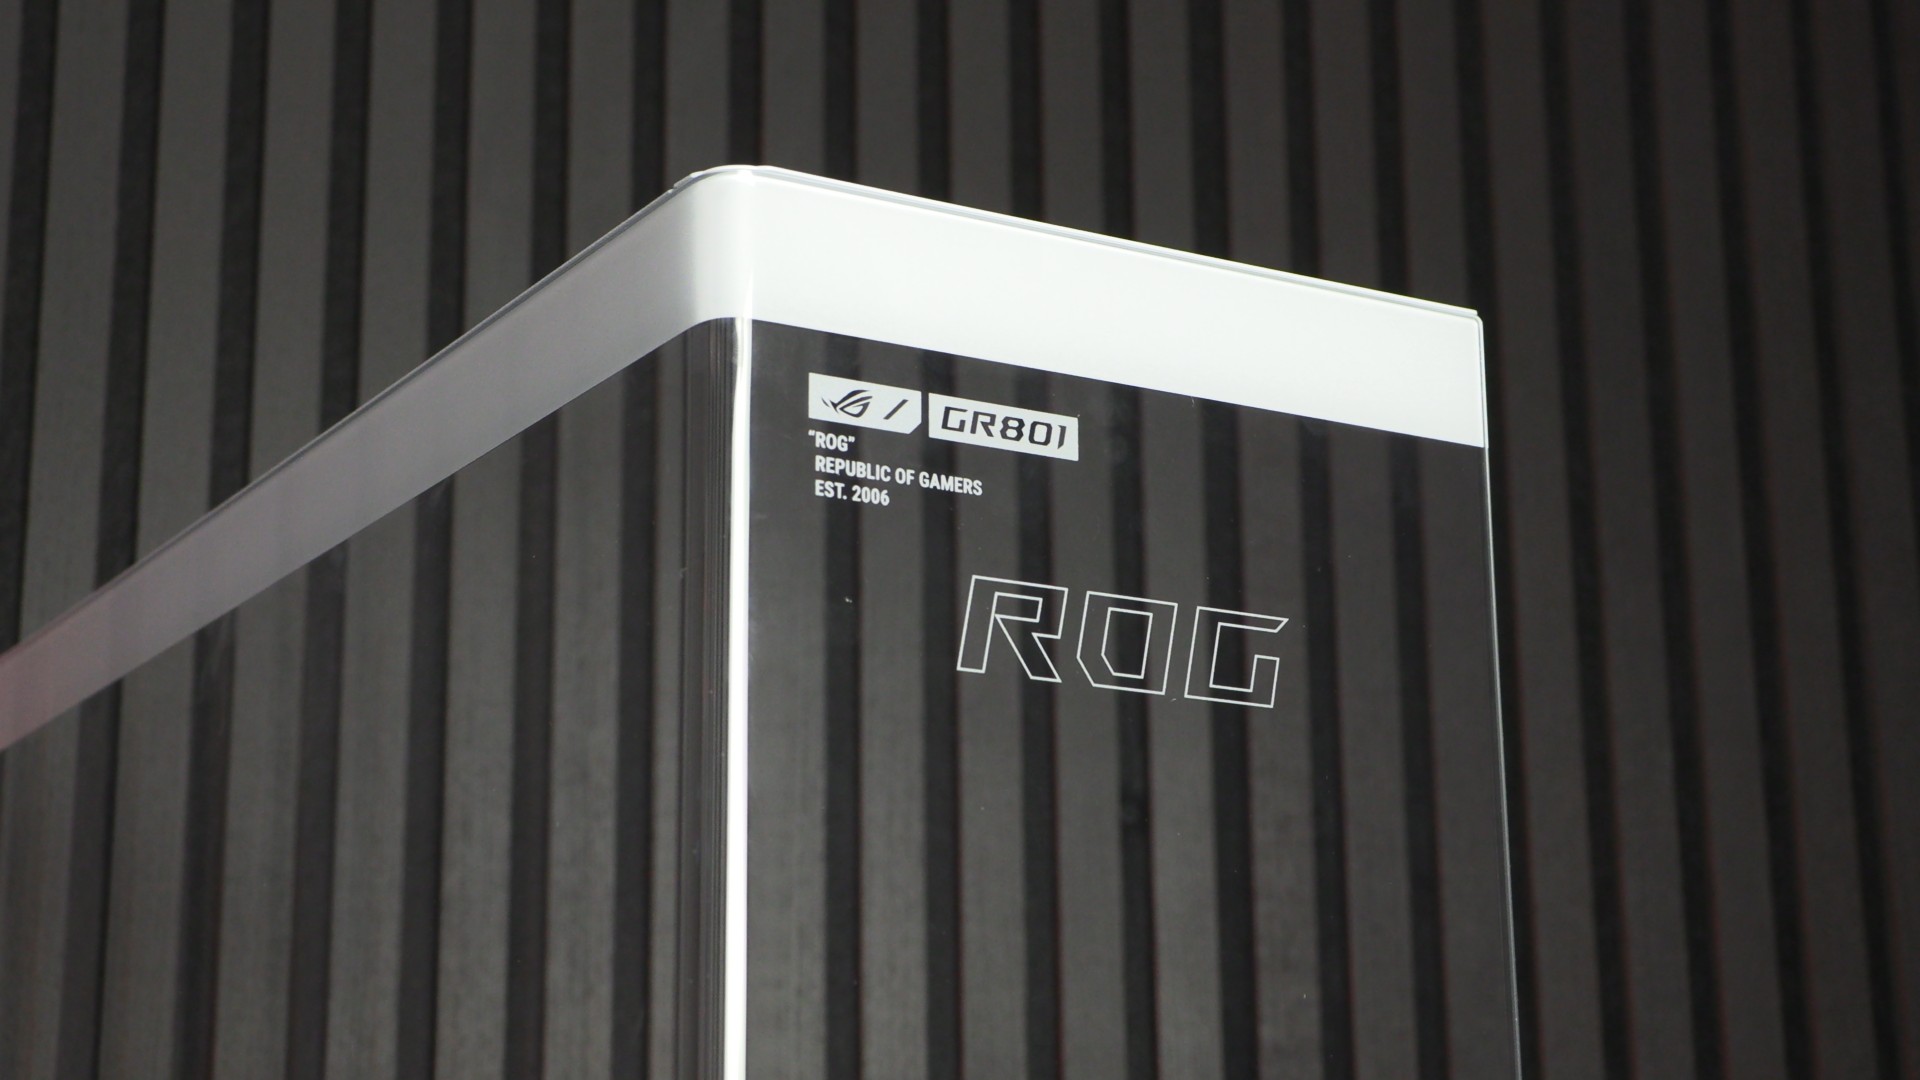
This is a HUGE glass panel, much larger than most PC cases on the market. ASUS really went big with this PC case.
Rotating fan mount
The ROG Cronox includes ASUS’ patented rotatable side-fan mount, which lets users direct airflow however they want. Users can keep the mount flat, or direct air towards their graphics card and CPU.
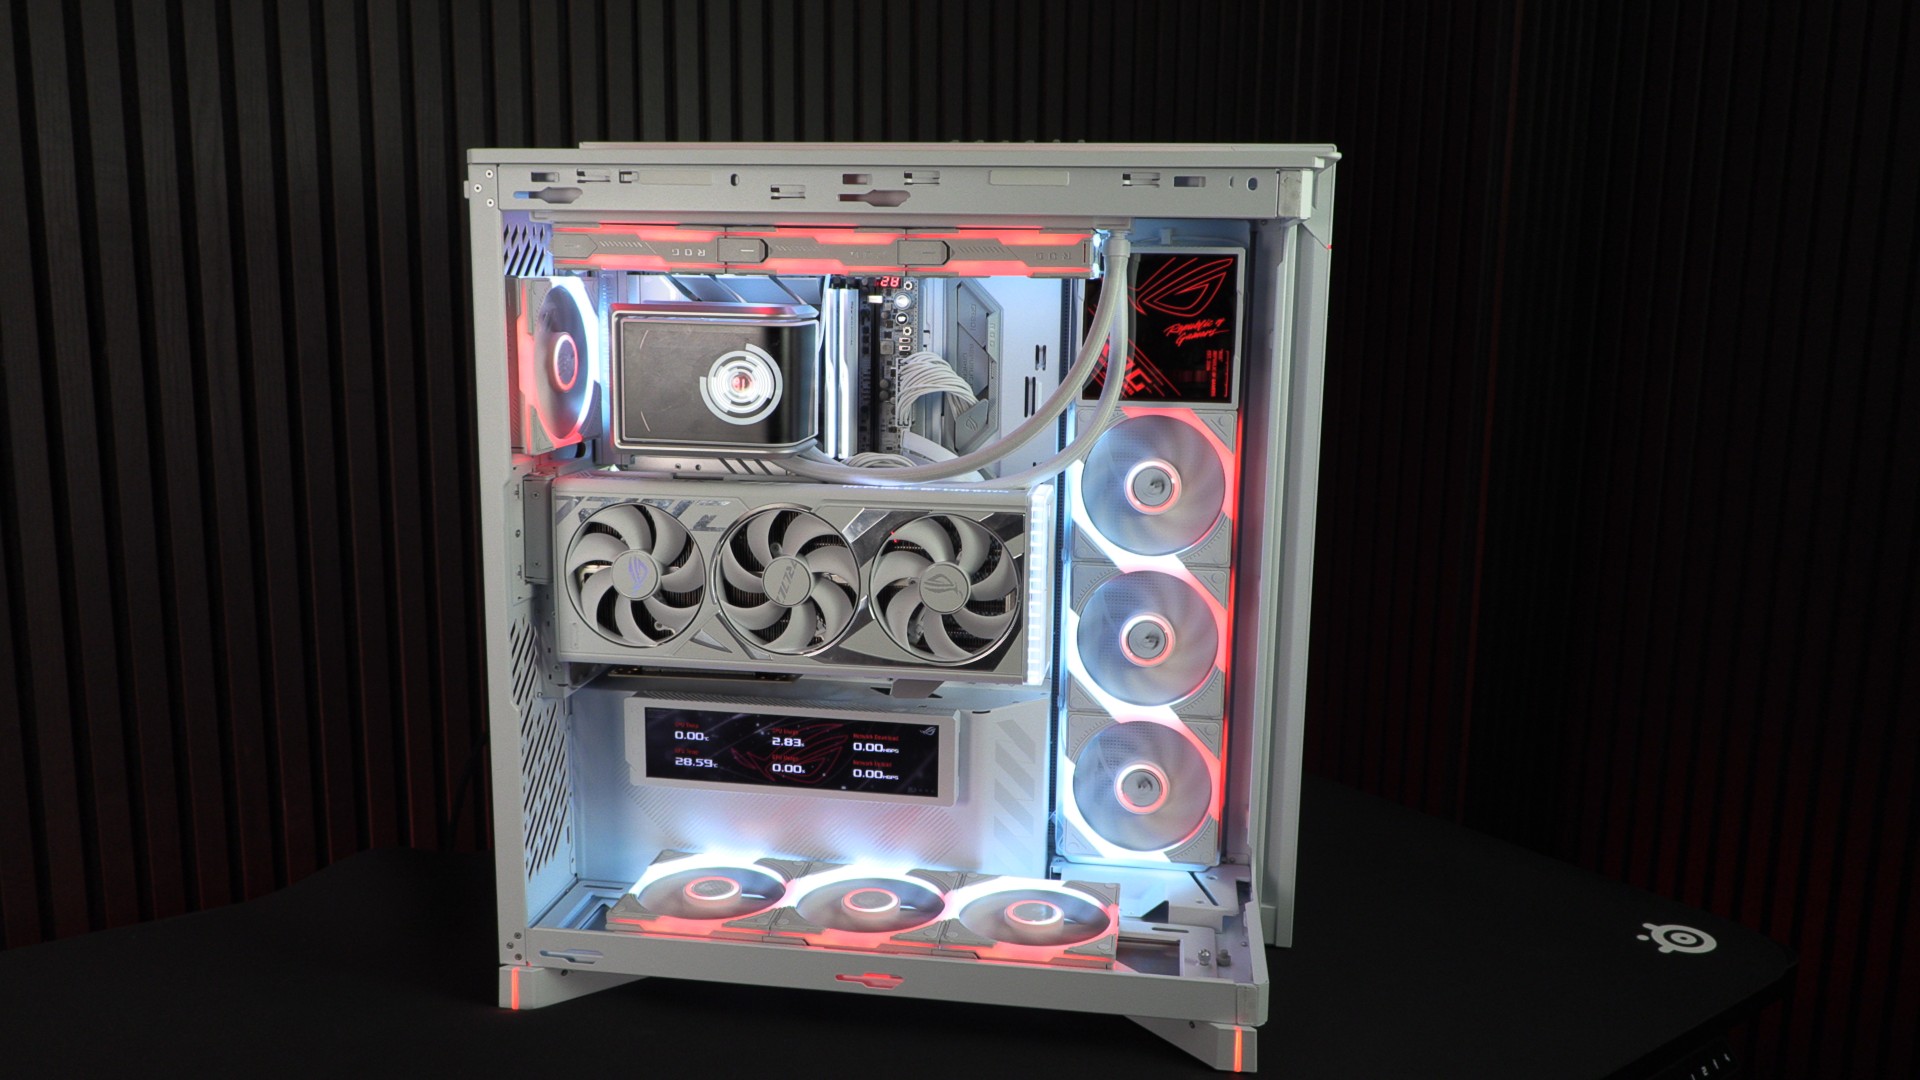
The mount is relatively easy to move and doesn’t block your view inside the PC case.
Bottom fans
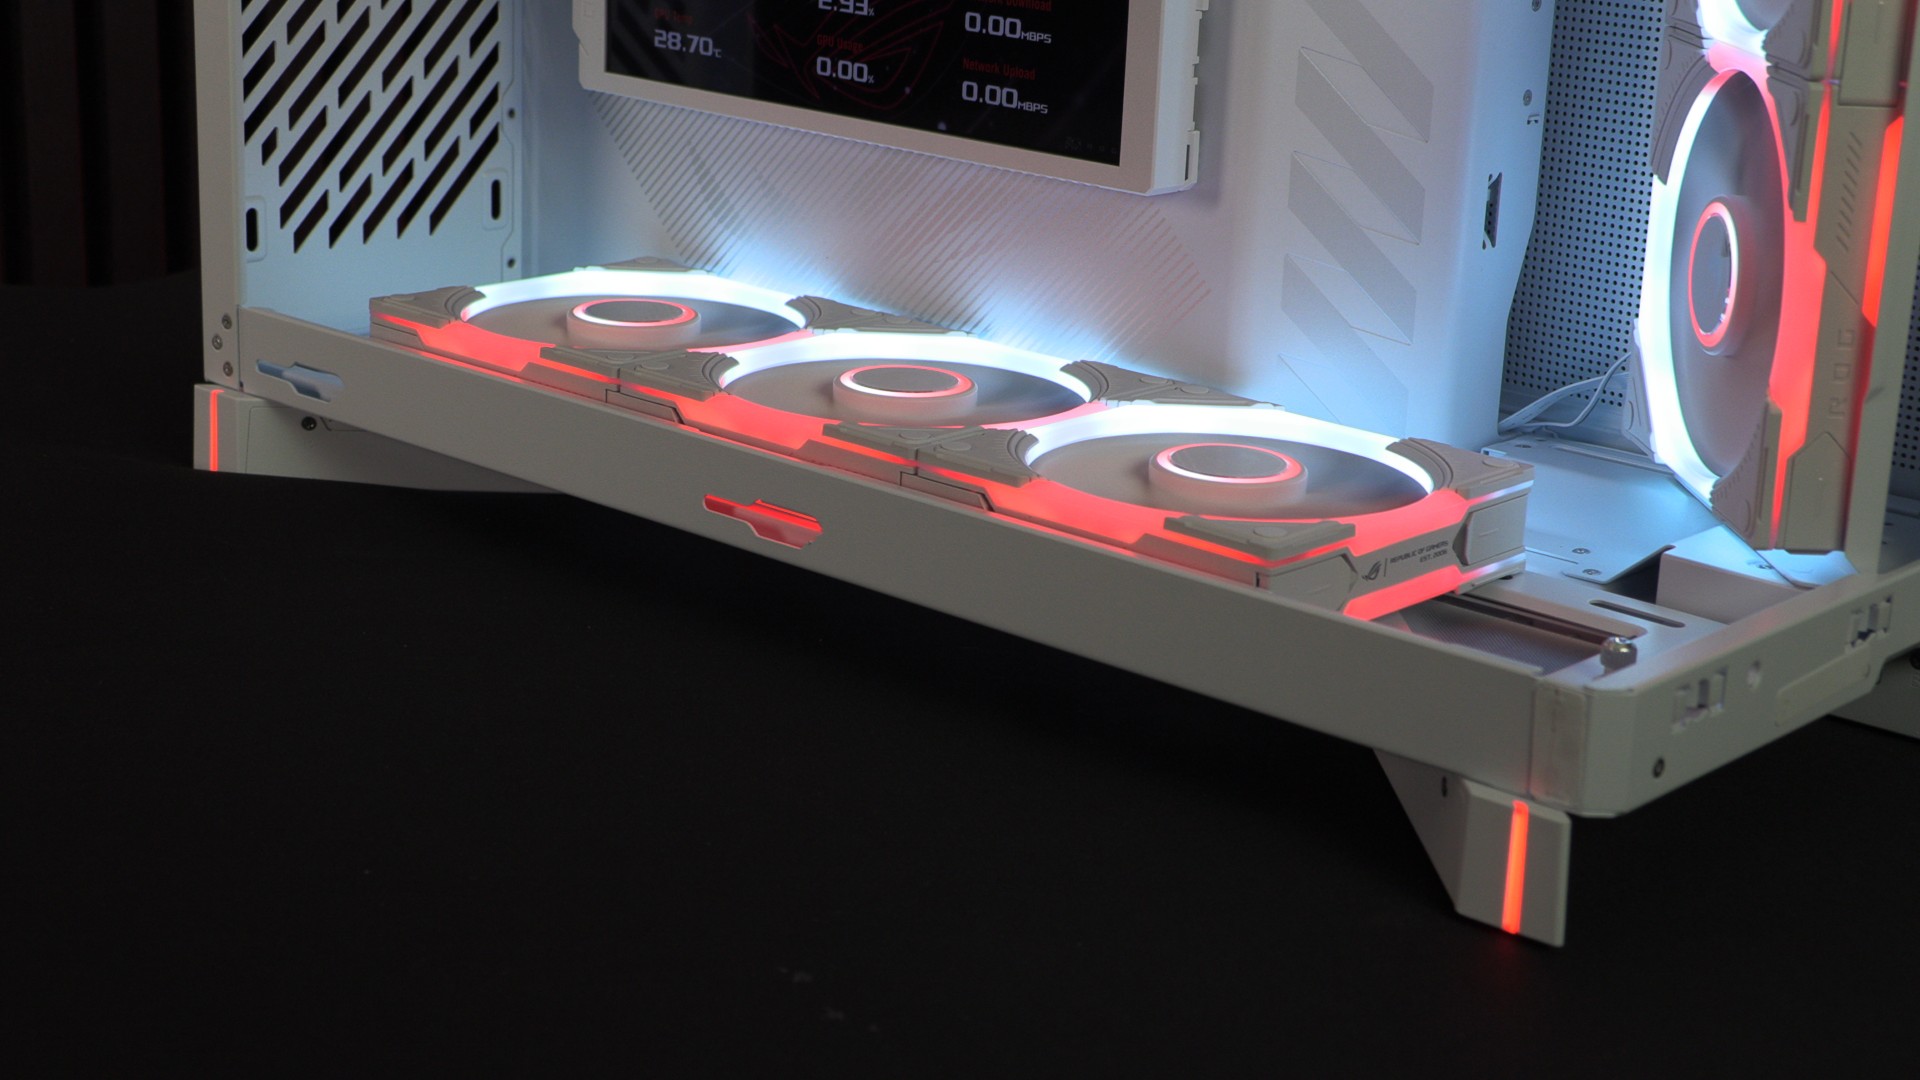
At the bottom of the Cronox, users can mount up to four 120mm fans. Since these fans come in triple packs, we added three reverse-blade fans to the bottom of our system. If we centralise these fans, we have two 60mm gaps on each side. It would have been nice for ASUS to include some blocking plates for this, as it would clean up the case a little. That said, users can easily achieve the same thing by buying some plasticard and making their own.
The rear of the ROG Cronox
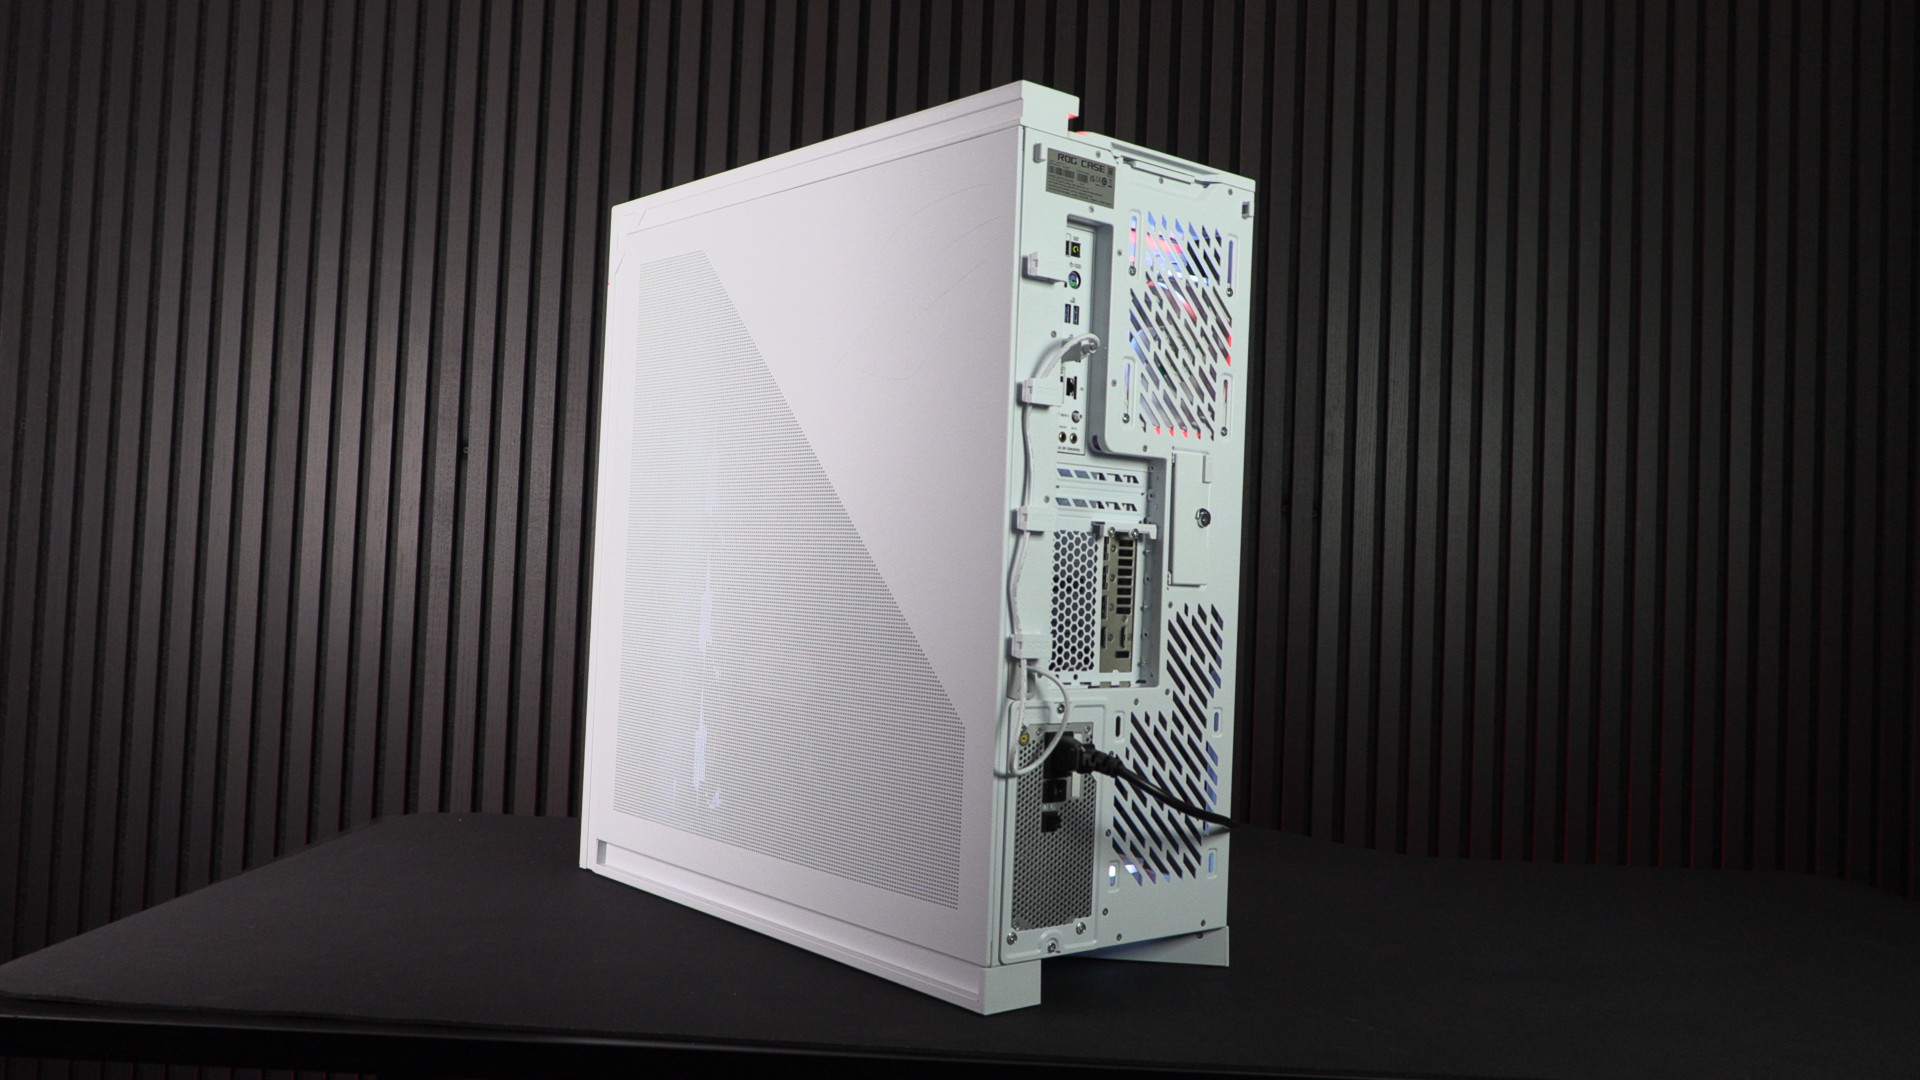
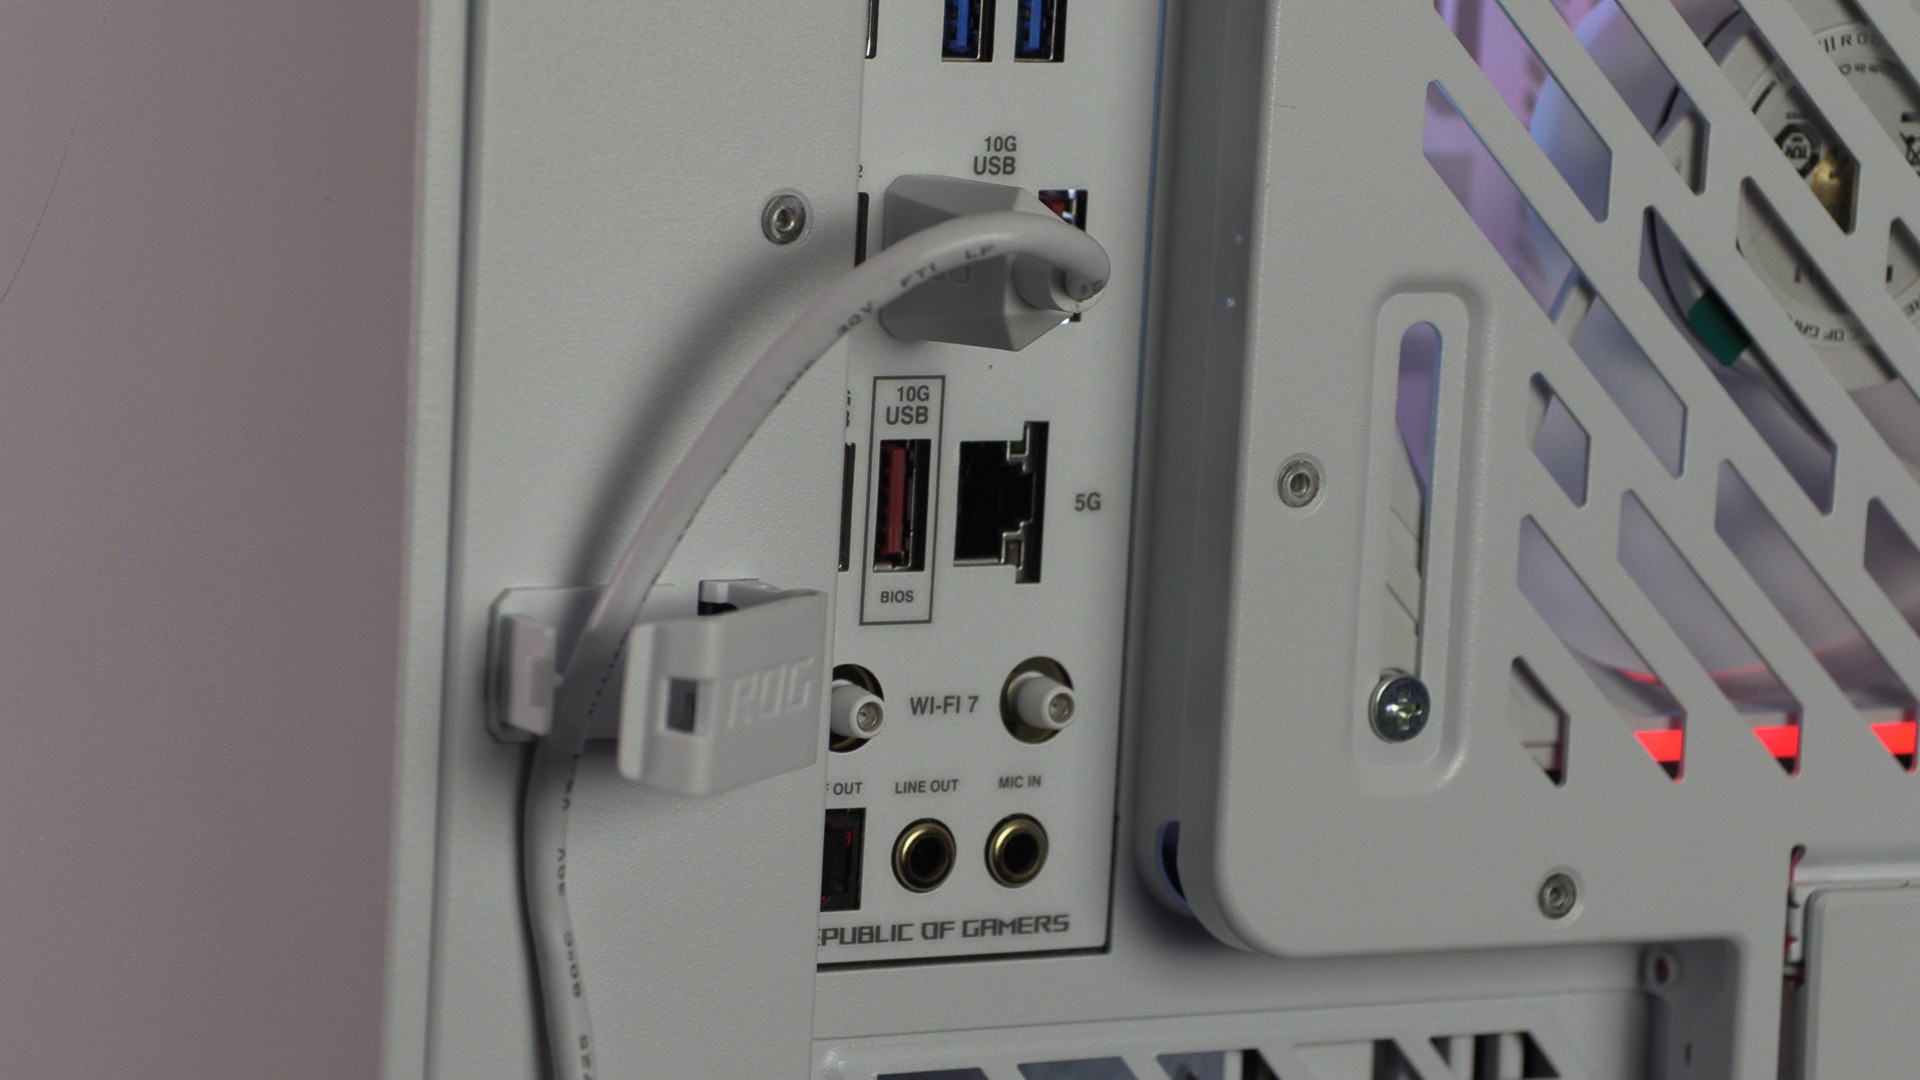
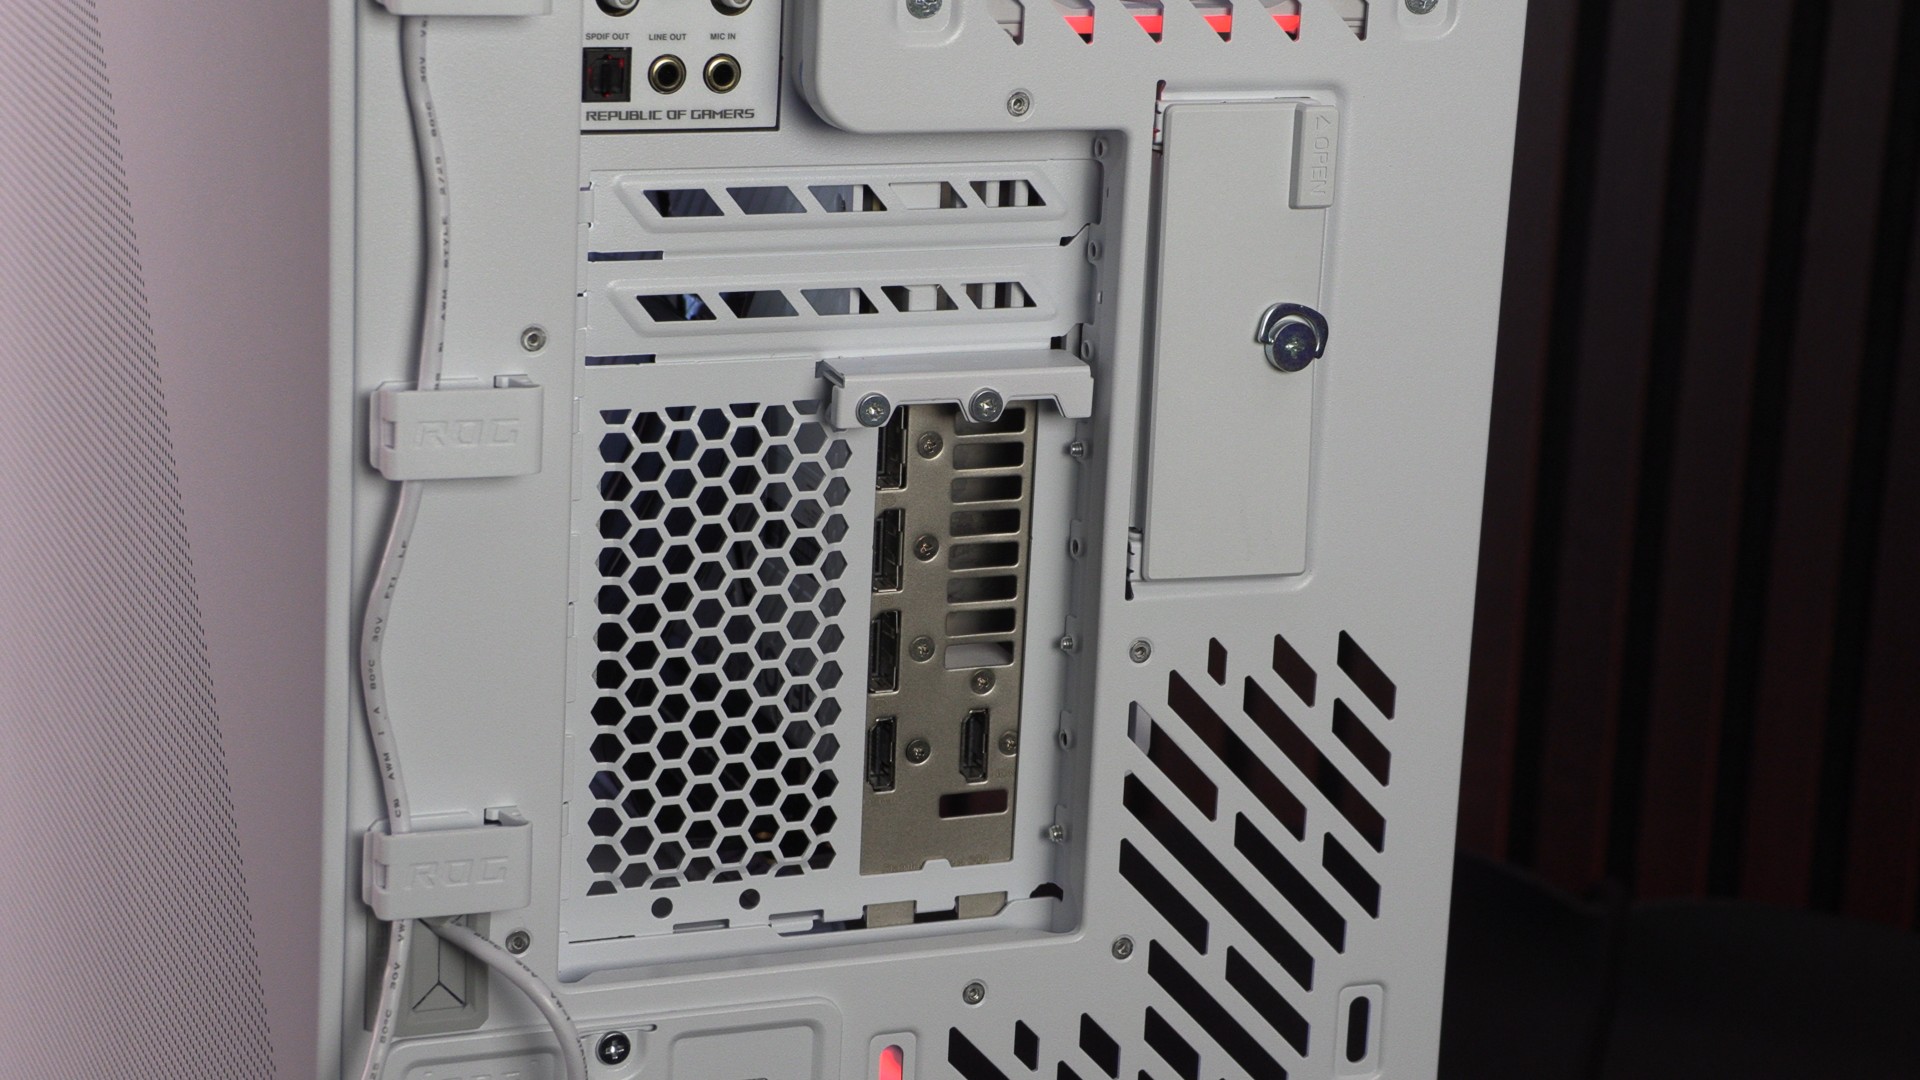
Moving to the back of the case, we can see the USB cable used to control the Cronox’s screen. This cable is routed out the rear of the case using a cutout and can be routed to the rear of any installed motherboard. One handy feature of the Cronox is its included cable routing channels, which can route all cables coming from the motherboard. The only problem with this cable management system is that there isn’t an extra cable clip at the bottom of the case. That would be very handy for PC builders.
Below you can see ASUS’ ROG cable clips in action.
For our PC build, we have used the ROG Cronox’s included vertical GPU mount. This PC case also supports GPUs with standard PCIe mounts. That said, this PC case looks best when using a larger vertically mounted GPU.
Cable management
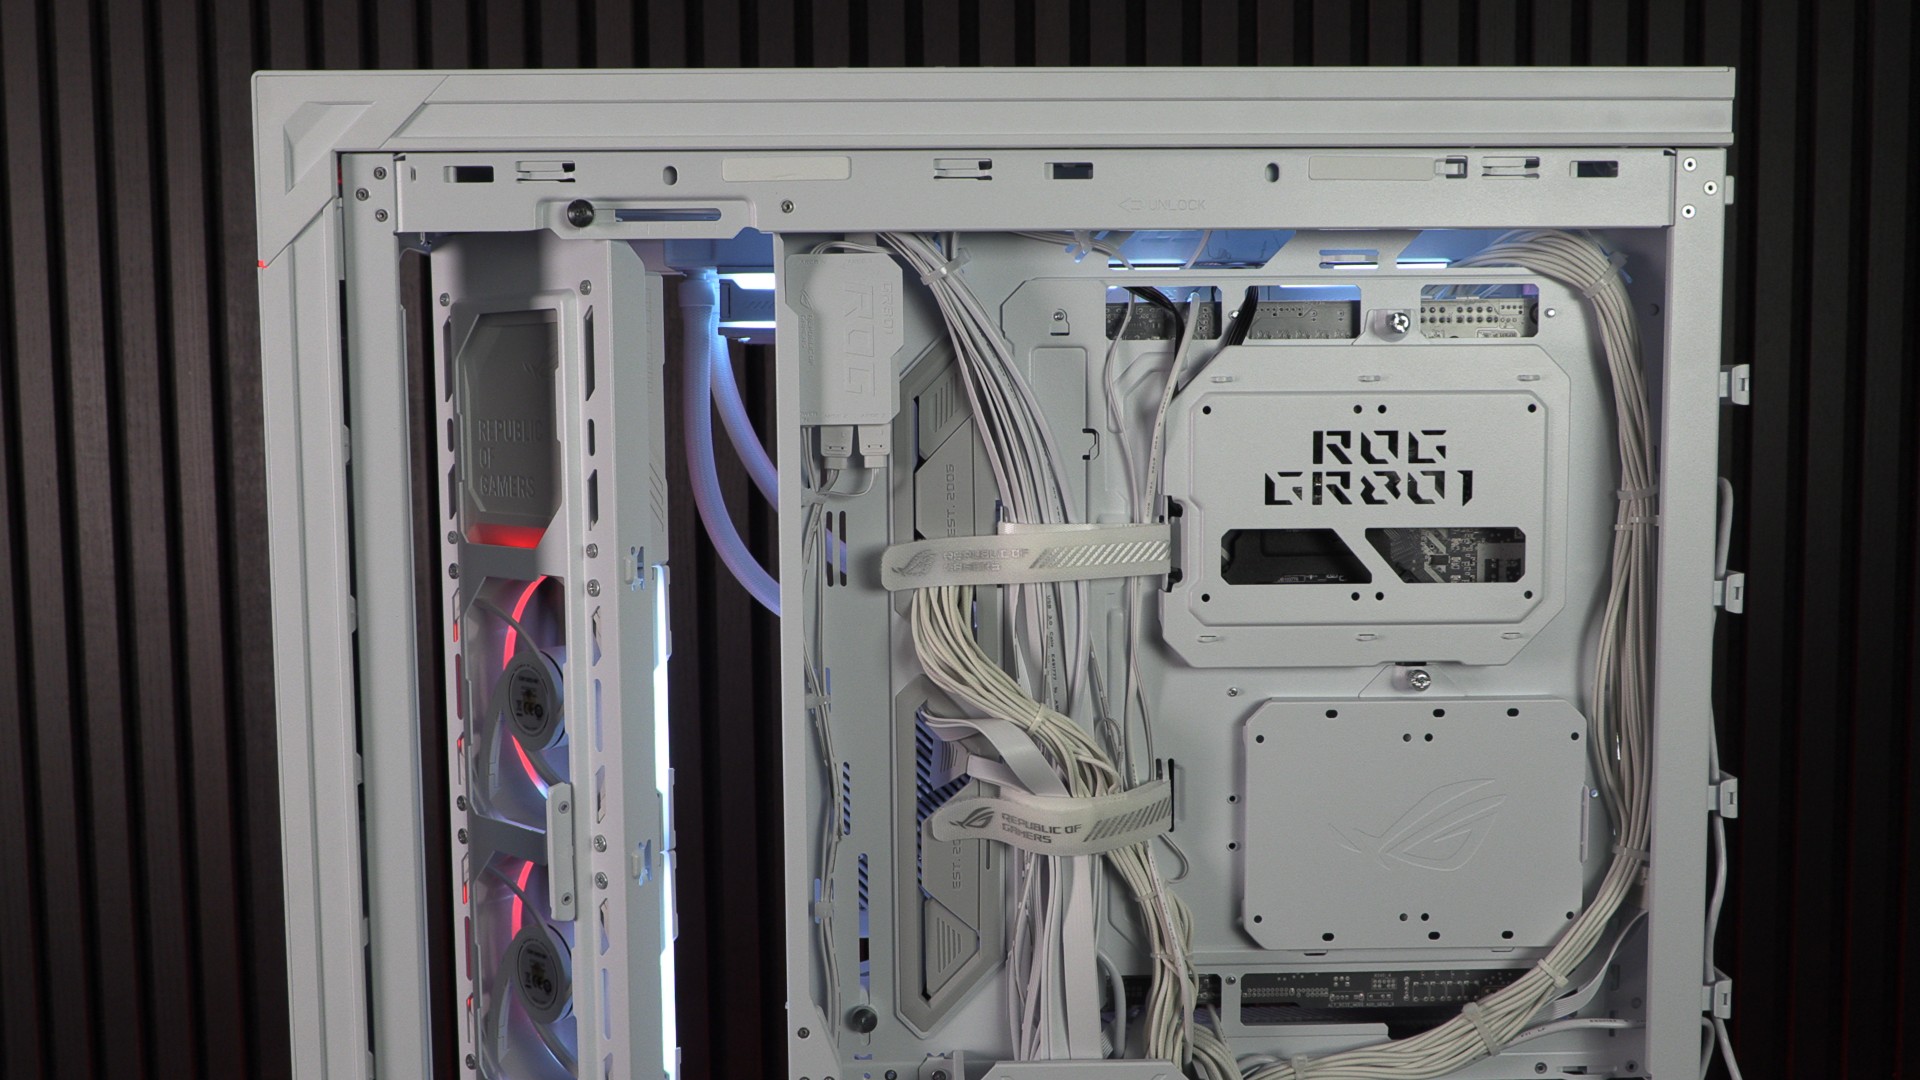
The ROG Cronox offers plenty of space behind the motherboard tray for cable management. This area also has mounts for up to four 2.5-inch drives, or two 2.5-inch drives and 1 3.5-inch drive. Note that we can also see covered BTF holes, which can be utilised if users remove ASUS’ cover plate. This case supports EATX (up to 12″x10.9″), ATX, MATX, and ITX motherboards. It also supports ASUS BTF motherboards.
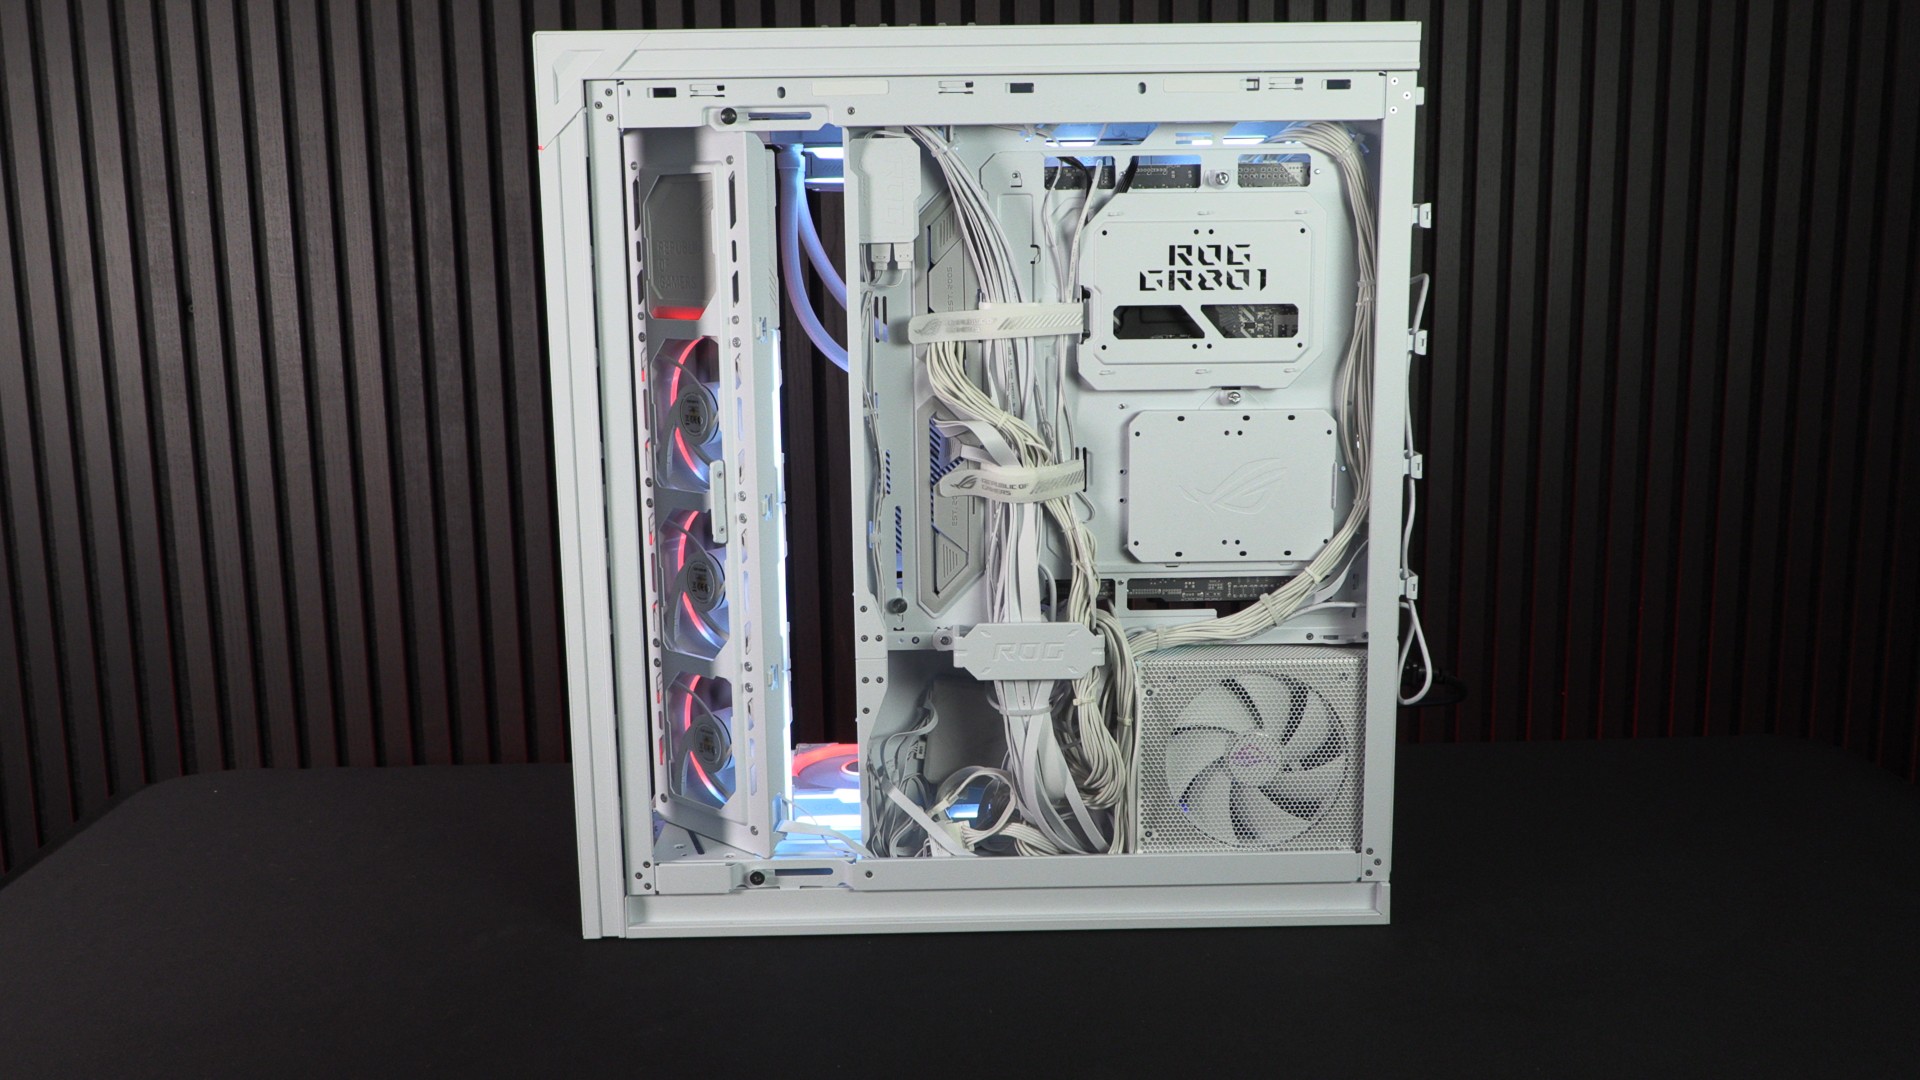
This case has plenty of spaces for cable ties, making it easy for PC builders to manage their cables.
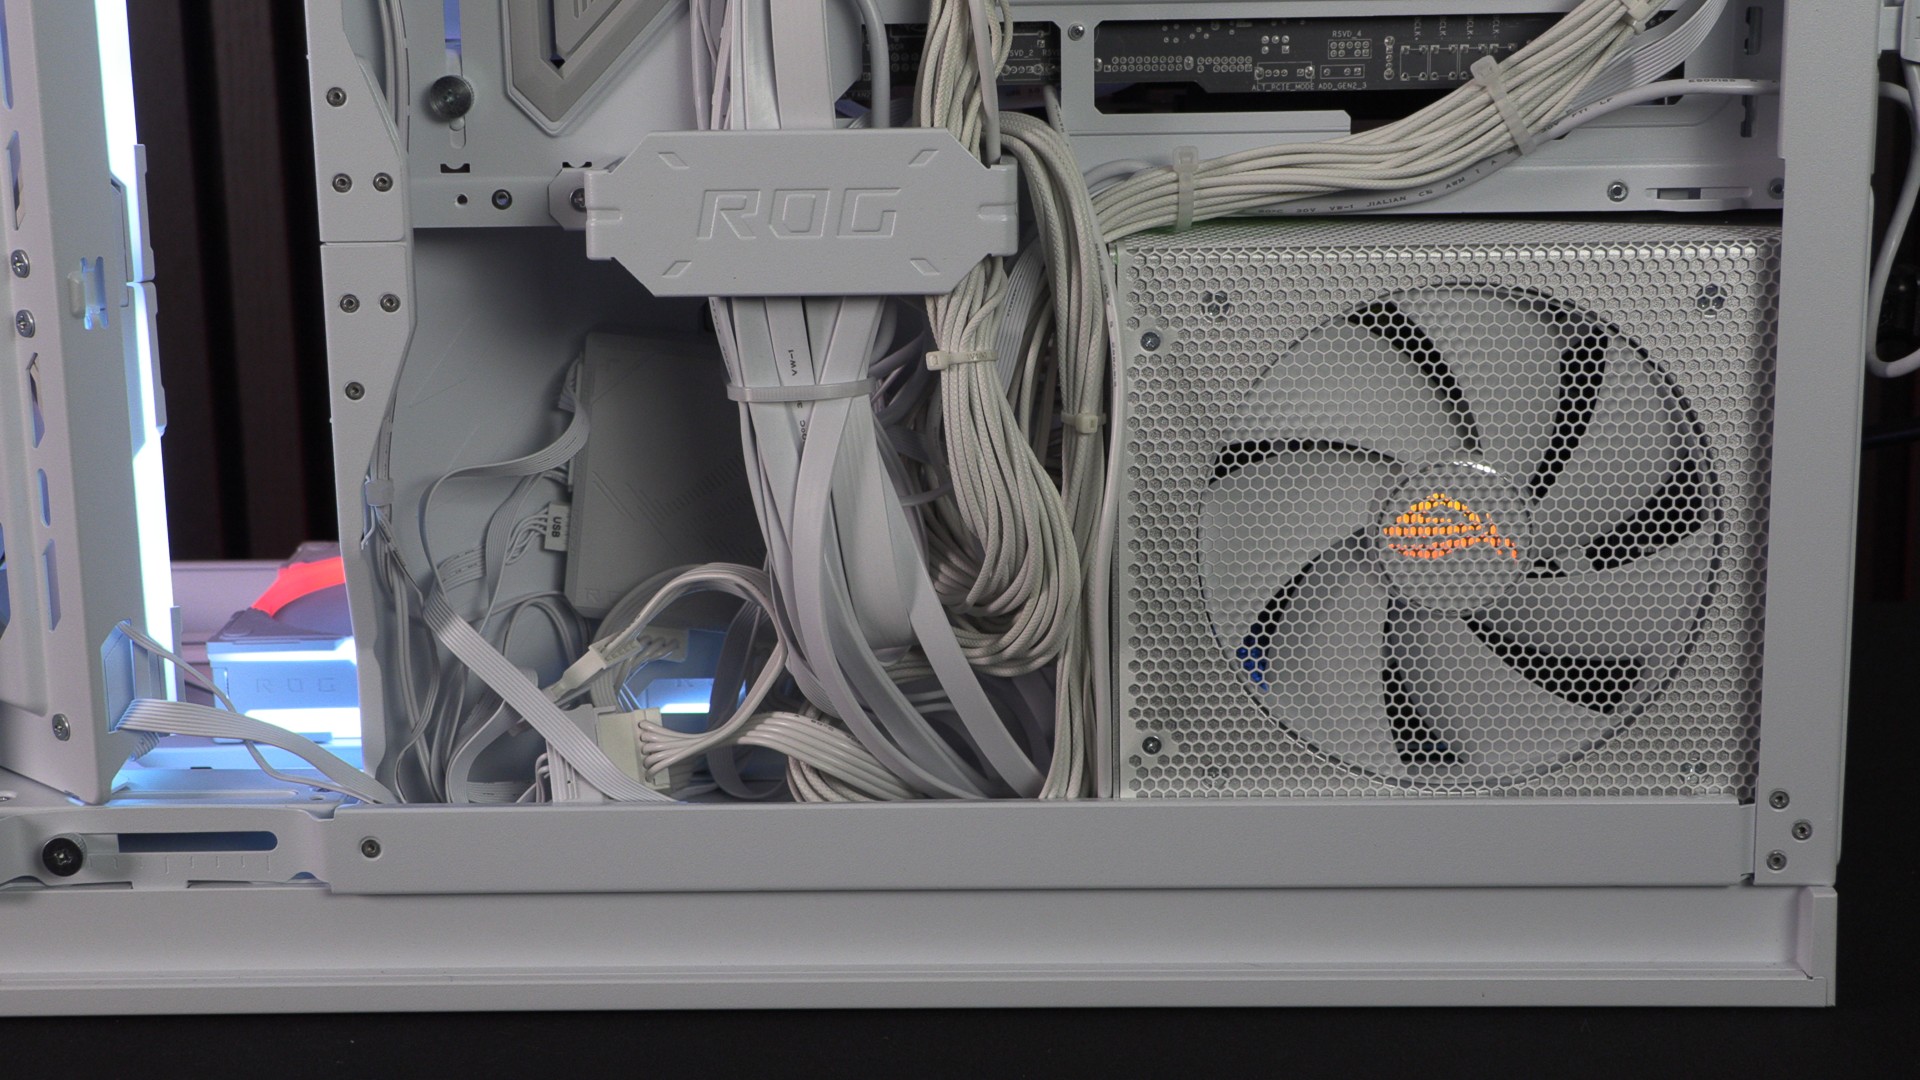
Notice how much space there is beside our PSU. Plenty of space to hide a ROG Eurox fan controller.
Embossed ROG details
If there is one thing that this case wants to make clear, it’s that this is an ASUS ROG case. The metal panels feature embossed ROG lettering and logos. The glass panel is the same. There is even an RGB-illuminated ROG eye at the front of the case. Even its included ROG Eurux fans have clear ROG branding.
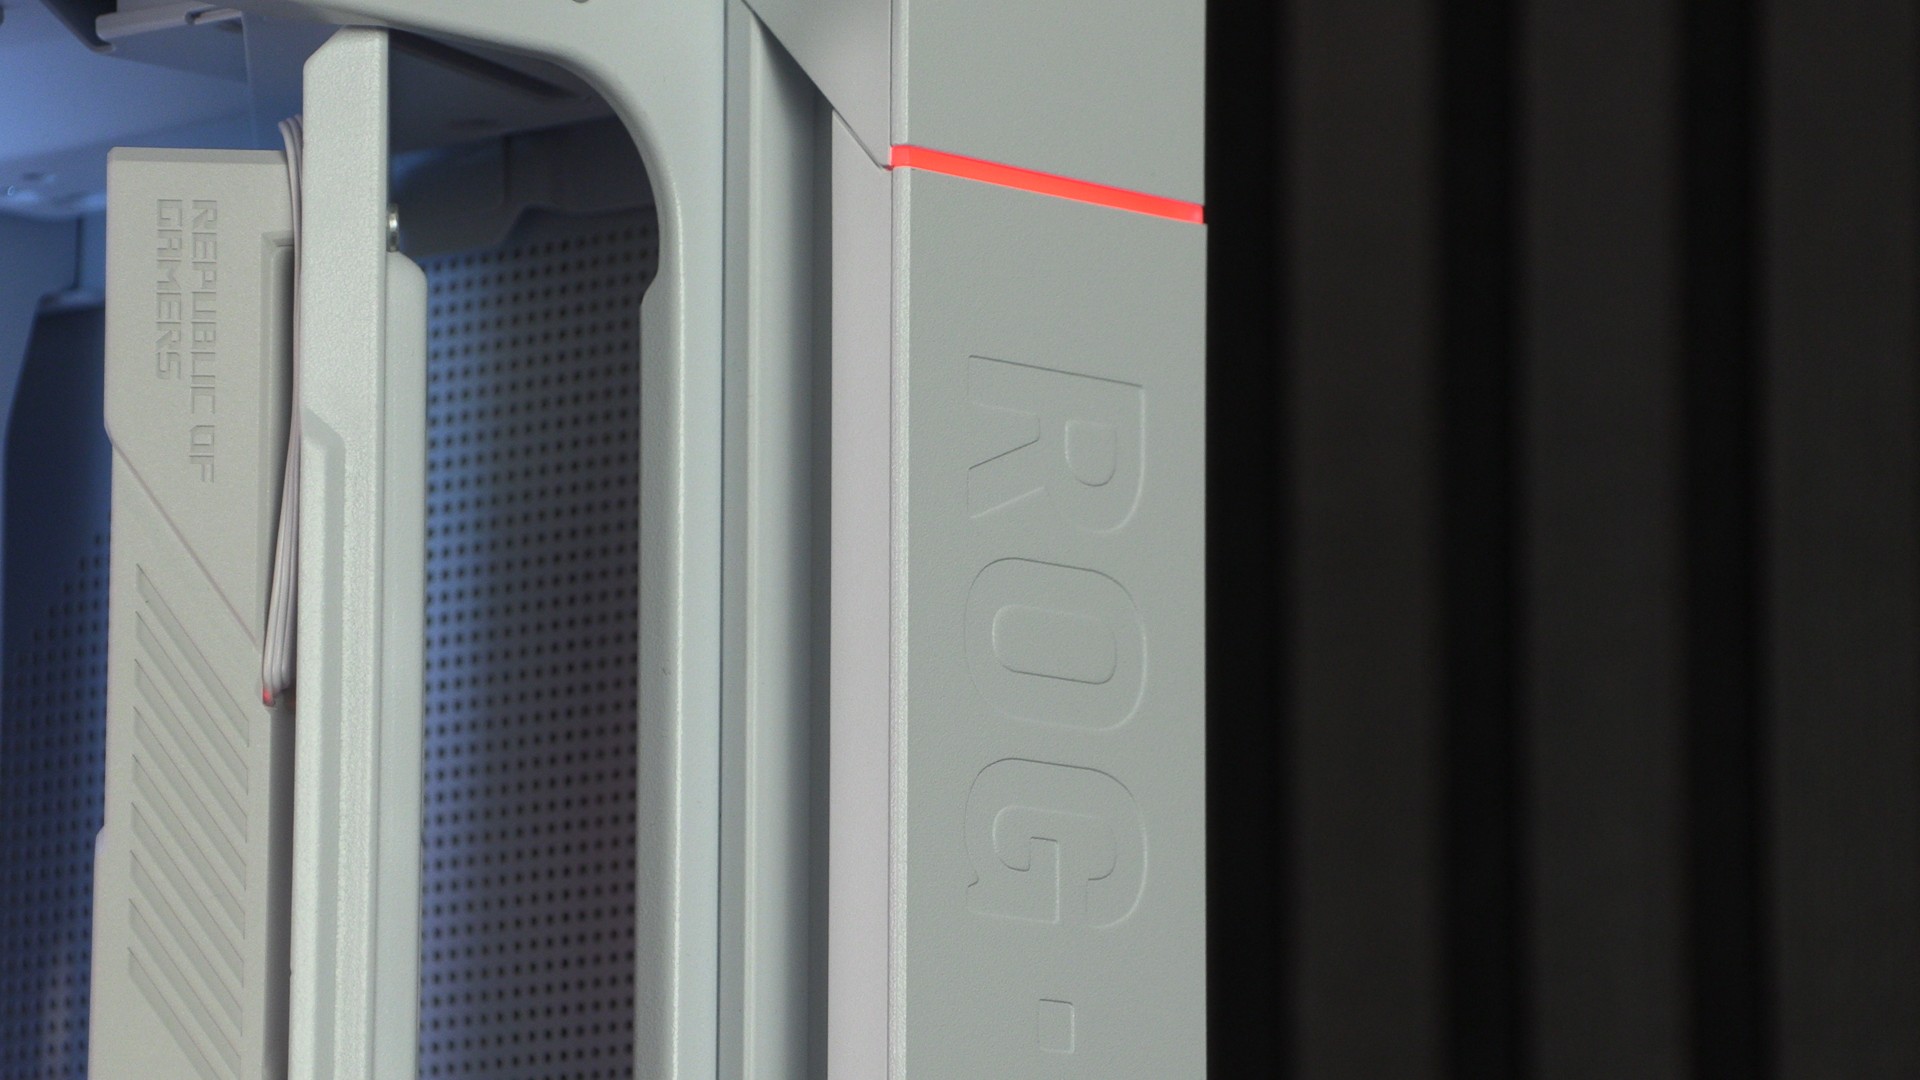
This system is unmistakably ROG.
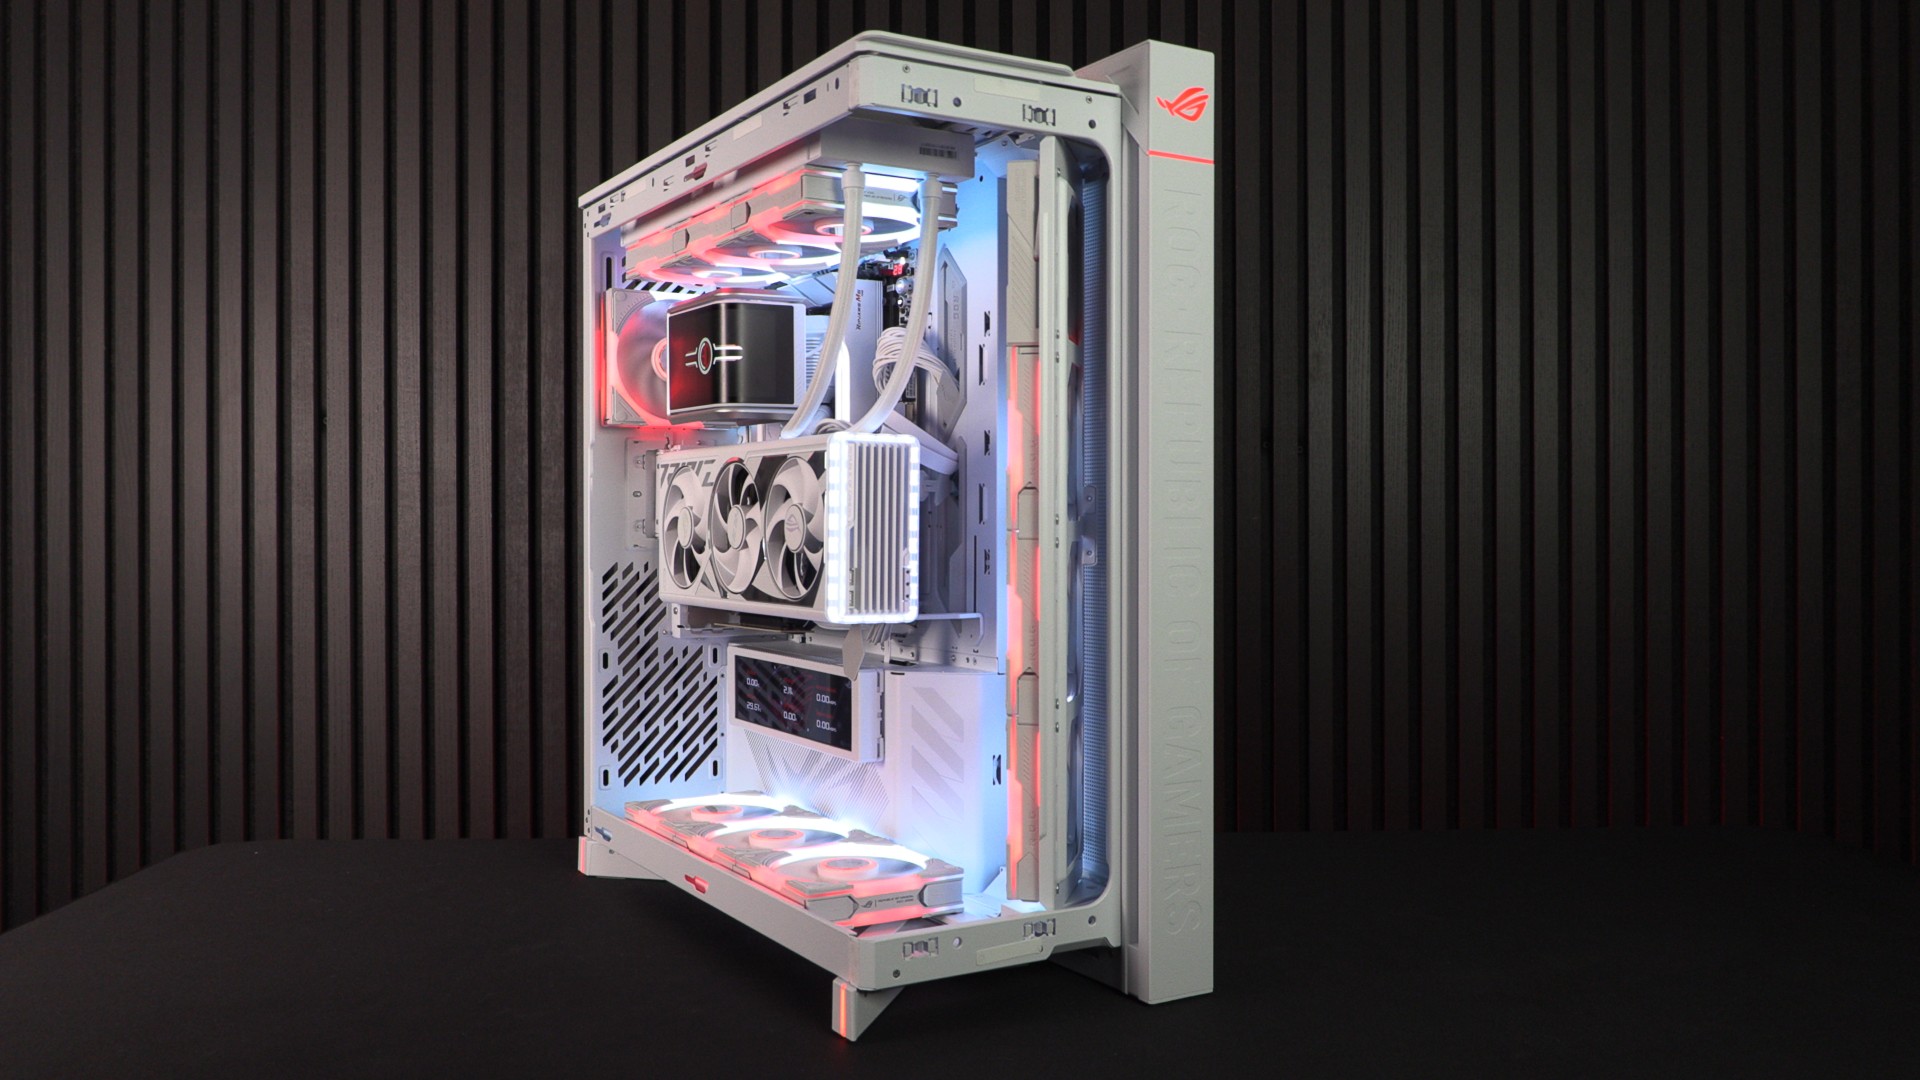
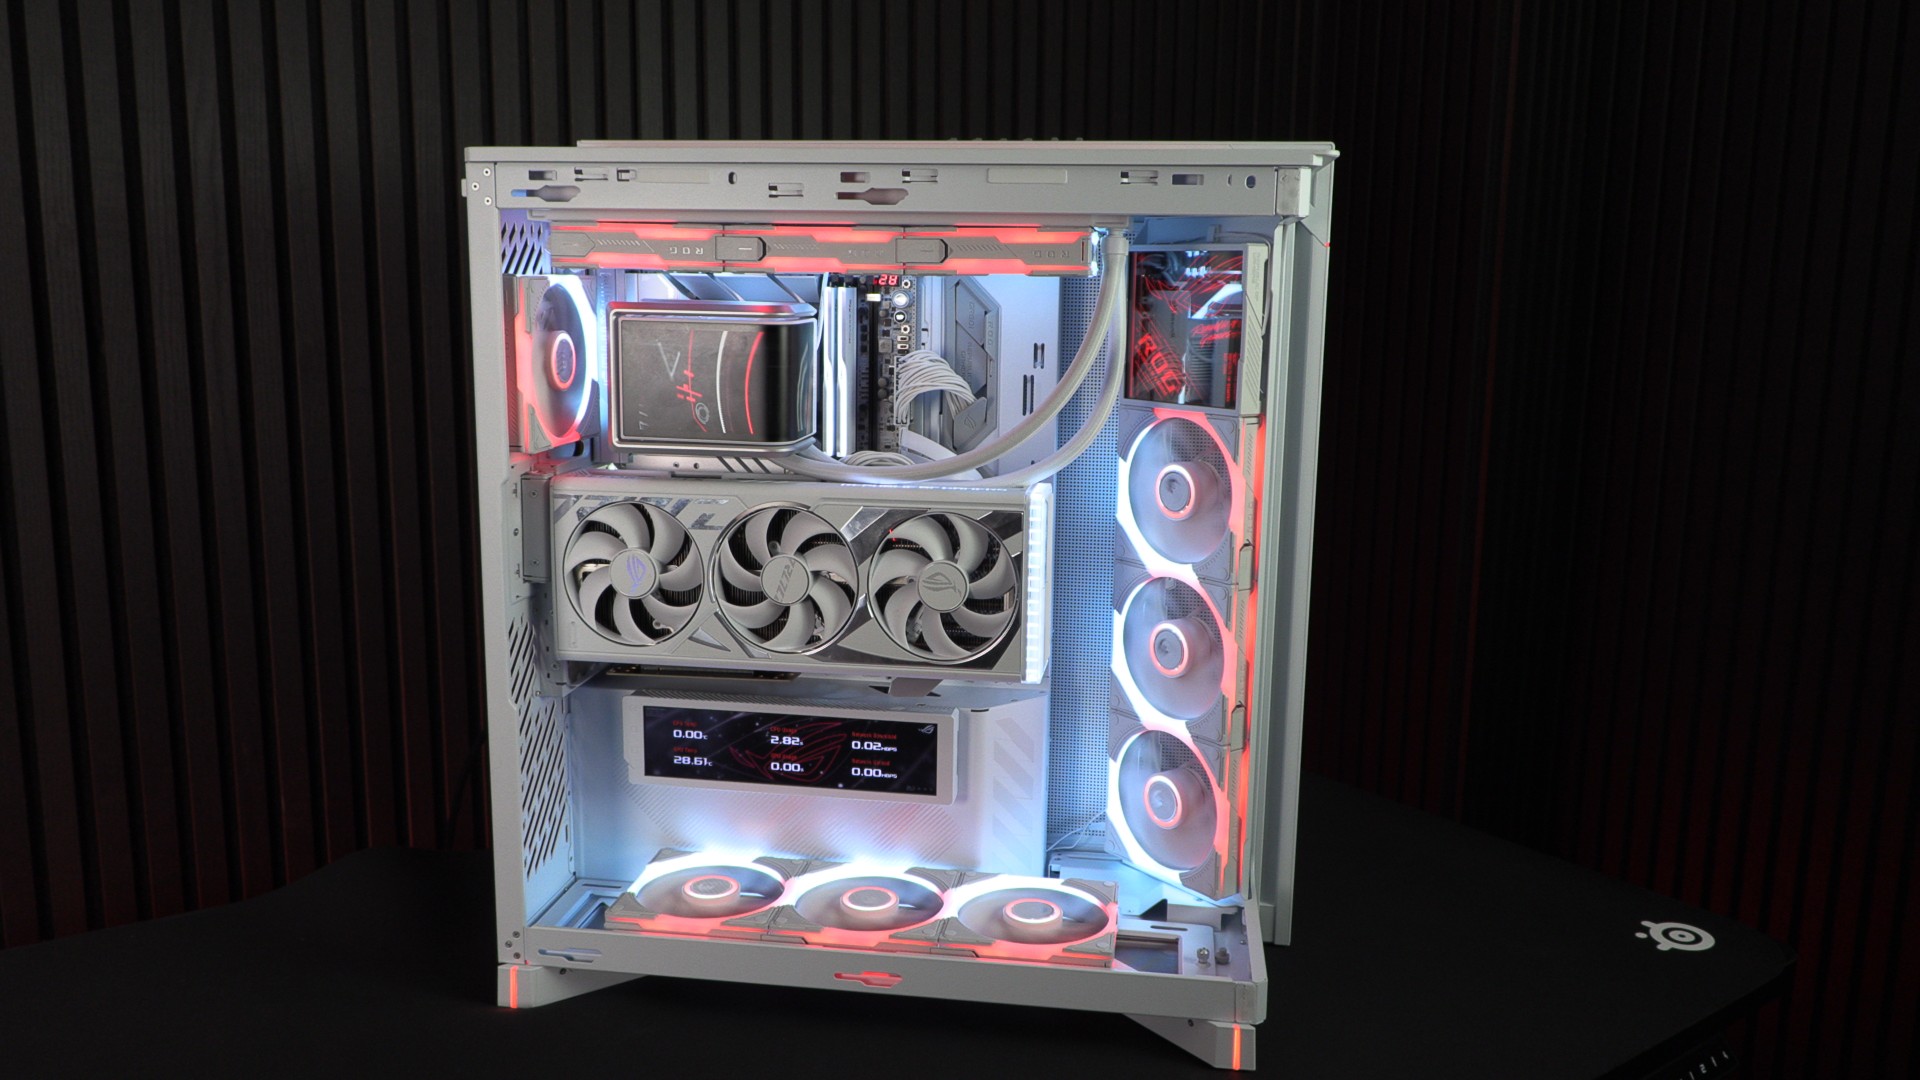
Below, we have built a full ASUS ROG gaming system within the ROG Cronox, complete with additional ROG Eurux fans.