Noctua NH-U14S Review

Up Close: Assembly and Fitting
Assembly is accomplished via Noctua’s SecuFirm2 system and is simplicity itself. Noctua provide separate boxes of components for both AMD and Intel CPUs, with each box having its own set of clear step by step instructions. We often joke here at OC3D about real men not needing instructions, but the feeling is best attributed to items that feel so intuitive that they are simply not required. The SecuFirm2 system used on the NH-U14S falls very firmly into this camp.
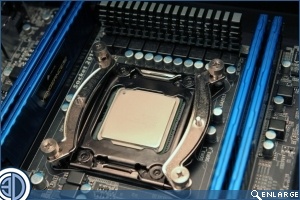
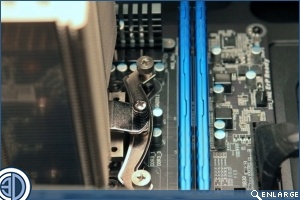
First up we thread double ended bolts into the commensurate holes on our 2011 Motherboard. If you’re using anything else then back plates are supplied. Once in place mounting brackets are laid over the upper threads and tightened down with cross headed thumb bolts. With the mounting brackets in place a single cross tensioning beam is screwed down onto the upper surface of the contact plate being tensioned via integrated springs. The whole assembly took about 8mins and was simplicity itself. The Cooler is fitted with the fan removed and its slim profile means you’re not going to be cutting your knuckles trying to reach bolt heads under the body of the fin stack
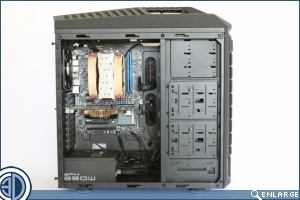
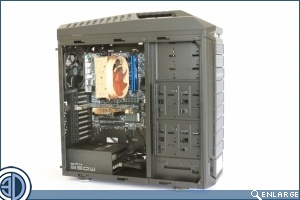
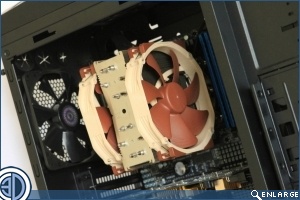
With the fan clipped back in place there’s still a good few mm until you reach the edge of the exclusion zone, meaning even the tallest RAM can live in peaceful coexistence with the NH-U14S. Even at 165mm in height there’s still pleny of room inside our trusty Cooler Master “Test Trooper” Noctua do state that when using the cooler with socket 2011 there may be some RAM encroachment issues with the rear most stack but we found no problems with the X79 UD3 used here.
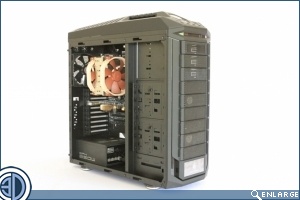
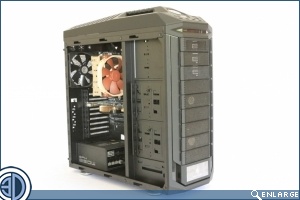
Dual fan configuration on the left, and single on the right.
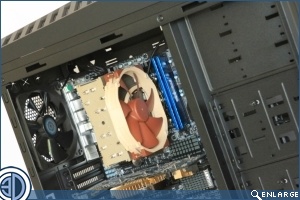
A side on view help to scale the size of the cooler, but do take into account the sheer size of the Cooler Master “Test Trooper” we use as our test bed.