


beQuiet Silent Loop 360mm AIO Watercooling Review

Installation
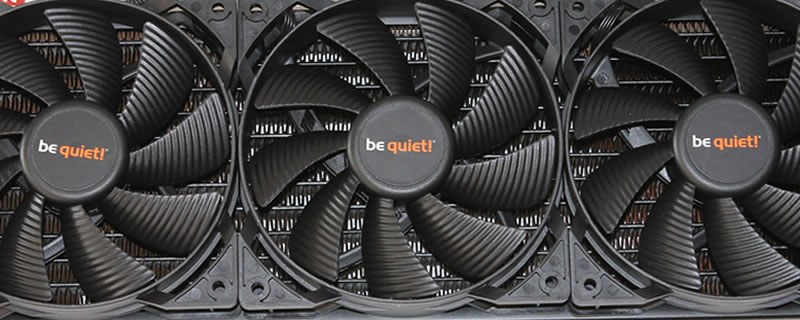
With the three Silent Wings 2 fans attached to the rad things are starting to take shape. It may not have the bling or software control of some of its competitors, but we think the Silent Loop 360 does look like a tasty bit of kit.

be quiet have put a bit of thought into the oversize nature of the 360 rad, and followed through with cables and tubing that is longer than is normally seen on an AIO

The instructions weren’t great, but thankfully as we’ve a fair bit of experience here at OC3D we were able to muddle through. Now, the observant among you will have noticed that we’ve put the rad in the front as opposed to the roof, and the reason for that is simple, it won’t fit in the roof. Having tested this sort of thing before we’re confident that the changed position will make little to no difference to the results.

The Pump assembly looks nice and simple, with just the chromed be quiet logo to break up the large slab of brushed Aluminium effect on the upper surface.

The even more observant among you will notice that we’ve mounted the rad in “Pull” configuration” Again, the reason for this is simple. The long screws that be quiet provide aren’t quite long enough to secure the fans to the rad after they’ve passed through the front bulkhead mounting holes. Again, this configuration will have little effect on the temps we record.
