BitFenix Portal Review
Up Close: Â Interior
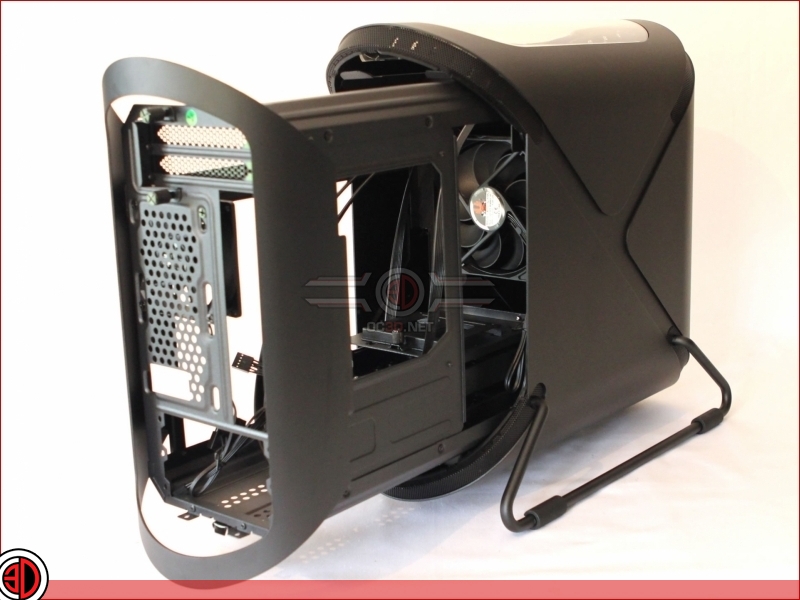
Well BitFenix have certainly come up with an ingenious way of allowing you to access the interior of the Portal. Â Releasing two thumb bolts at the bottom permits the whole interior to slide out on an extending rail. Â The interior cassette is then simply lifted off the rail after which it can be worked on. Â Obviously this is a really easy job with no cables attached but has potential to be a bum biter once your case is all wired up to the front I/O
Â
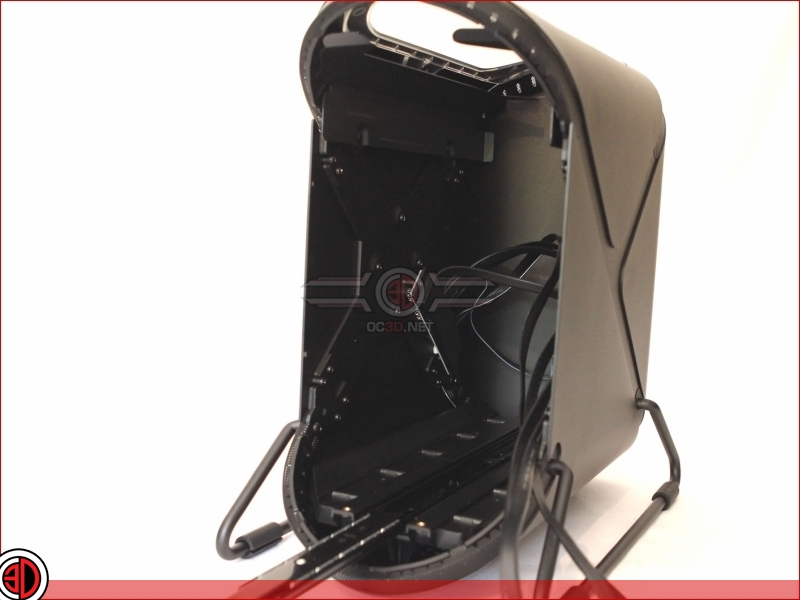
With the cassette lifted off we can see into the interior, and in particular to the long front I/O cables which are left behind. Â These cables have to be long enough to extend out of the case when the cassette is pulled out, but we hope not too long that they become and encumbrance when we try to slide the whole thing back in.
Â
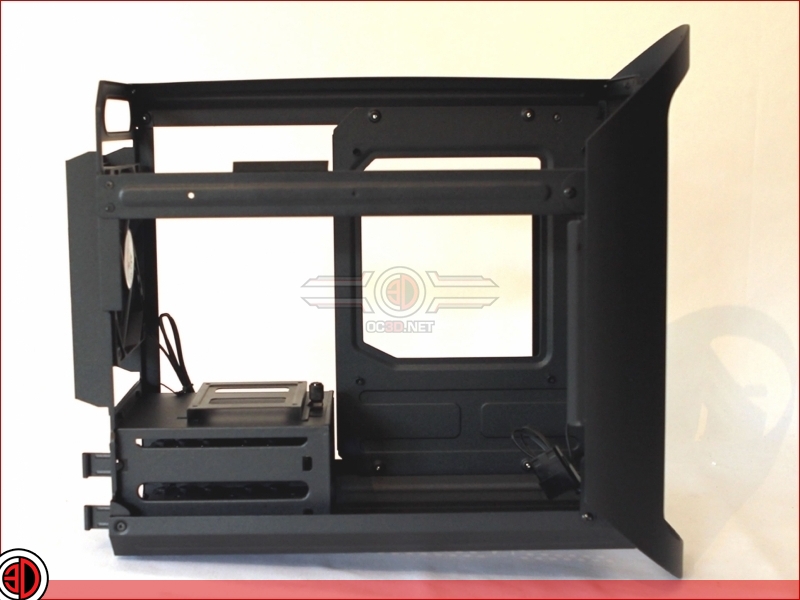
We’re now looking at the right hand side of the cassette, the rear of the case is on the right as we look at it. Â What you’re actually looking at though is the Motherboard area. and the storage for a pair of 3.5″ drives and a single 2.5″ drive which live together down at the front left hand corner
Â
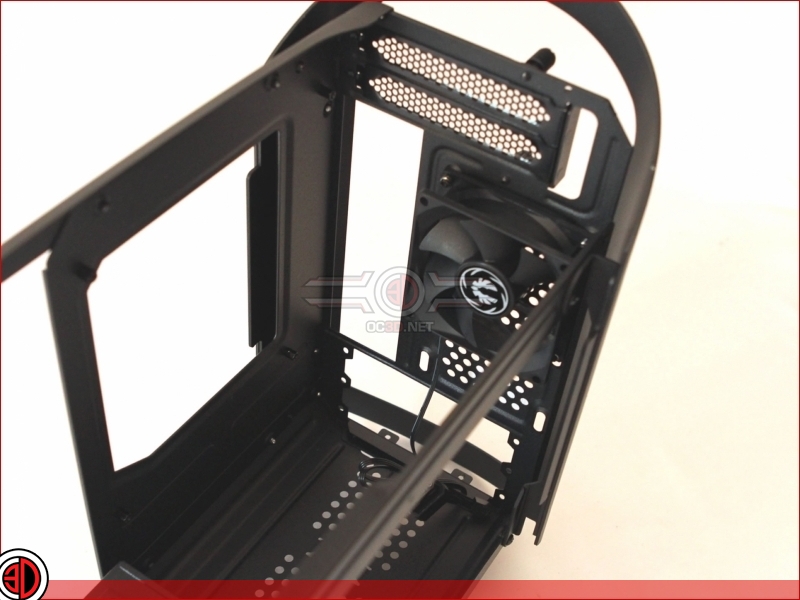
We’re now peering down into the rear I/O area which as you can see has a small 80mm fan set to extract. Â There’s a pair of vented Expansion slot covers up at the top, indicating that the Portal sports an inverted Motherboard layout.
Â
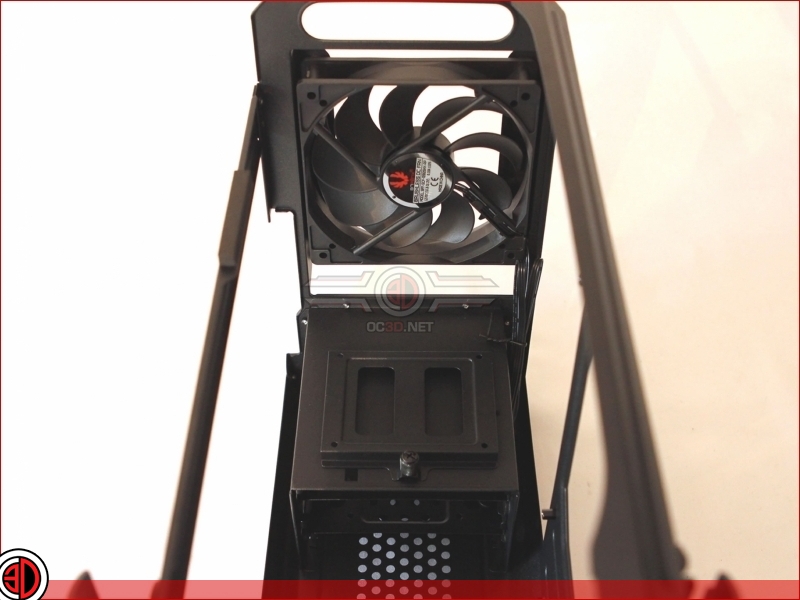
This then is looking down into the front of the case where we can see a single 120mm fan set on intake. Â At this point it’s fair to say that with the limited venting and limited active cooling we have serious concerns about this case with regards to internal temps.


