


BitFenix Prodigy M Review

Modding without Modding.
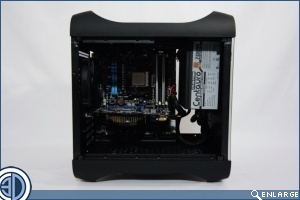
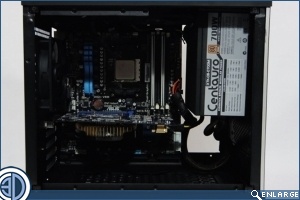
If you’re into modding, and it’s fair to say that here at OC3D we most definitely are, then you’ll be familiar with the feeling of looking at a case and thinking “I wonder…” It was in taking the case apart for the “stripped” section of the review that we got to thinking as most people sit their PCs on the desk to the right of them (We guess because the majority of people are right handed) how easy it would be to create a Prodigy that didn’t have the inverted motherboard layout, and therefore had the motherboard on the right hand side of the case, thus lending itself to a case window that could be viewed when sitting to the left side of the case. With us so far?
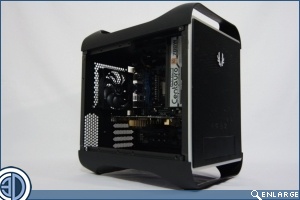
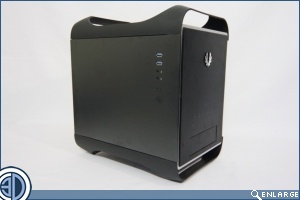
It’s actually pretty simple to do mainly because the feet are exactly the same as the top handle sections, however it isn’t just as simple as turning the case upside down. We also swapped the side panel that has the I/O over so that it would be facing us, if you chose to you could put this back to the other side. The final step was to carefully remove the BitFenix logo sticker and replace it in the same position but the correct way up. The side panel is now just gagging to have a window cut into it to show off all the shiny things inside
If we were to take this mod further we would definitely want to fabricate a mesh panel for the roof as obviously the new roof is what was the old floor of the case and so looks a little untidy, but you get the idea that even in simple terms the BitFenix Prodigy is still a very modable case.