Phanteks Eclipse P400 Review

Stripped
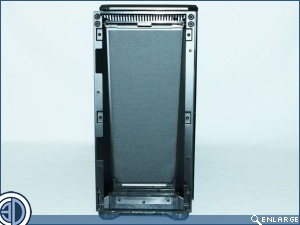
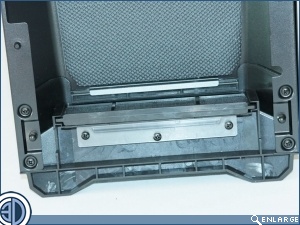
There’s not really a lot to Strip on the P400 as it’s a predominantly steel chassis. Â The only real part to remove is the front of the case which owing to it’s ball and socket type fastenings comes away really easily with no sense at all that you’re about to break something. Â In fact, having spent so many years having to really tug at case fronts to get them off we really had to remind ourselves to take it nice and easy with the Phanteks. Â Once removed we turned the front panel round so that you can see the sound deadening material. Â the cheaper version of the case doesn’t have this, and neither does it have it in the doors. Â Down at the bottom of the case front we’ve shown the diffuser panel that evens out the light from the row of RGB LEDs that we’ll show you further down the page.
Â
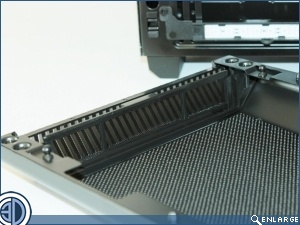
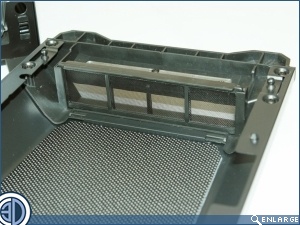
The front panel has fence style air intakes at the top and bottom which filter the air that enters the central cavity. Â For ease of cleaning these filters are very easily removable and are small enough to be easily vacuumed or even washed
Â
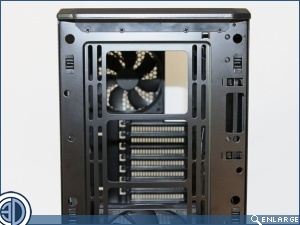
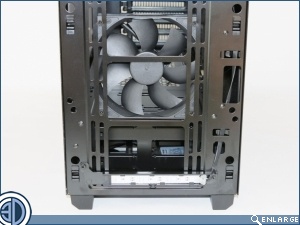
Looking at the front of the actual case now we can see the large slotted mounts for both 120mm and 140mm based fans and radiators.  As you can see the case will take 3x120mm or 3x140mm It also looks to be able to take a 360mm rad, but by the looks of the spacing at the end is unlikely to be able to accommodate 420mm rads.  The white panel at the bottom of the lower right image is the RGB LED panel that we have  previously referred to.