Raijintek Paean Review
Assembly
After orientating the main panel correctly, the first job is to attach the eight rubber coated frame stand-offs, or whatever you want to call them. Â These simply screw into each other from opposing sides of the main panel, with the ones on the motherboard side being slightly longer.
Â
With these stand-offs in place the next step was to attach the PSU mounting brackets, and the eight slot PCI bracket. Â these simply screw into the main panel. Â One thing we did find though was that although wonderfully tactile, the rubber coated stand offs are total dust and ling magnets, so if you want things to look just right after assembly we suggest you use some sellotape or similar to remove the dust and lint from them.
Â
Â
With things starting to take shape we then attached the bracket that will provide mounting for up to three 3.5″ and 2.5″ drives. Â
    Â
 Â
Â
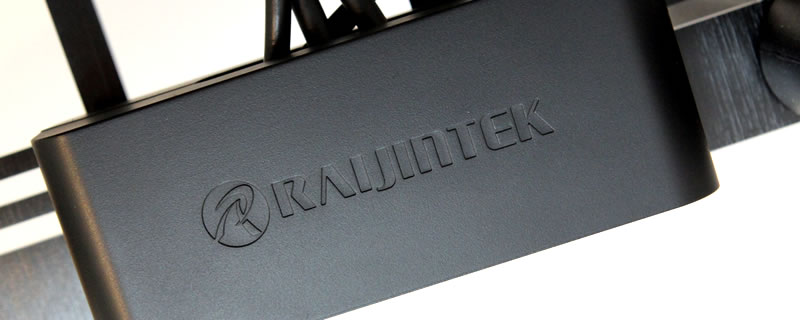
The last step is to mount the front I/O box. Â As the case can be oriented in various positions on your desk, Raijintek have cleverly made provision for several different mounting points for the Front I/O box, so it will always be exactly where you want it.


