The Ultimate Gaming Case? HAVN HS420 PC Case Review

Up Close with the HAVN HS420

Up Close with the HAVN HS420
We have used this case extensively since it arrived at OC3D. In fact, we have used it as part of our Intel Core 200 Z890 test platform. We have already installed six different motherboards inside this case (likely more when this is published) and conducted countless CPU tests. Thanks to this, we have become very familiar with the HAVN HS420.
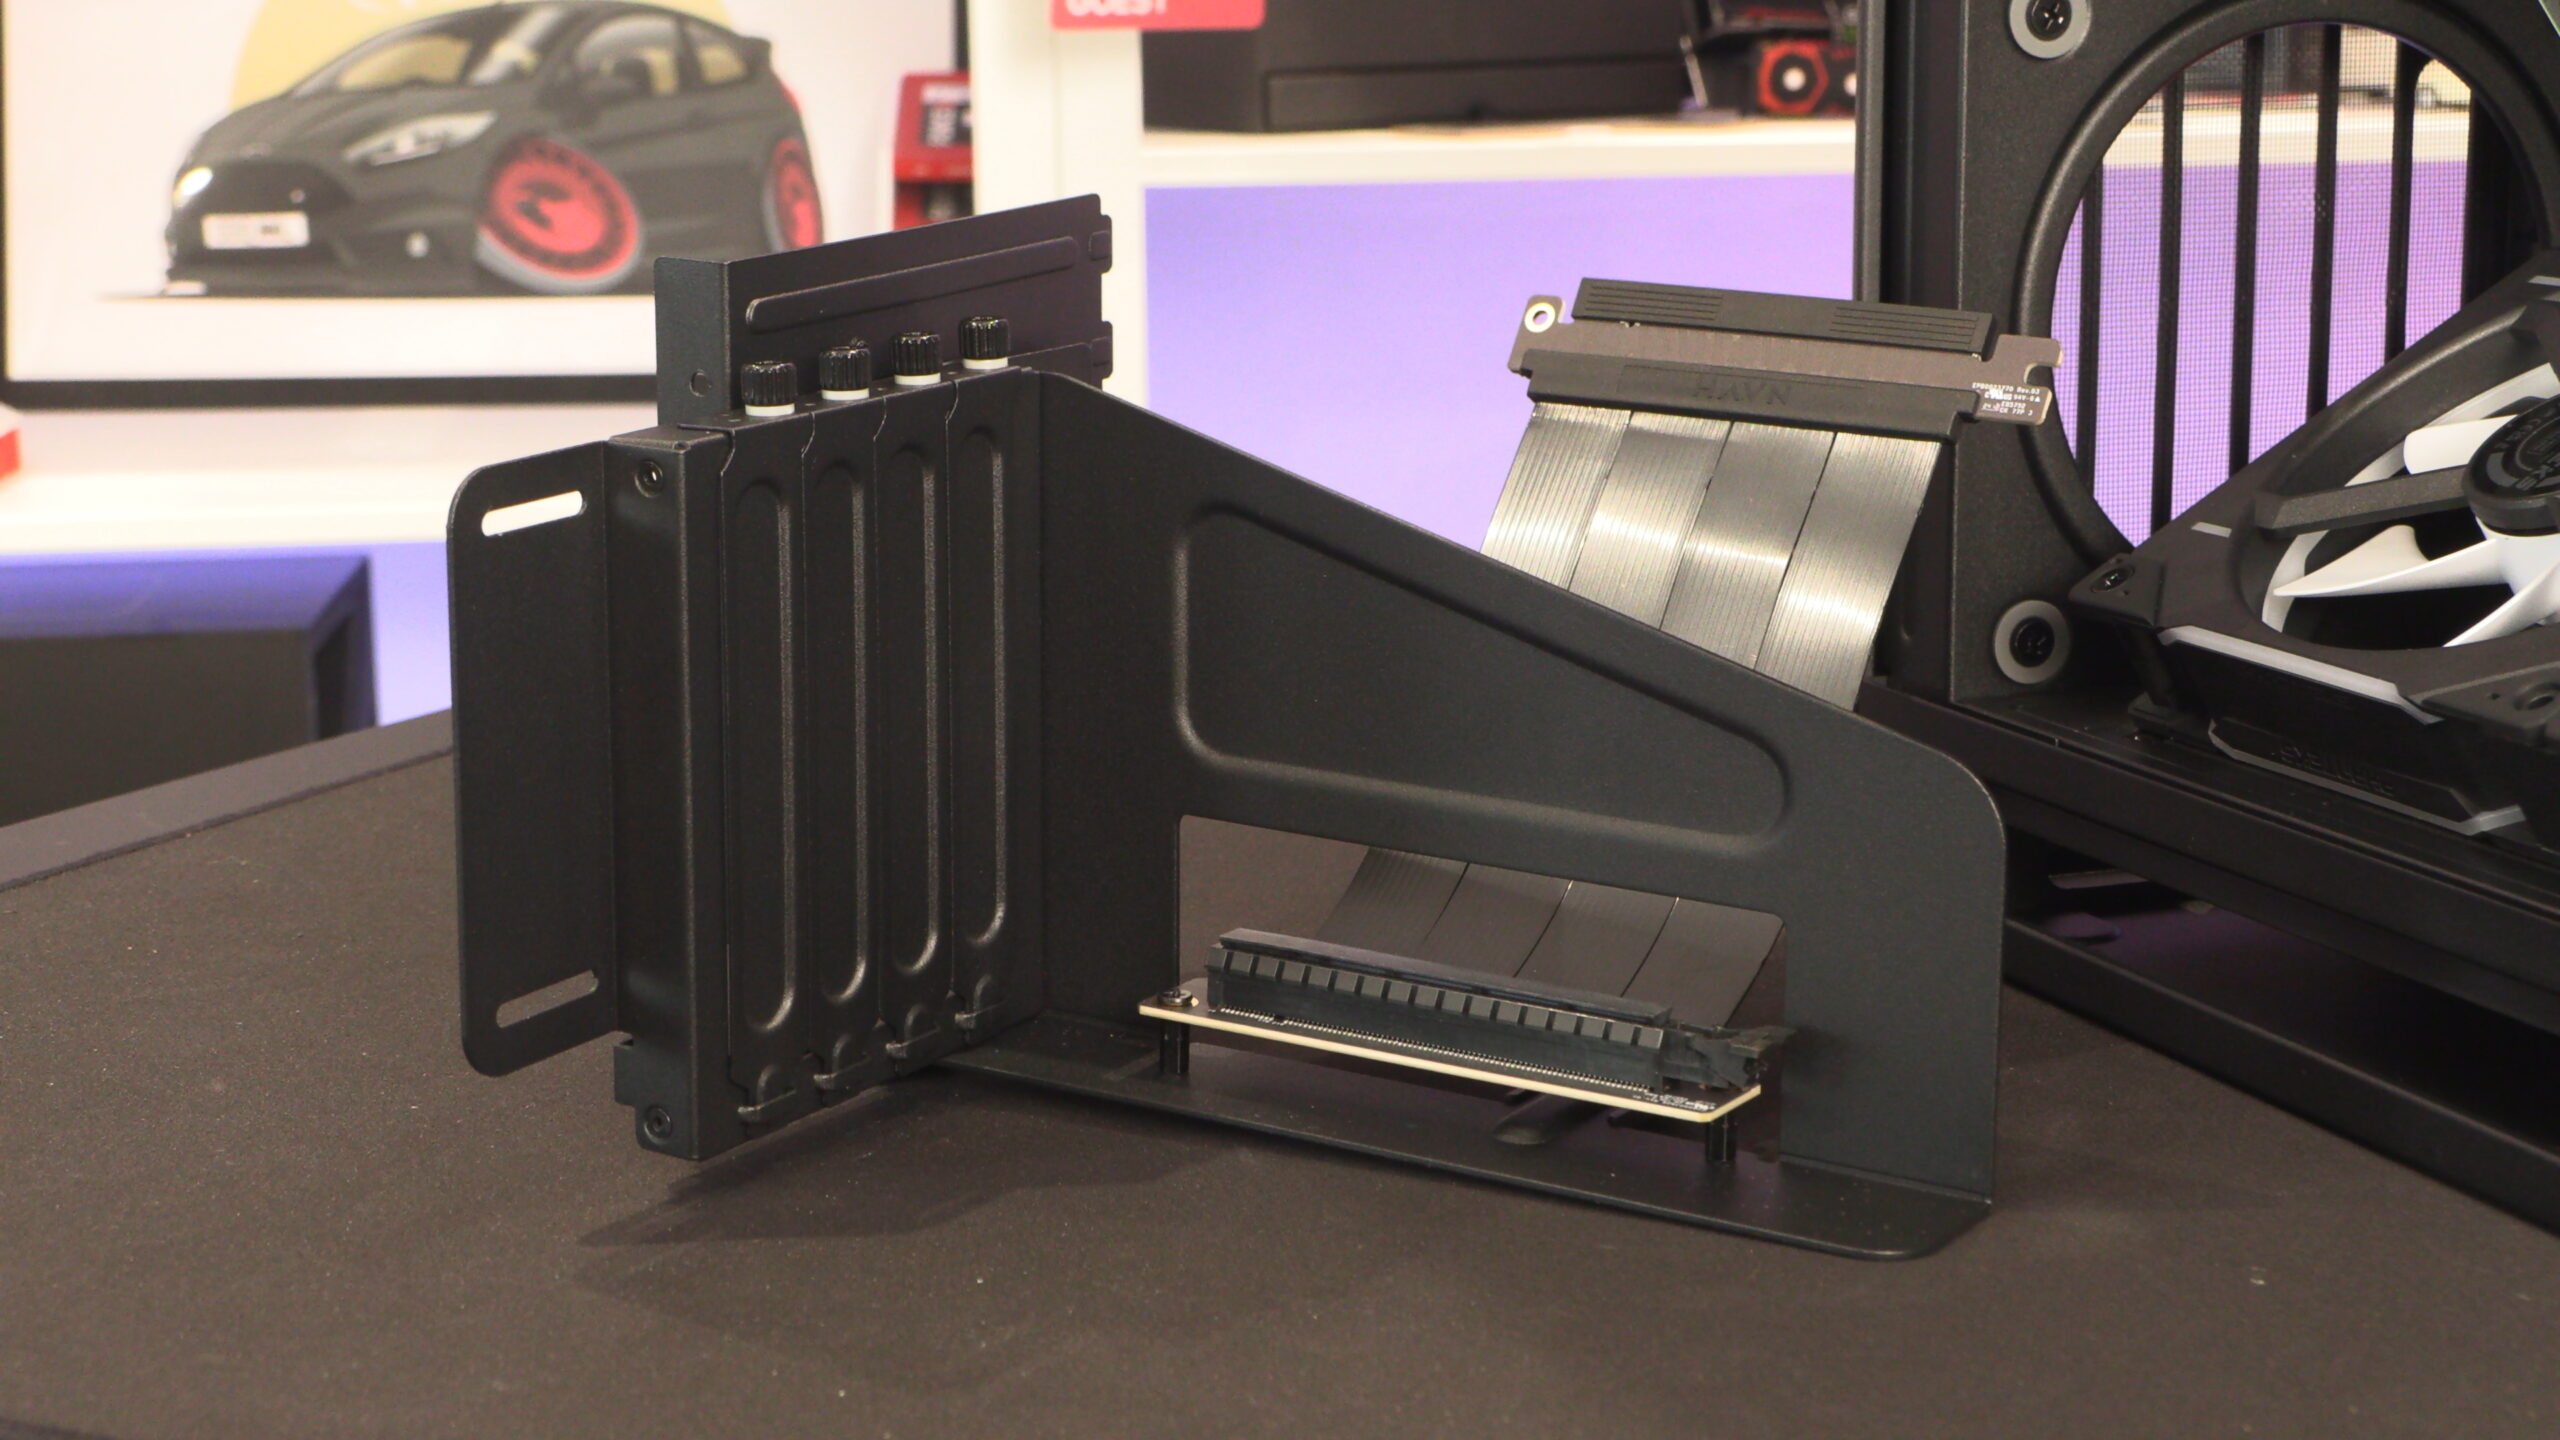
For starters, we will look at this case’s vertical GPU mount. It has an attached PCIe 5.0 riser cable and supports GPUs that are up to 4 slots wide. Furthermore, GPUs up to 470mm in length can be used with this mount inside the HS420.
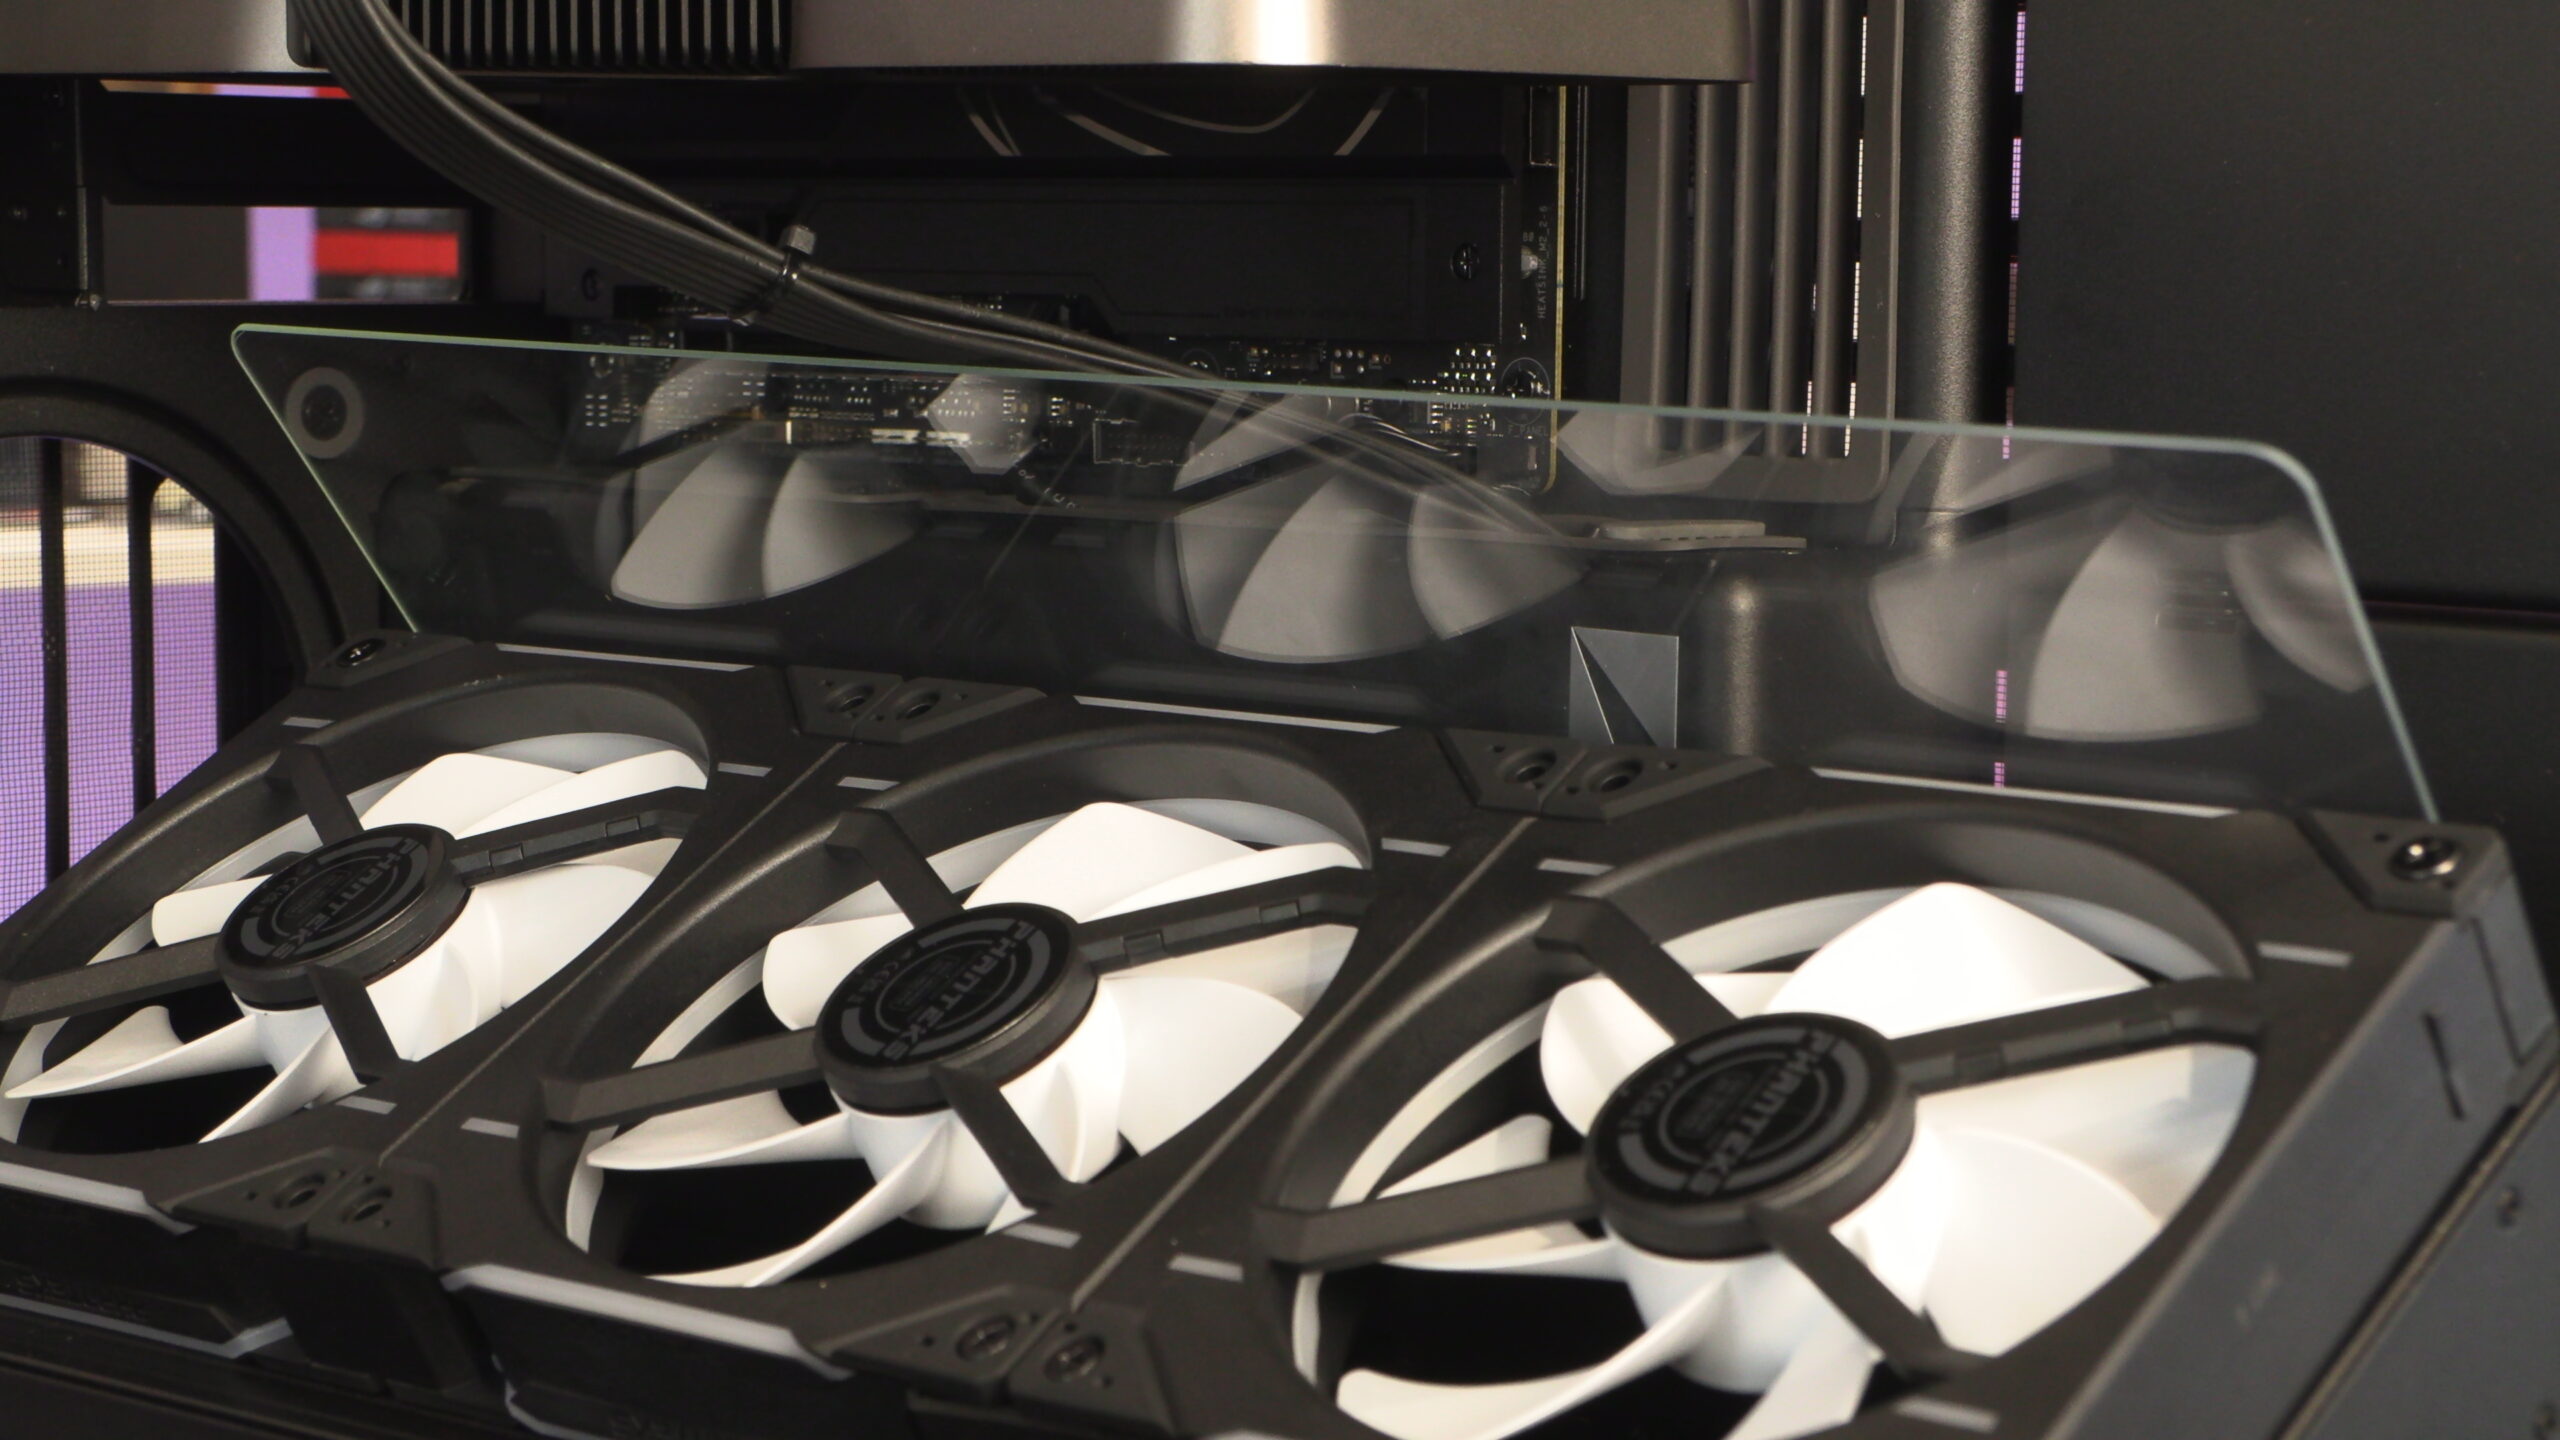
As mentioned on page 2 of this review, this model of the HS420 is designed with vertically mounted GPUs in mind. This bottom fan mount and its glass airflow guide optimally push cool air towards the front of your graphics card. Since we are using this case as a CPU test rig, we are not currently using this case’s vertical CPU mount. With the number of hardware switches we are doing, we have chosen to mount our graphics card directly.
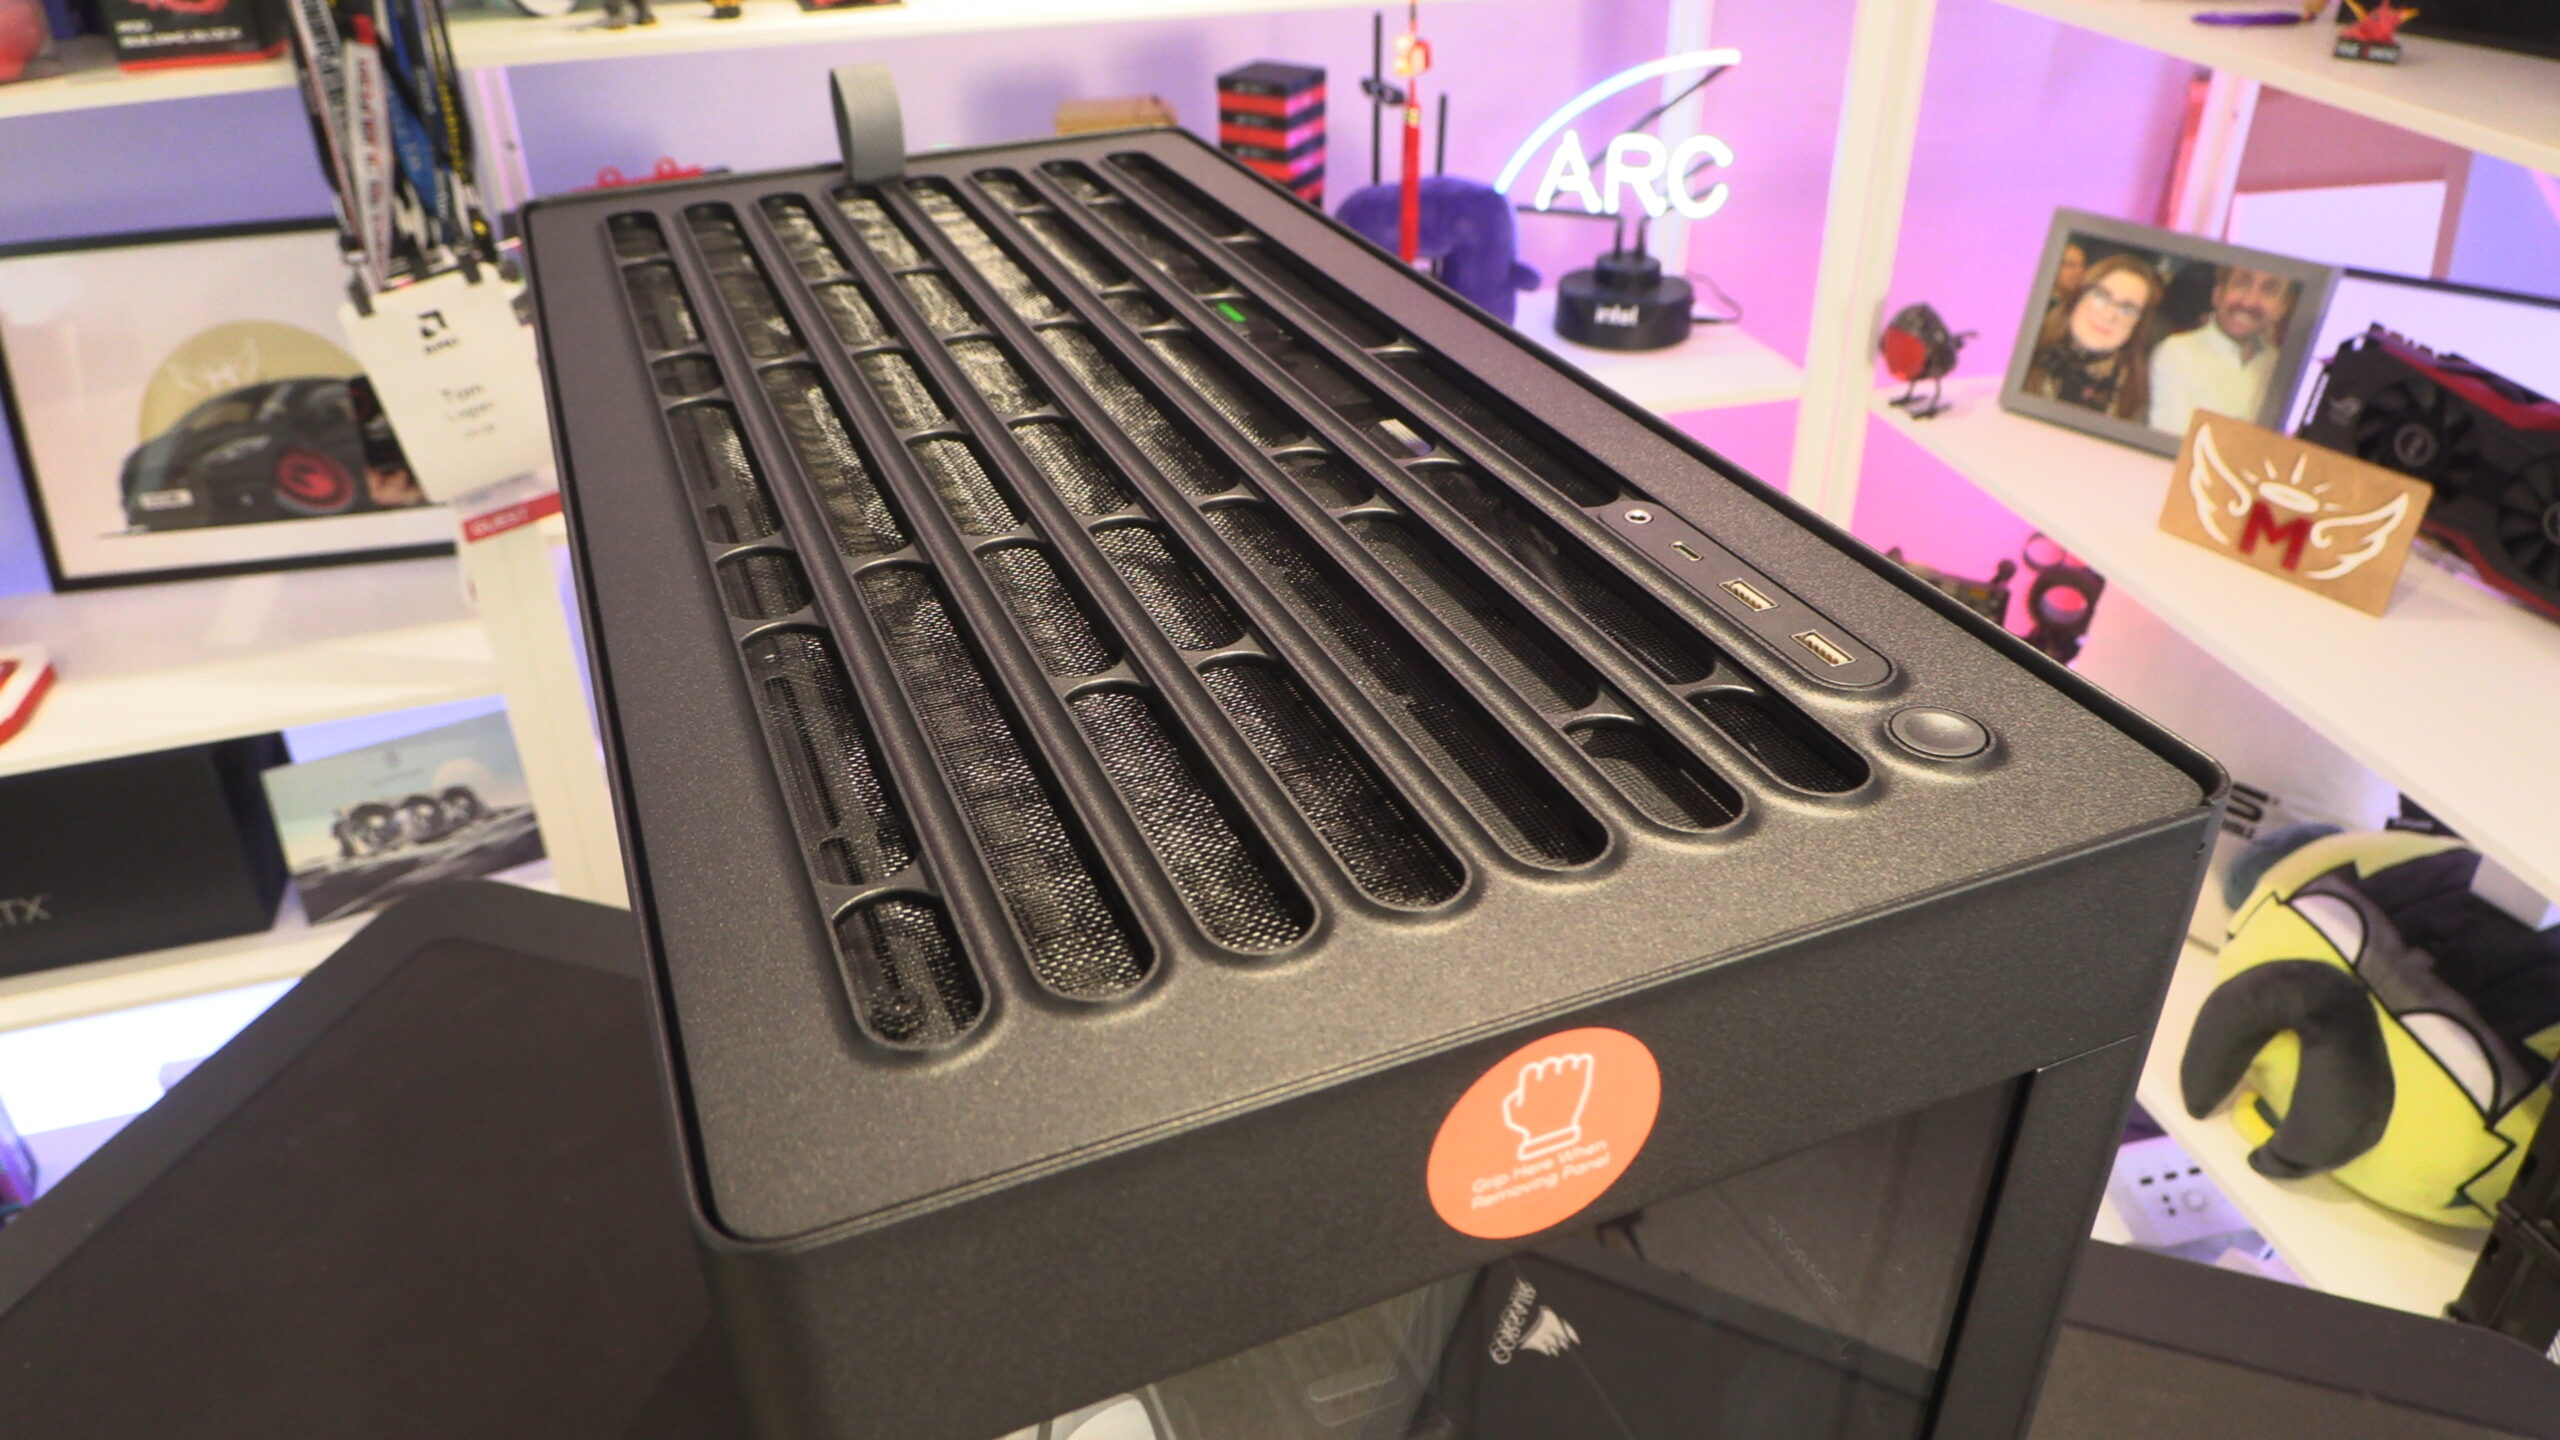
At the top of the case, we have a removable panel that has a pre-attached mesh. This top panel is easily removed by pulling the tab at the back. Here, we can also see the top IO of this case, which includes two USB 3.2 Gen 1 Type-A ports, one USB 3.2 Gen 2 Type-C port and an audio in/out combo jack.
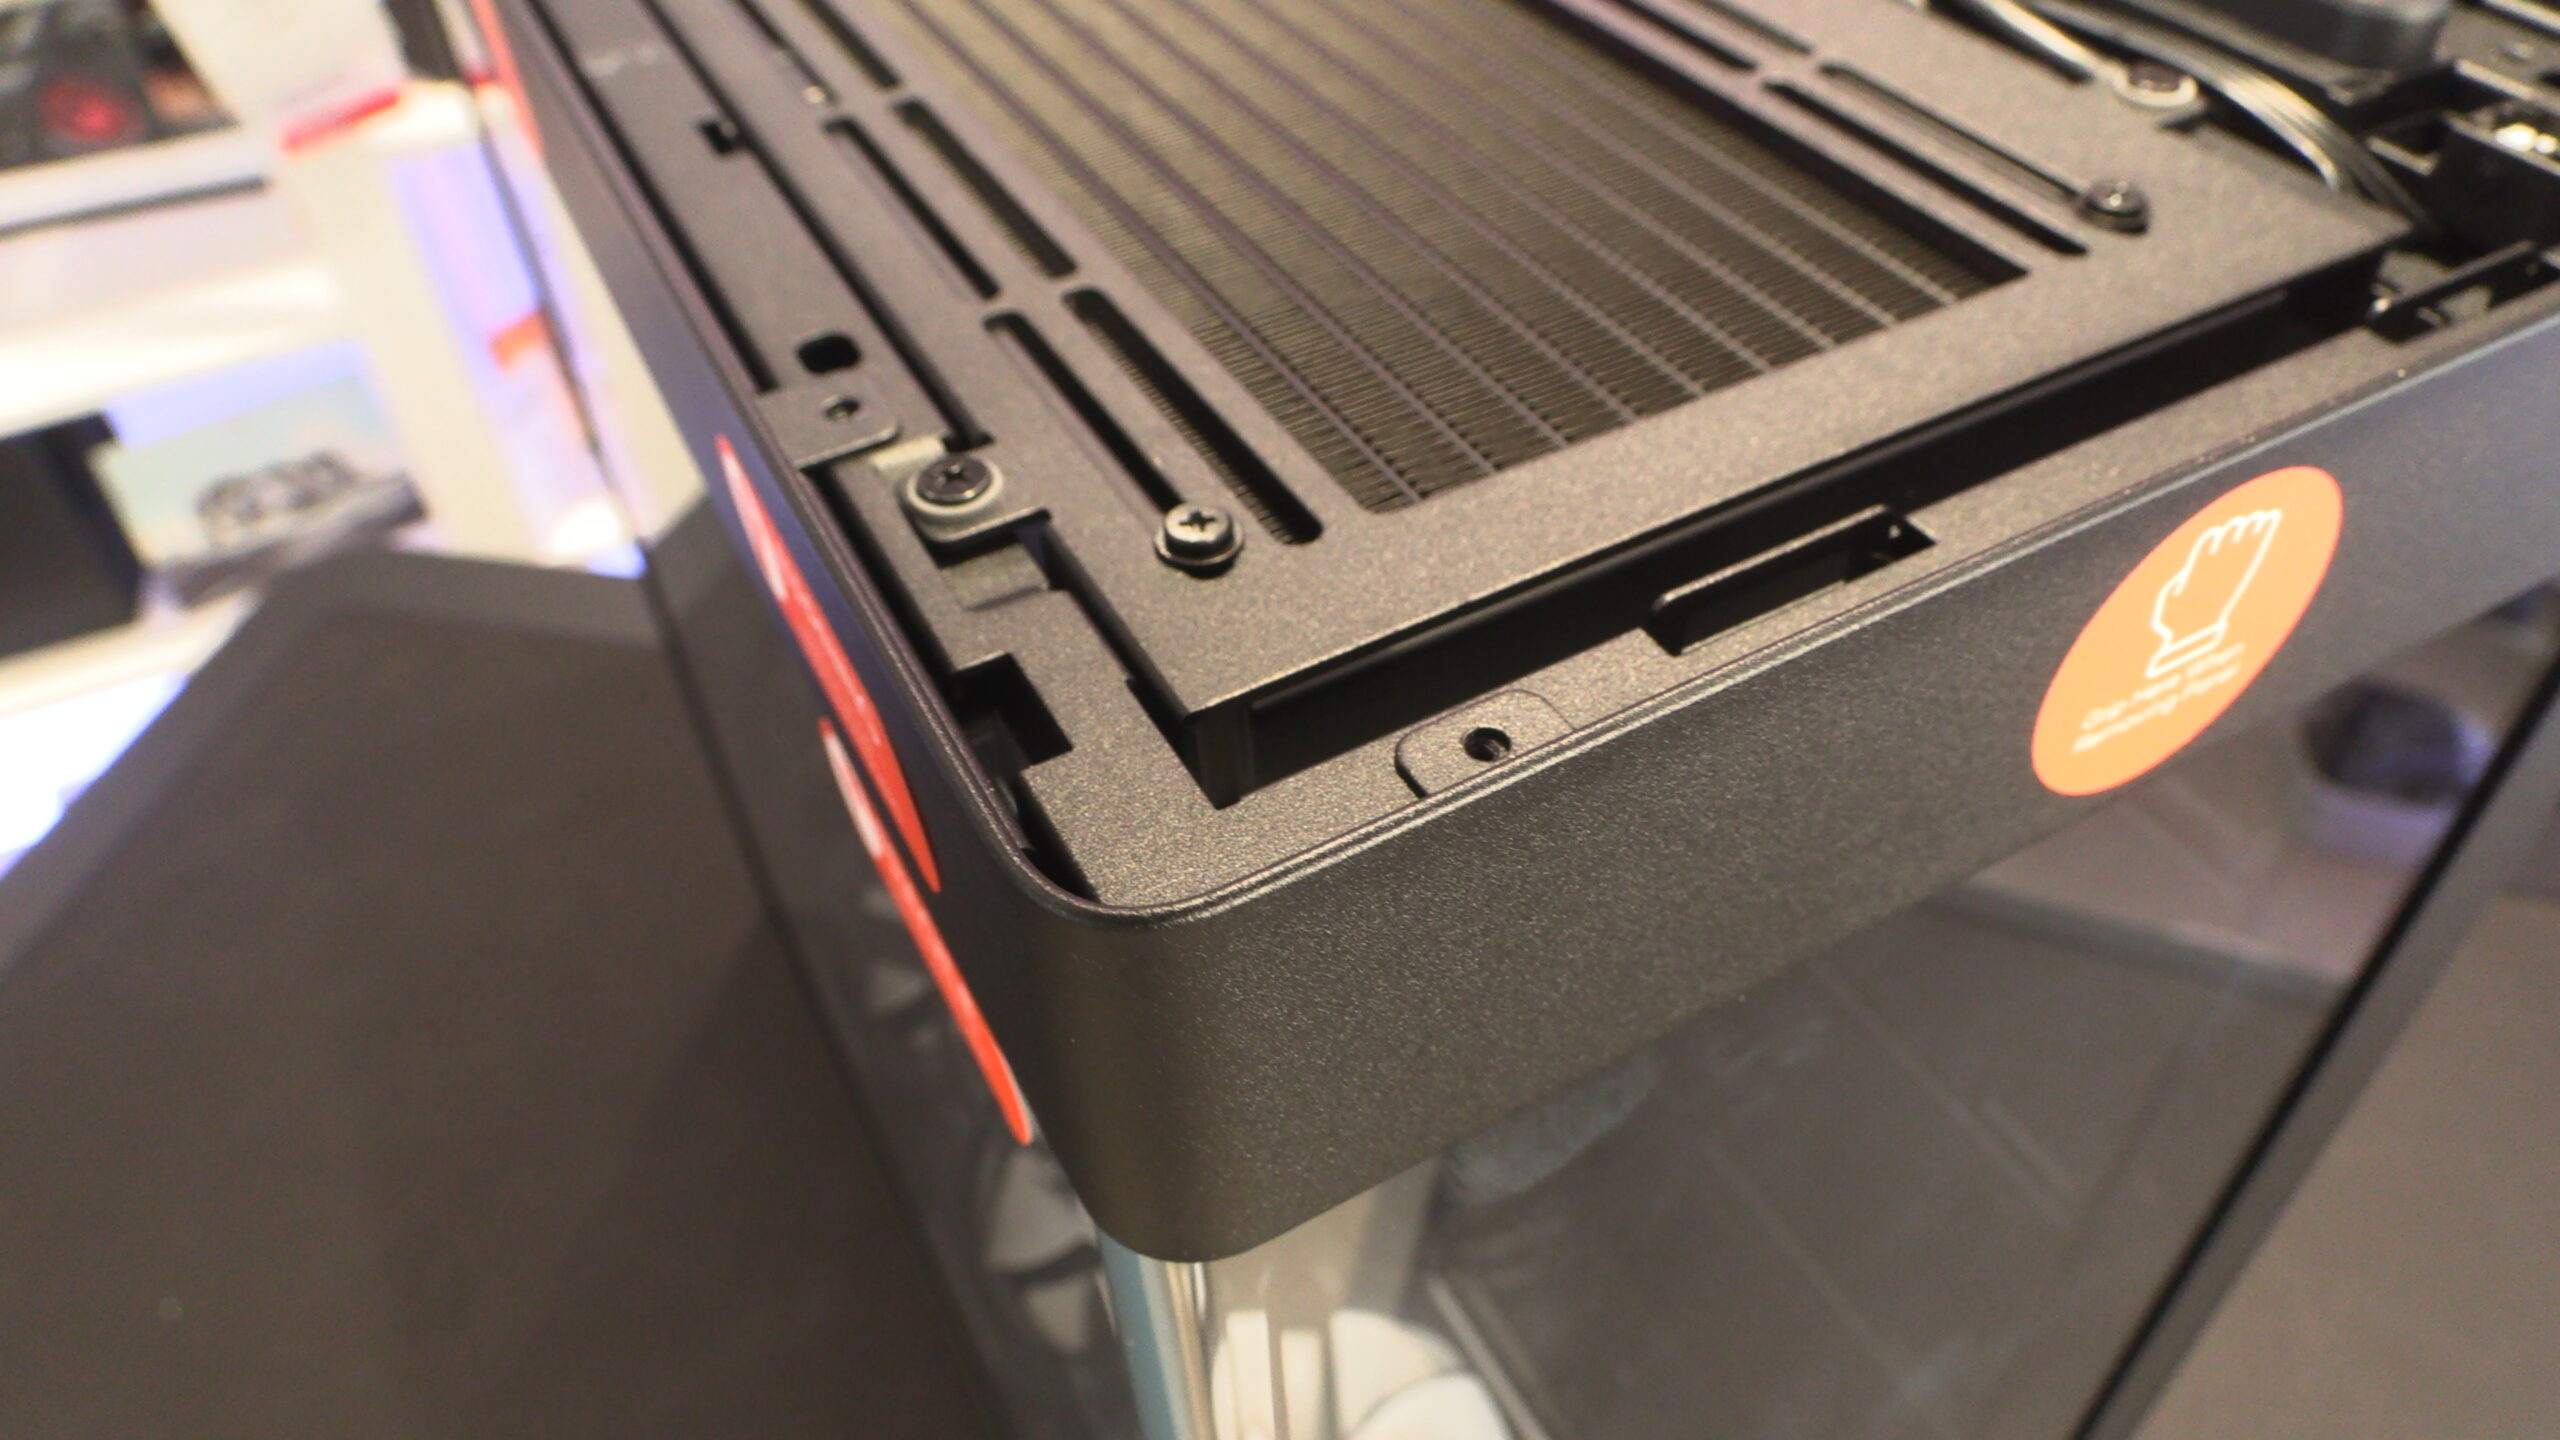
Vibration Dampened Radiator Mounting Plates
Once the top of this case is removed, we can see the radiator/fan mounting plate. Note that all attachment points for radiator/fan mounts to the HS420 use rubber dampers to minimise vibration noise.
Also, note that the front/side tempered glass panel of this case can be screwed to the main enclosure for increased rigidity. This feature is primarily designed for system integrators, who will ship completed systems using this case long distances. For regular users, these screws are entirely optional.
Below we can see the rear of its case’s top radiator/fan mount. Note the rubber damper where this mount attaches to the main case.
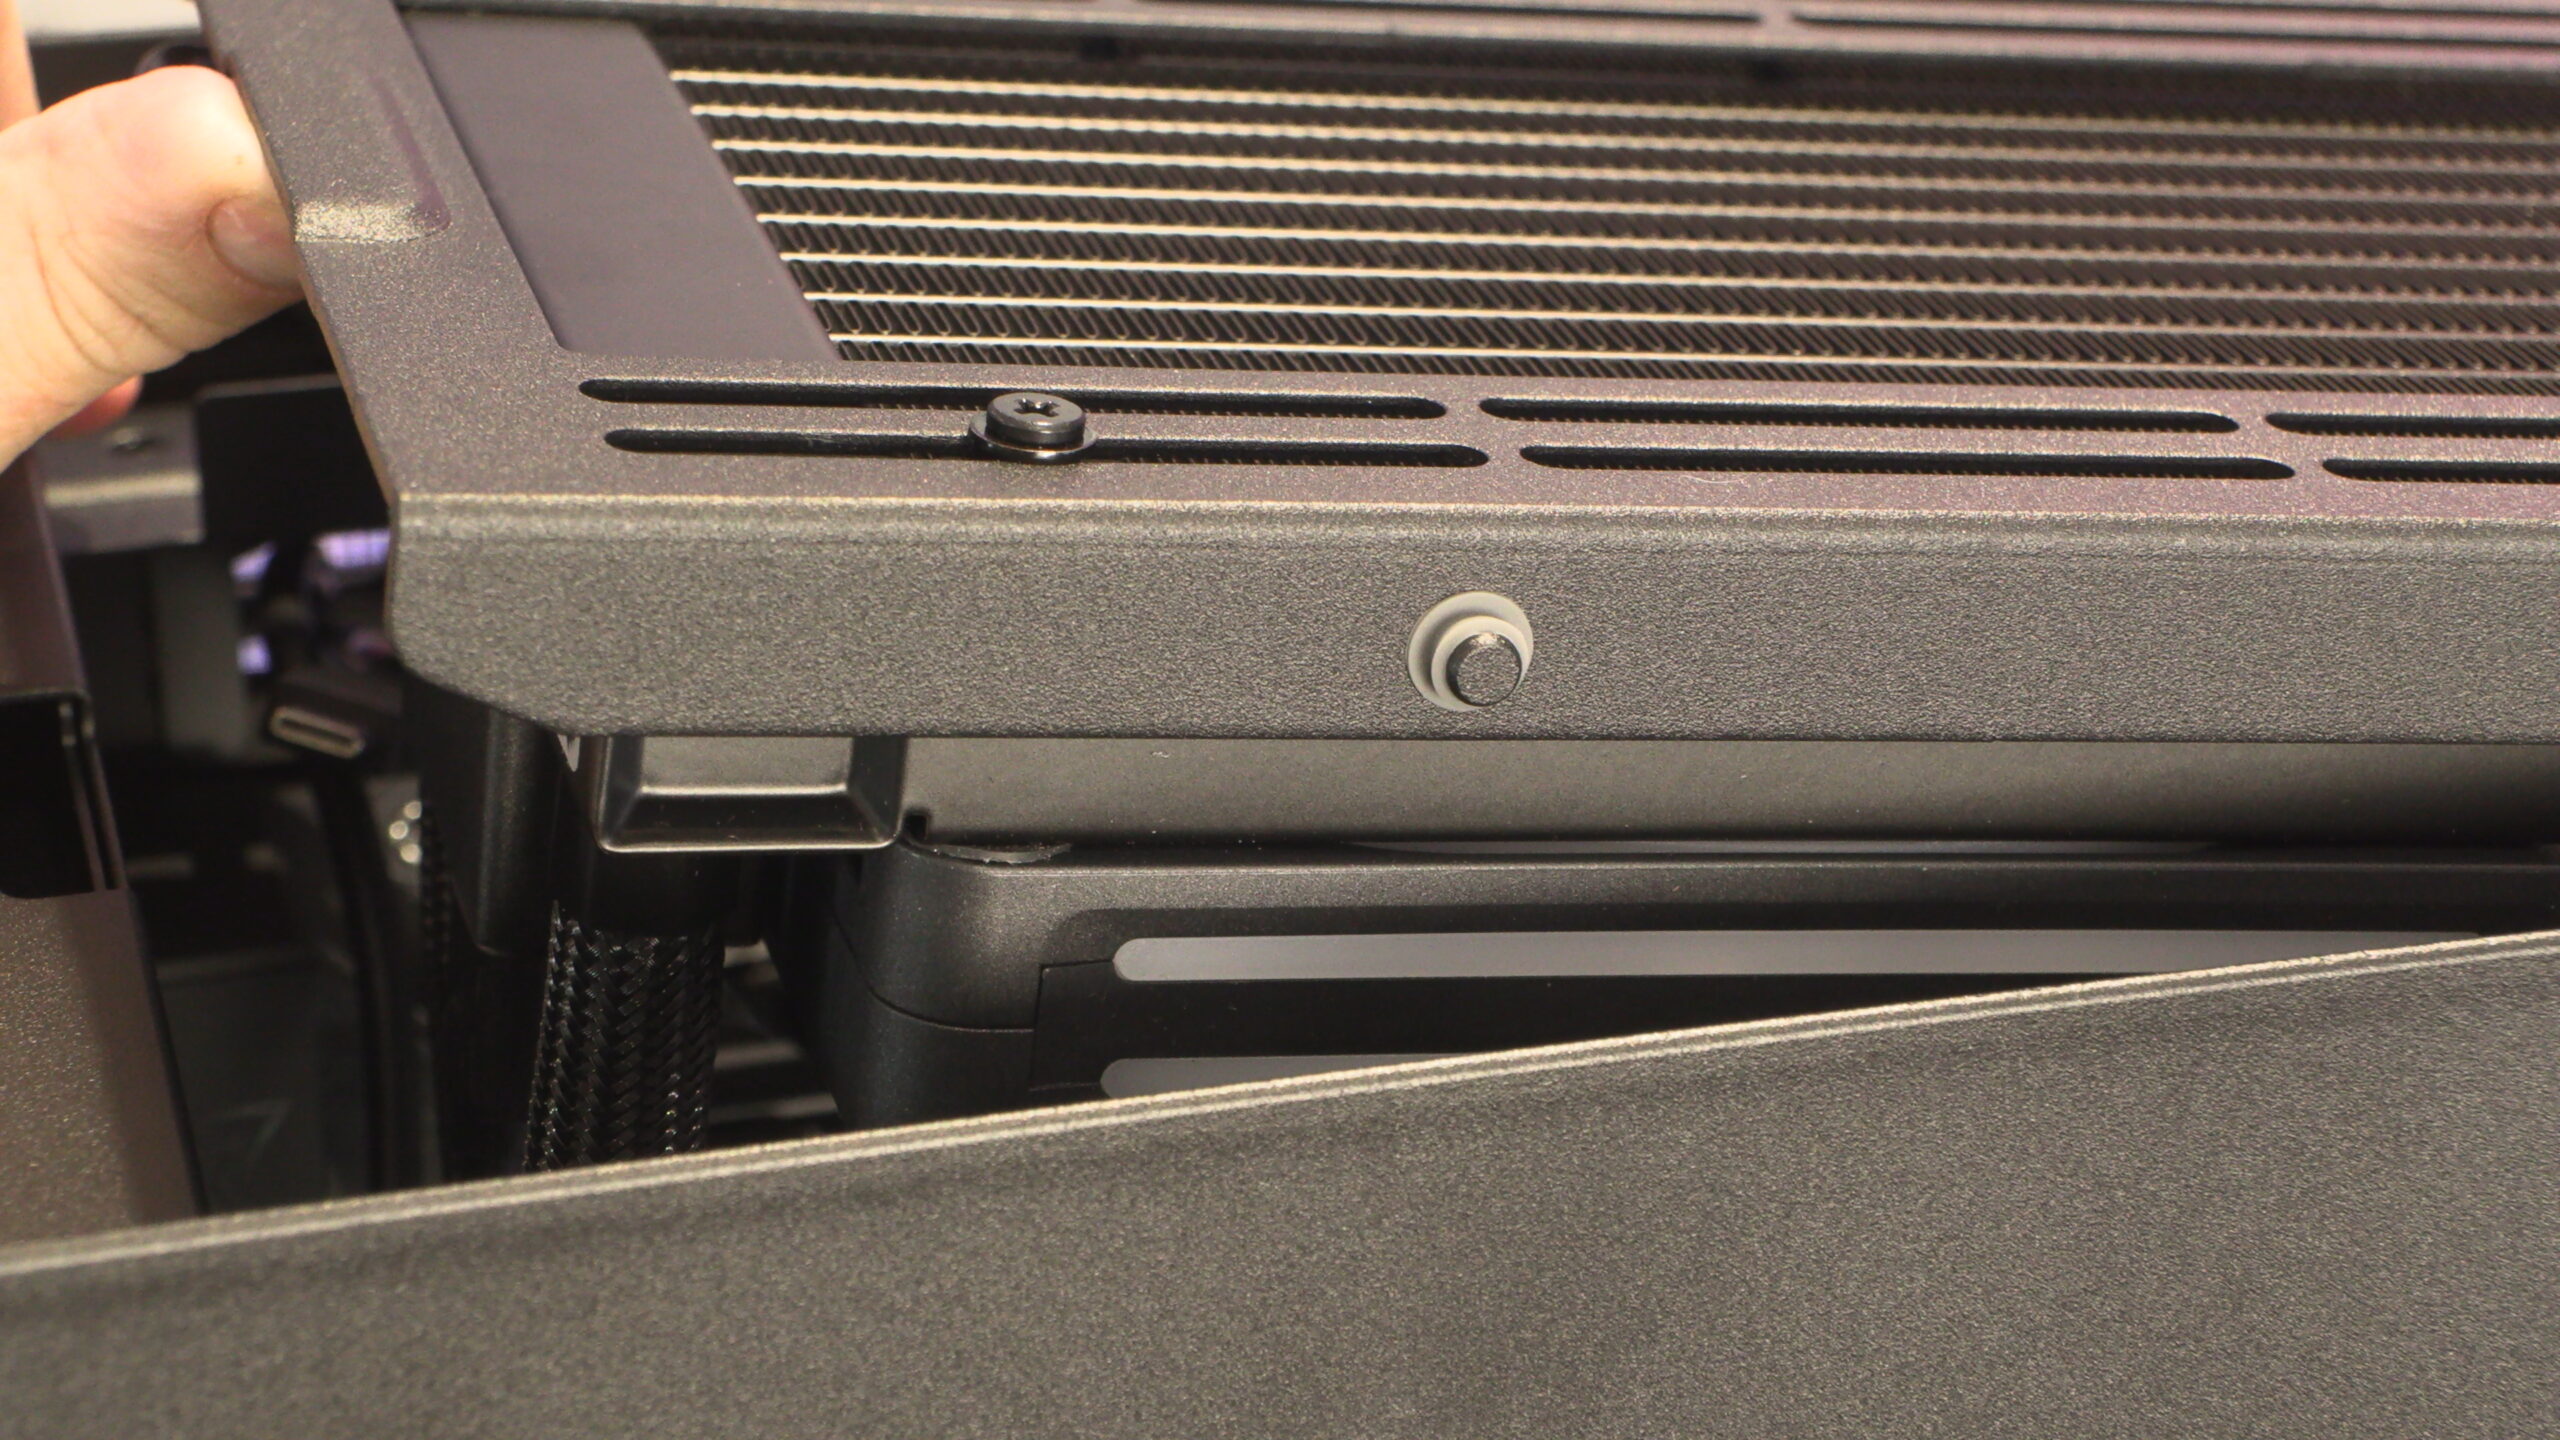
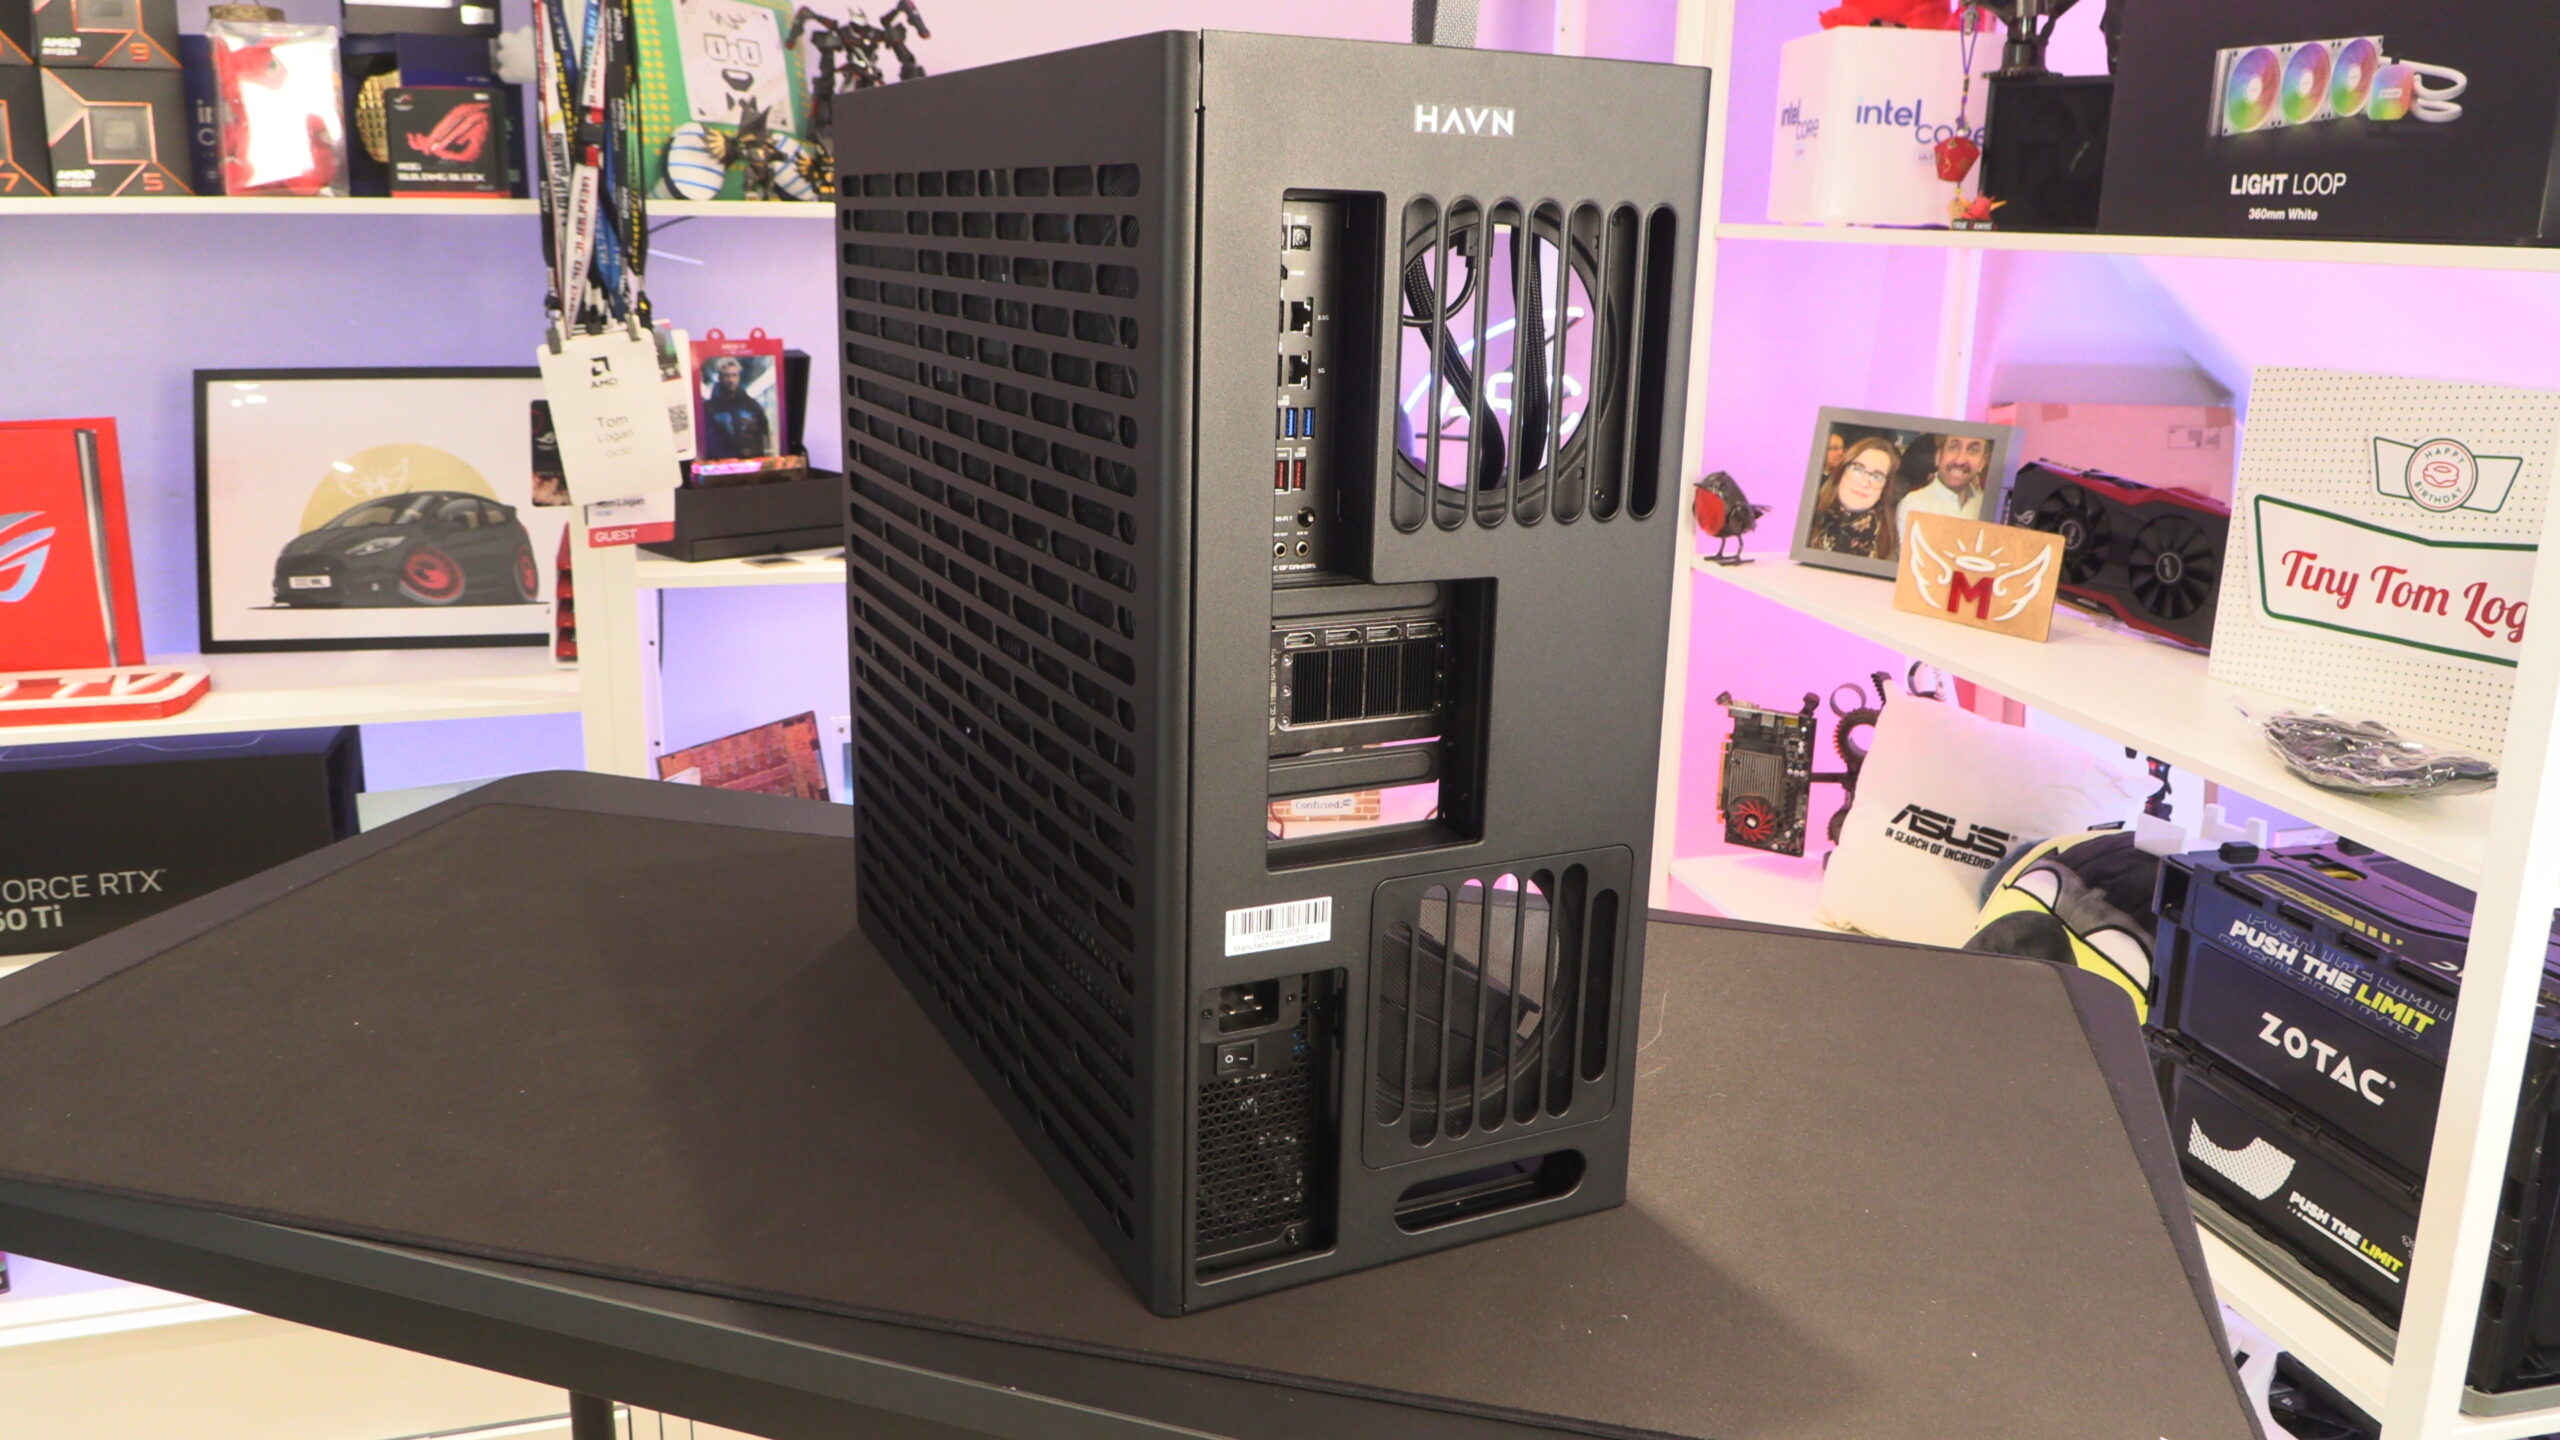
The rear of this case also features a cover plate, giving this case a clean-looking appearance at all angles. Note that two 140mm fans can be mounted at the rear of this case, one at the top and another at the bottom. These fans sit just under this case’s rear cover/shroud.
Inside the HS420
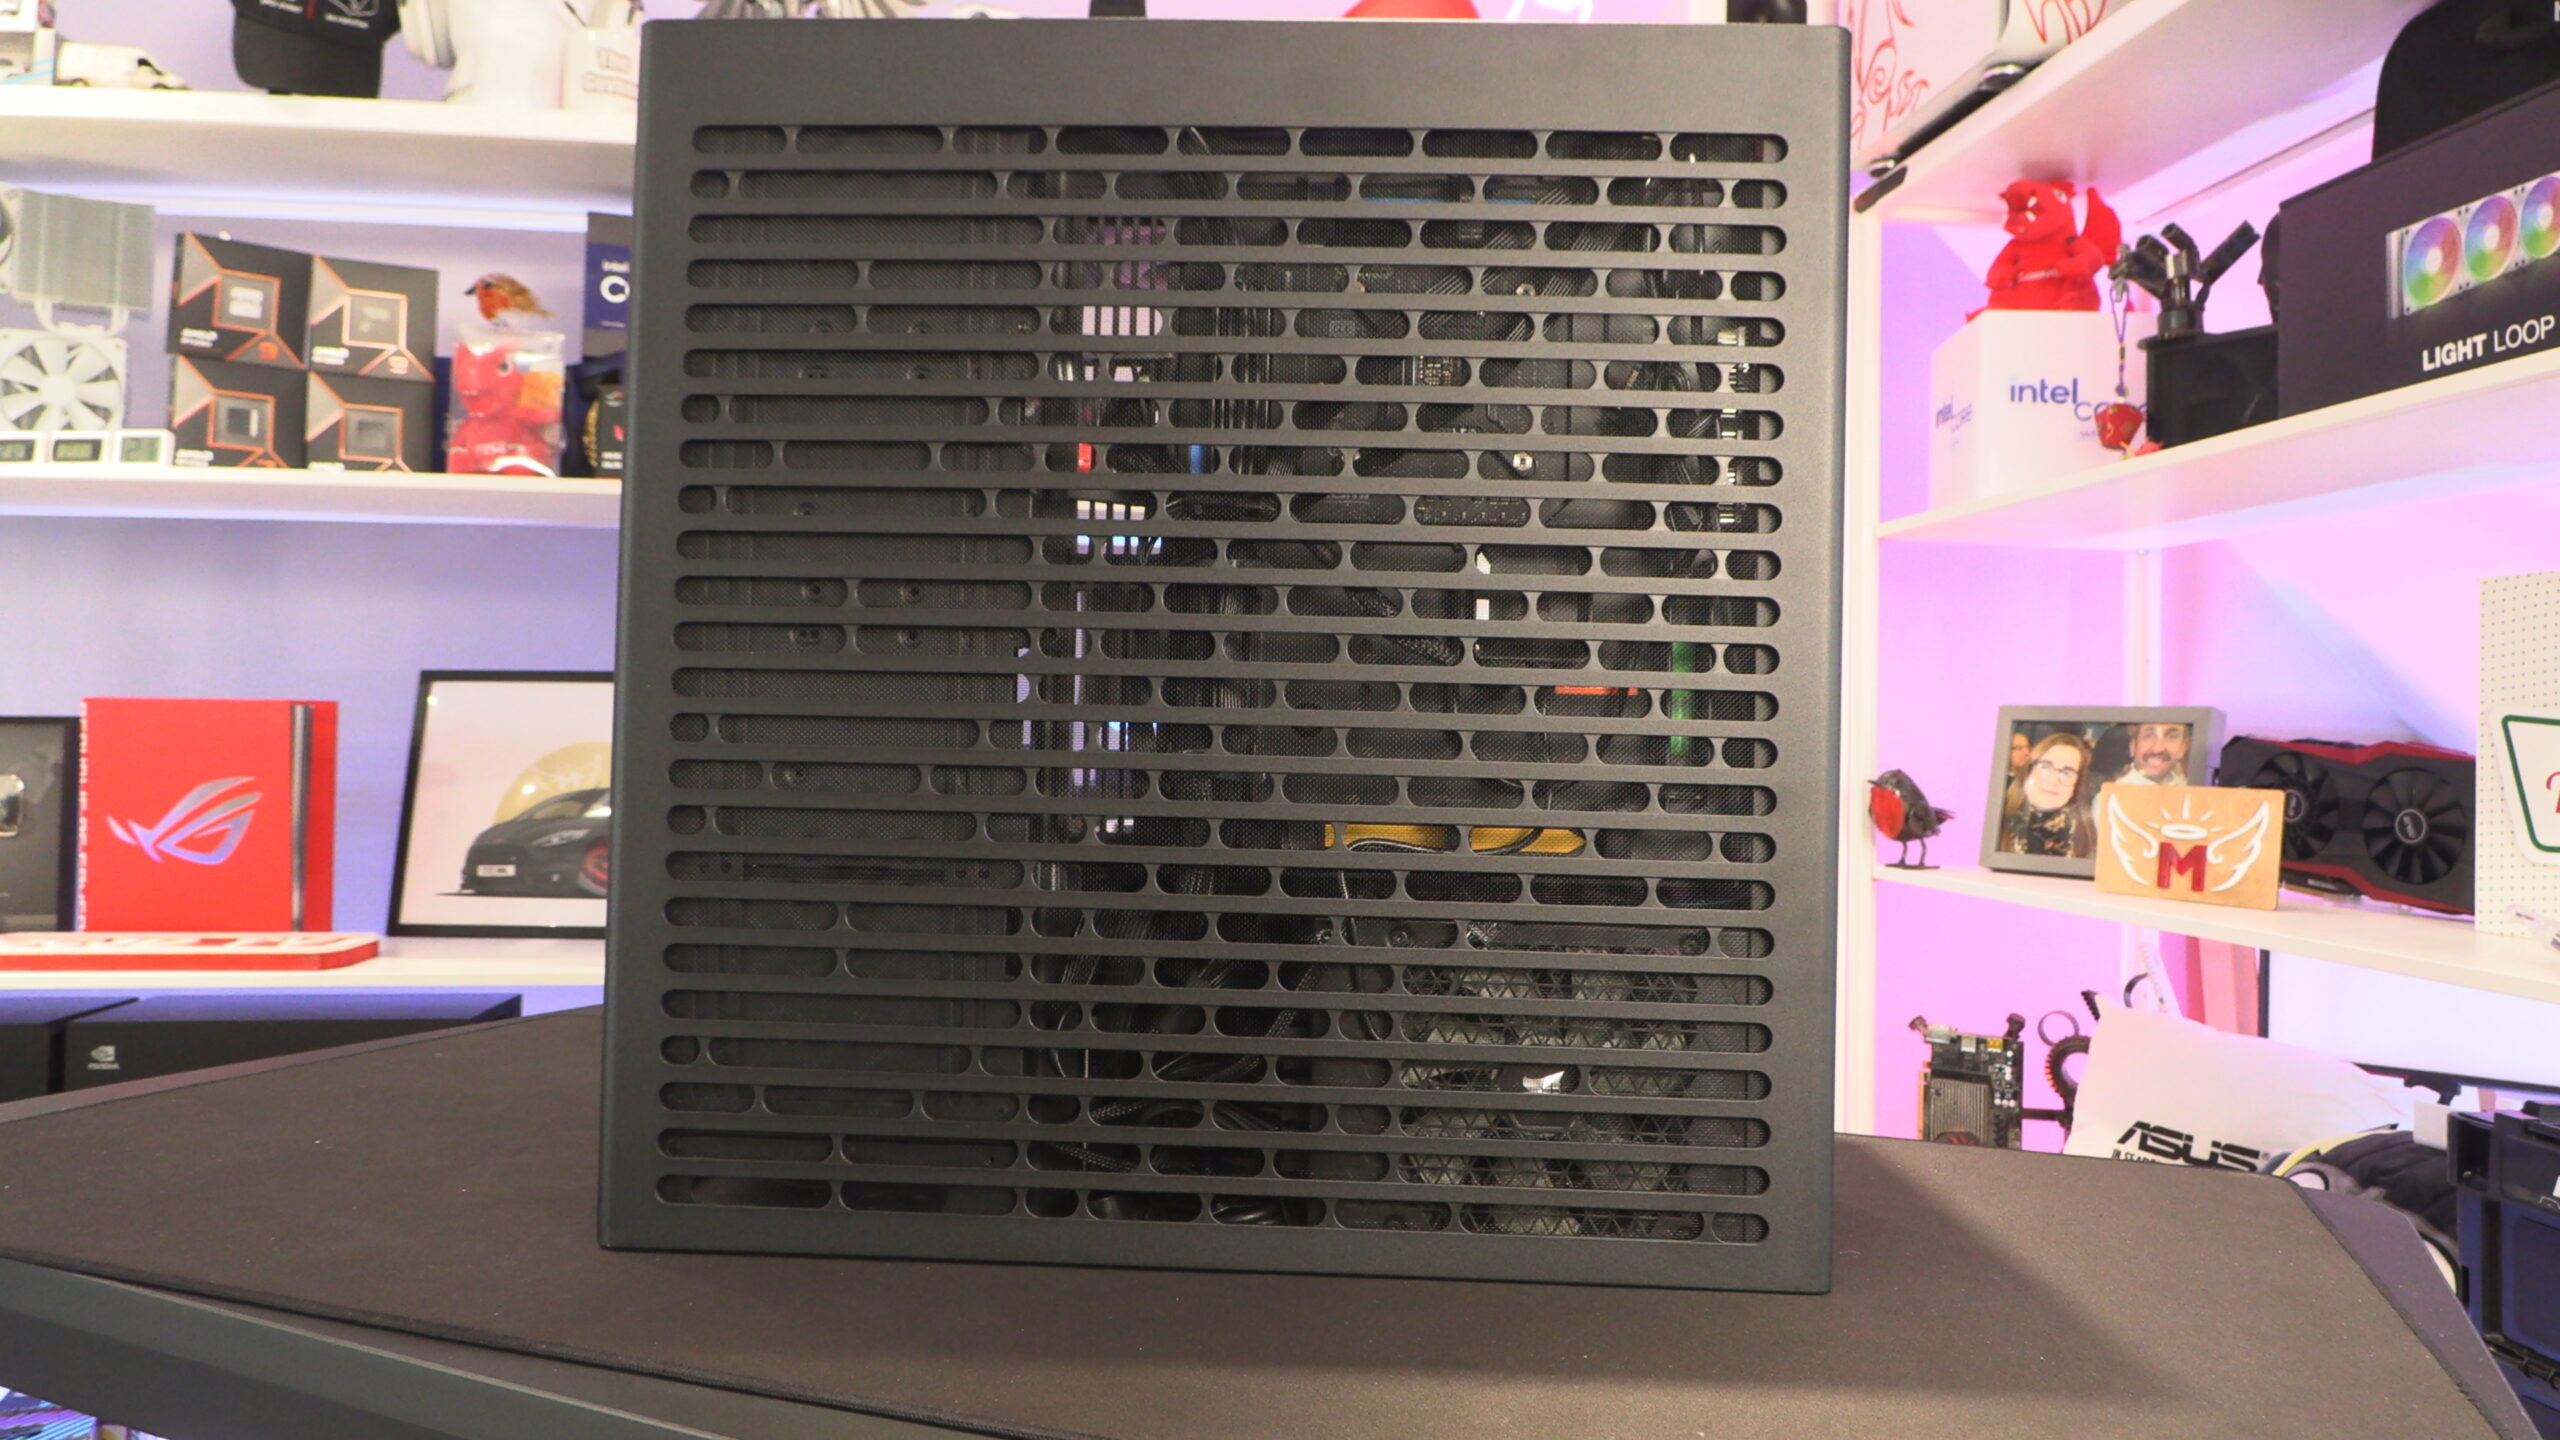
The right side panel of the HS420 is perforated and features an integrated mesh dust filter. Note that this mesh is not removable. That may pose difficulties for those wanting to paint or otherwise modify this side panel.
When looking inside this case, we will note that we are using a Corsair HX1500i power supply. This PSU is 200mm long, much longer than standard ATX power supplies. While it fits, using a long PSU will give you less space to stash/hide your PSU cables.
Below, we can see the optional fan mounting plate at the side of the HS 420 and its four pre-installed 3.5-inch/ 2.5-inch drive bays.
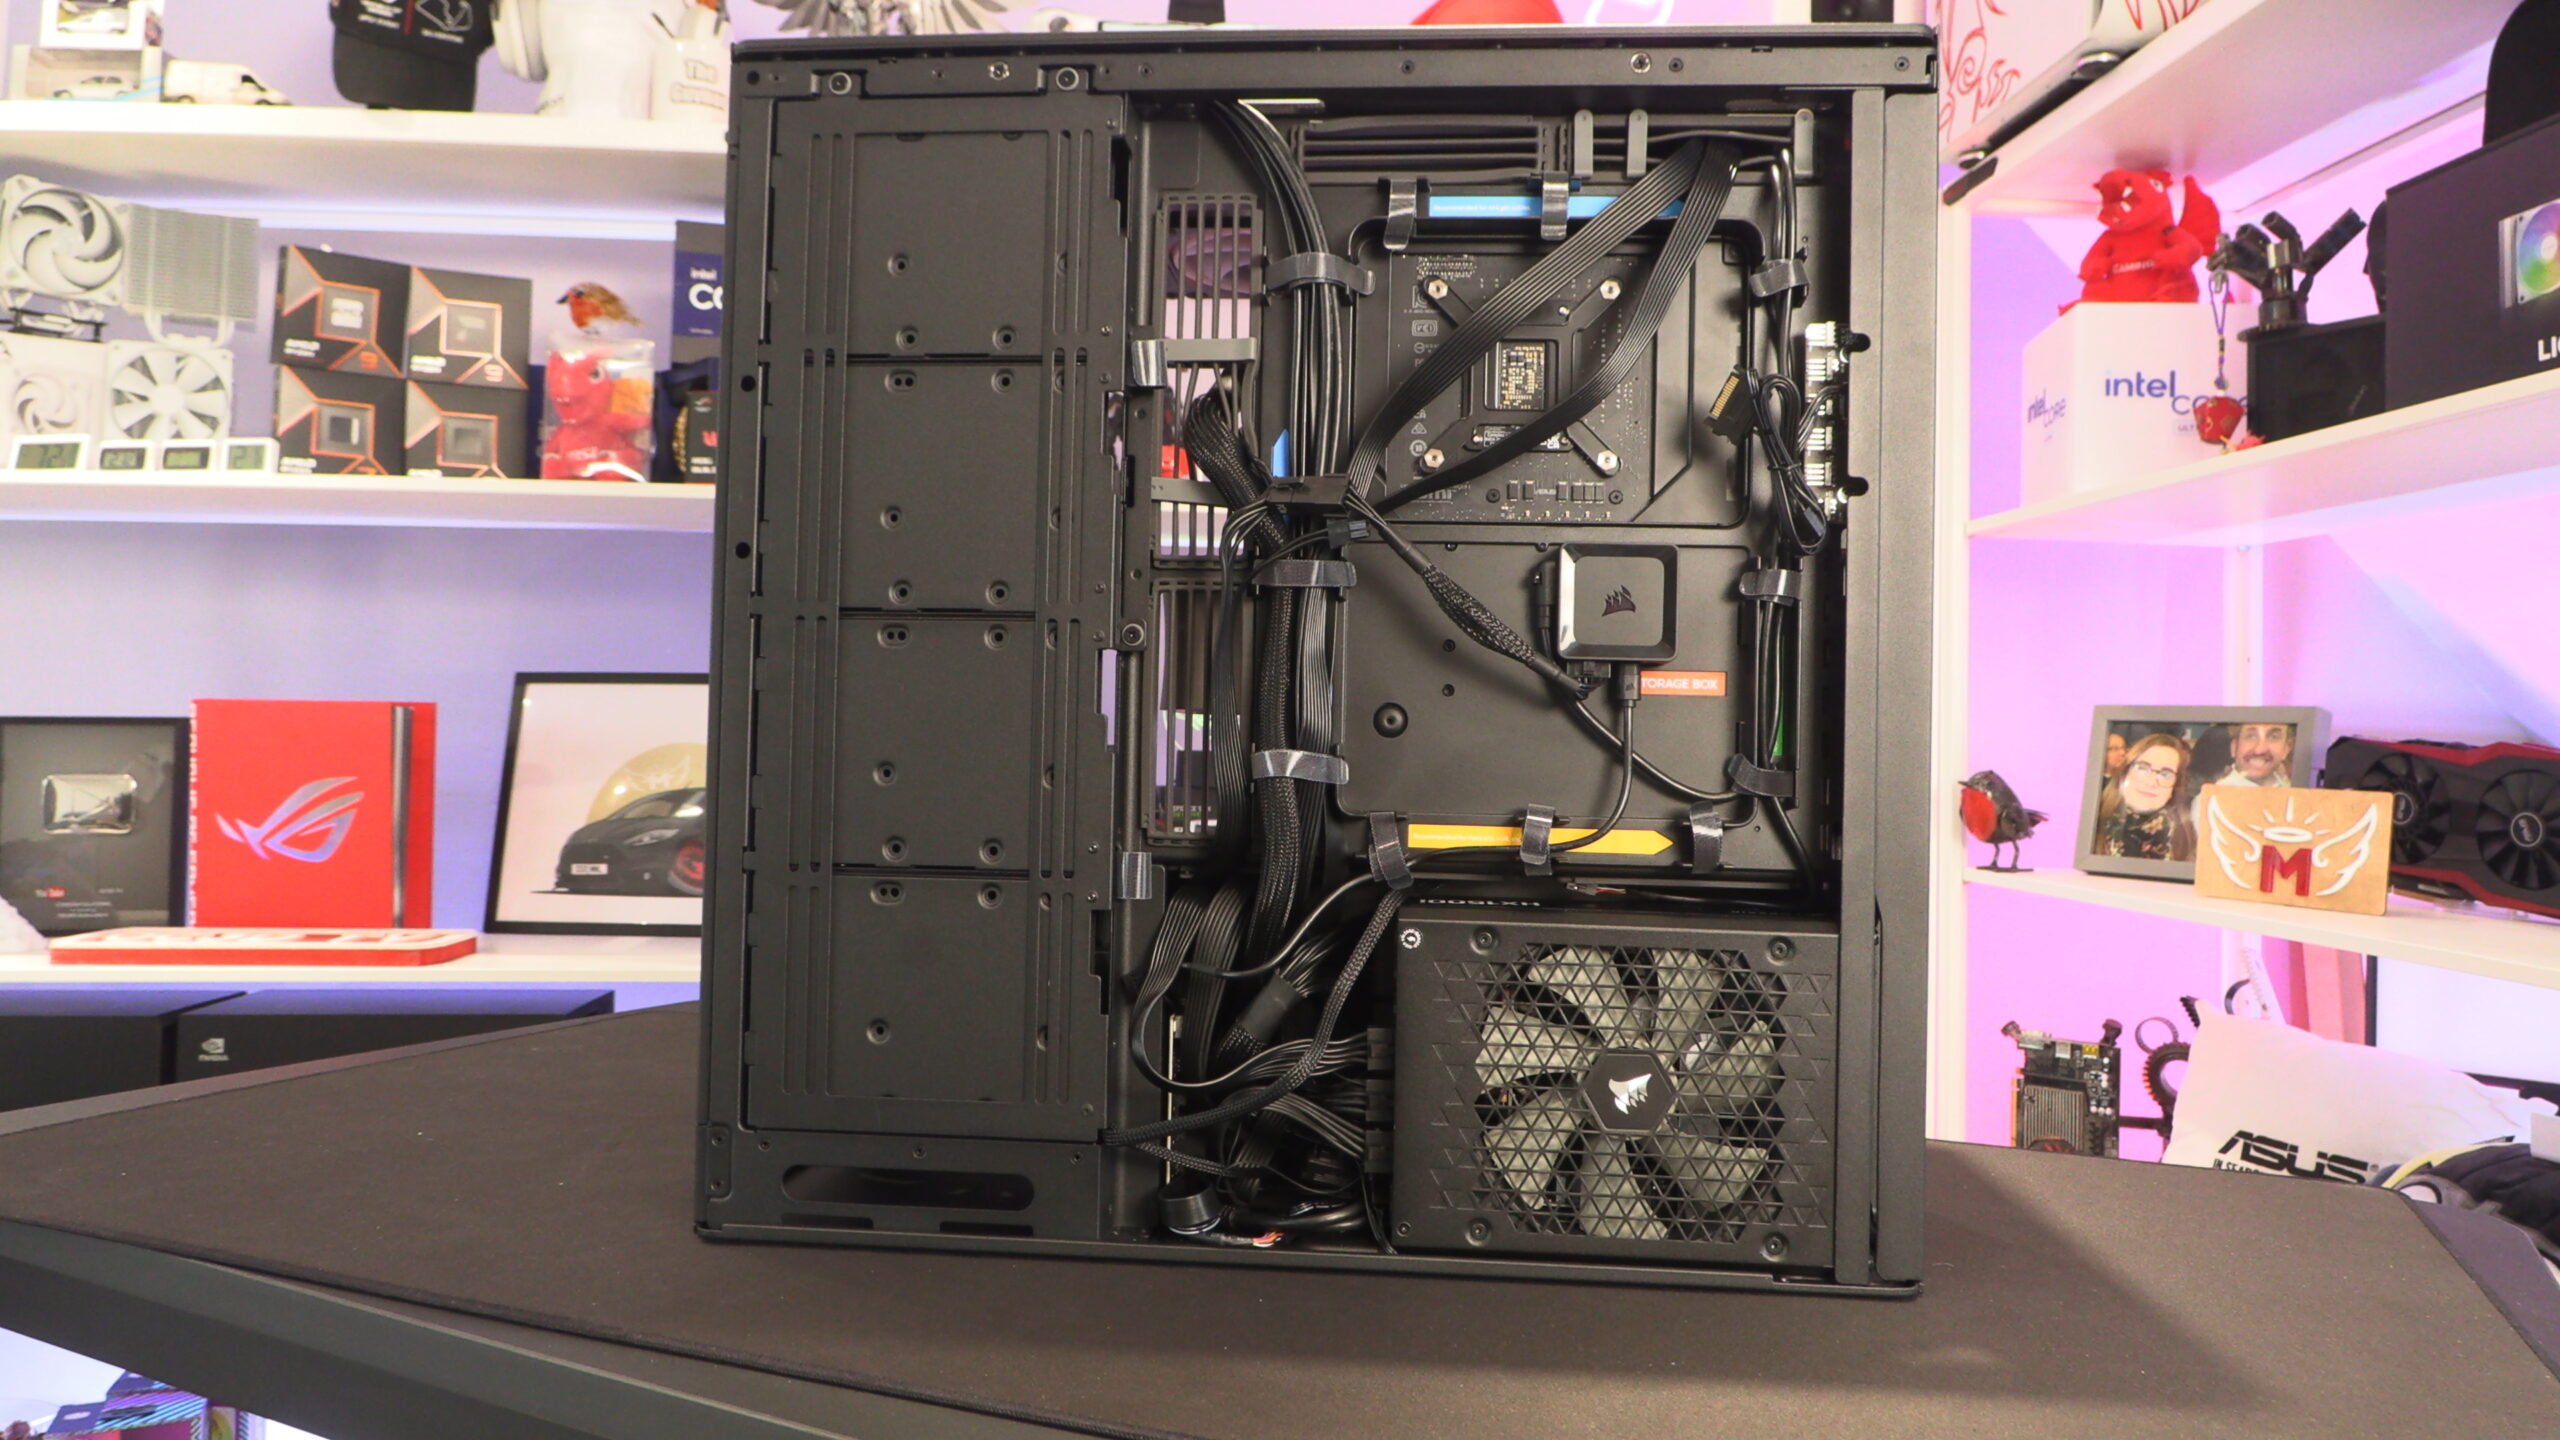
Once again, this case’s fan mounting plates are isolated from the main case using rubber dampers. This is true for all of this case’s fan mounting plates.
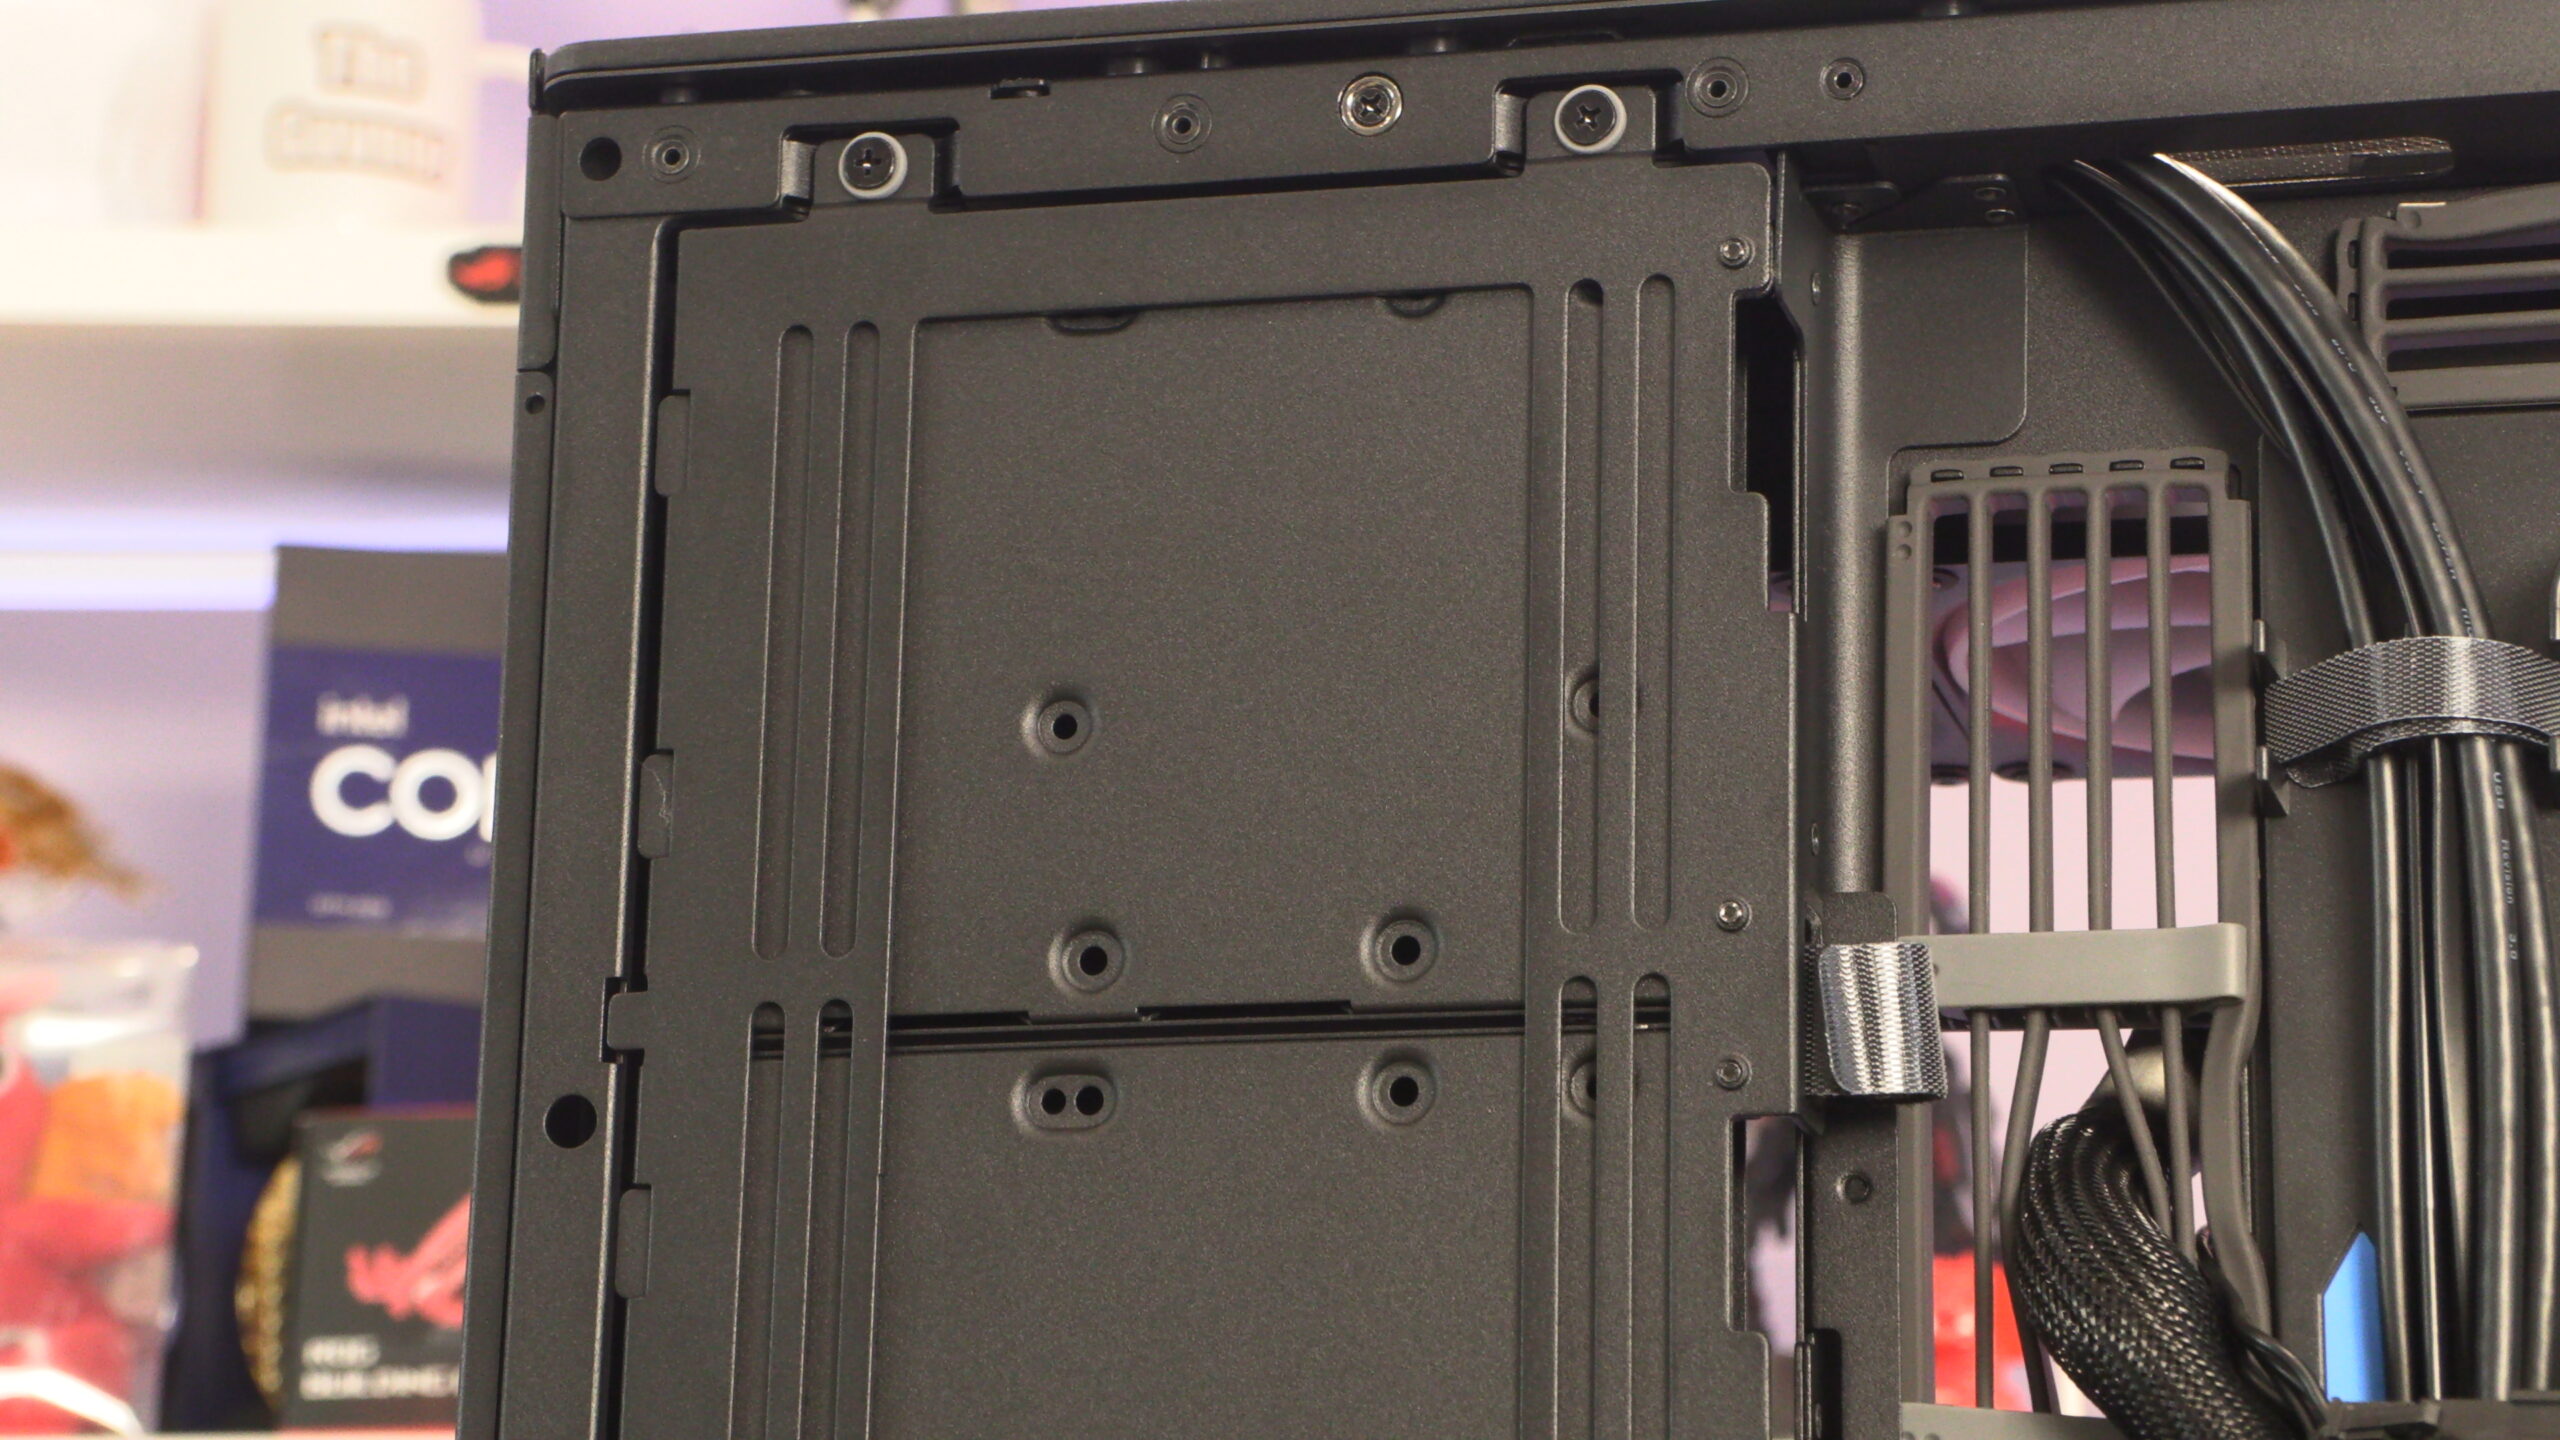
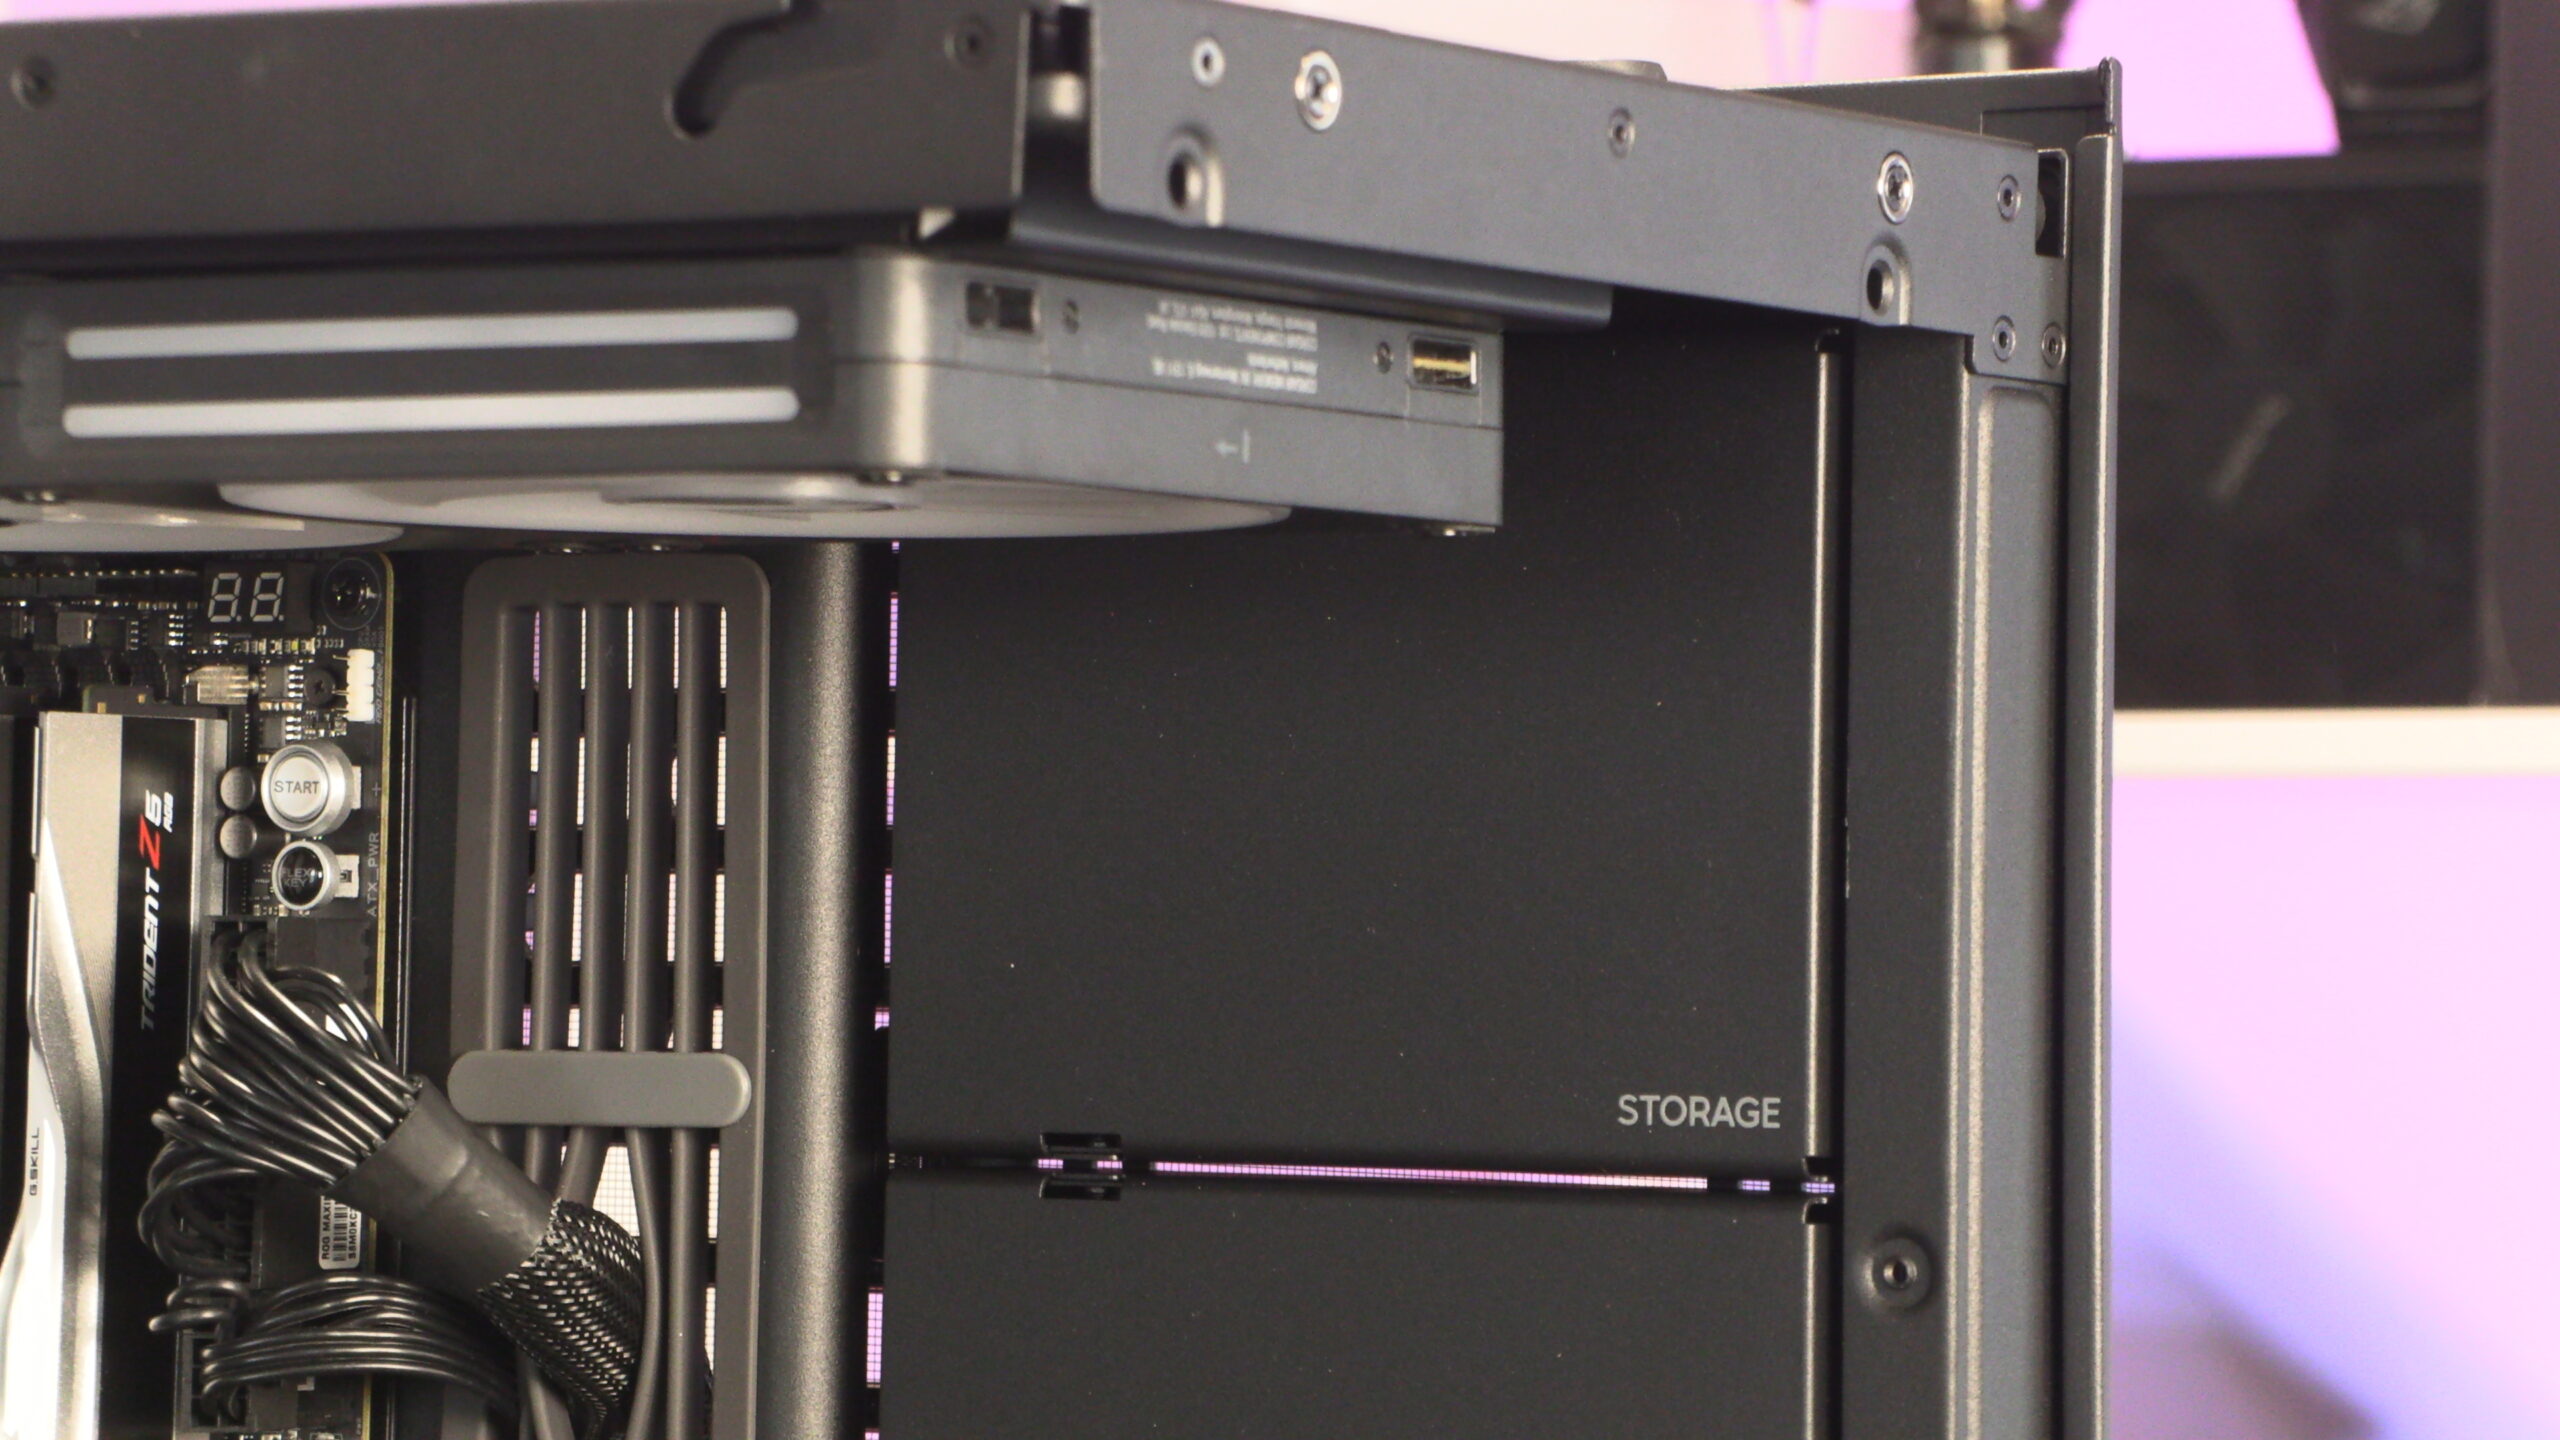
Below, you can see this case’s 3.5-inc/2.5-inch “Storage” bays from the front of the case. If you don’t use HDDs, these boxes could be an ideal mounting surface for any modder who wants to do something unique.
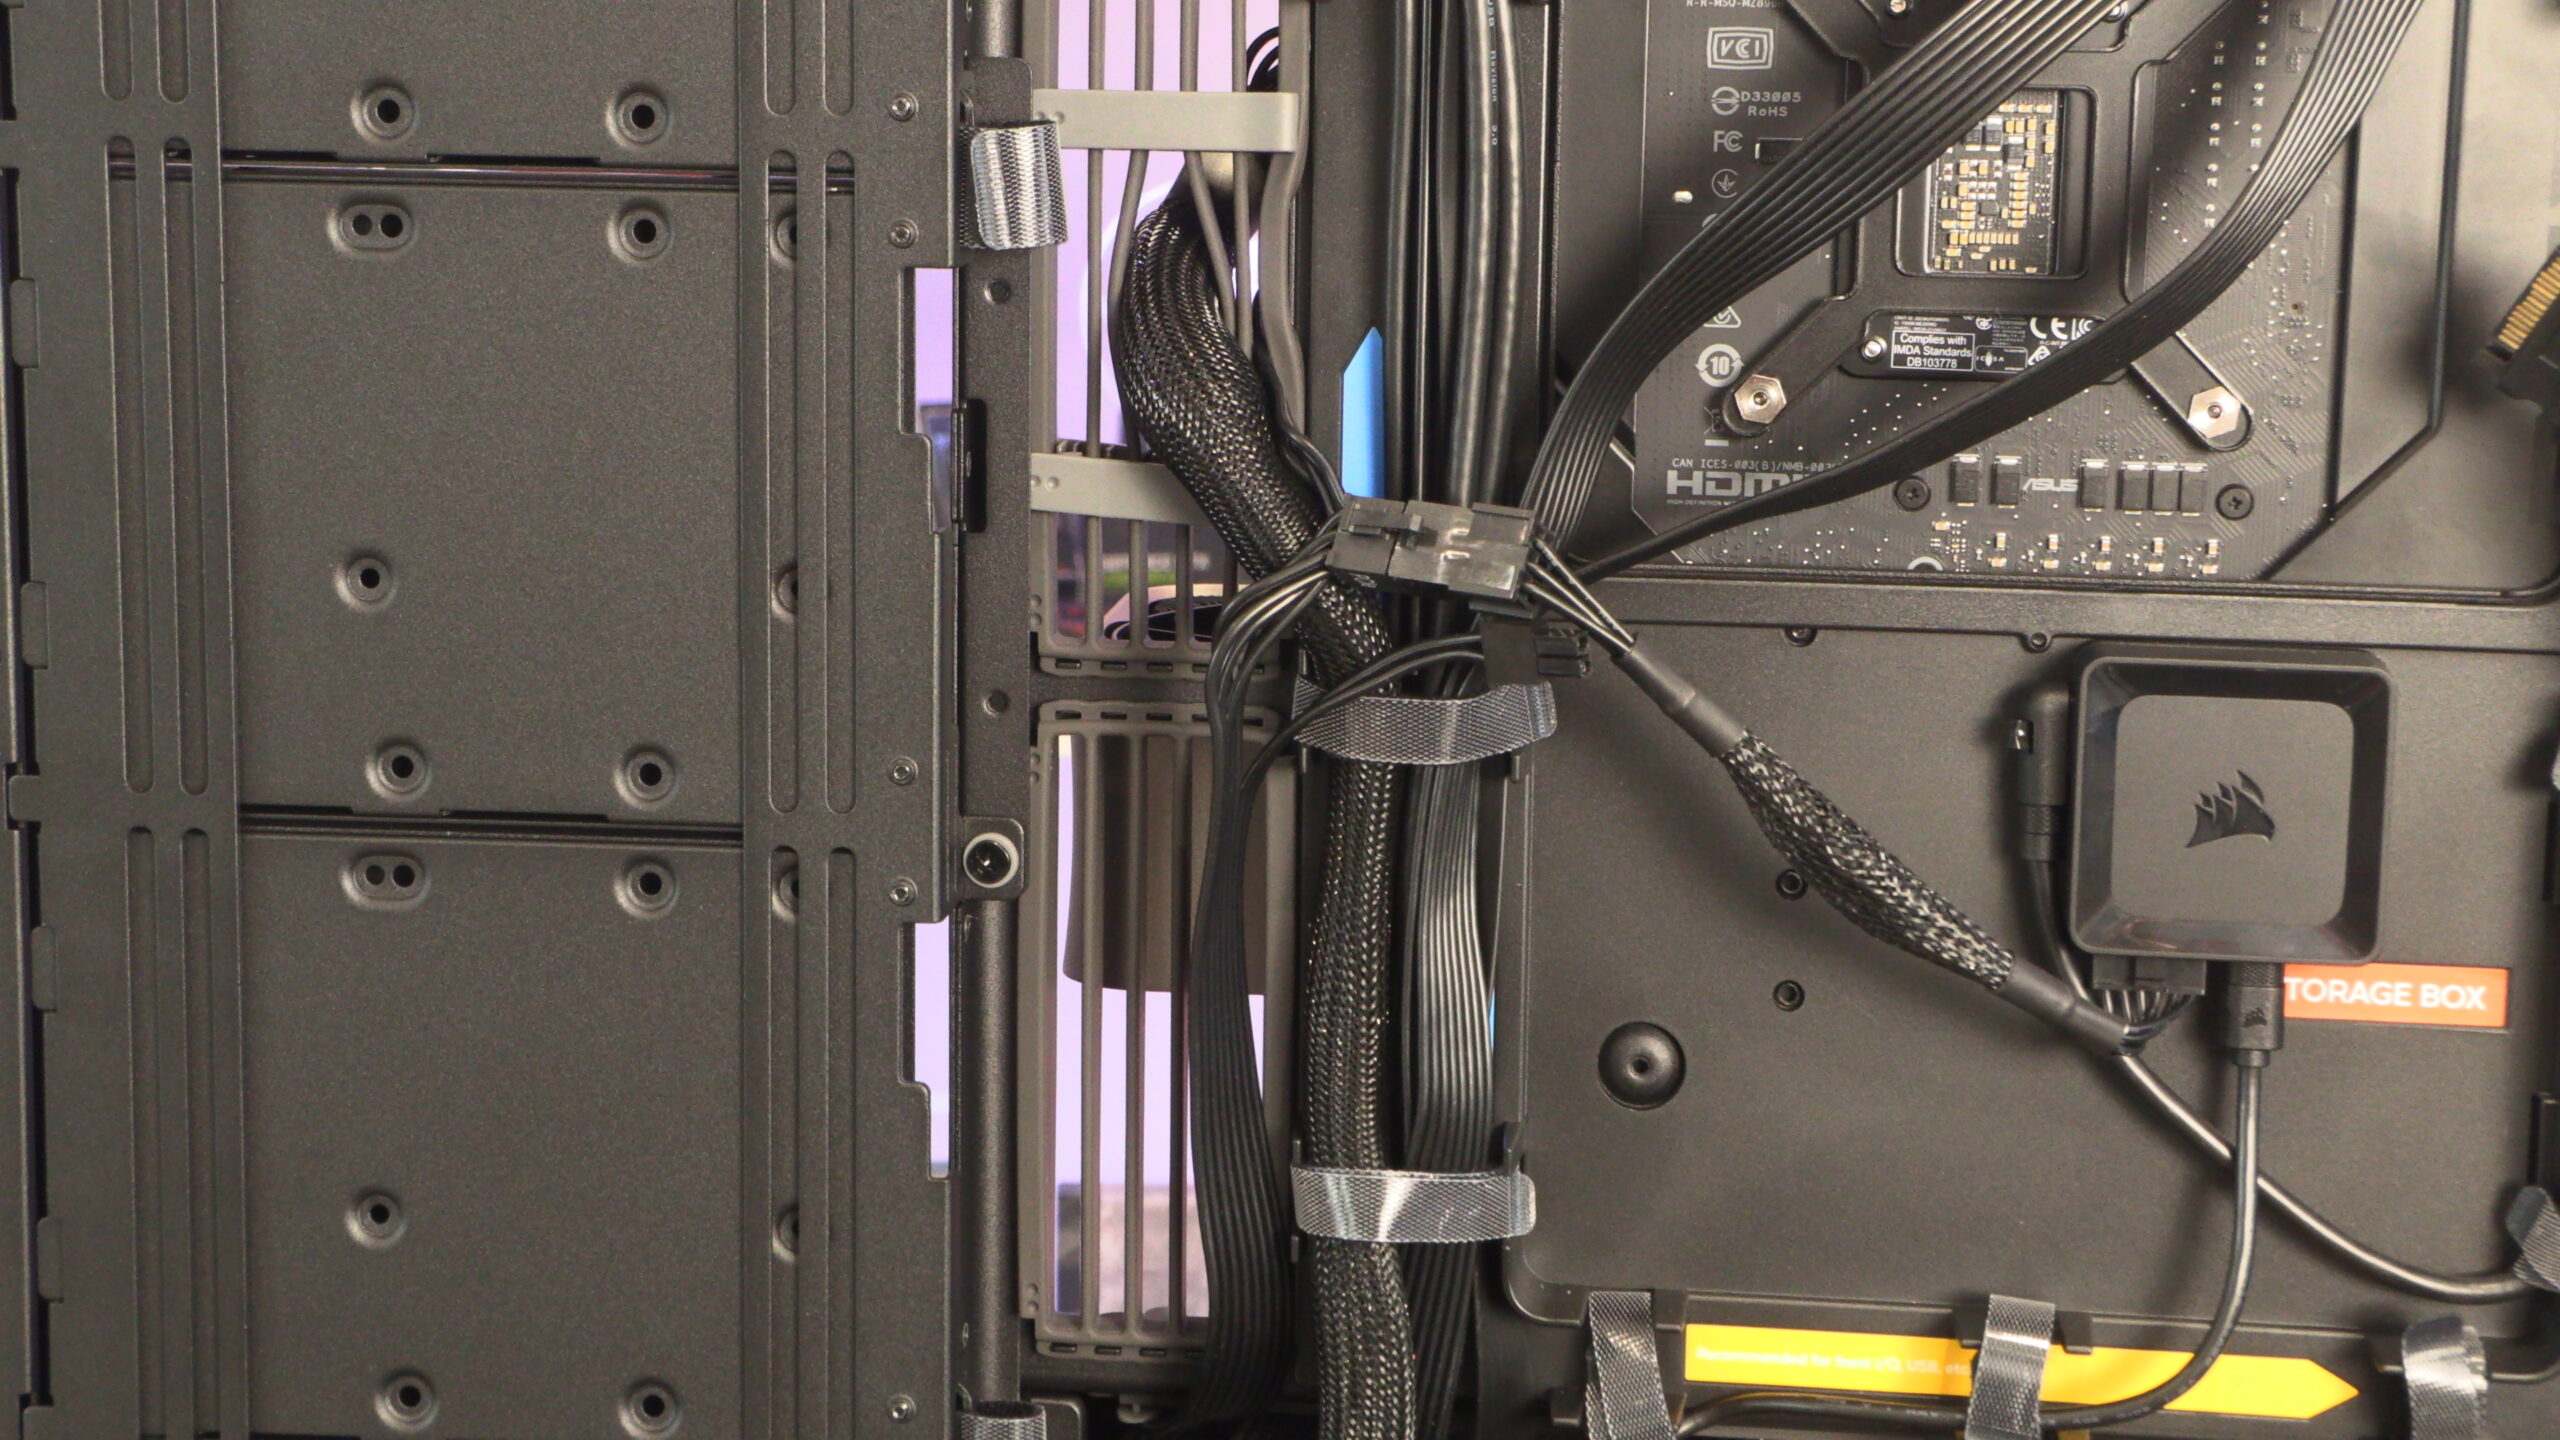
Cable management
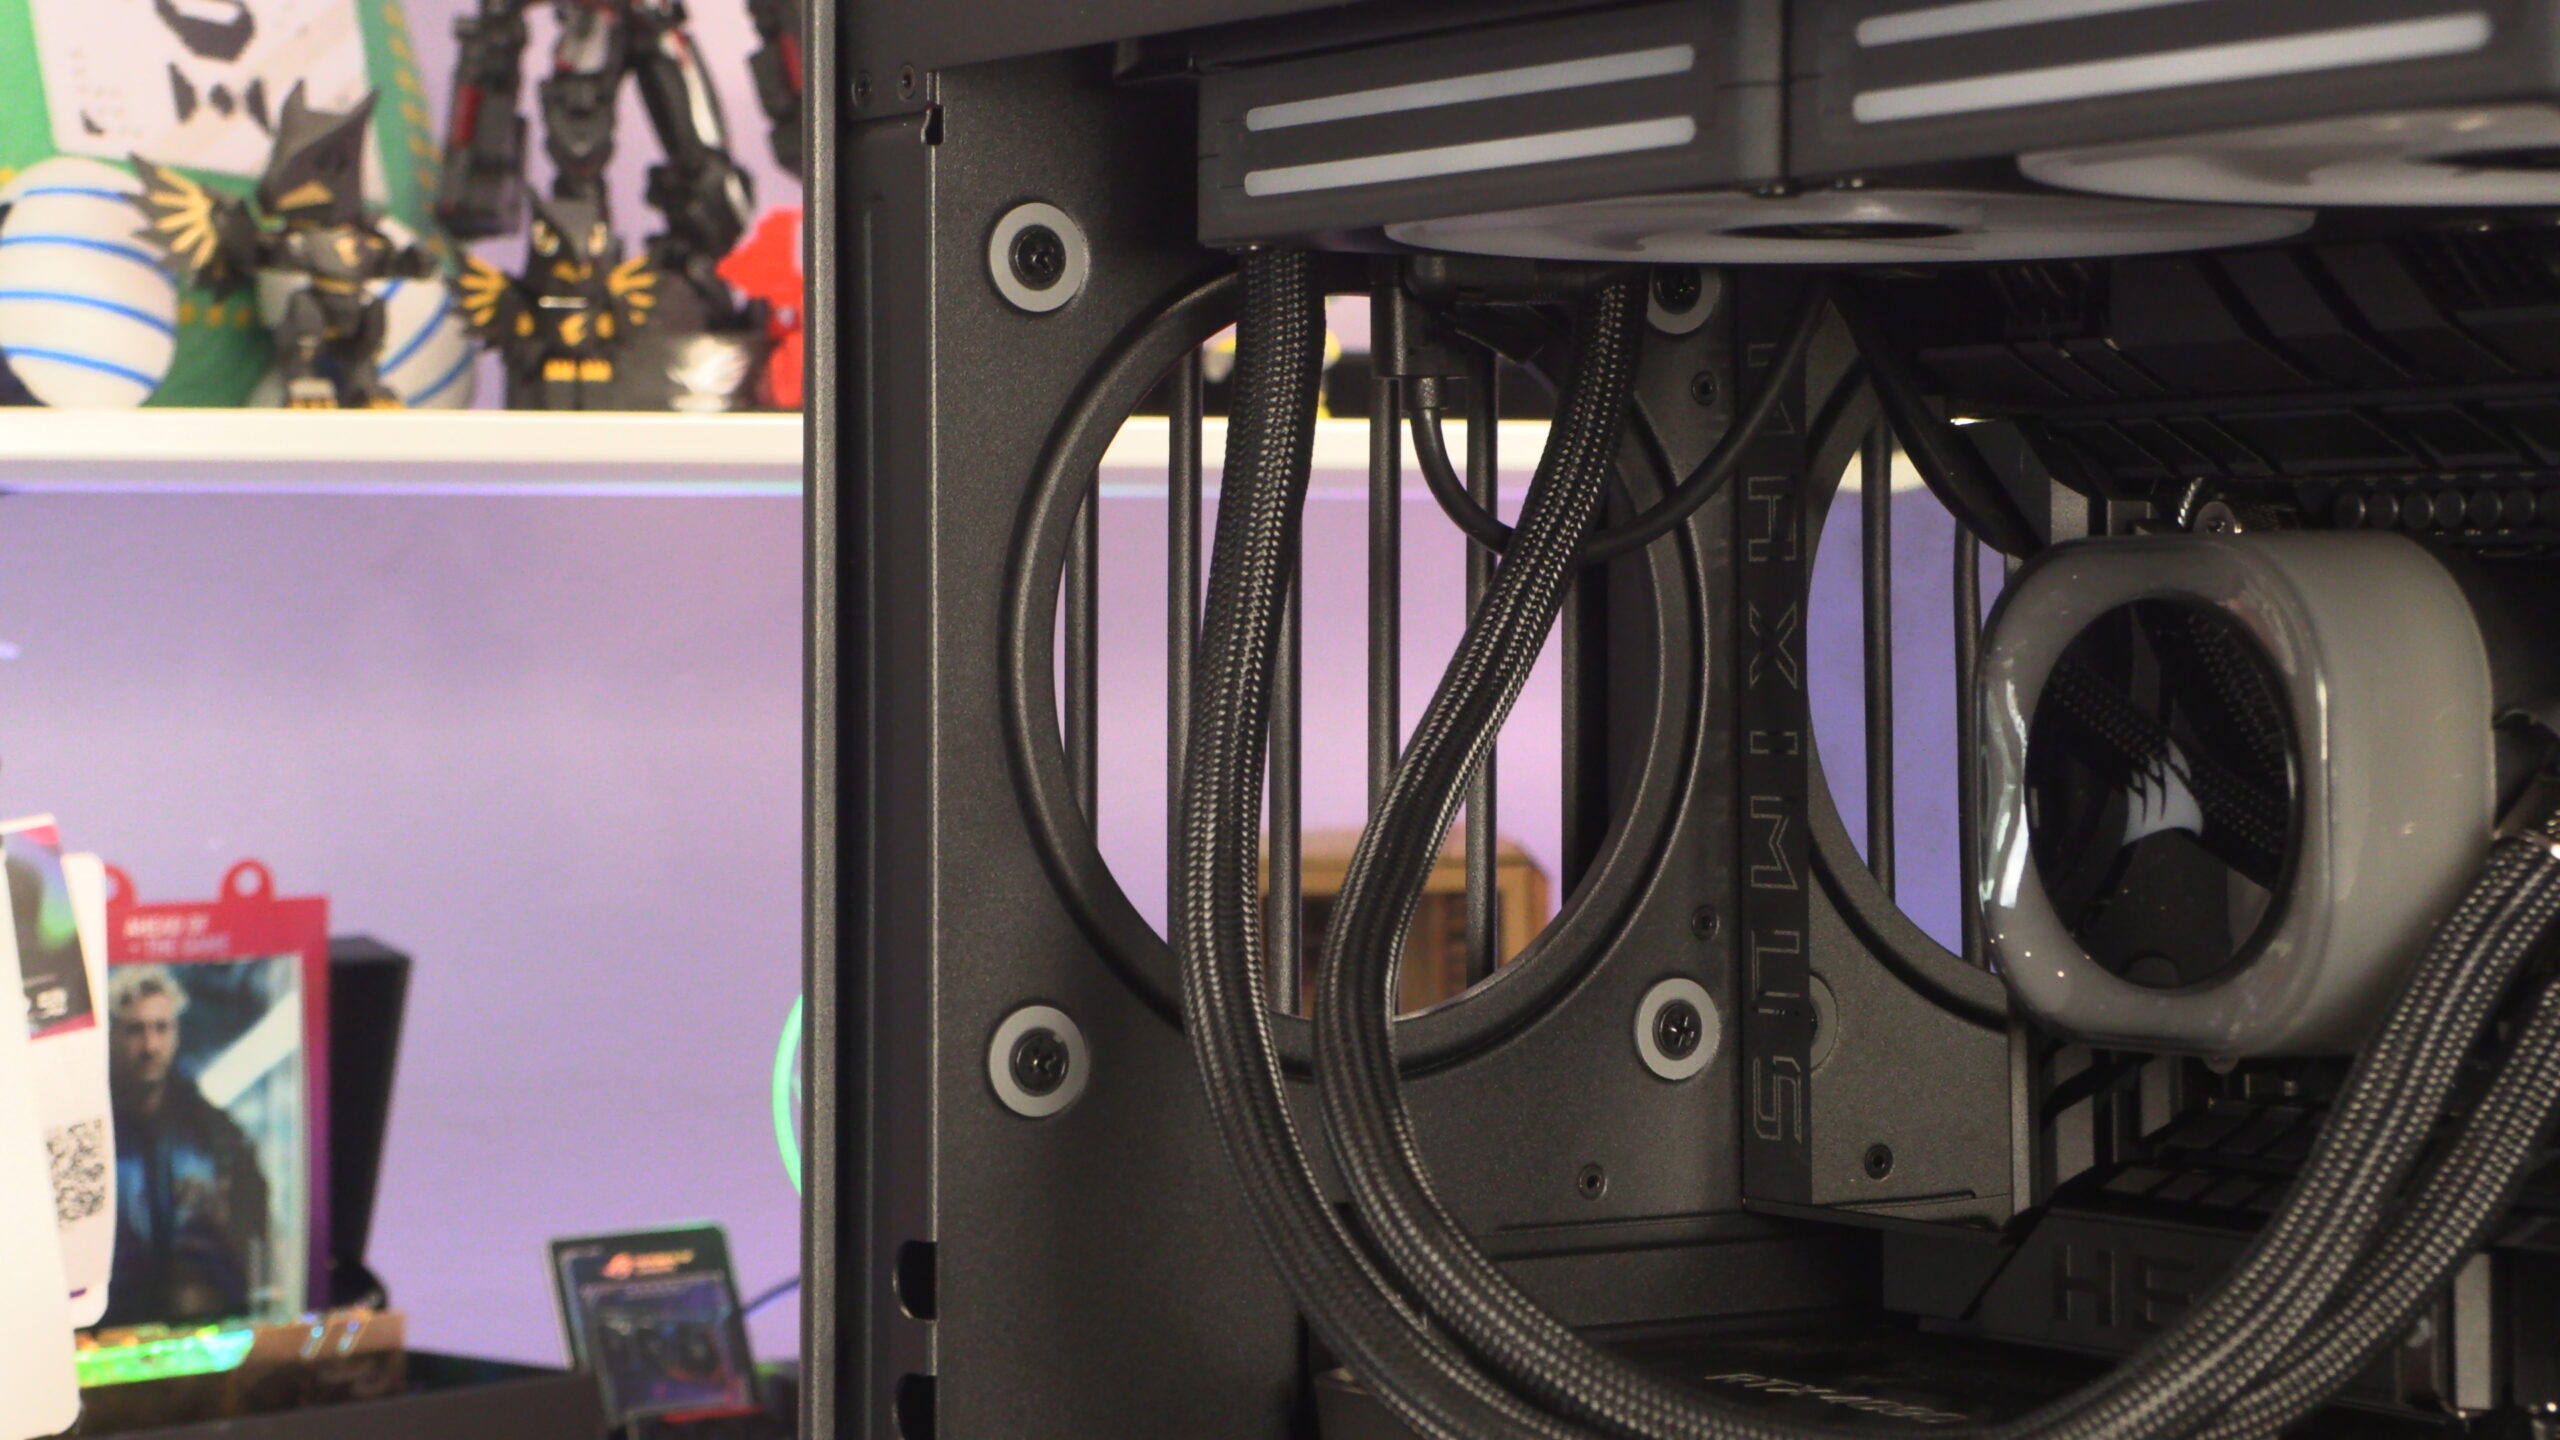
The HS 420 has a lot of pre-installed velcro cable ties and a lot of cable routing locations. As such, this case is great from a cable management perspective, as it makes it easy to route your cables in a tidy way.
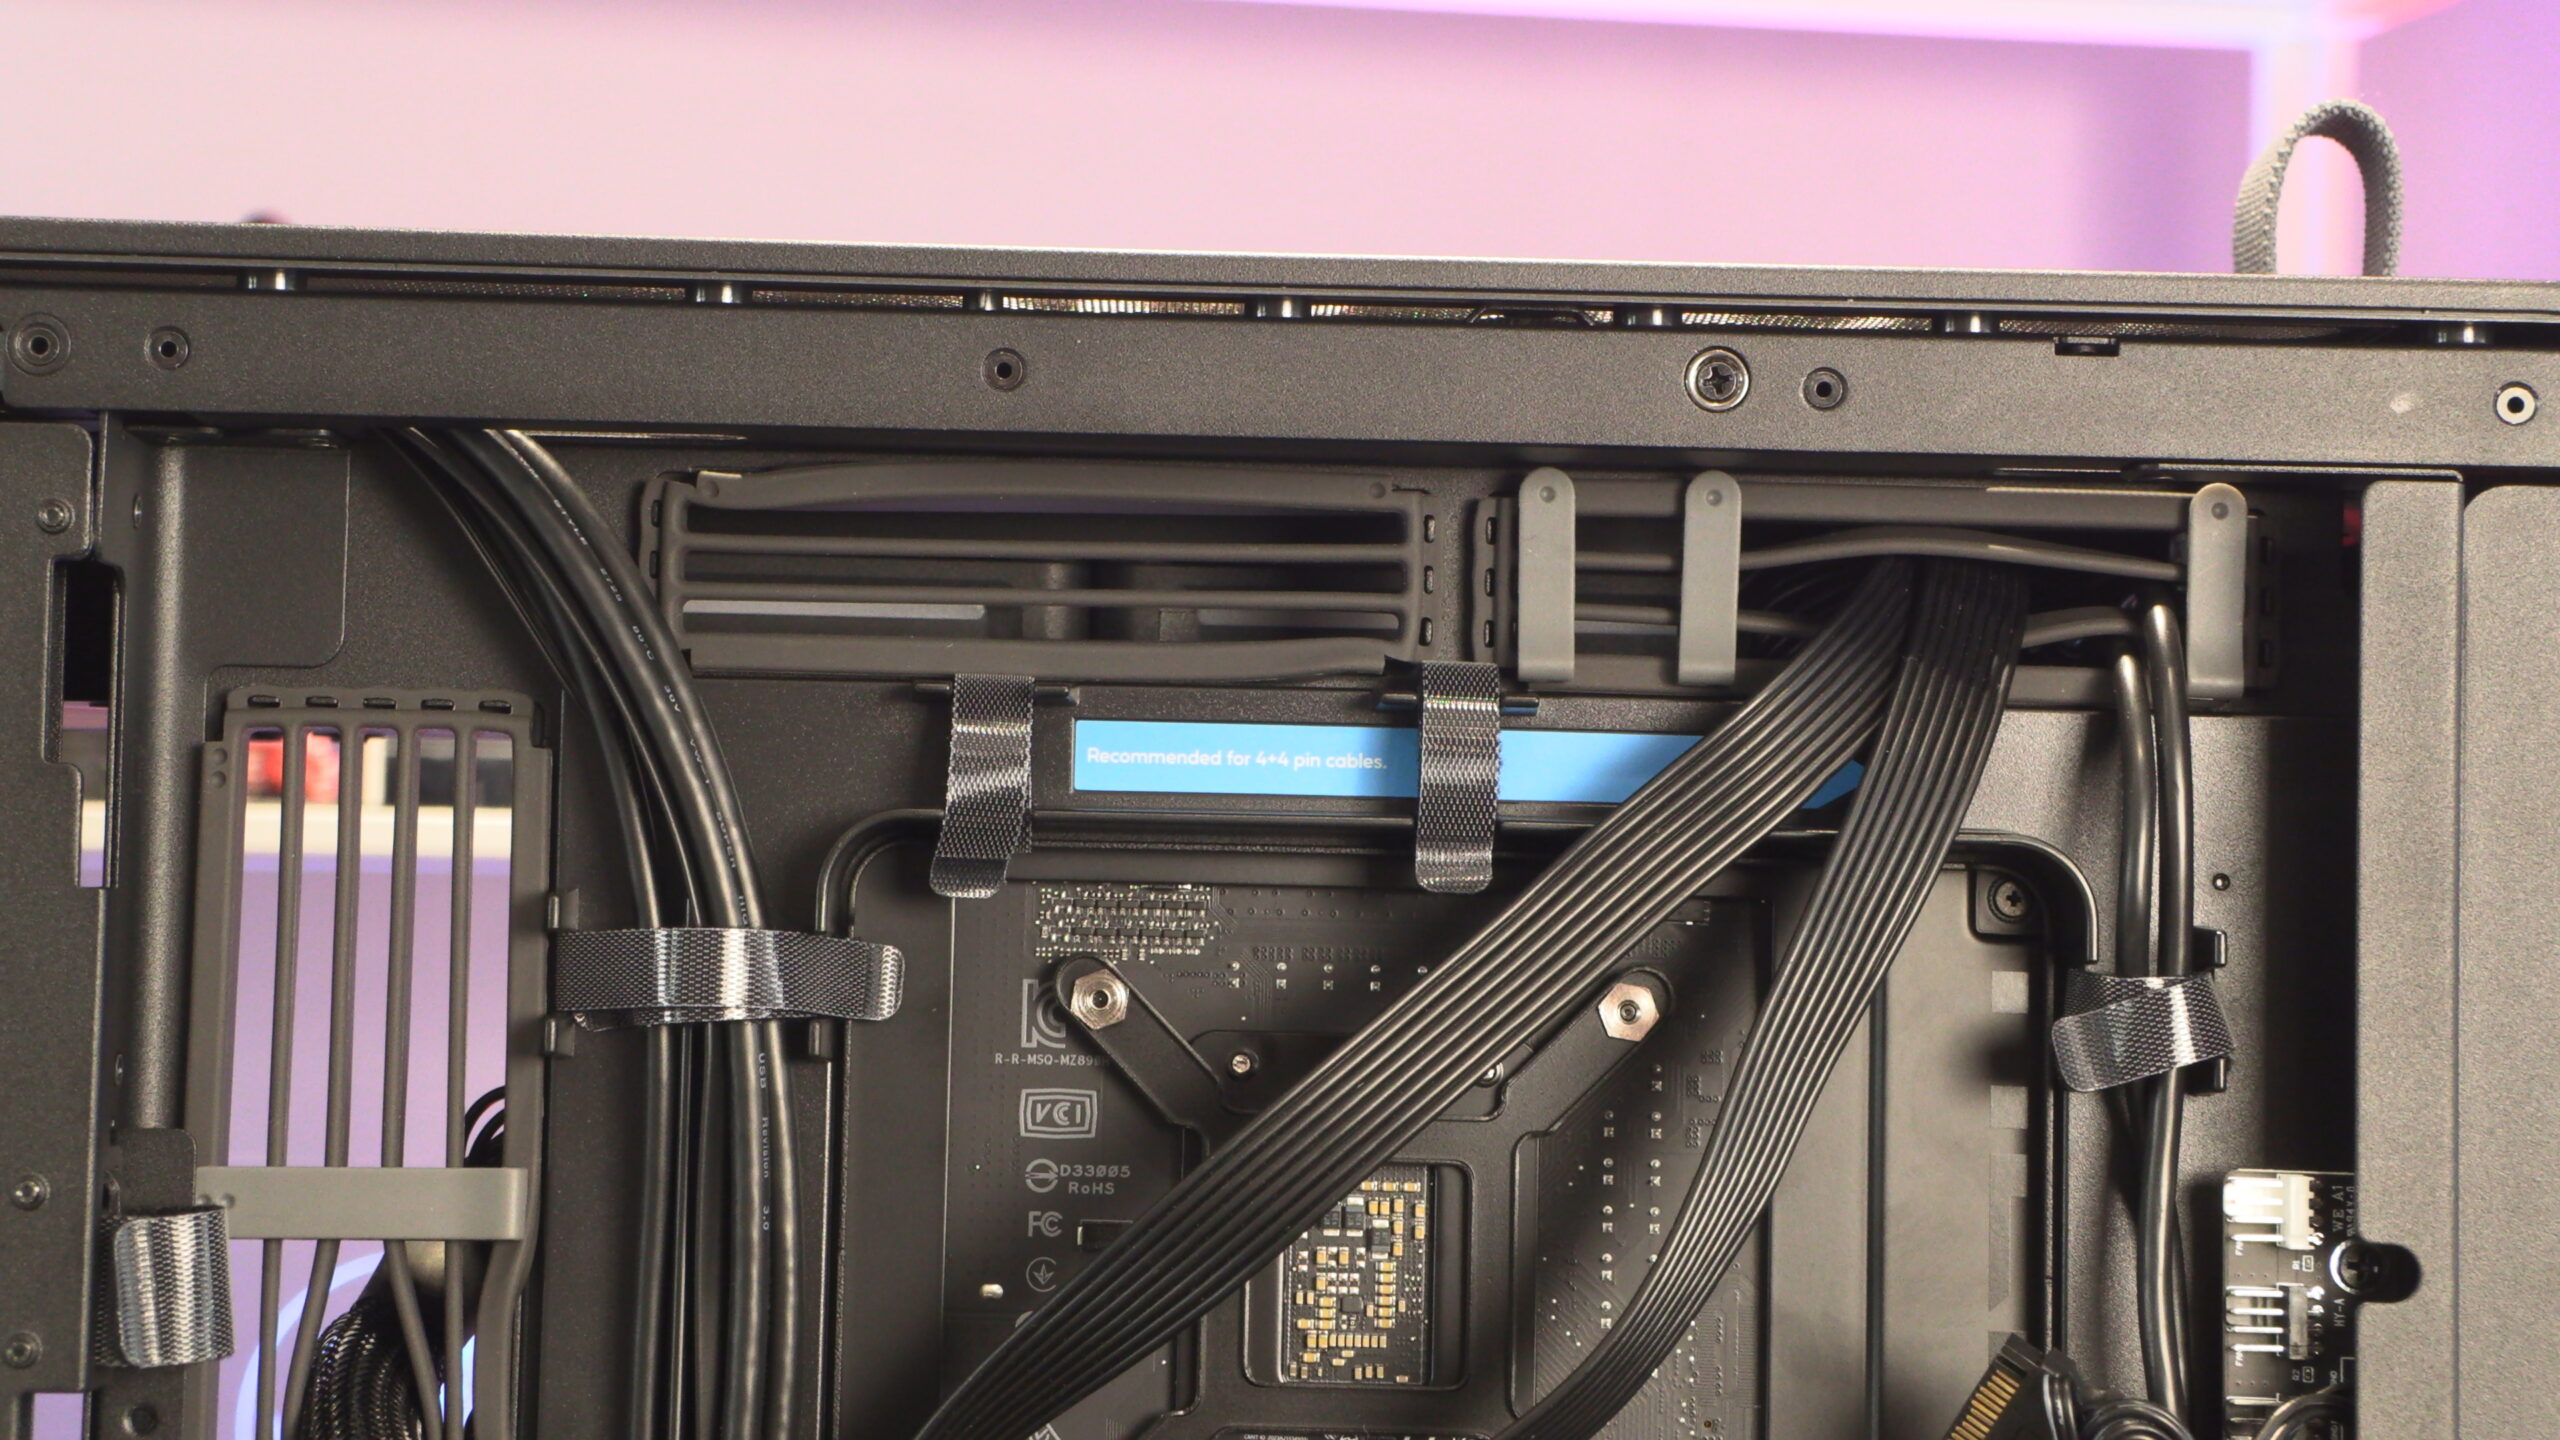
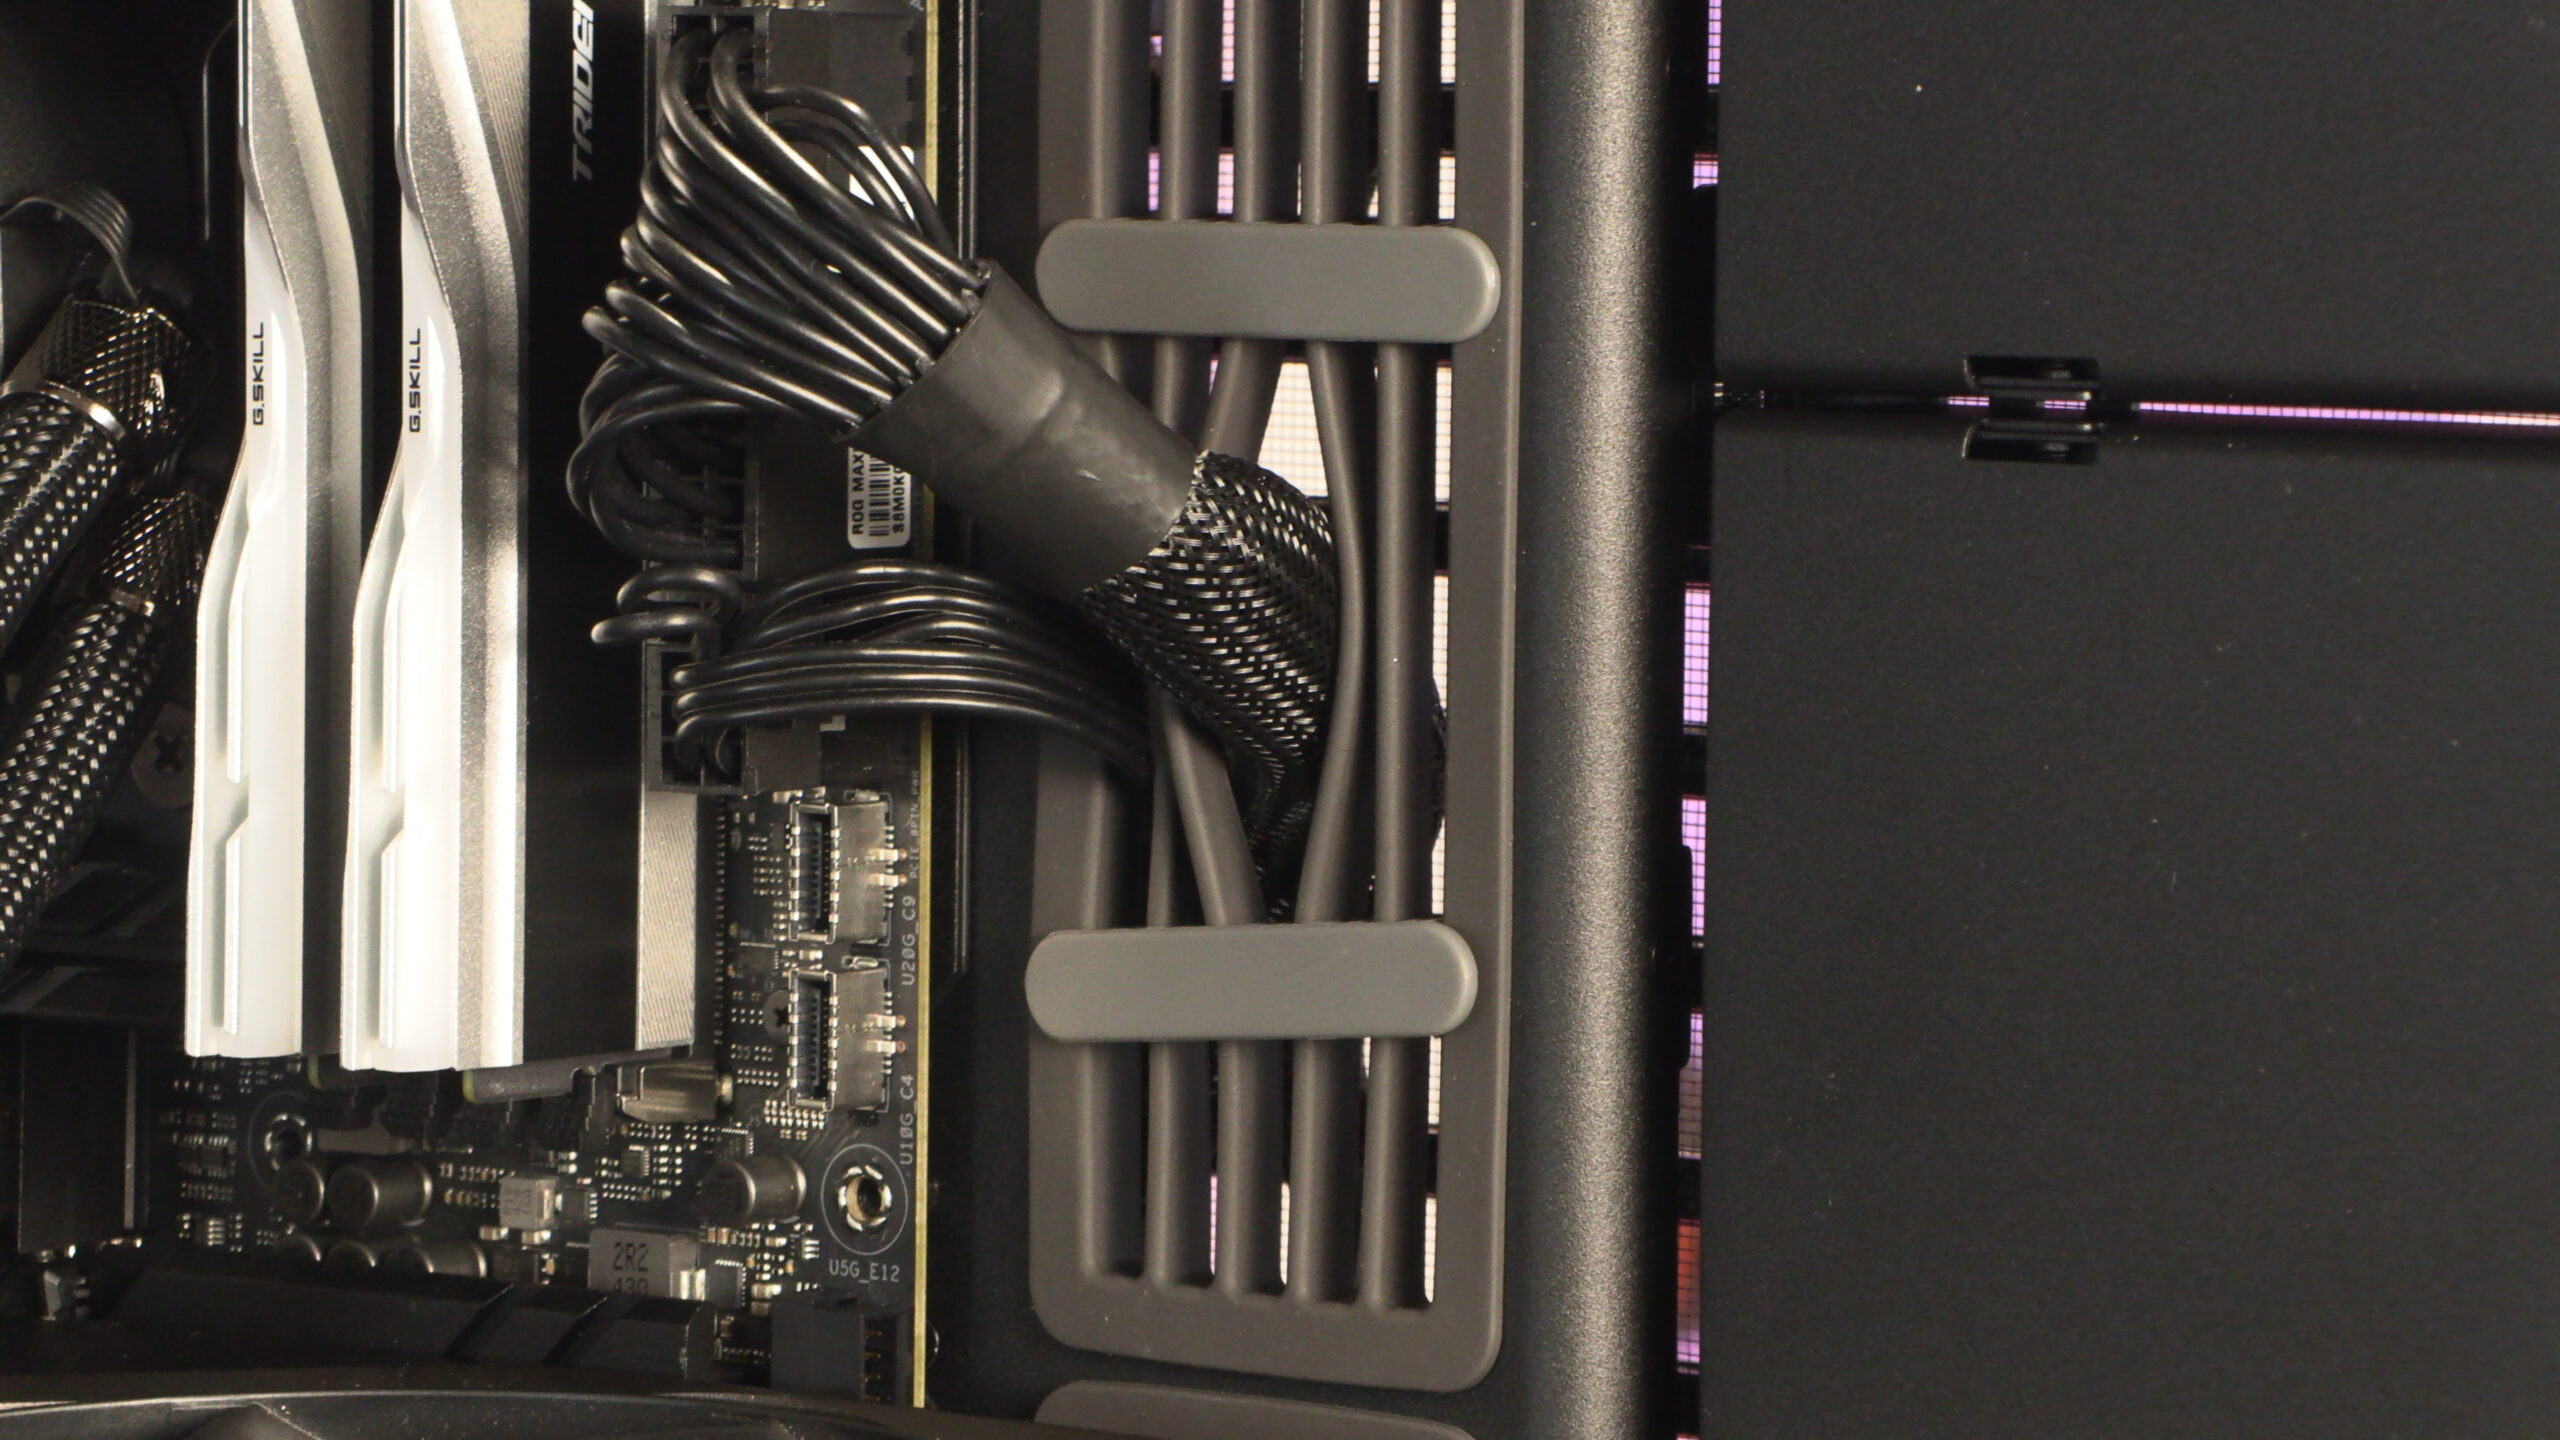
Above and below, we can see the unusual rubber grommet design that HAVN has used with their HS 420 series. It gives the HS 420 a unique aesthetic, and we like the cable comb-like add-ons that they have used to keep their lines parallel whenever possible.
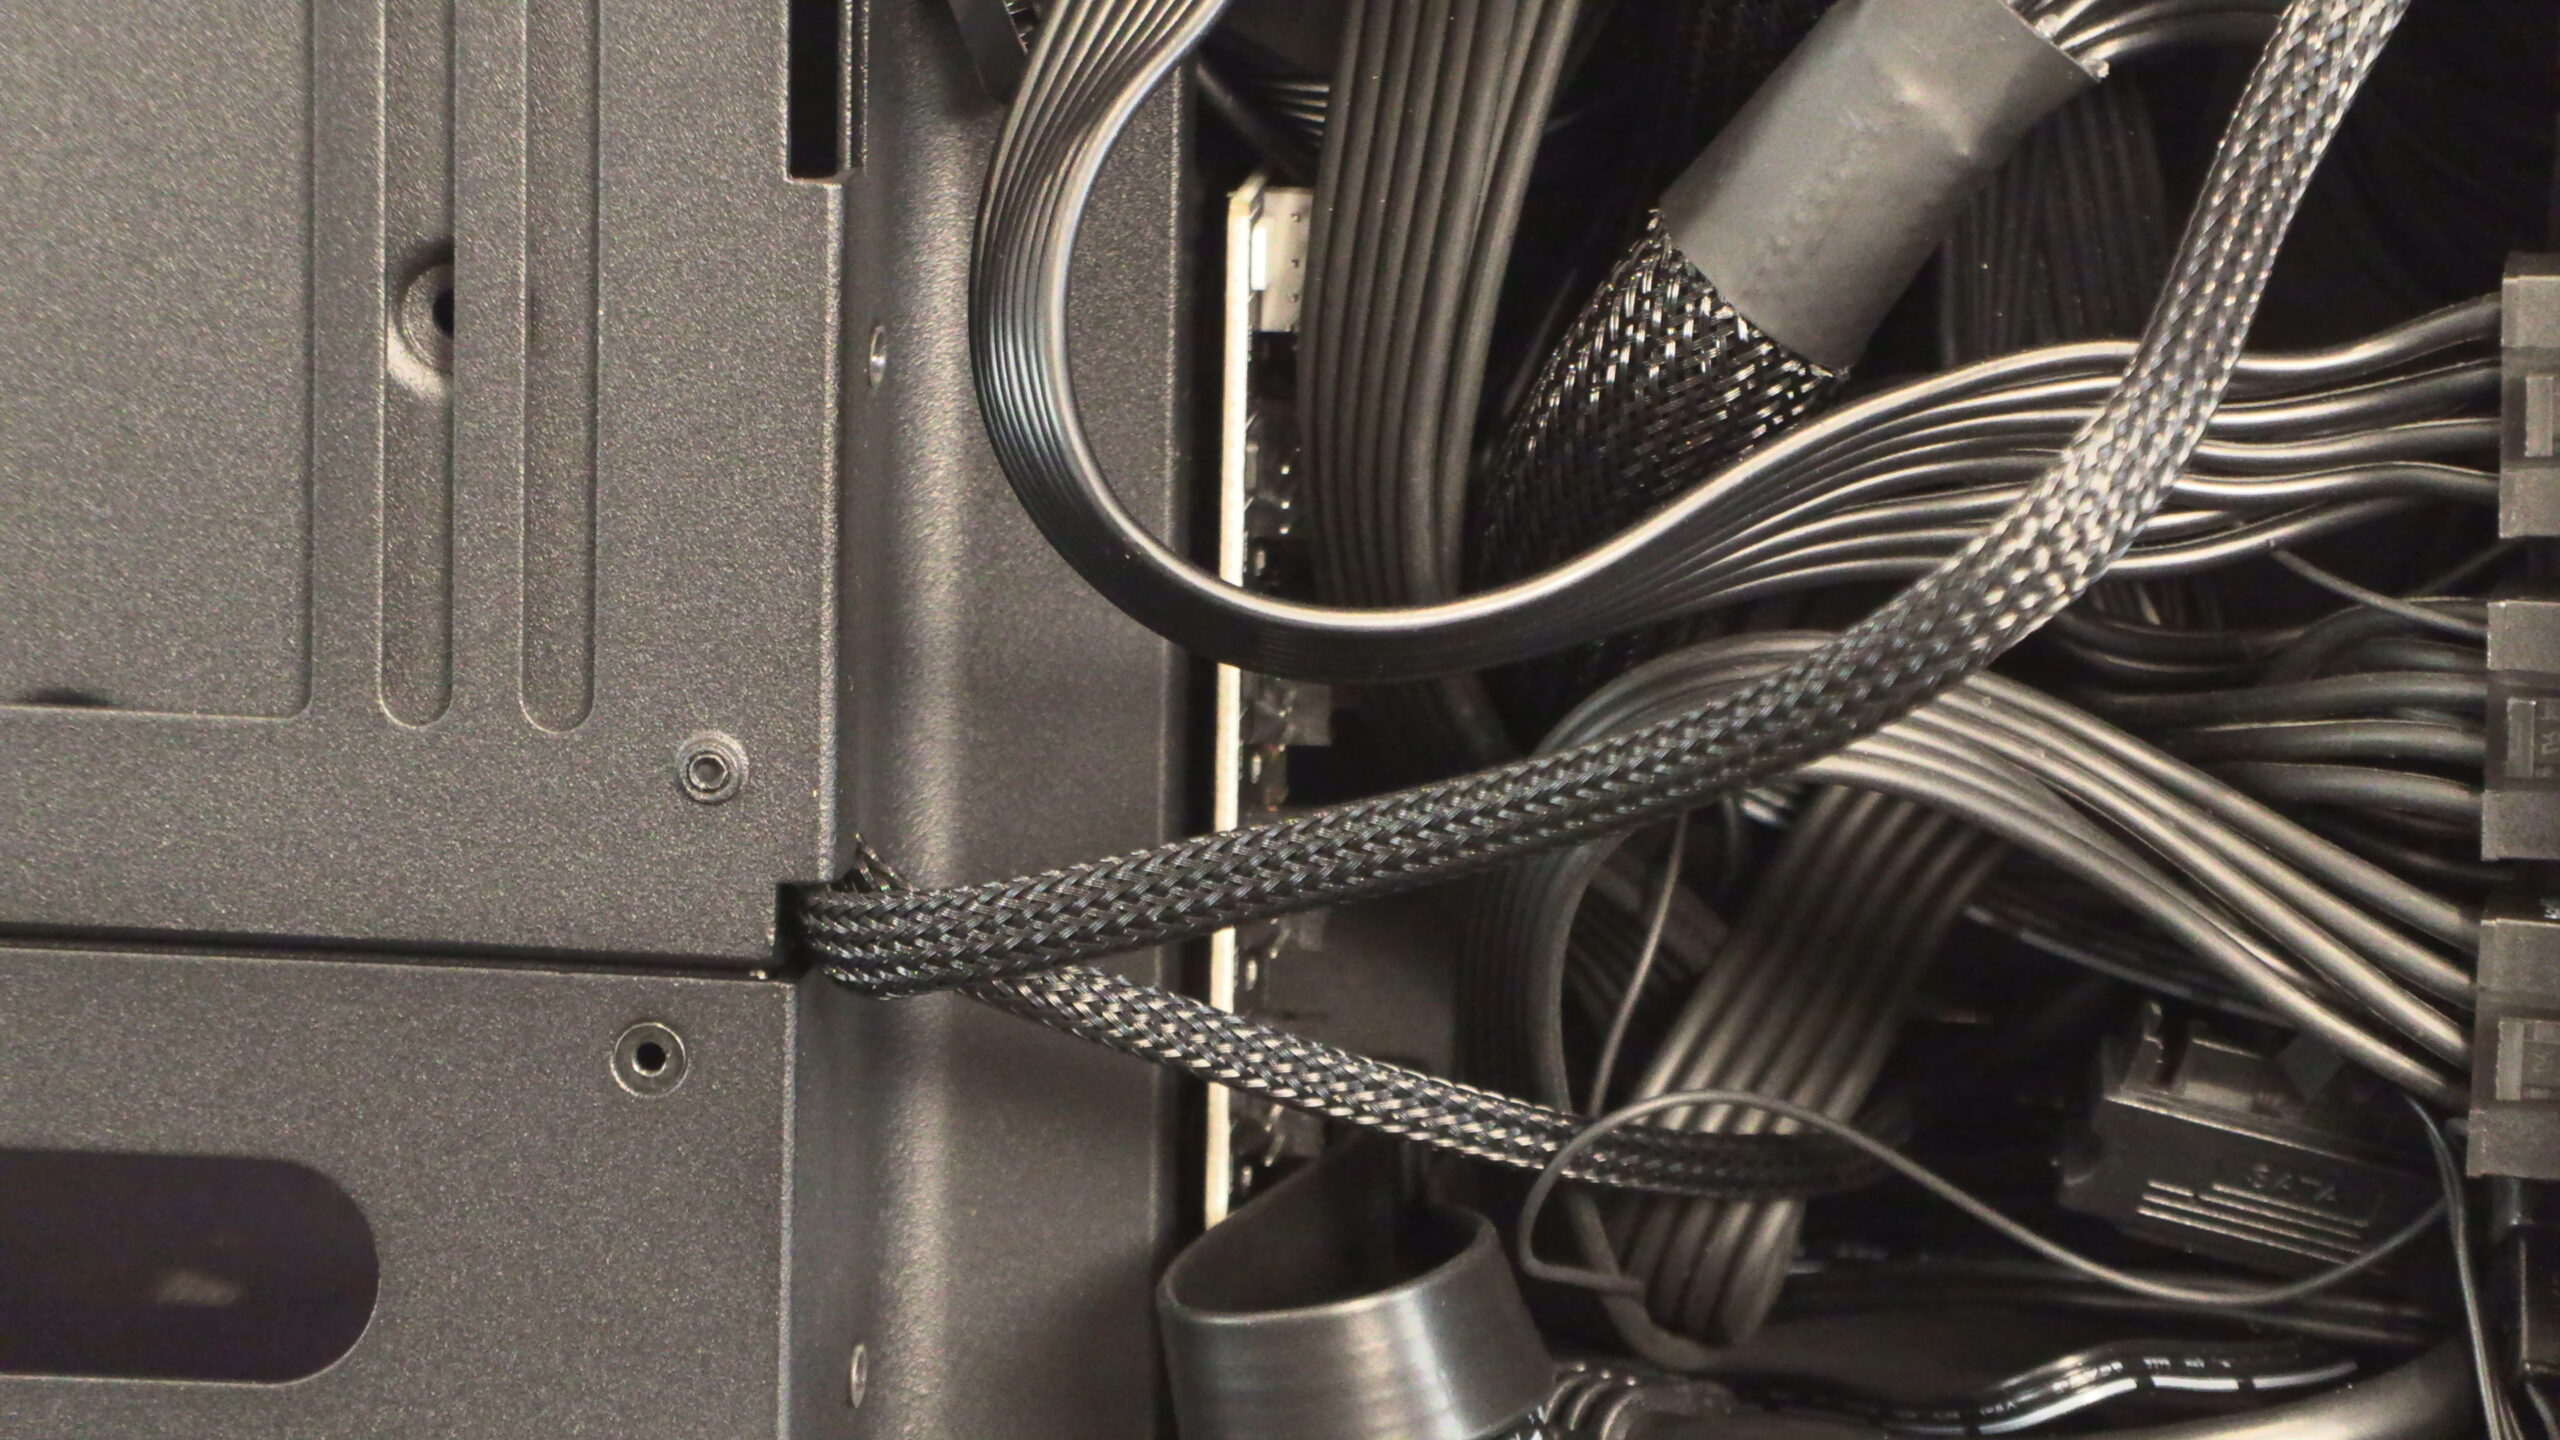
This case has two fan hubs, one in an awkward location. Below is a fan hub just in front of our power supply. Since we are using a long power supply, cables get very close to this fan hub. This makes it easy for us to stab ourselves with its PWM connectors when altering our PSU cable setup. This isn’t a good location for a fan hub, though it is perfectly usable if you are careful.
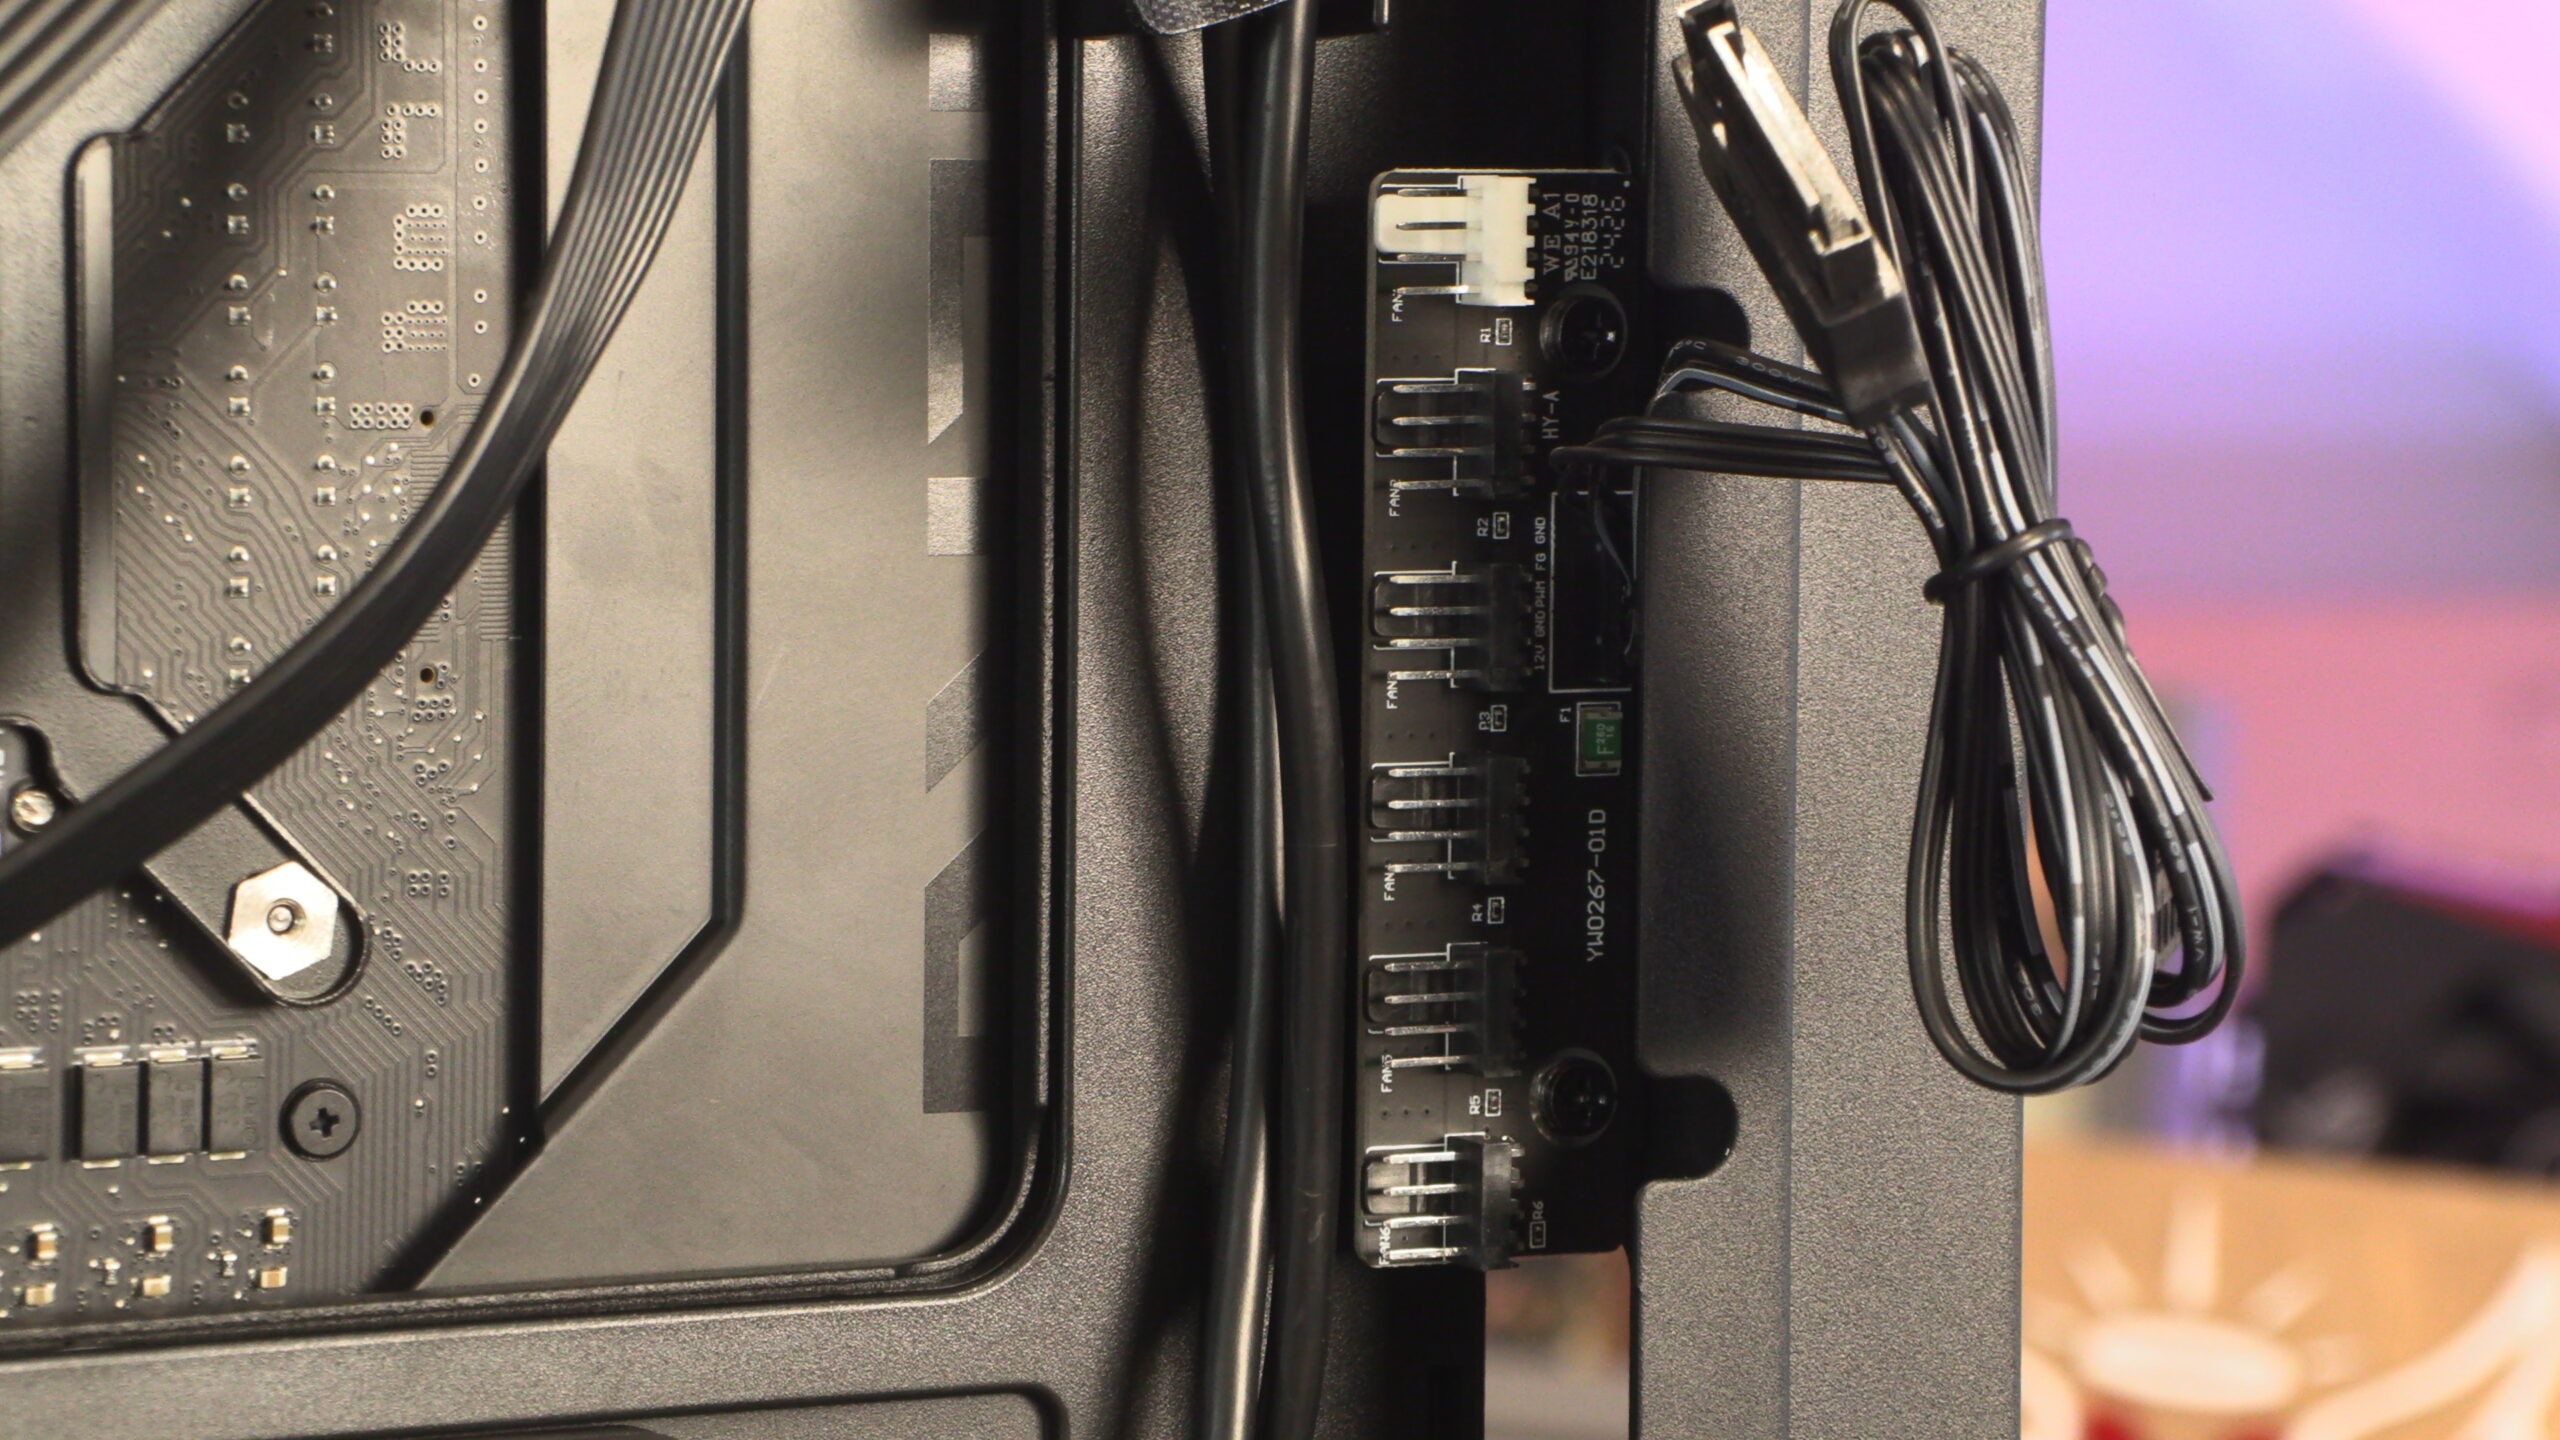
This case’s second fan hub is at the rear of the HS 420. It is much easier to access, and users are less likely to stab themselves with it.
Overall, this case makes it easy for users to build a clean-looking system. With minimal effort, users can have great cable management.

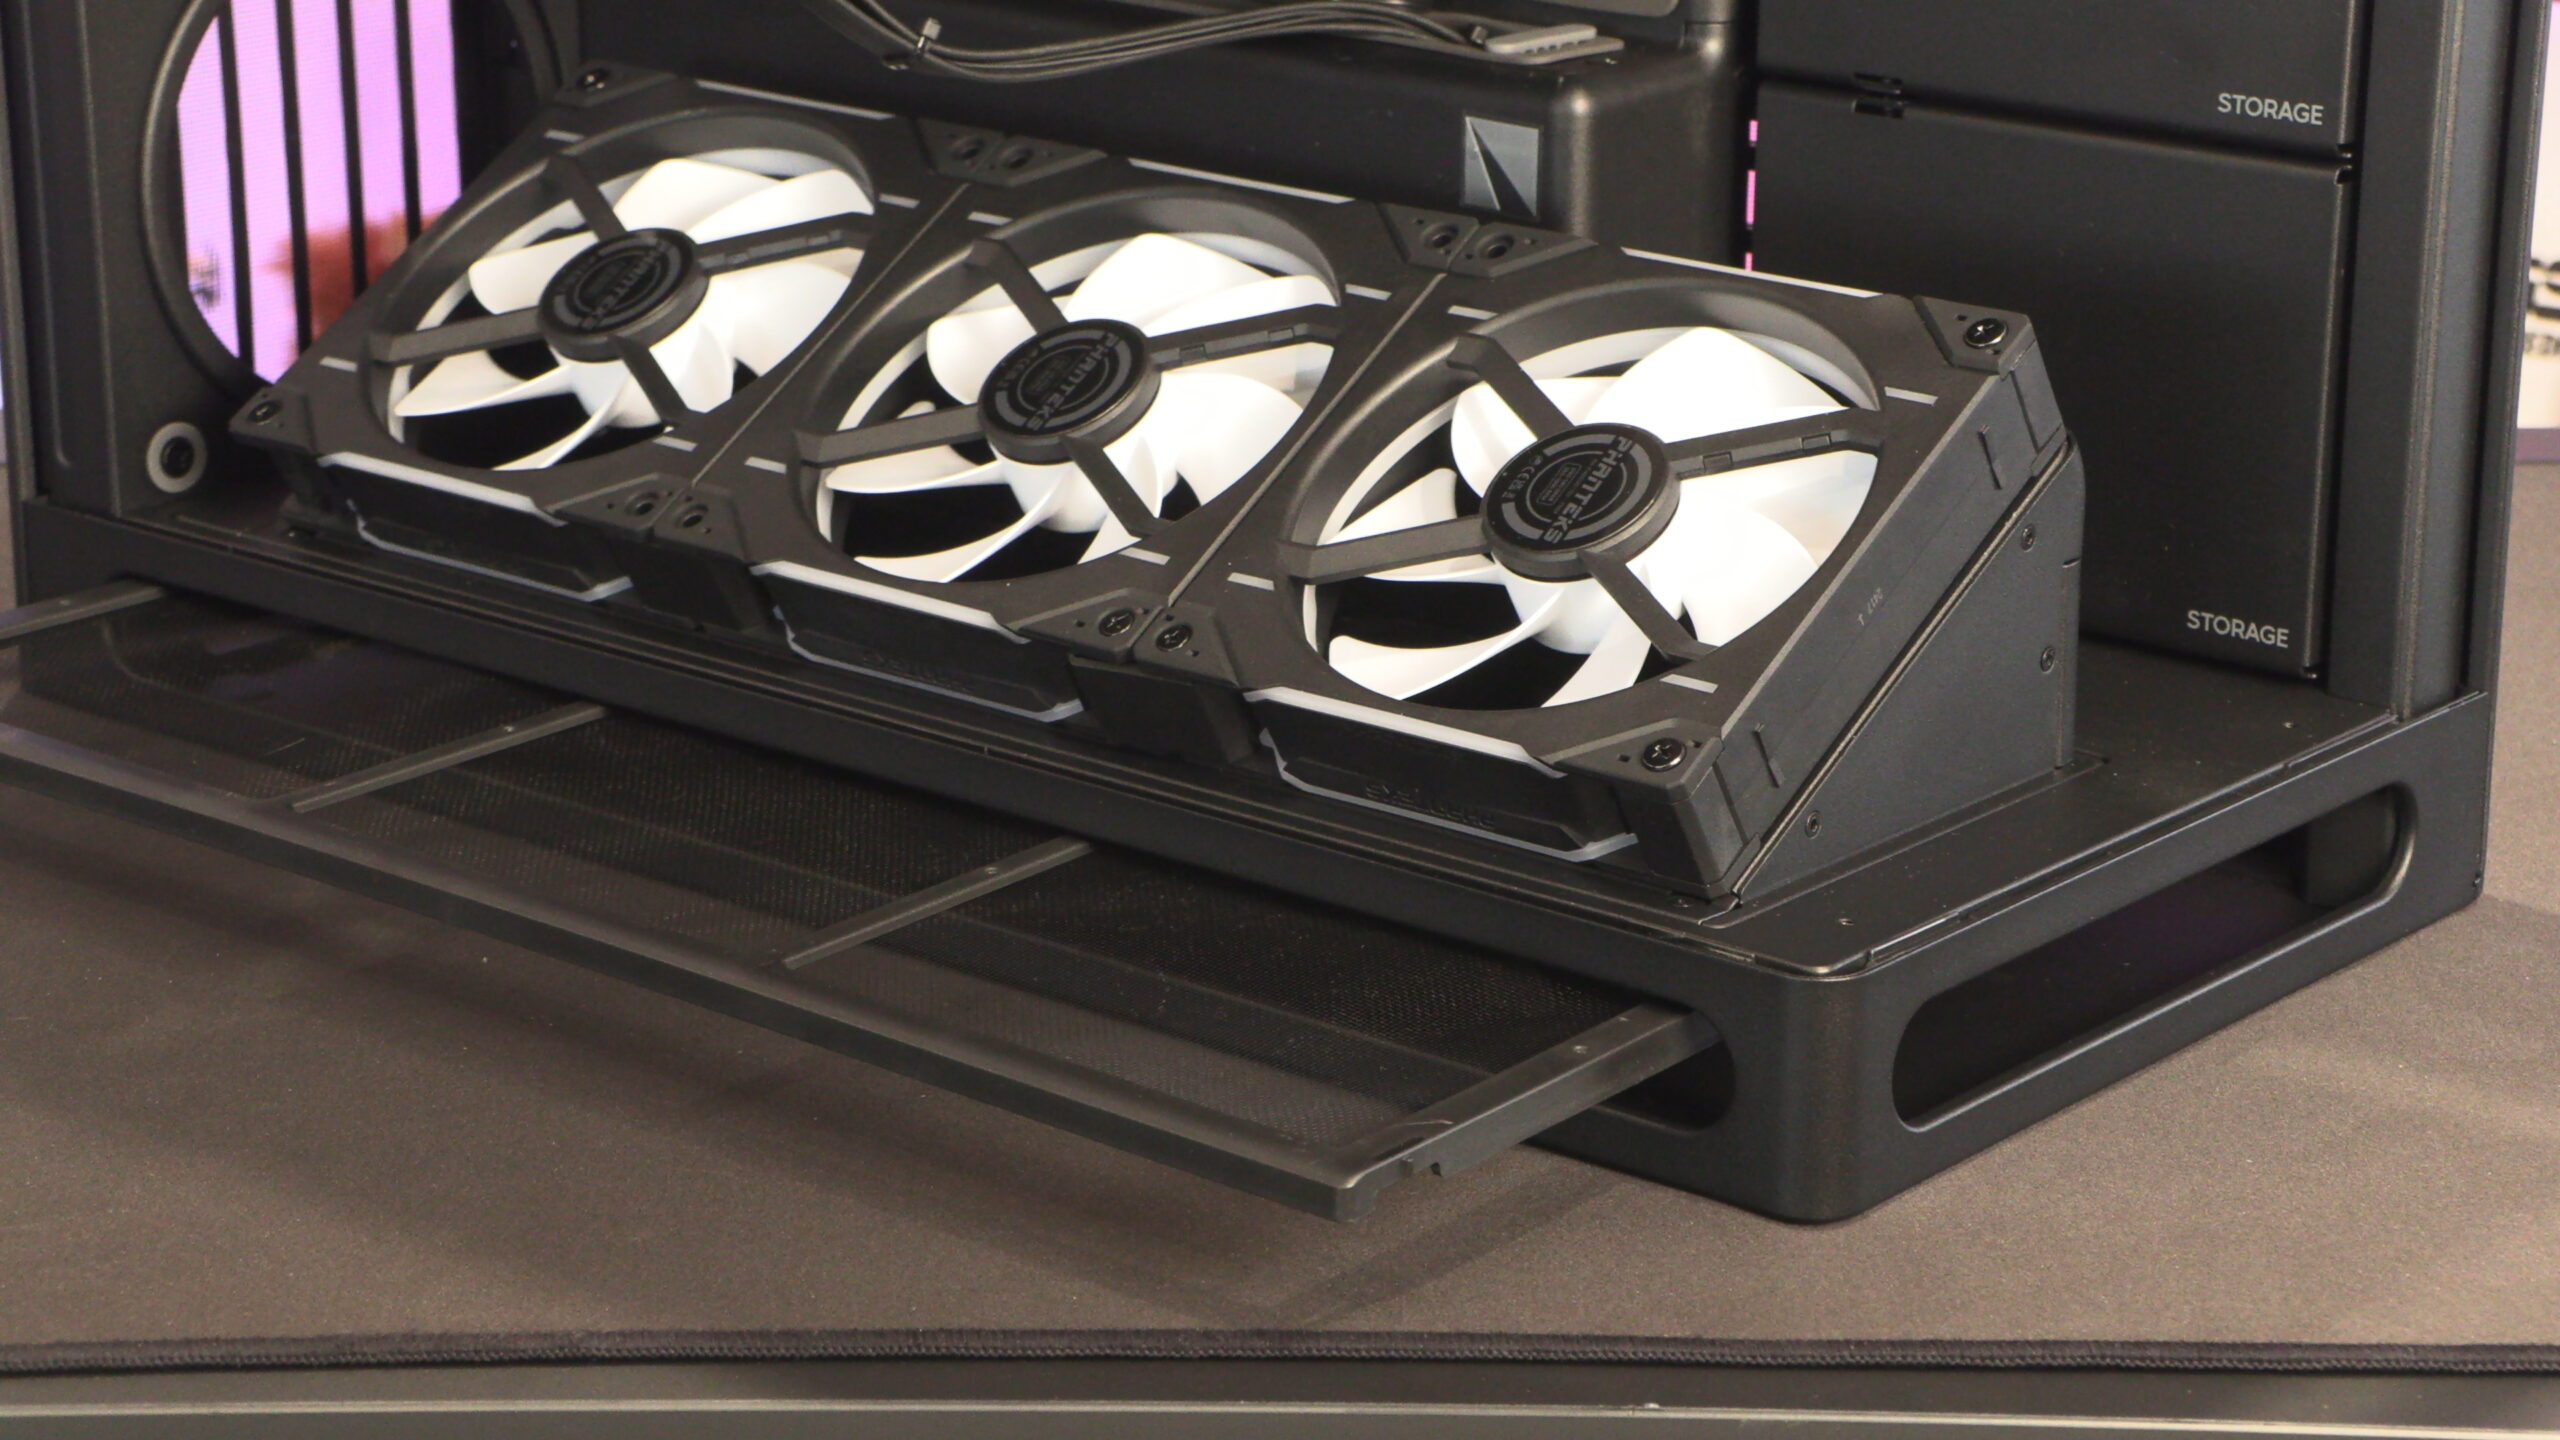
Bottom fan mount
Users should note that HAVN ships no fans with their HS 420 PC case. Users will need to install their own fans. We have attached three 140mm Phanteks fans to this case’s bottom fan mount. Note that this angled fan mount only comes with the VGPU version of this case. The standard version of this case has a flat fan mount.
Here is a look at this case’s custom rubber grommets and their neat cable comb style add-ons.
At the top and bottom of this case there is space for 140mm fans. These can act as an intake or exhaust, depending on your preference.
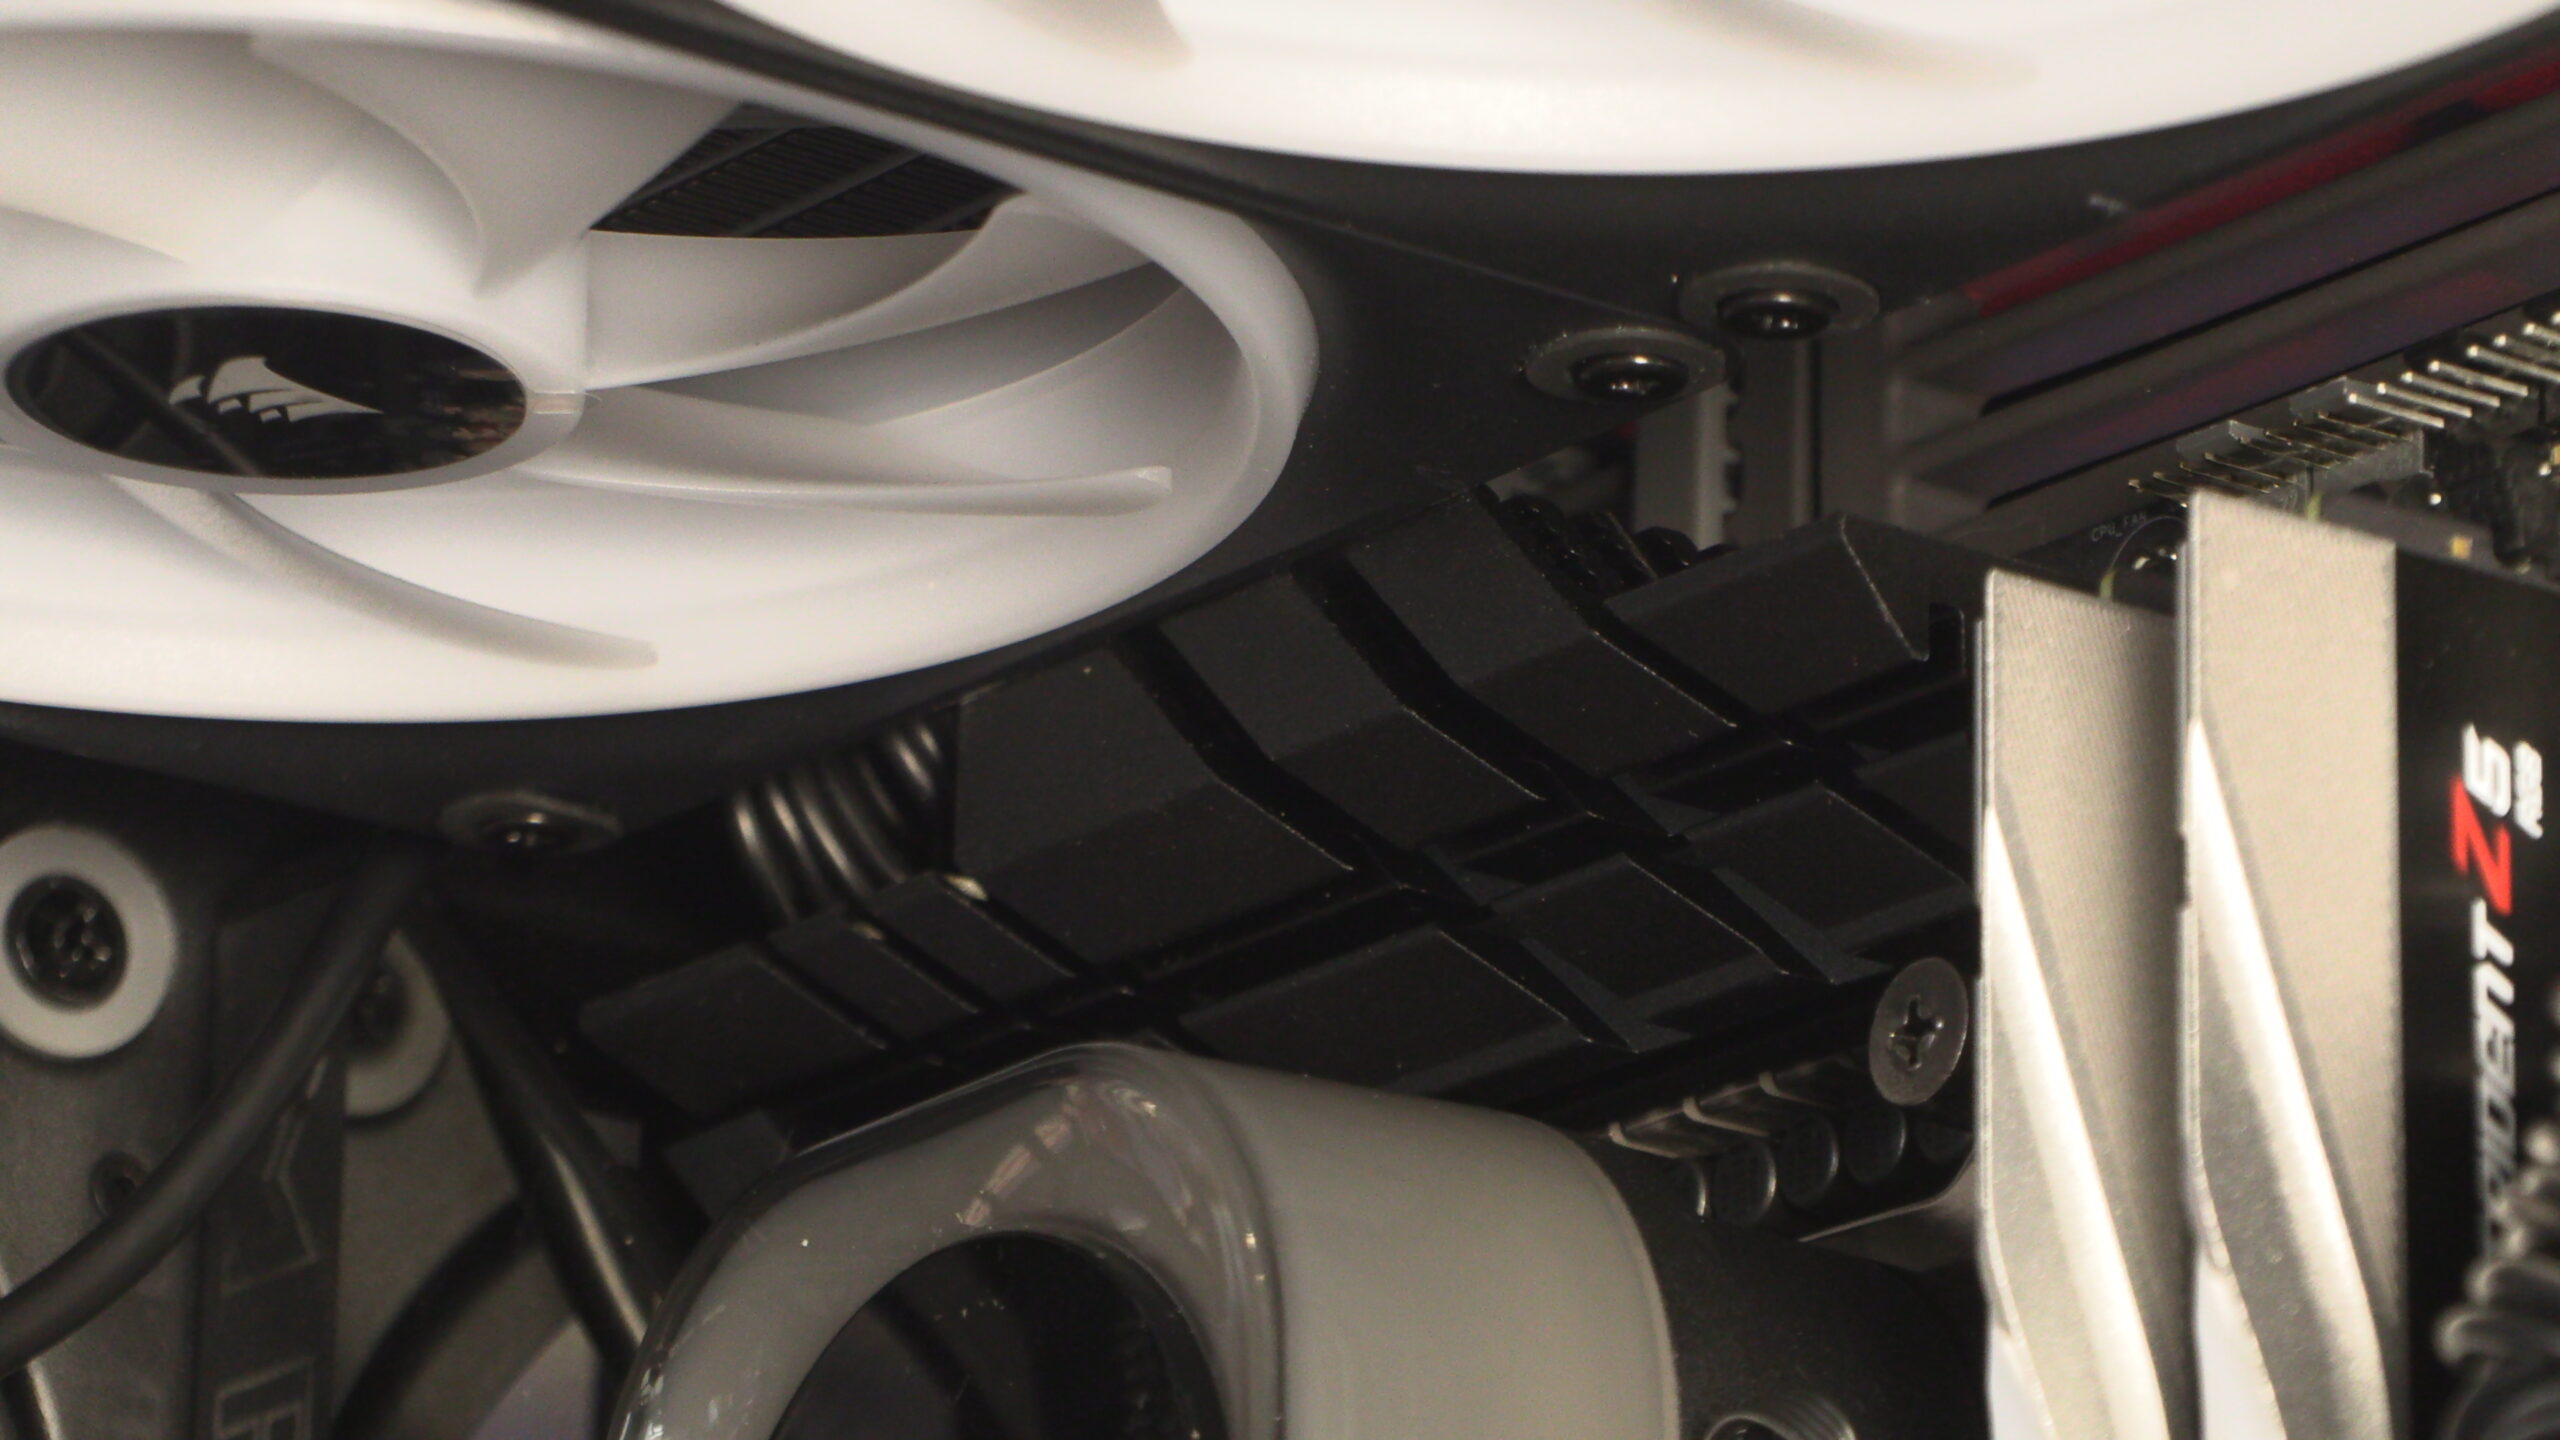
As said before, we have placed six different Z890 motherboards in this case at the time of writing. All of them easily fit inside when using a Corsair iCUE LINK H170i CPU cooler. It may get close to your motherboard heatsinks, but all of the motherboards we have tried so far fit. That’s great news for anyone who wants to use a 420mm liquid cooling radiator at the top of this case.