Tryx Panorama 360 SE AIO Review

Installation
Installation
If there is a problem with the Cooler Master SL600M it’s how many panels you have to remove just to get at everything. However, once they are off it’s going to be easy to take the installed AIO out and put the Tryx in. This MSI I360 one was very much a temporary replacement. The “all in one” mounting option in particular is ugly.
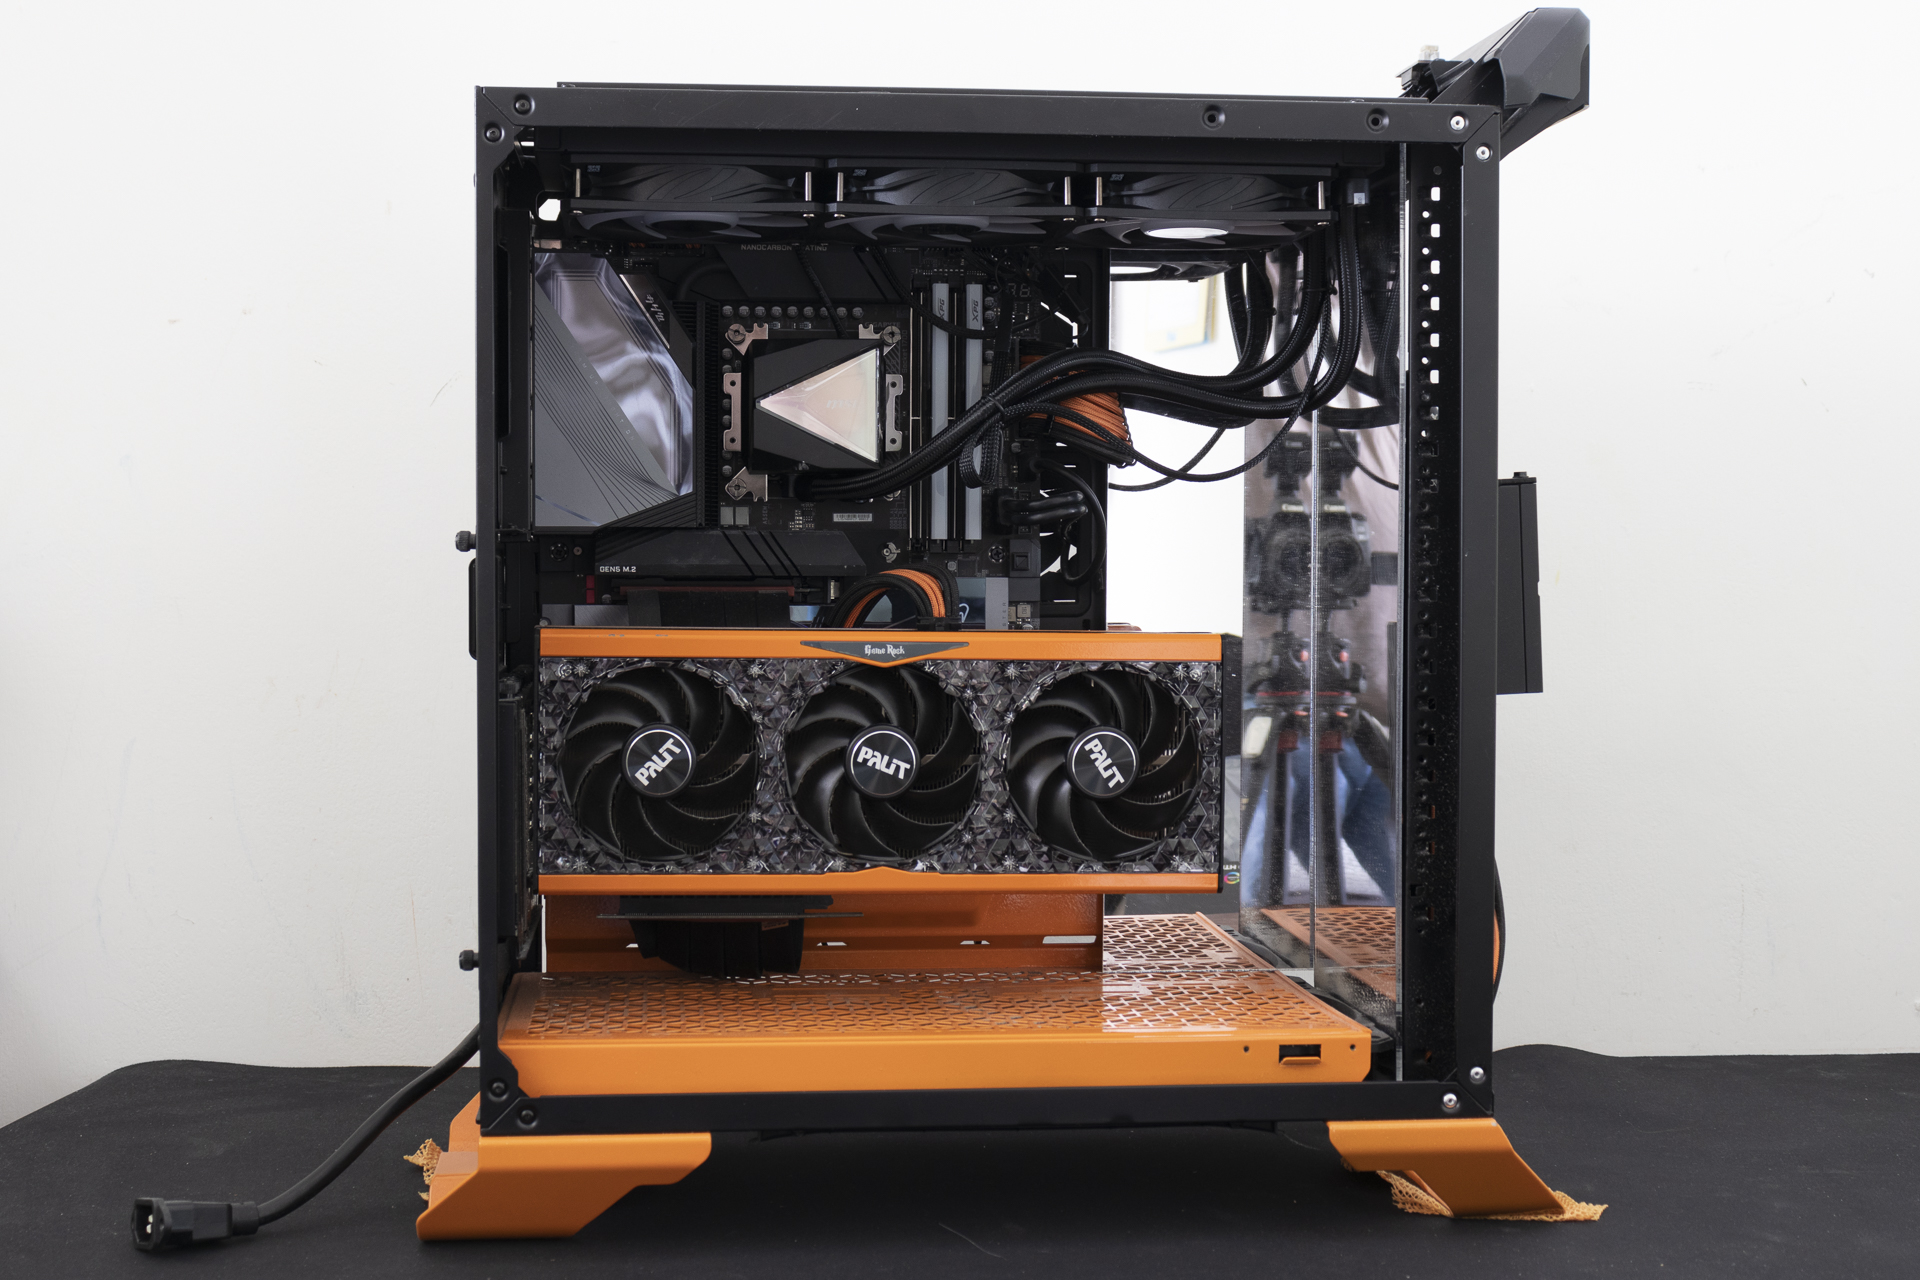
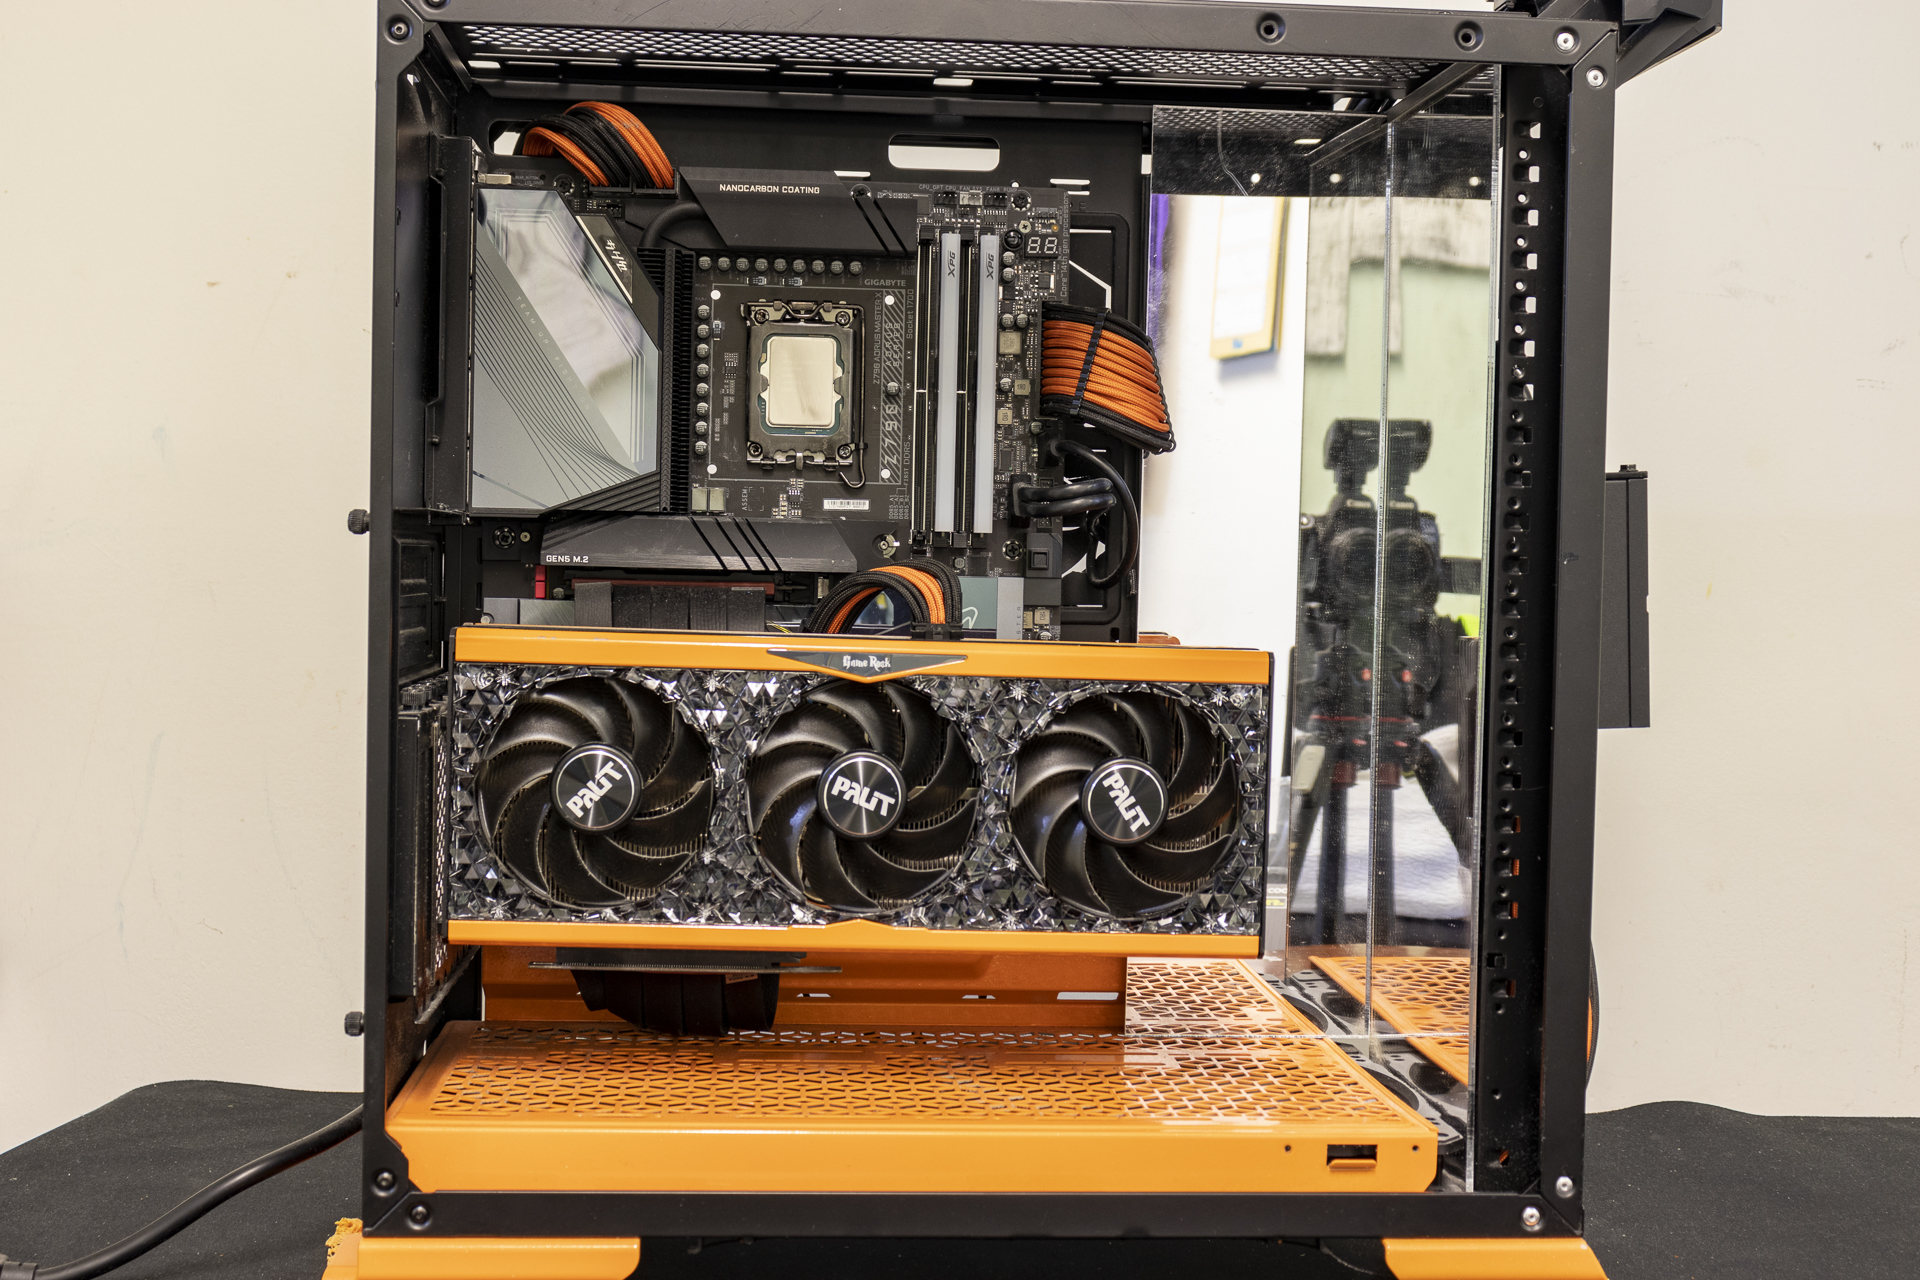
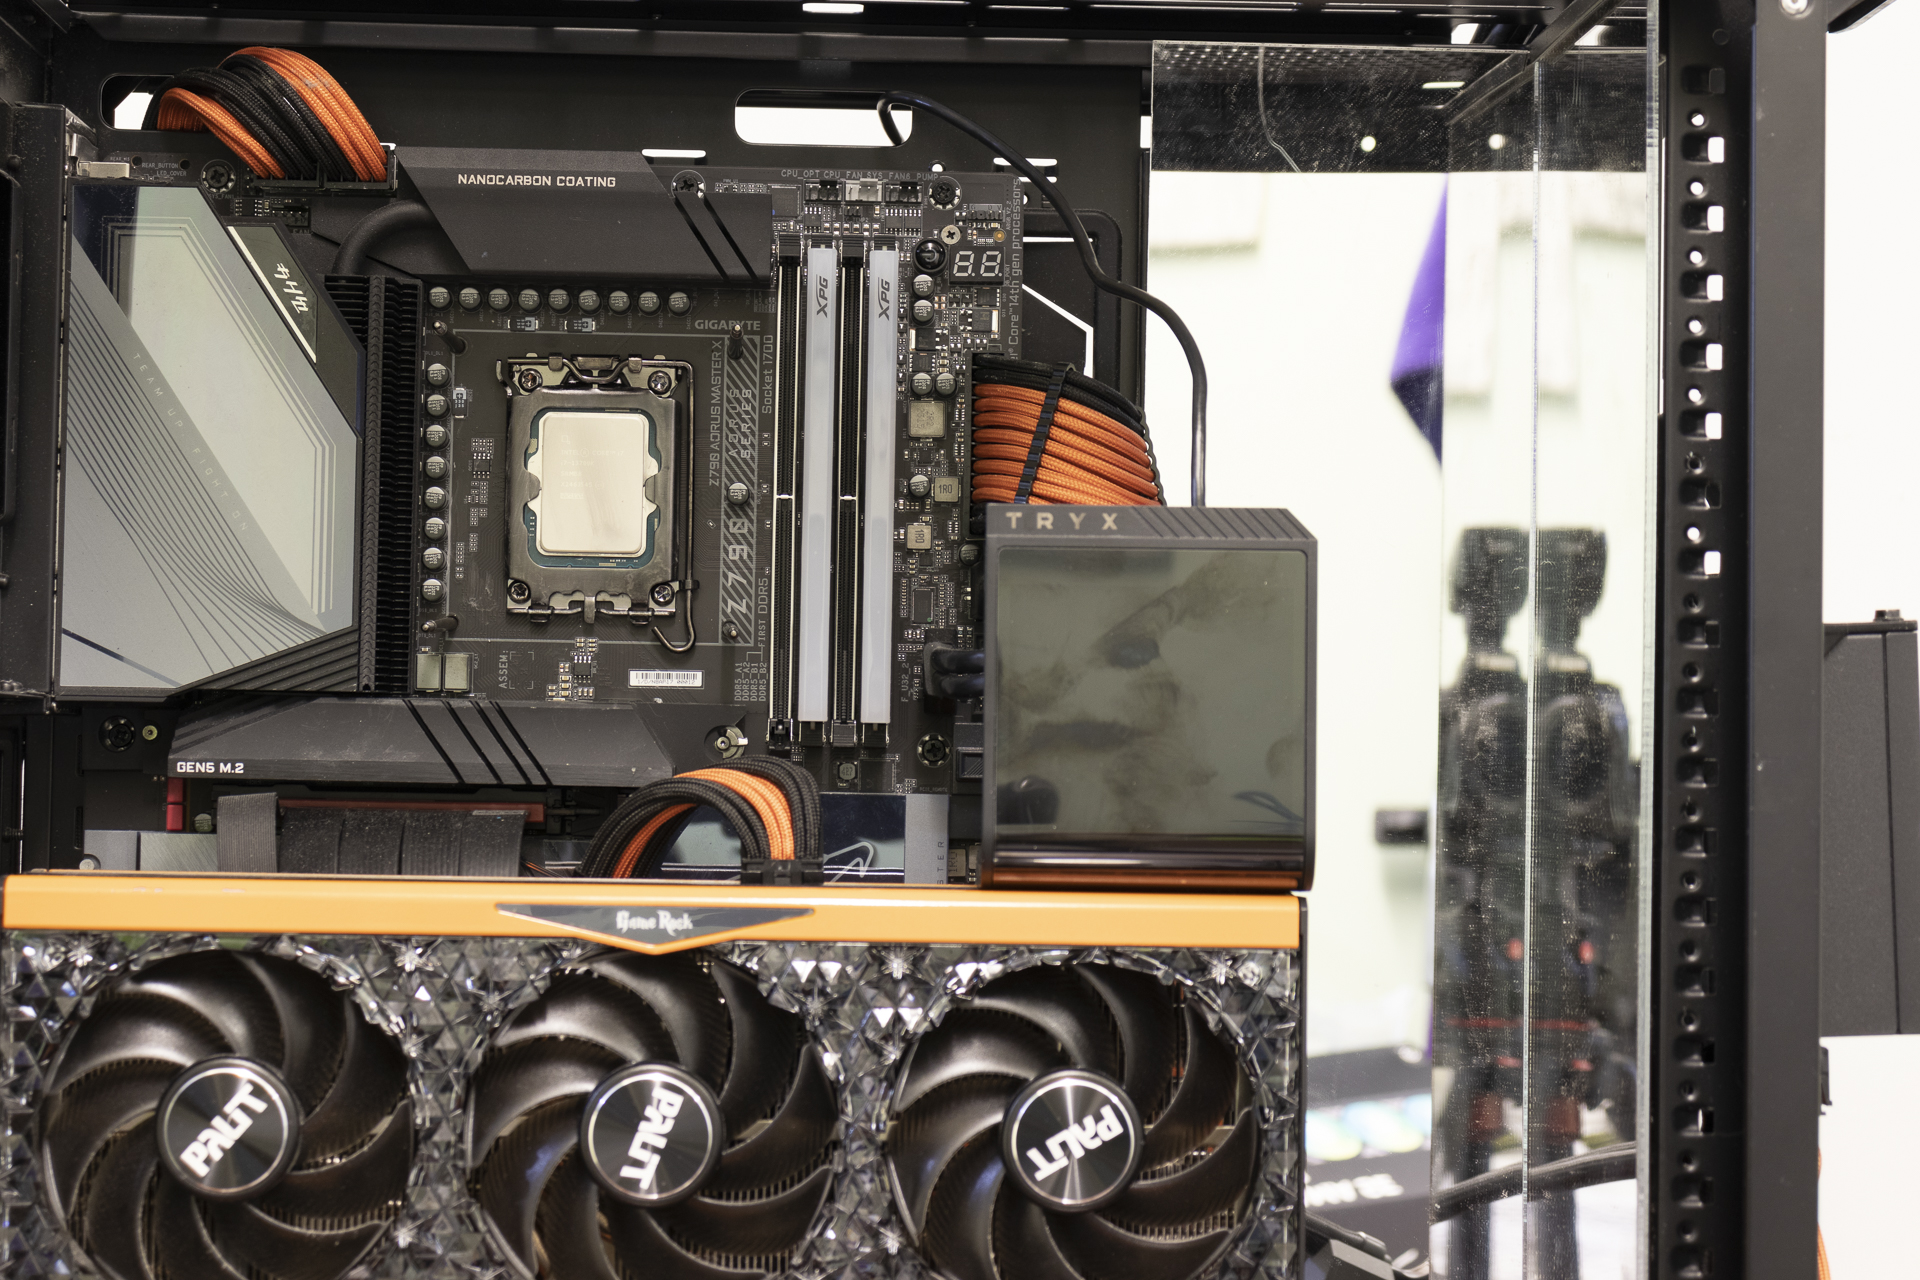
Ahhh much better. A CPU clean of thermal paste and a case ready for a new bit of glitz and glamour. It also gives me another opportunity to show off the custom Cablemod PSU cables and the gorgeous orange flake paint job on the Palit RTX 4090 GameRock. So pretty.
As always with installing an AIO the installation process is hard to document. Either the pump is bolted to your processor or it isn’t. There isn’t an inbetween stage. Luckily for us, the screen on the Panorama SE can be installed separate from the pump itself. Because the screen must go into the USB 2.0 front panel header at the bottom of your motherboard, we recommend installing it first to get the cable out of the way. This hole is about to be covered up by a big radiator.
Tada. Nice and easy. Pay attention to the tubing orientation if you want to mount the screen in waterfall mode. The screen is large enough, and the tubing high enough, that you can’t have them in the same place.

In Place
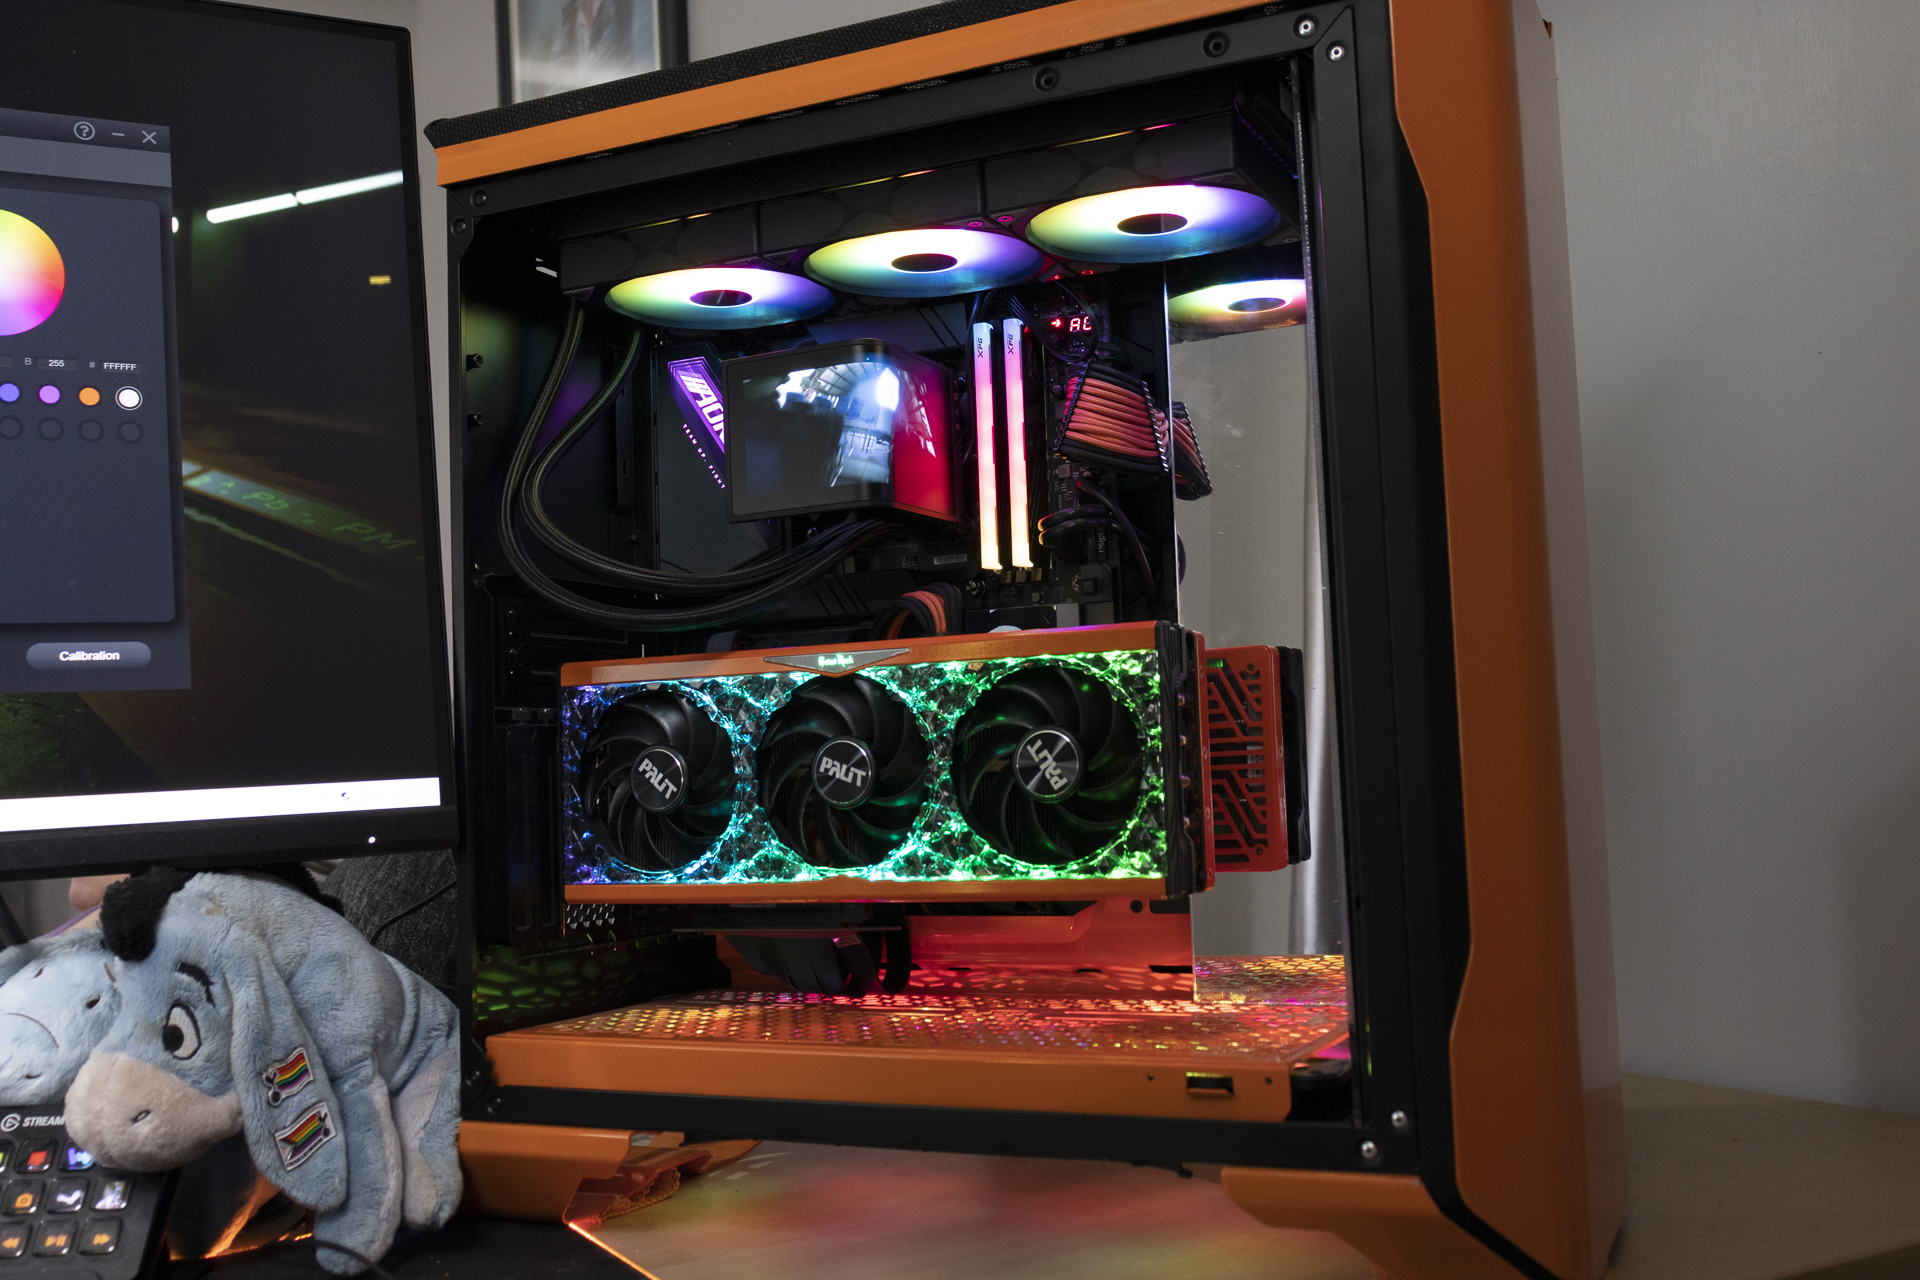
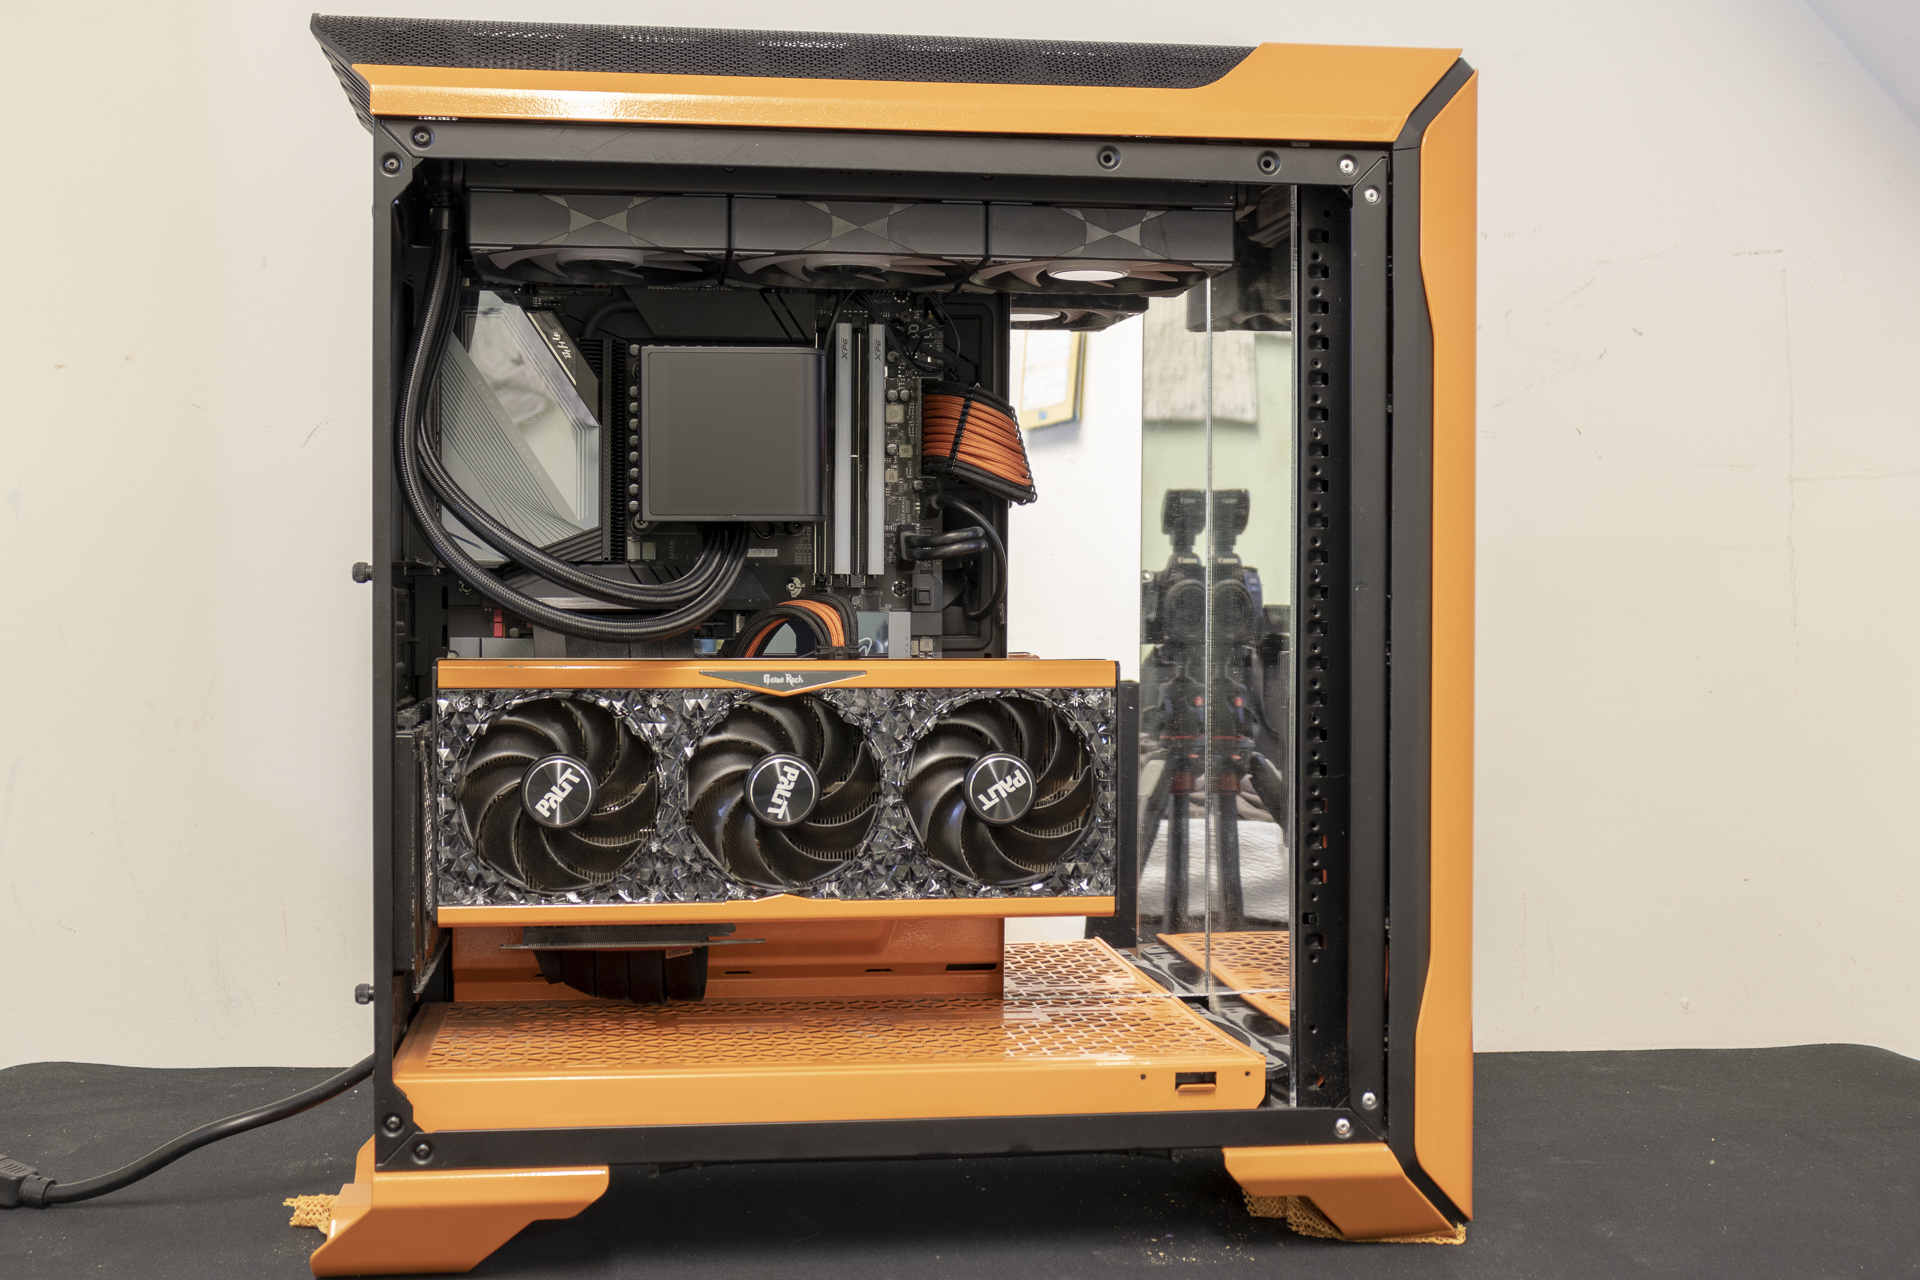
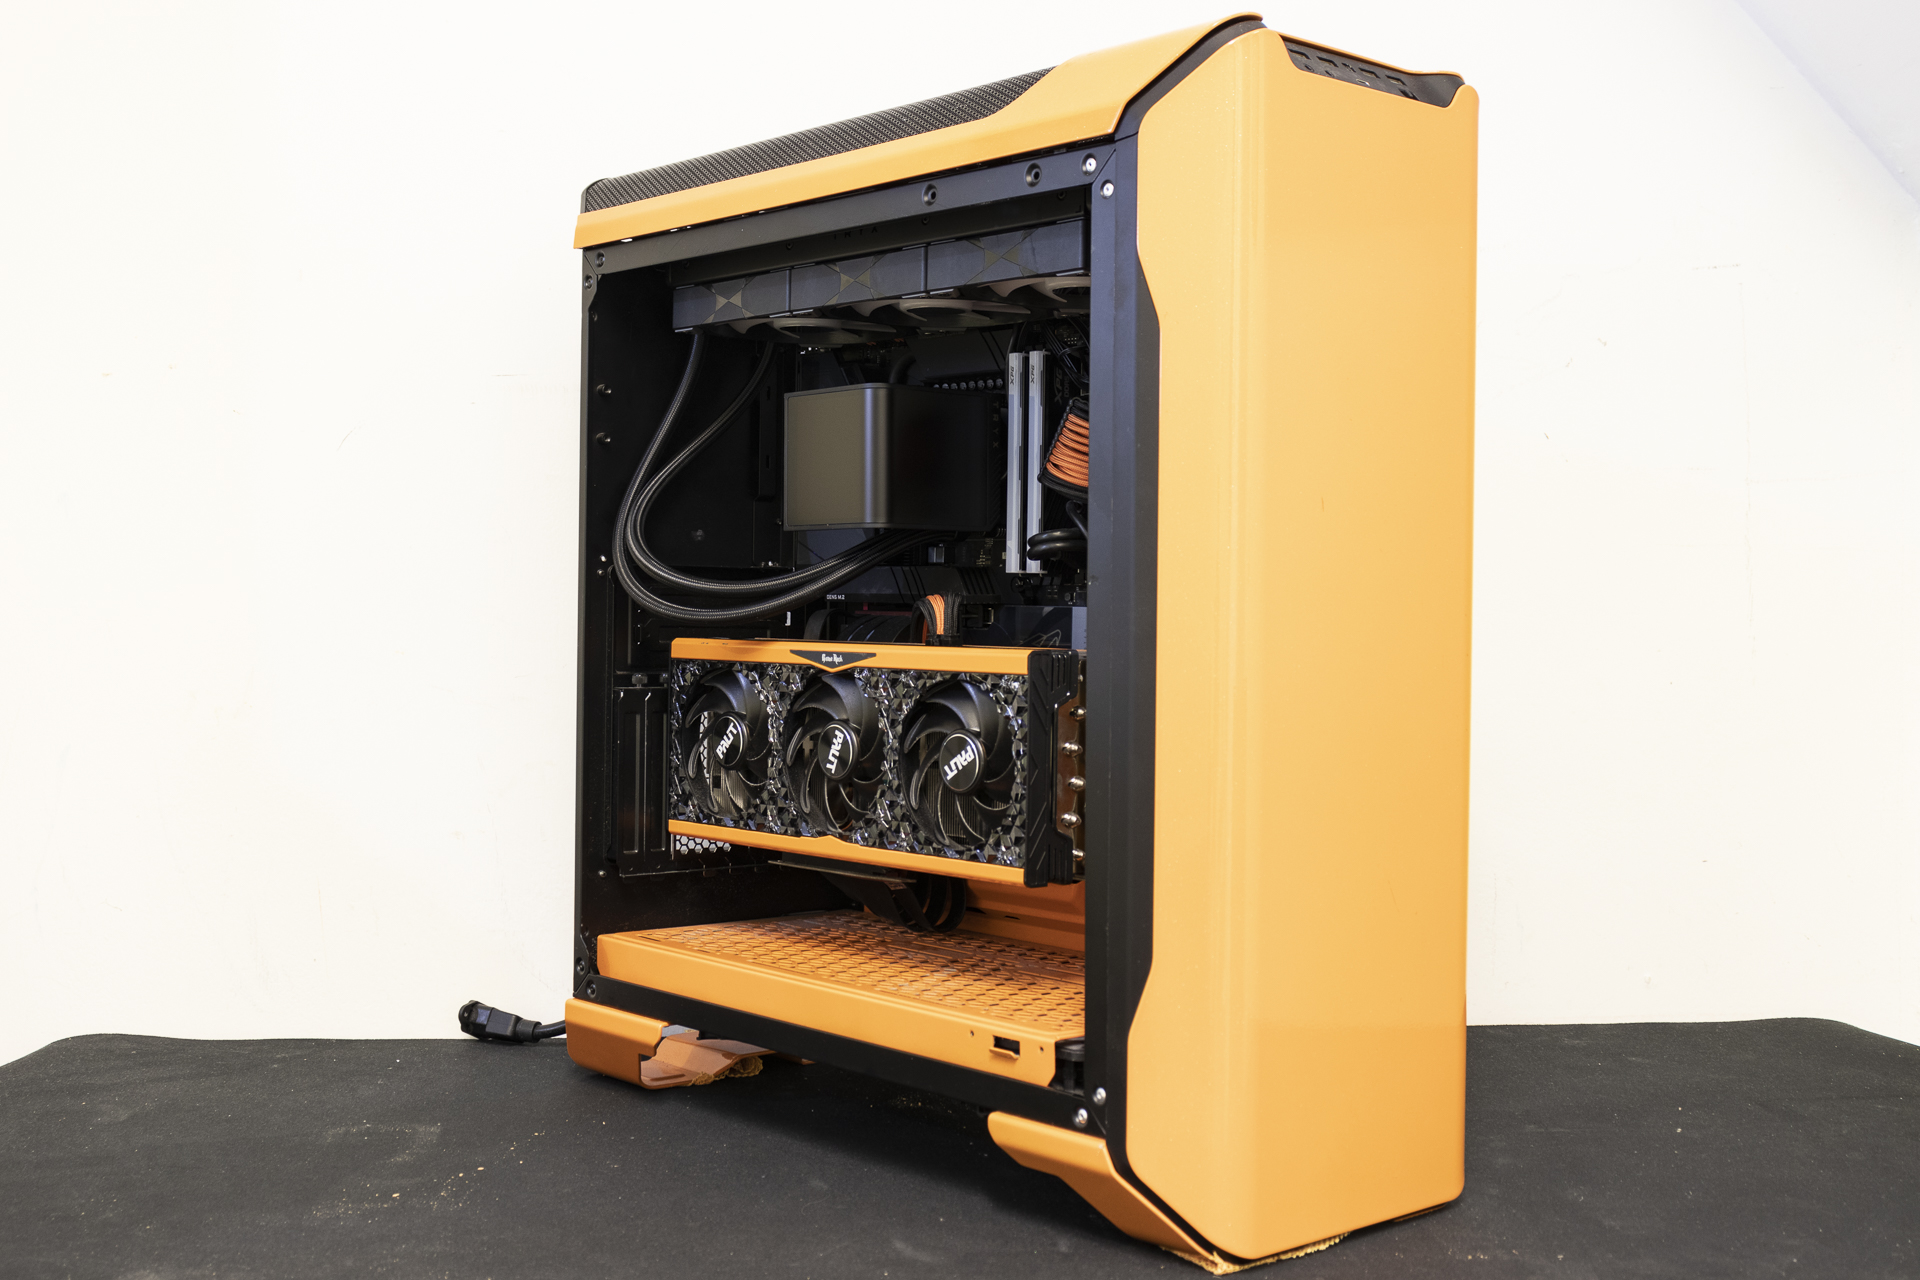
It already looks better than the first photograph. And not just because all the panels are back in place.
The screen is at a 90° angle so you want to see both sides at the same time you’ll need to be around here, angle wise. It’s very easy to have your system so only one screen is visible. Those of you who like everything to be perpendicular might be better off going with the vertical screen orientation.
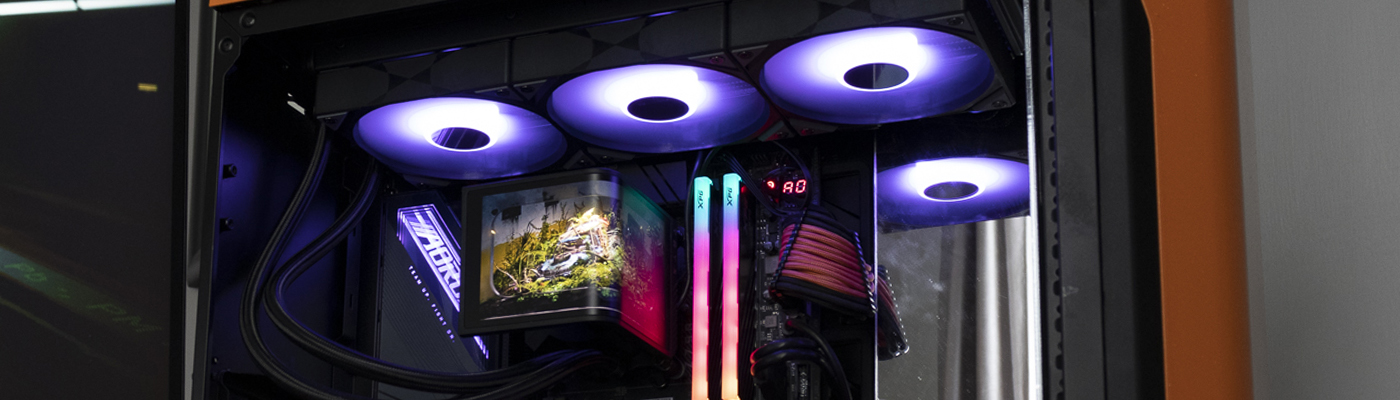
There is no denying the fans are bright. Blimey. Let’s quickly go over the software and then we’ll show you how it looks.