


MSI MAG X570S Torpedo Max Preview

Up Close – In Detail
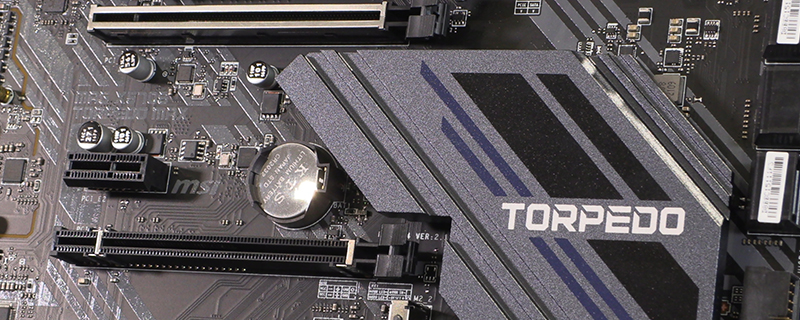
We’re concentrating on the 8+4 12V CPU power inputs at the top left, but it’s also nice to get a closer look at the power heatsinks and the blue DIMM slots.

The top right brings us a collection of headers familiar to anyone who has built a motherboard recently. CPU fan headers, AIO pump header, System fan connectors and the RGB LED headers that enable you to add your lighting to the Mystic Light ecosystem.

The right hand edge has all the familiar motherboard connection options from the USB Type-C at the top, past six SATA III, to the USB 3 Type-A front panel. You also get a good look at the, now passive, chipset heatsink.

From right to left there are the front panel connectors, USB front panel connectors and two more system fan headers. Just above the front panel connectors, or below the chipset heatsink, you have an LED switch that lets you turn all the lighting off in a single click.

The bottom left corner has the front panel audio connector as well as an RGB header for the MSI Mystic Light.

From top to bottom we have a combined PS/2 port and two USB 2.0 ports for your keyboard and mouse. The two blue USB ports are 3.2 G1 and they sit alongside the HDMI 2.1 port if you want onboard 8K60 graphics. Moving further down we find USB 3.2 G2, the 10Gbps one, in both 3 Type-A and one Type-C, which sit slong with a Gigabit LAN port. That itself is above the 2.5G LAN port courtesy of Realtek 8125B, with the audio jacks at the bottom.

Discuss the MSI MAG X570S Torpedo Max in our OC3D Forums.