Sapphire X870EA Nitro+ PhantomLink Review

Up Close
Up Close
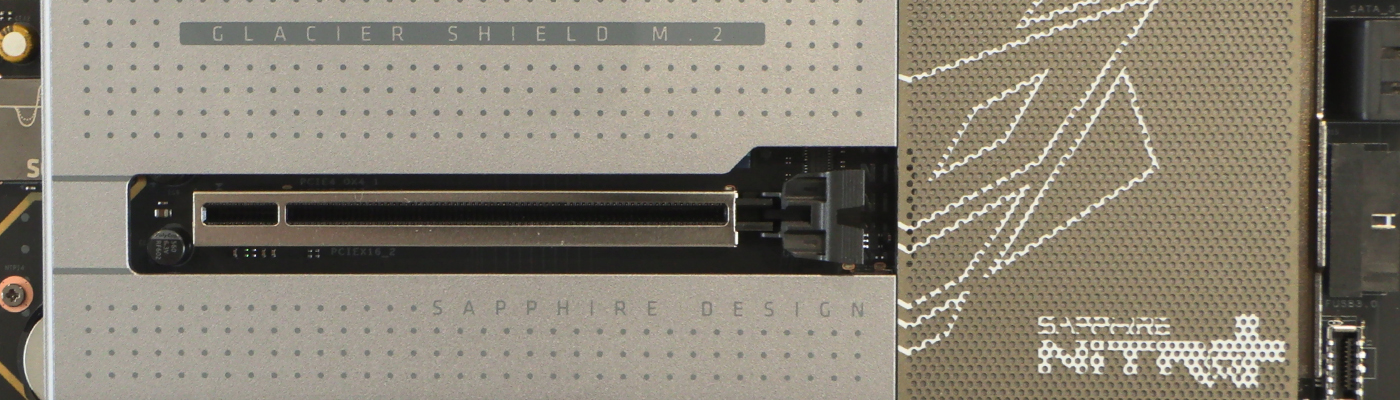
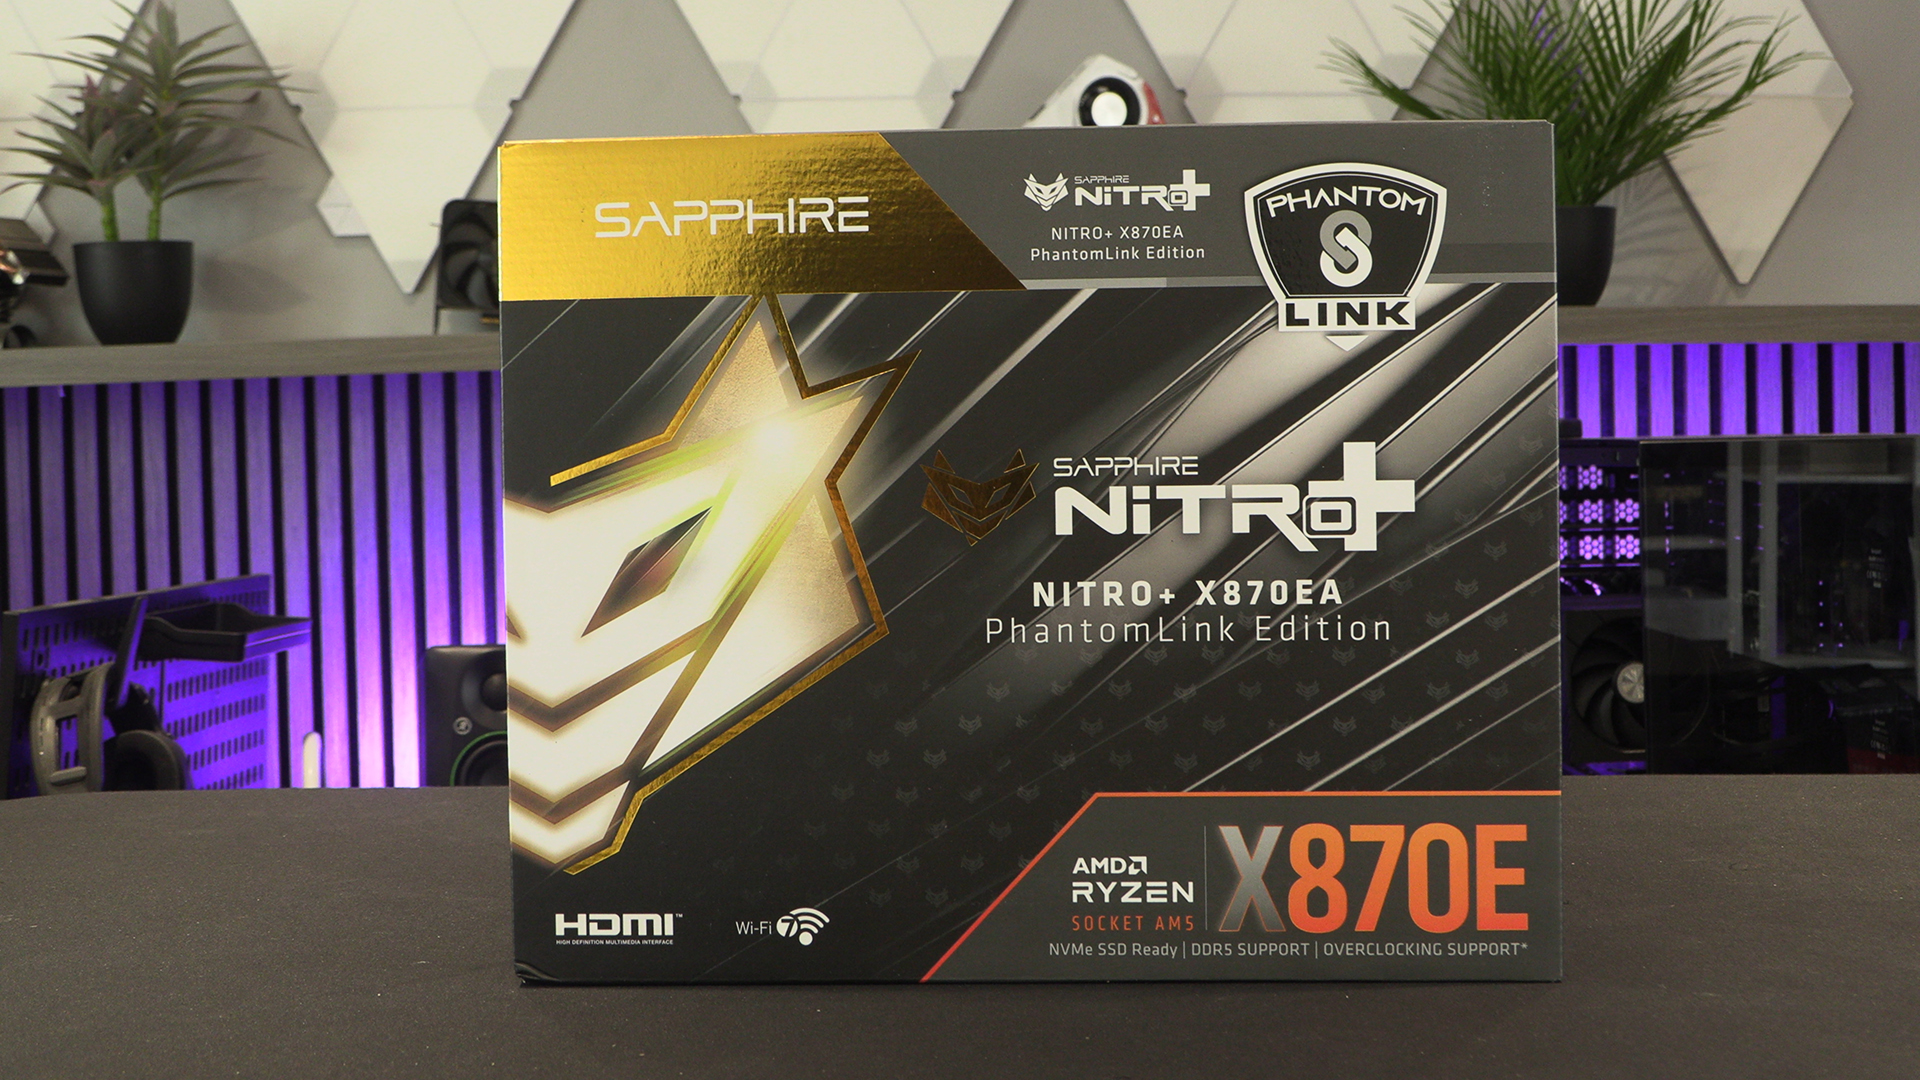
As we said in our review of the graphics card, we like that Sapphire have a recognisable logo. They clearly feel the same as it’s in three spots on the front. Around the back the specification highlights package is also in a silhouette of this. Cool.
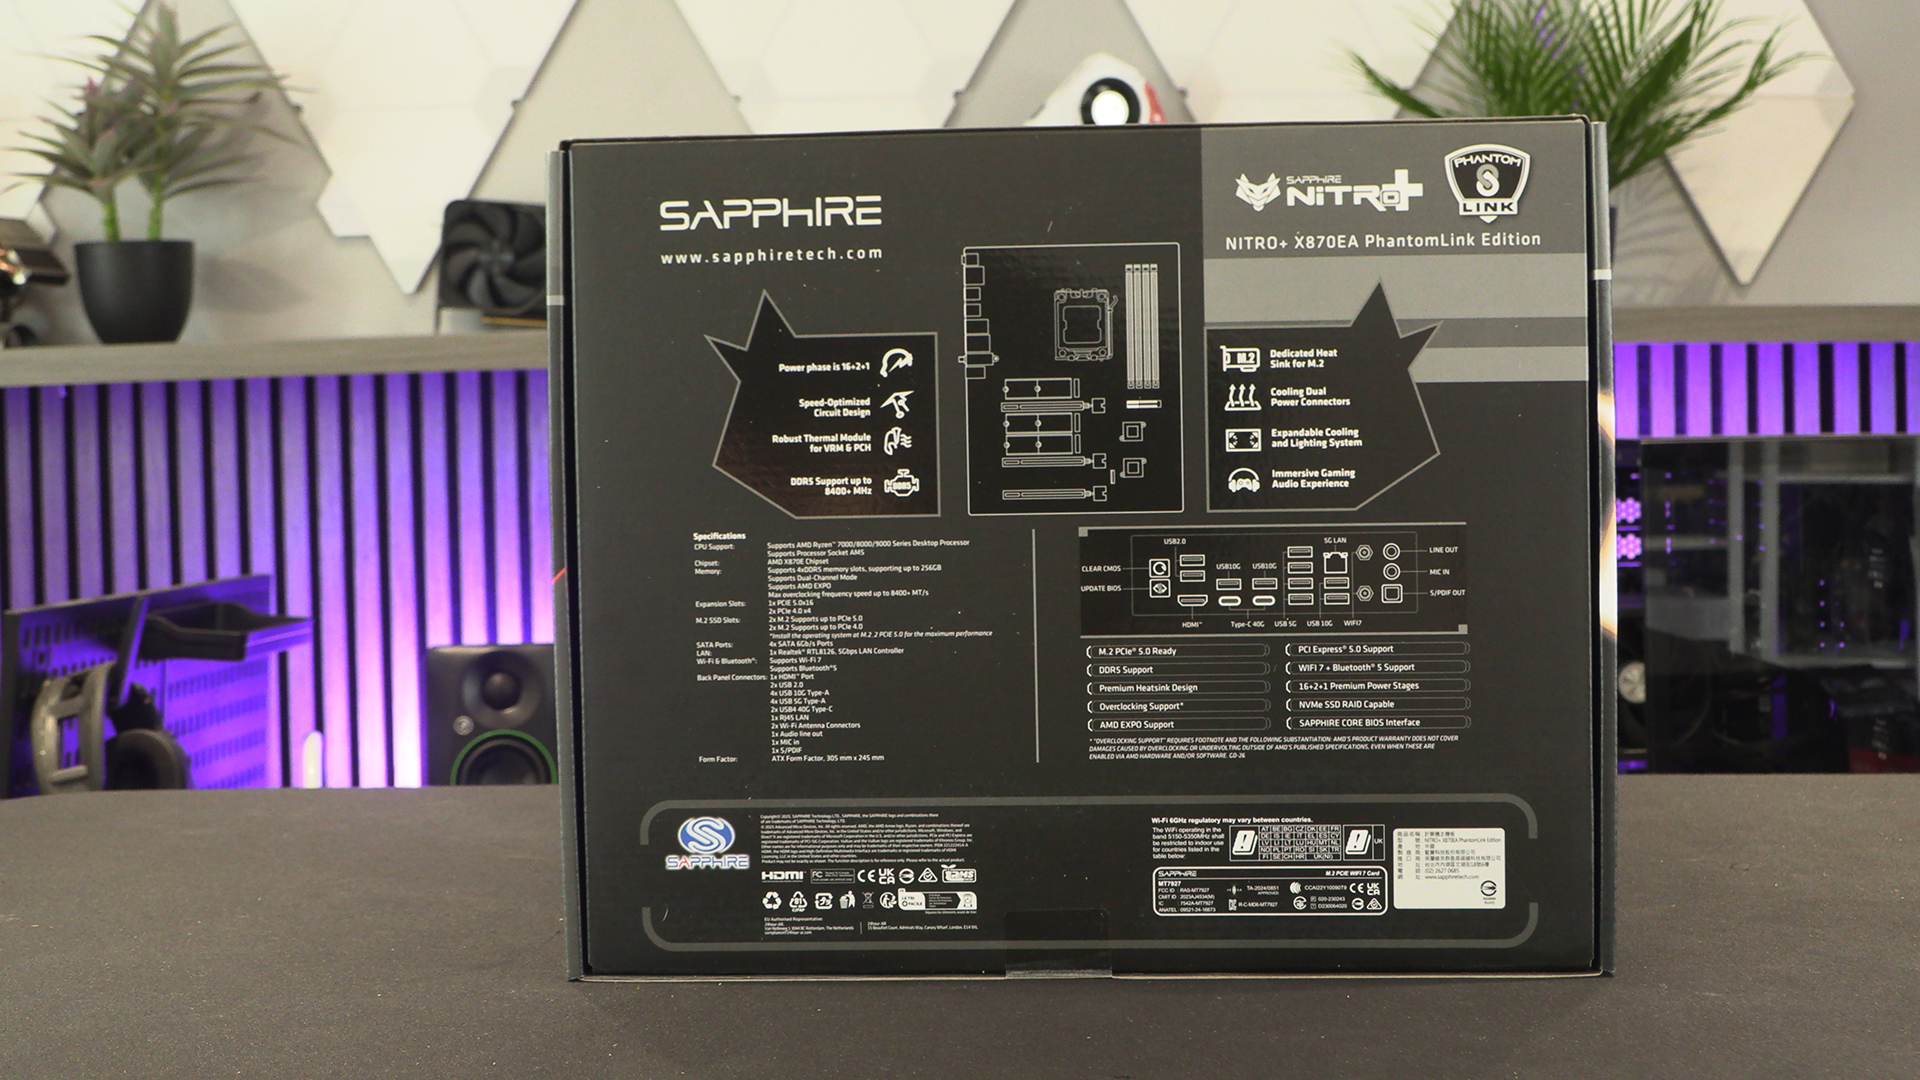
With tool-less M.2 installation being the main thing anyone will be doing this side of the GPU changes, we like that the “here’s how” is so obvious. Handy reference guides aren’t handy when they’re in the middle of a book you have to keep open with one hand. Much better to put it in the box lid. We approve.

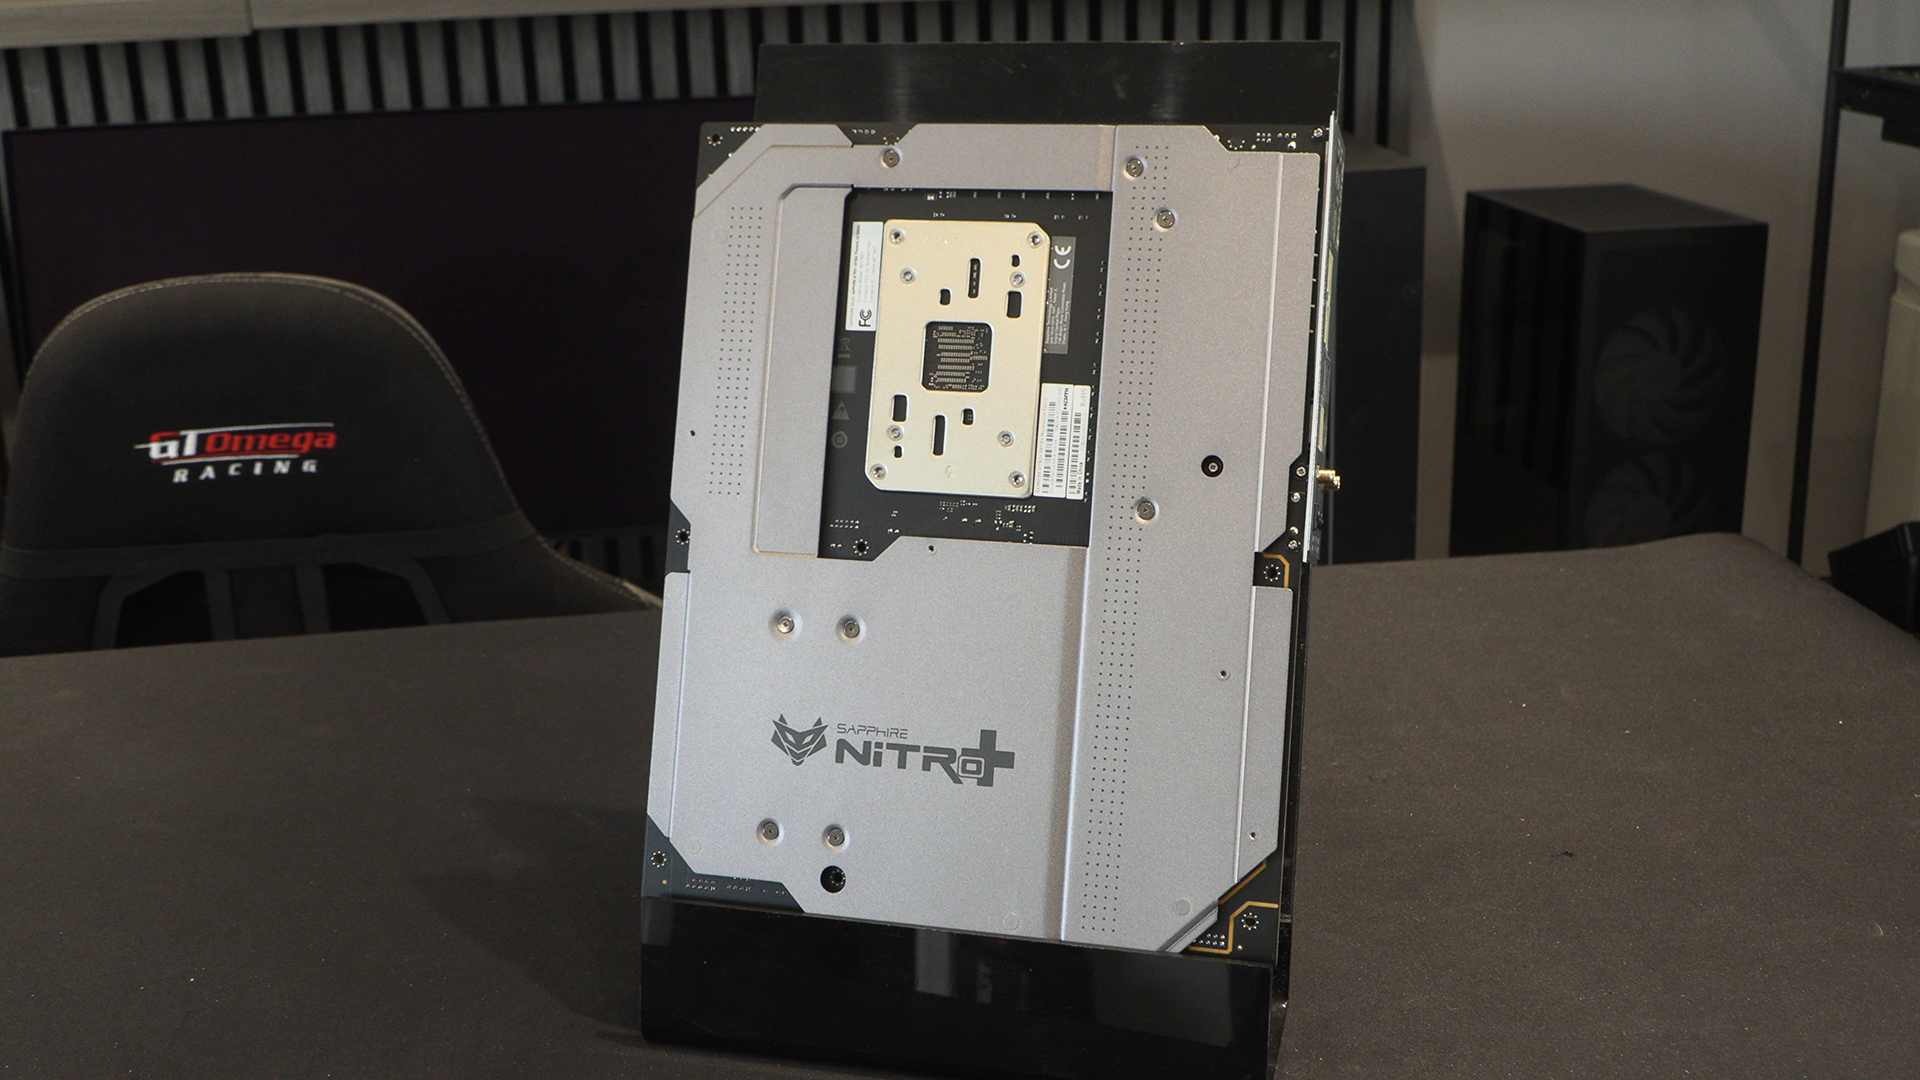
Here is the Nitro+ PhantomLink in all its glory. If you’re familiar with motherboard layouts you’ll spot the change immediately. If not, we’ll point it all out to you as we go.

The bottom right corner of this picture if where you usually see the front panel USB Type-C header. Here it’s where the power connector for the graphics card is installed.
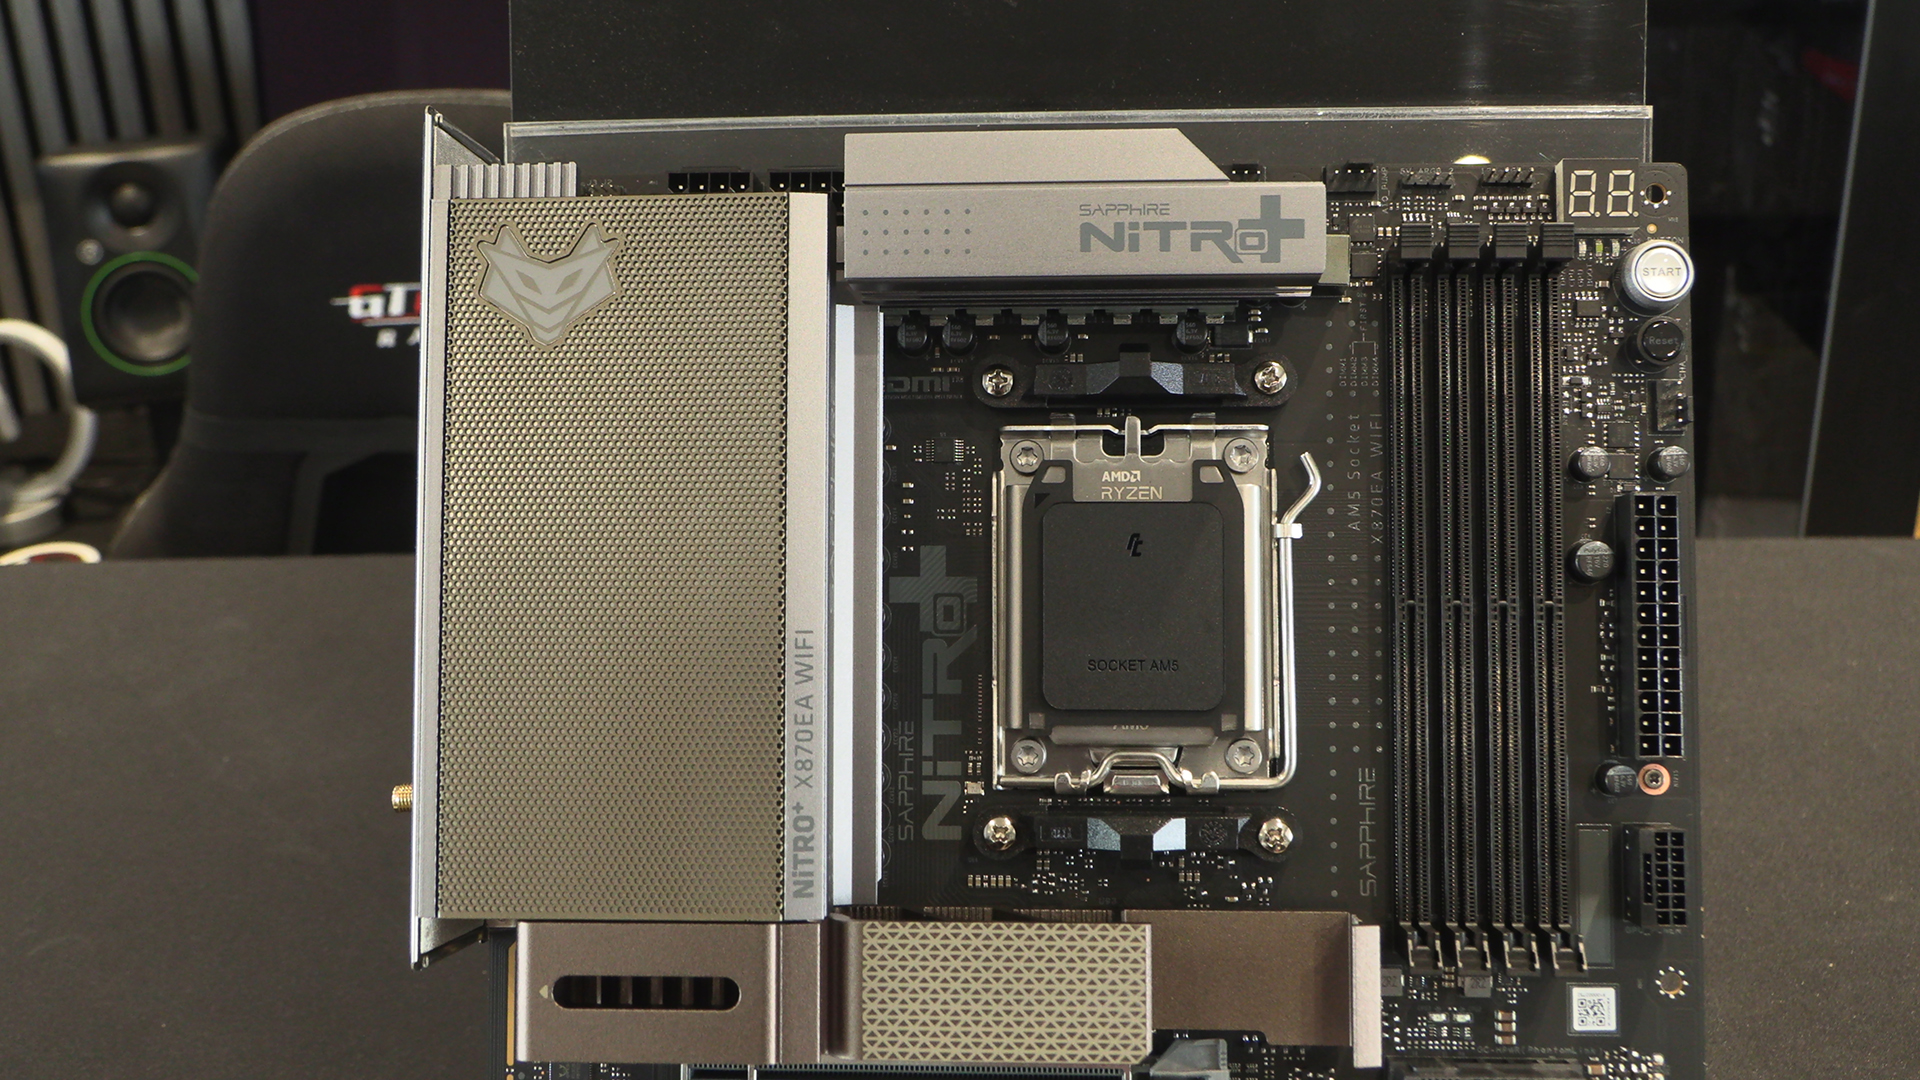
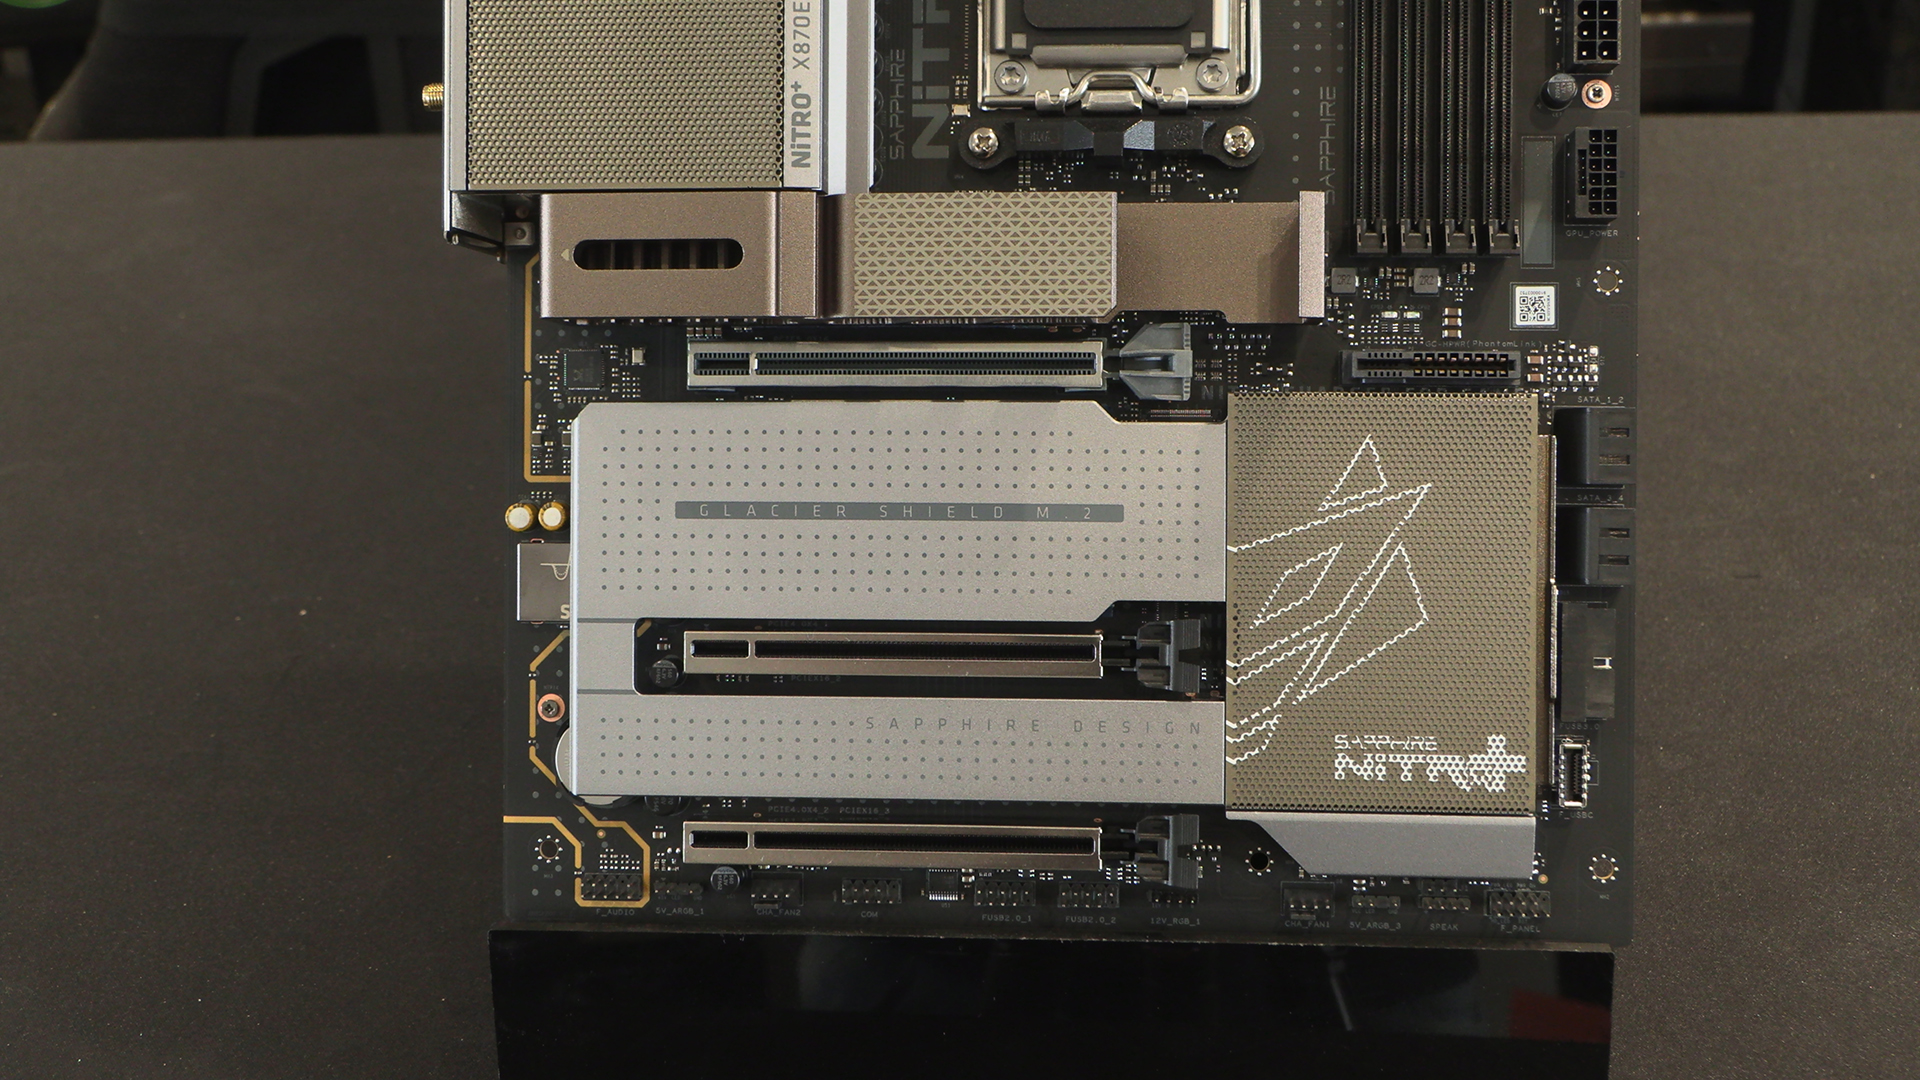
With the Type-C front panel moving down the bottom right. Nice and easy to follow. Above the chipset heatsink – just below the QR code – is the power PhantomLink connector itself. If you’re using a regular GPU you can ignore this.
As well as being a great heat-spreader, the backplate ensures you don’t accidentally leave a standoff in the wrong place and short your motherboard.