Sapphire X870EA Nitro+ PhantomLink Review

Board Tour
Board Tour
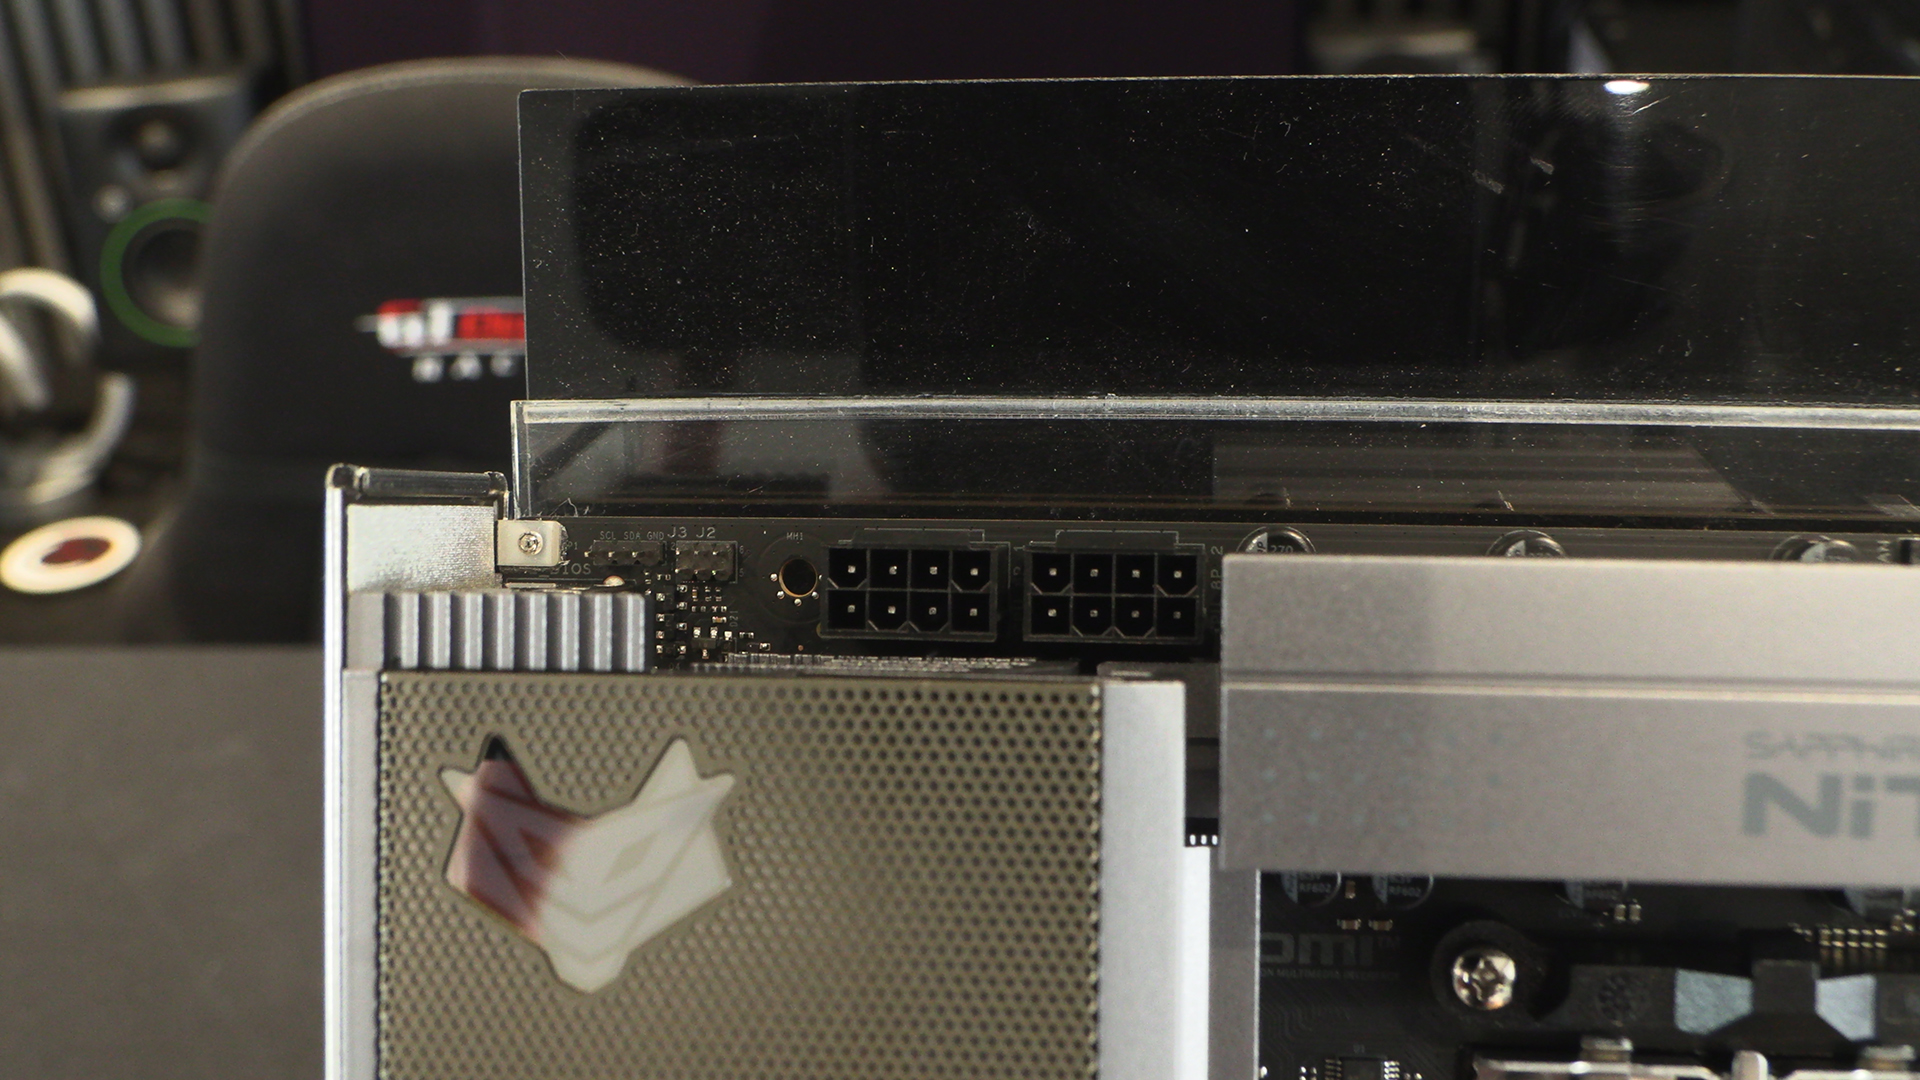
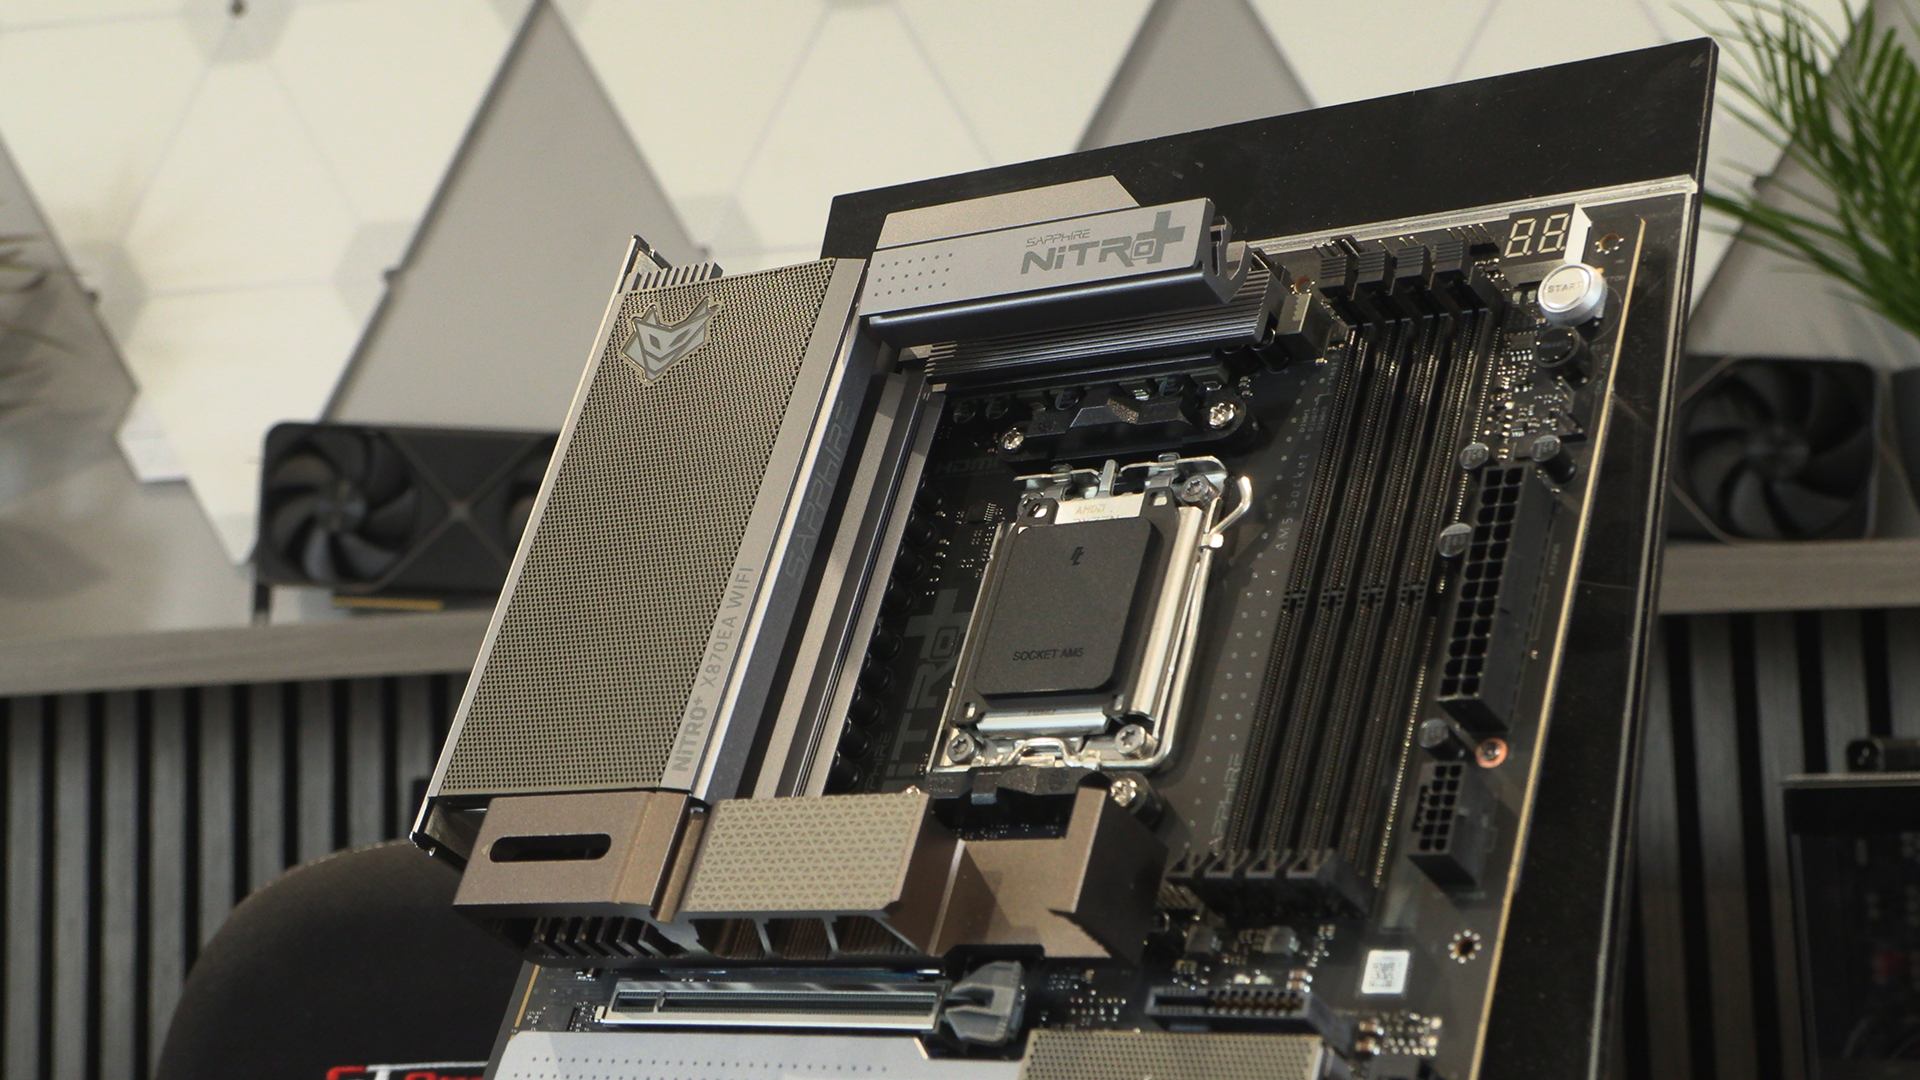
As always we start in the top left hand corner with the two 8pin 12V CPU power connectors.
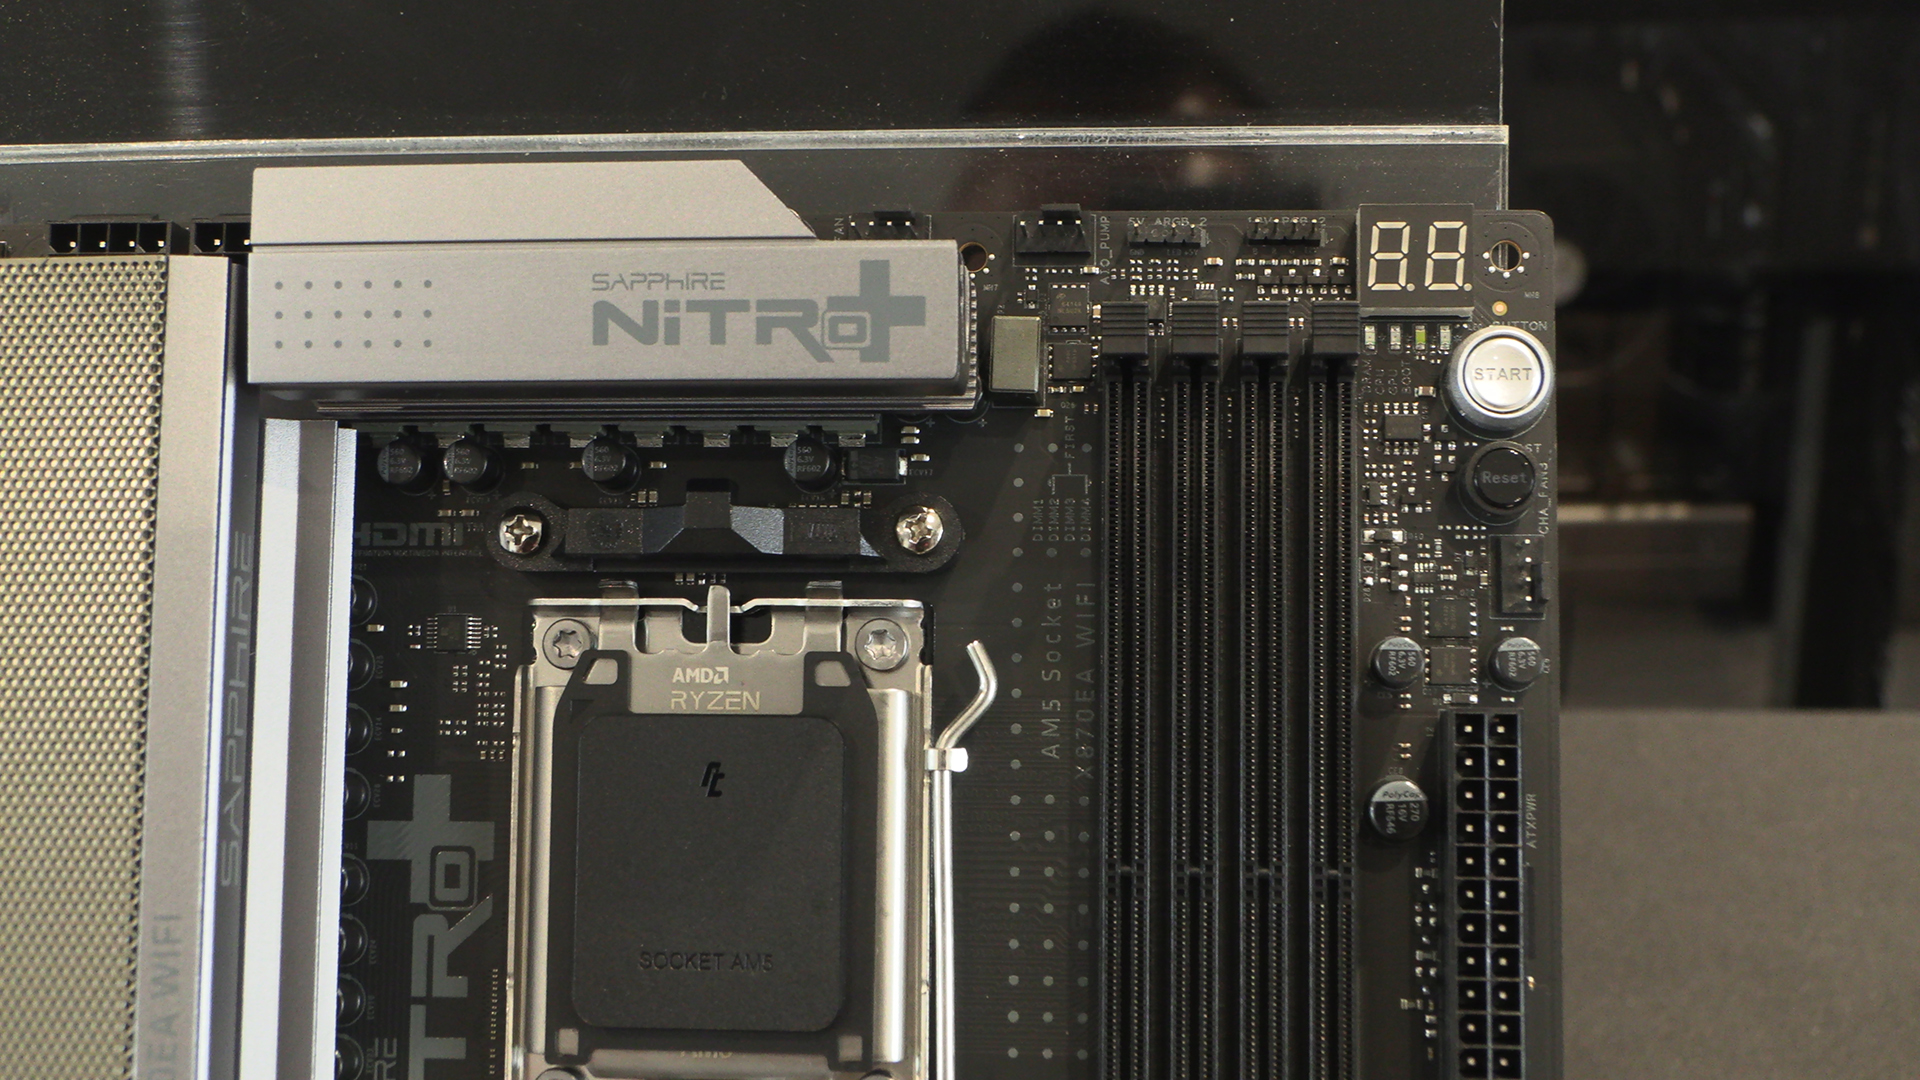
Even here with the CPU fan headers and onboard start/reset switches things look normal. If you didn’t know you could be forgiven for thinking the Nitro+ PhantomLink was a regular X870E motherboard.
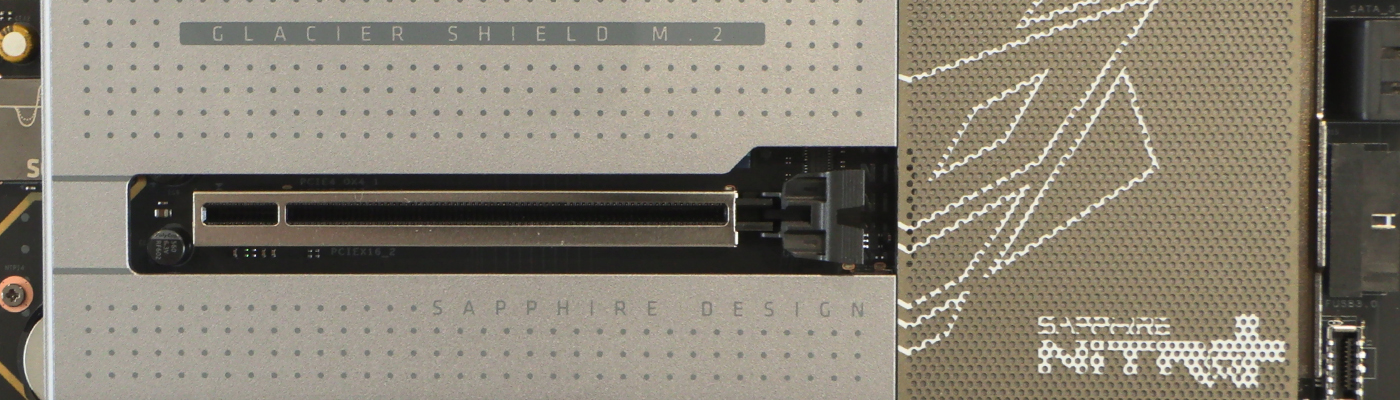
We’ve already shown the 12VHPWR connector on the previous page. Thus as well as demonstrating it here we can take a look at the VRM heatsink design. Airflow is king. There is something about the design we really like. It’s unlike anything else. Even the side printed Sapphire logo is in an unusual place. It’s cool.
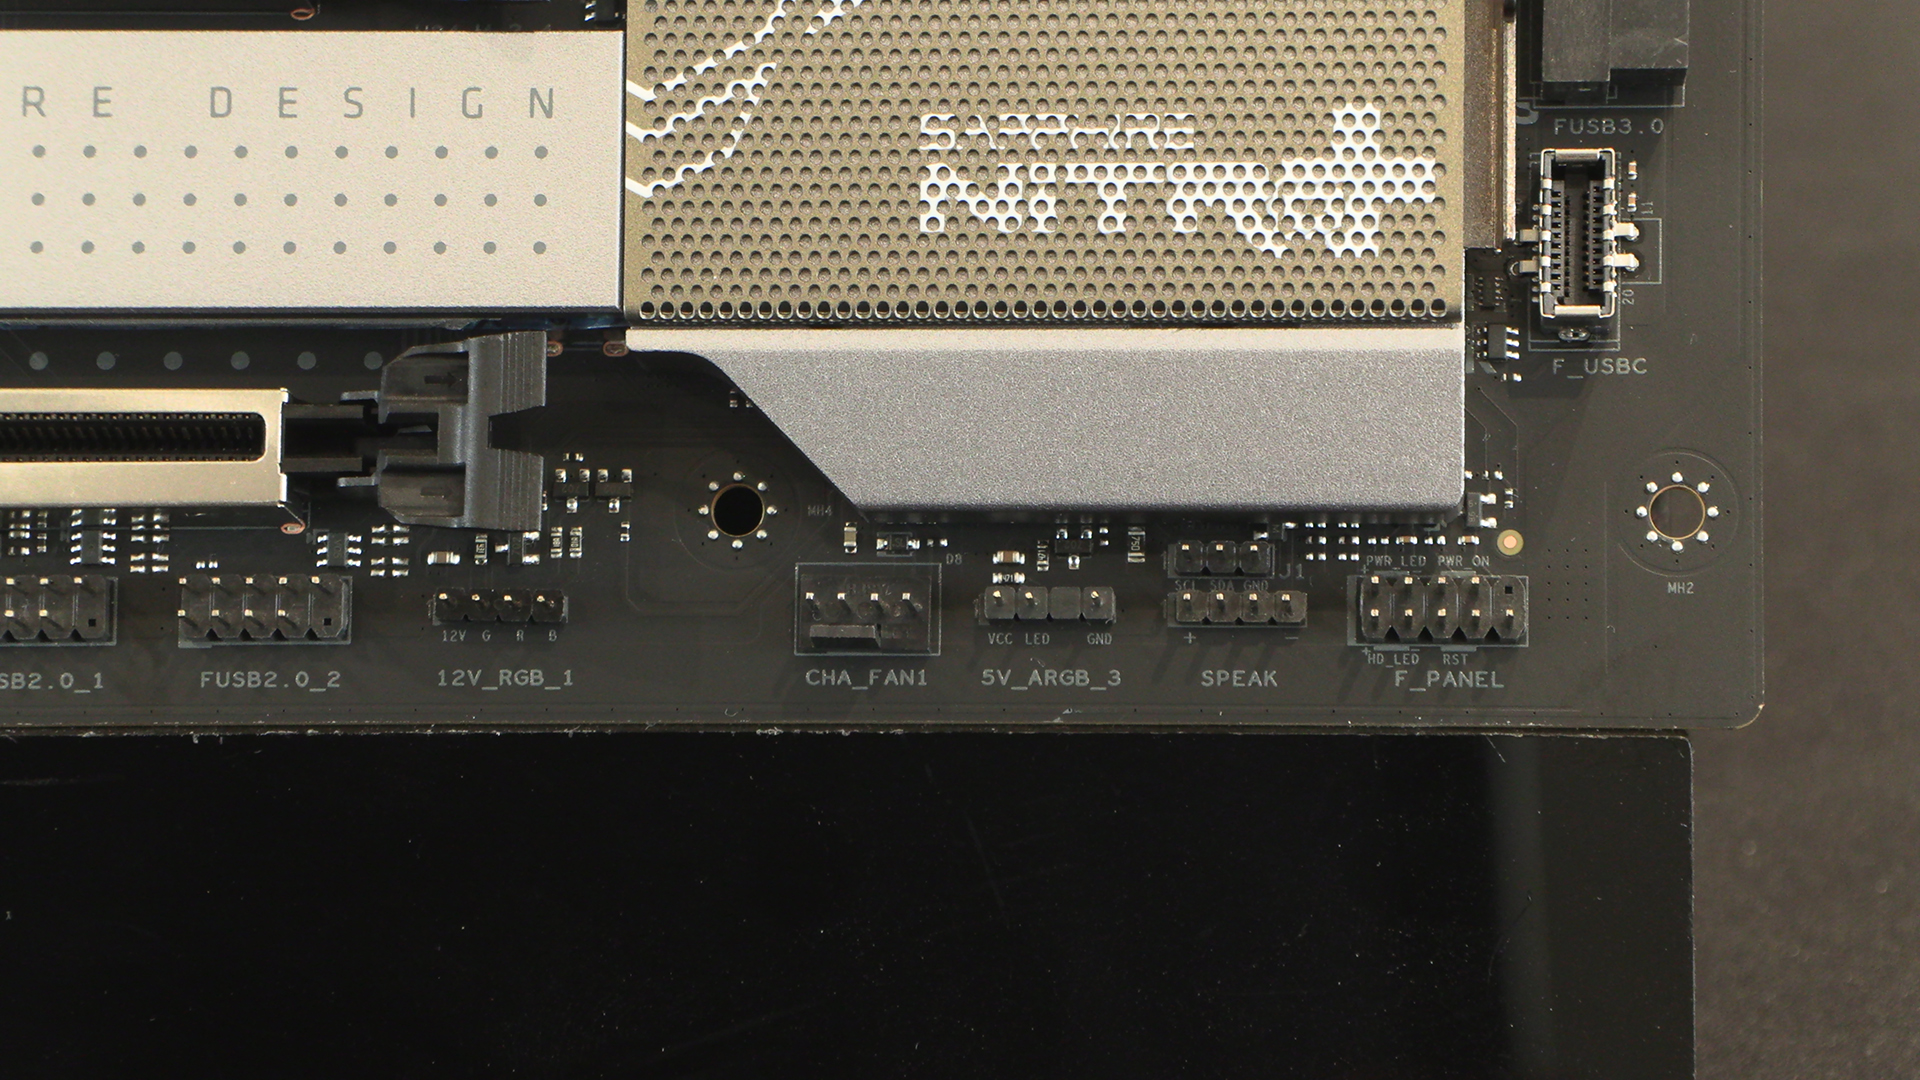
I wonder how much the PCB printing costs per letter. It must be a lot of money, why else would it say “Speak” and not “Speaker“? On the plus side the connectors are all nicely spaced, making building a doddle. Anything that saves the skin on our fingers is a positive.
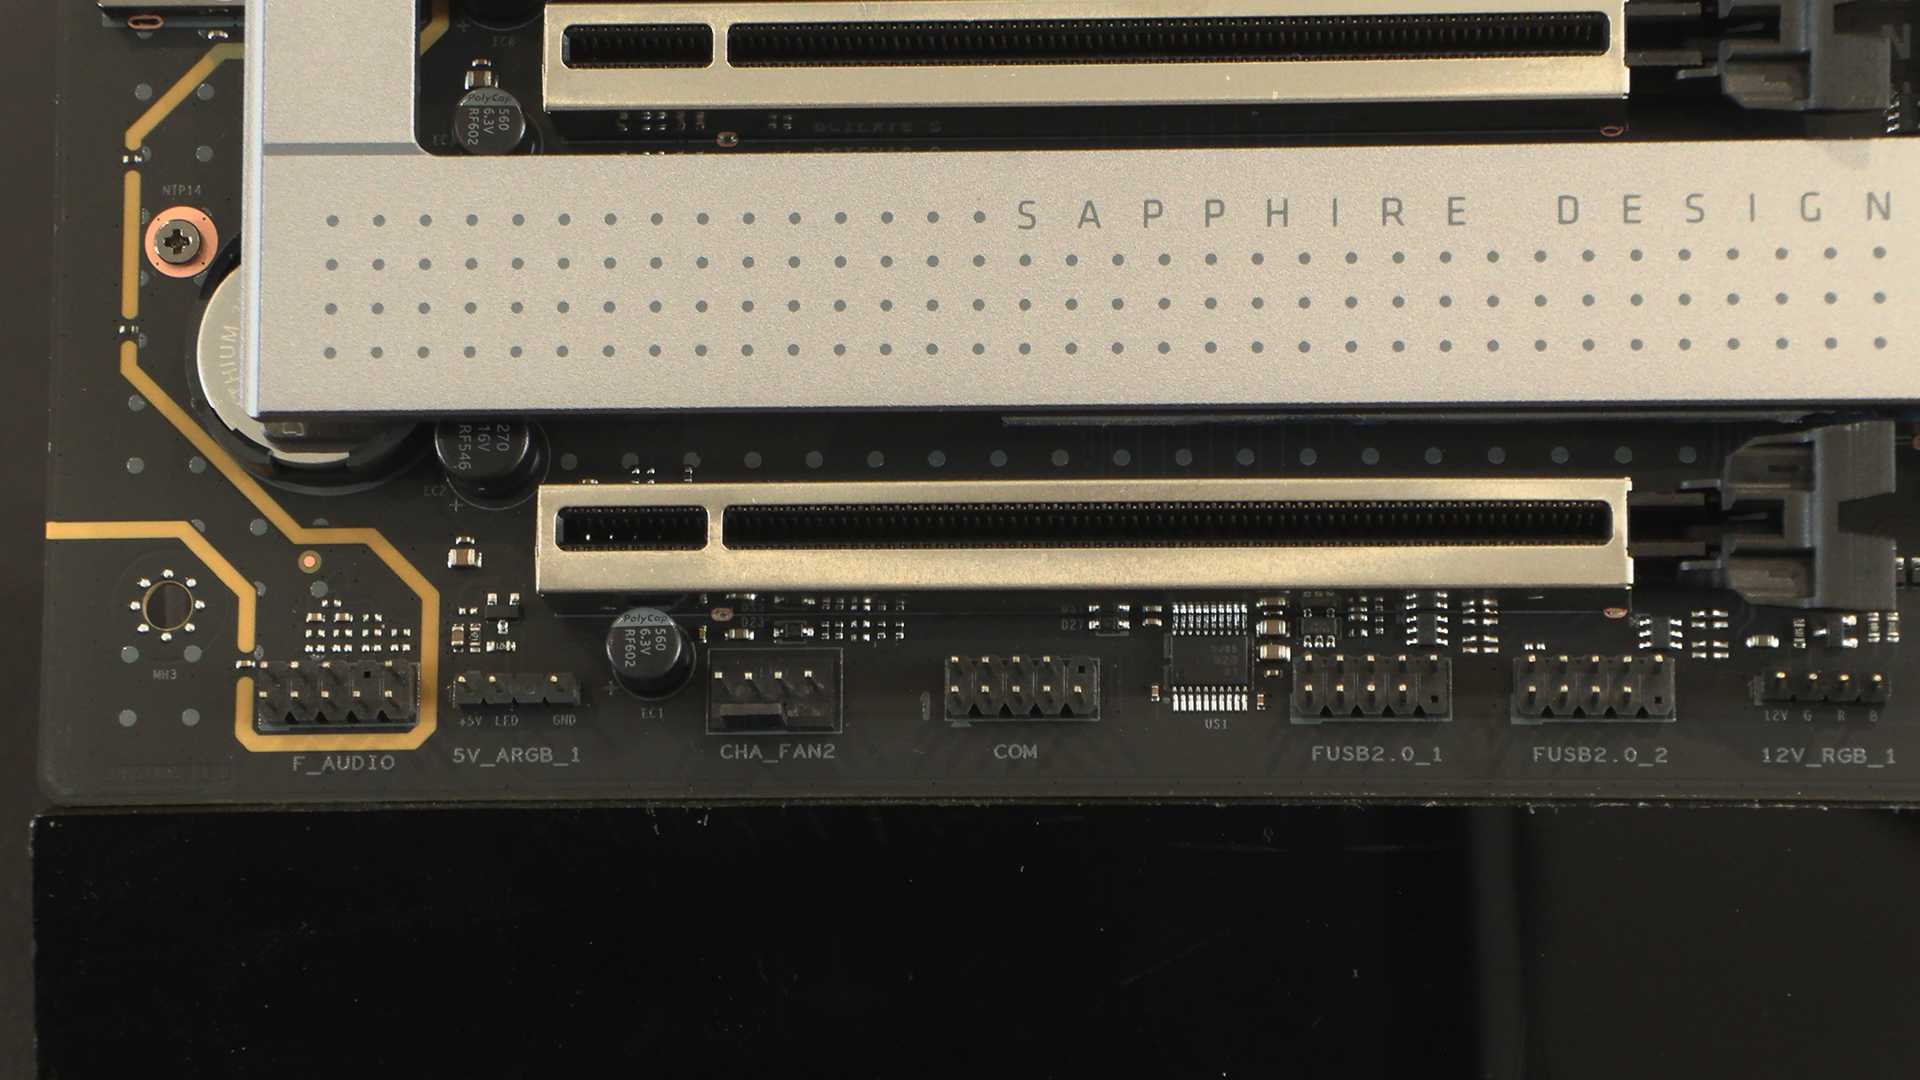
The bottom edge has the second of the two chassis fans as well as the rest of the ARGB lighting. We’d like to have seen at least one more fan header somewhere here. We can’t have everything though, particularly sub $400.
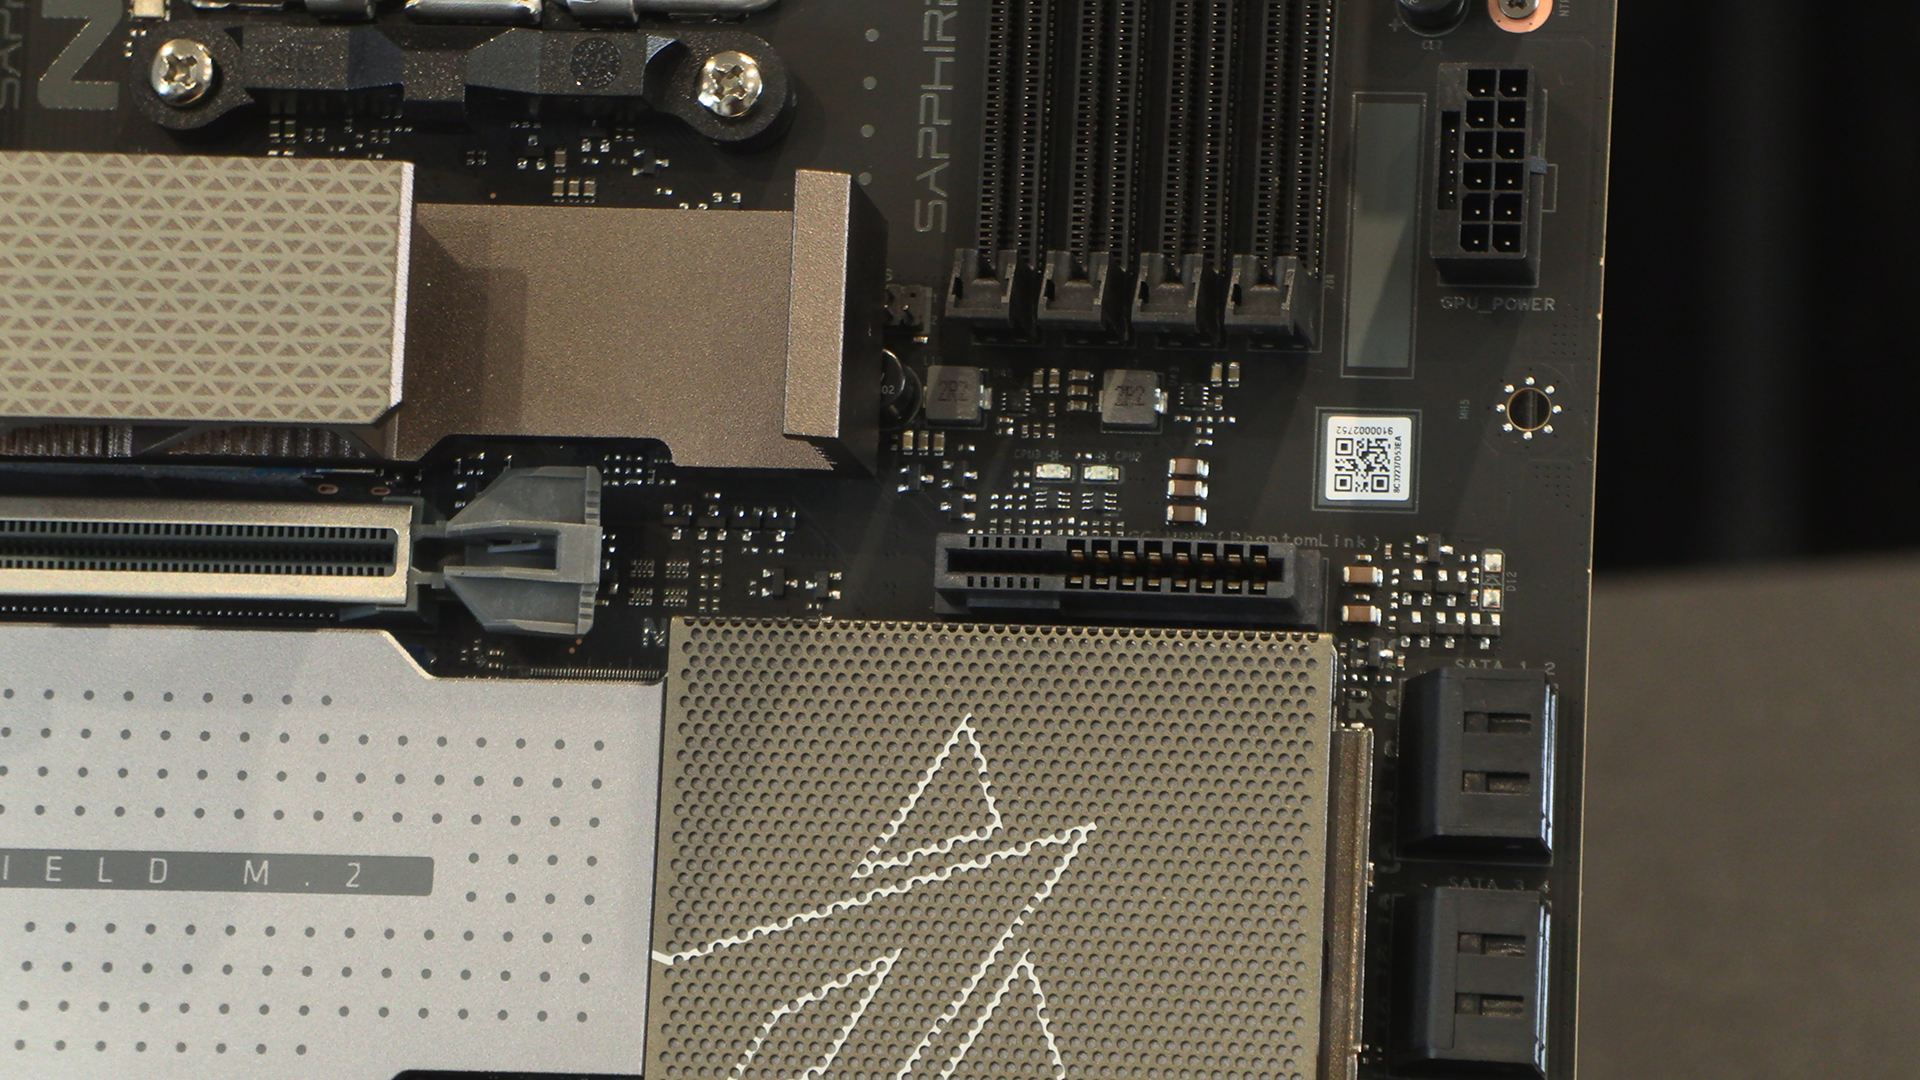
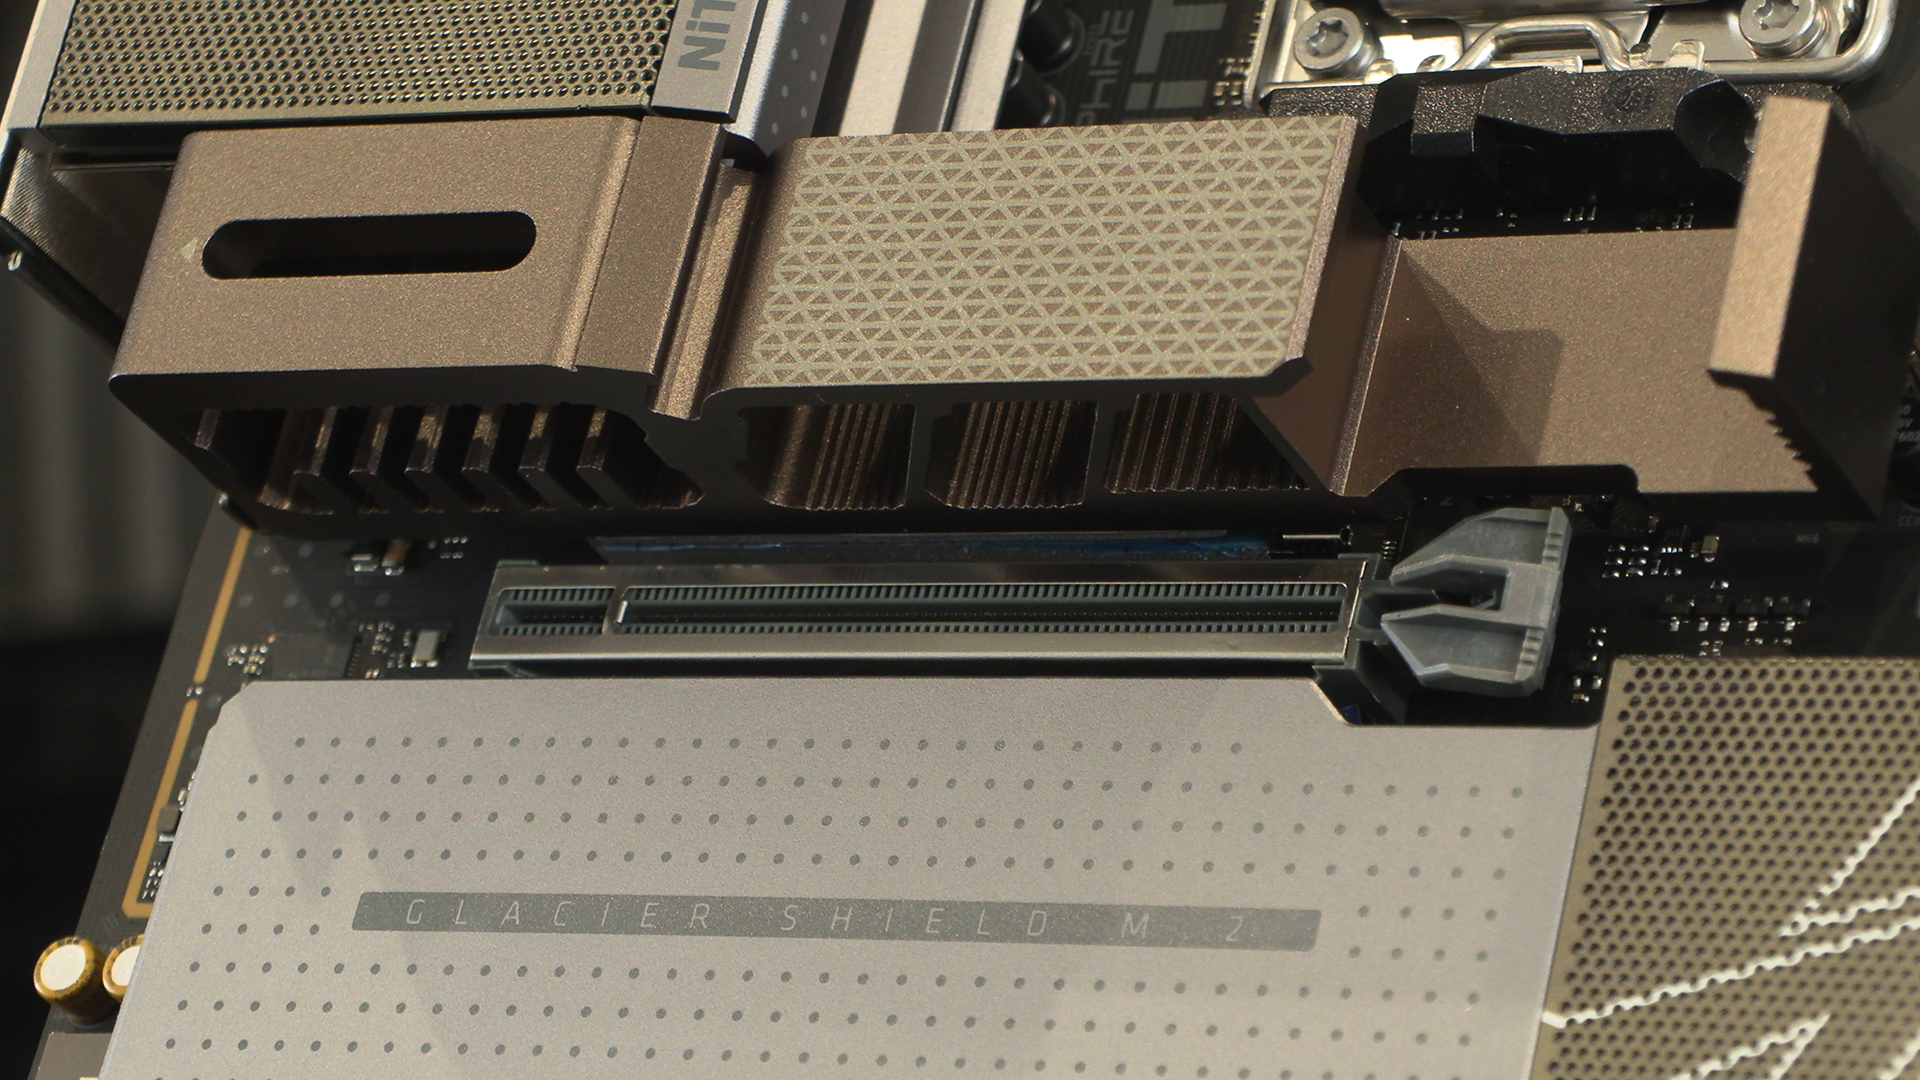
Although we showed it above we wanted to take a moment to appreciate the M.2 heatsink design. Lots of metal to keep your main storage drive running quickly. But lots of space to put cool air to your CPU and VRM area. Nice.
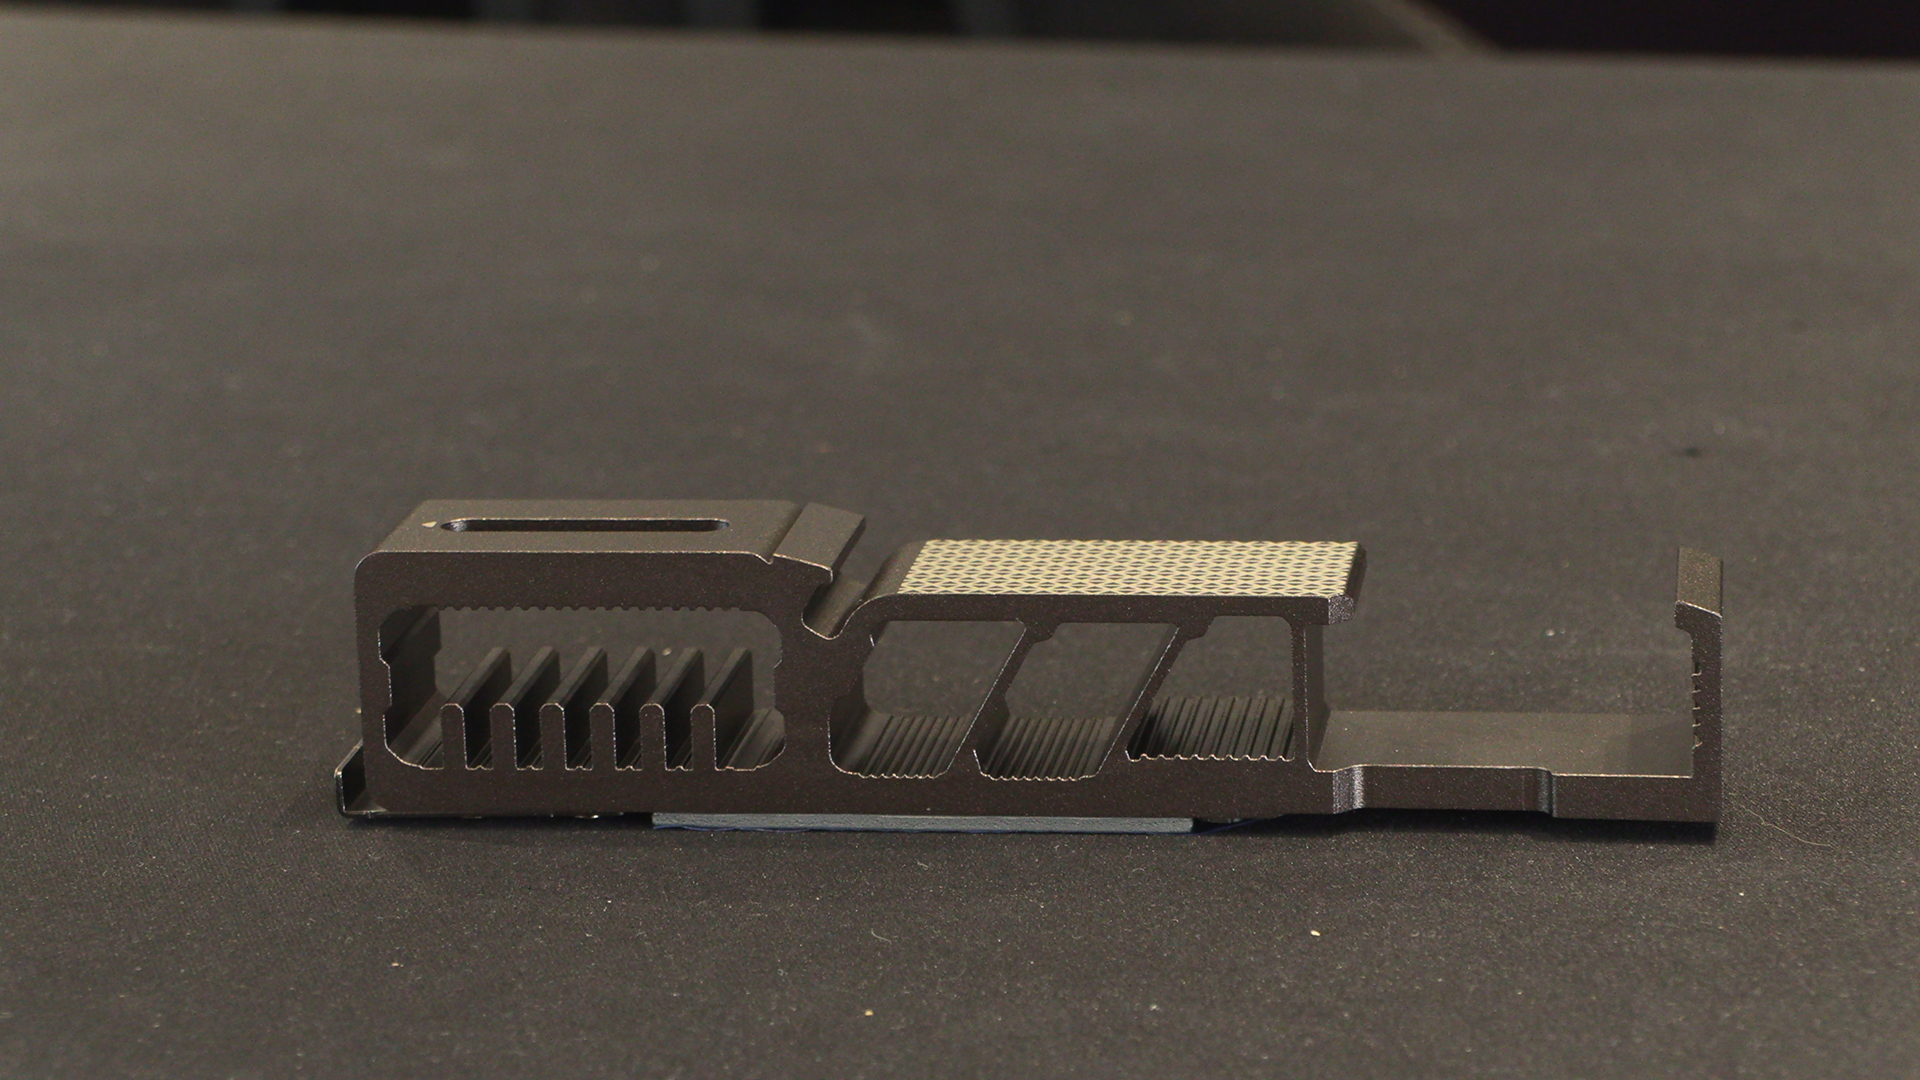
Here it is in place. Even if you run an AIO – and with a high end Ryzen CPU you almost must – it helps keep the power stage cool.
Given how much power is going through this we’re glad it looks robust. The PhantomLink connector itself, handily near where you install the power connector.