PC DIY With ASUS new GC-HPWR BTF Swappable Design

GC-HPWR Connector In Detail
GC-HPWR Connector In Detail
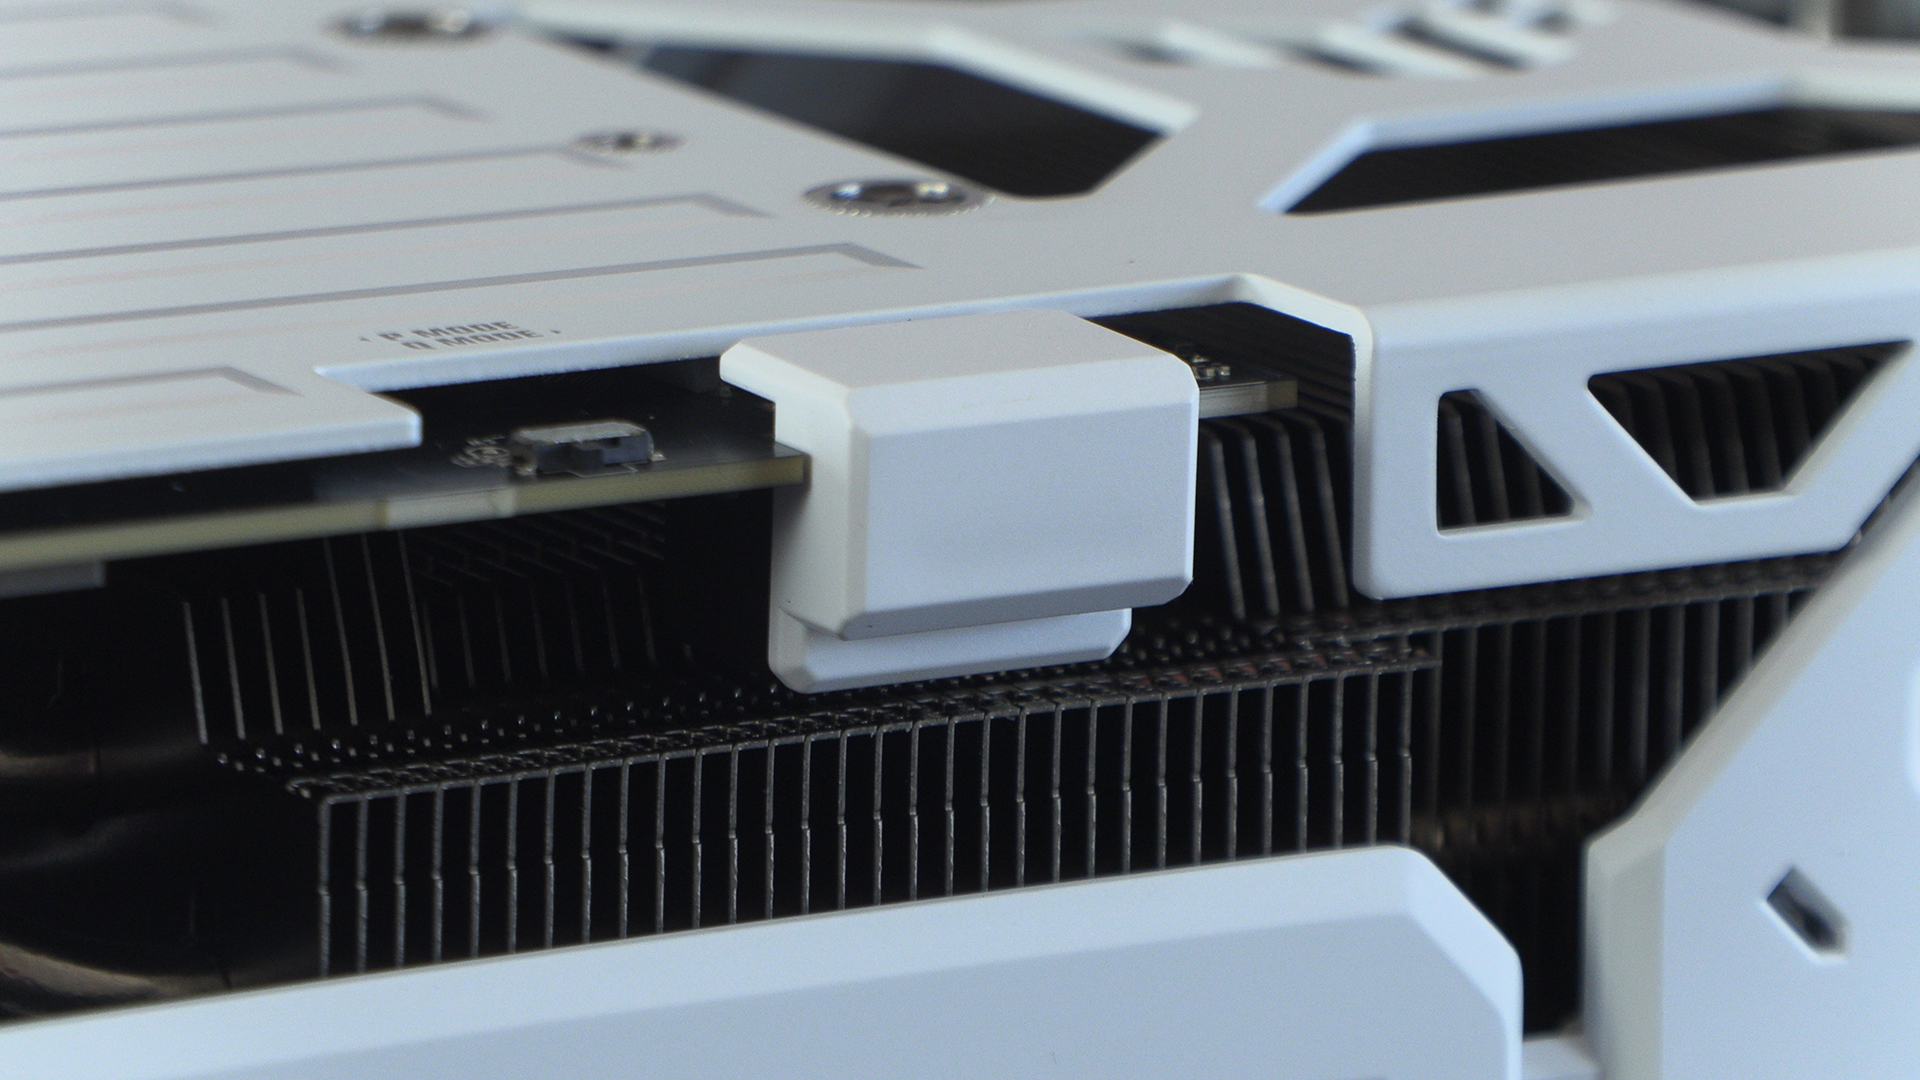
When we first saw this card it didn’t have this cover on the power connector. We still feel ASUS could do better than this. But a cover is a cover. Given the problems of the 12VHPWR connector we don’t mind a cover. Anything to stop the over-heating issues we’ve previously discussed.
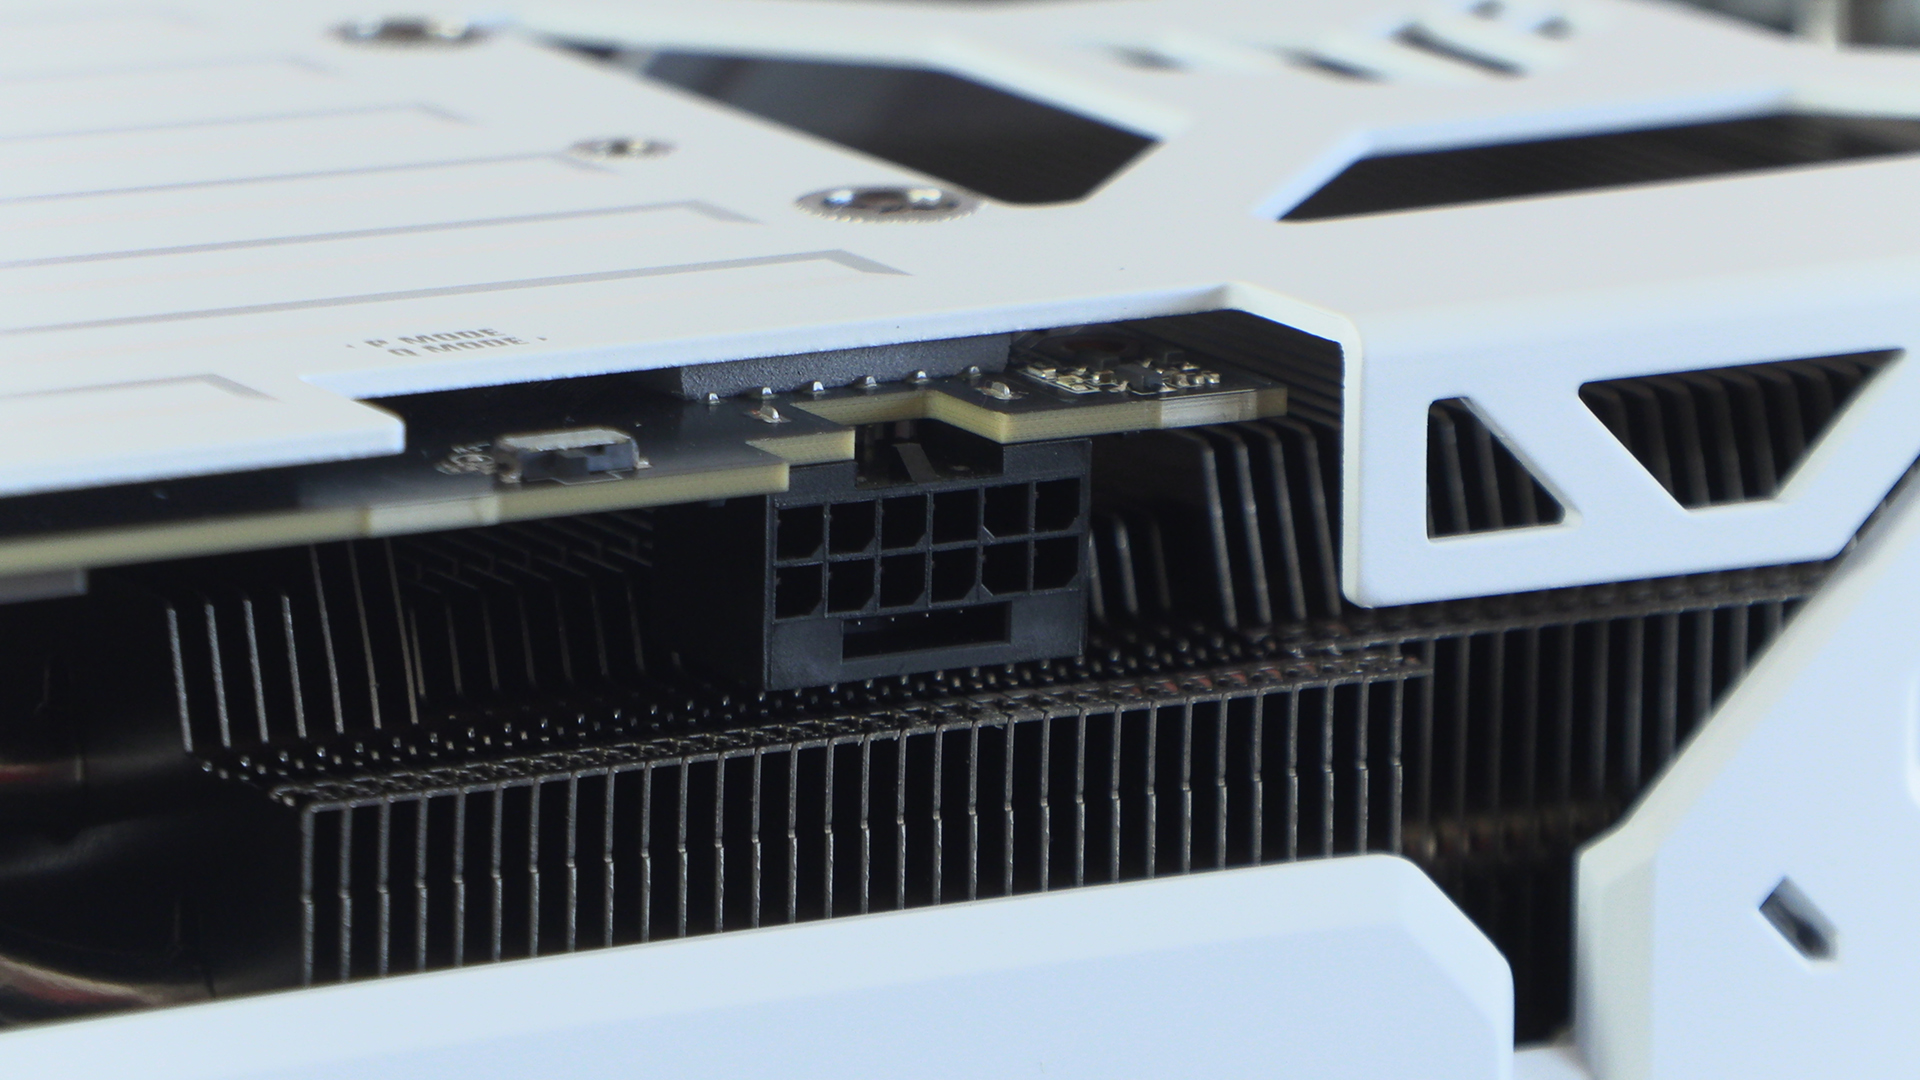
Beneath that cover is the 12VHPWR. You’re all very familiar with this by now. We won’t spend too much time over it other than to say that it’s mere inclusion is what makes this card special. Until now you had to pick BTF or regular. Now you can have either. As little girls in Taco commercials might say, why not have both?
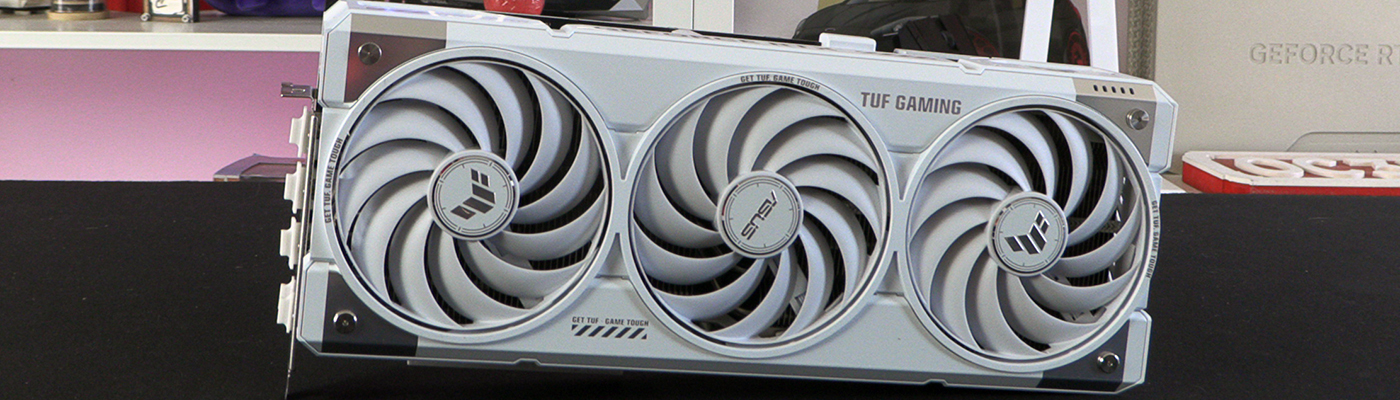
This understated ASUS cover hides the true point of the TUF RTX 5070 Ti.
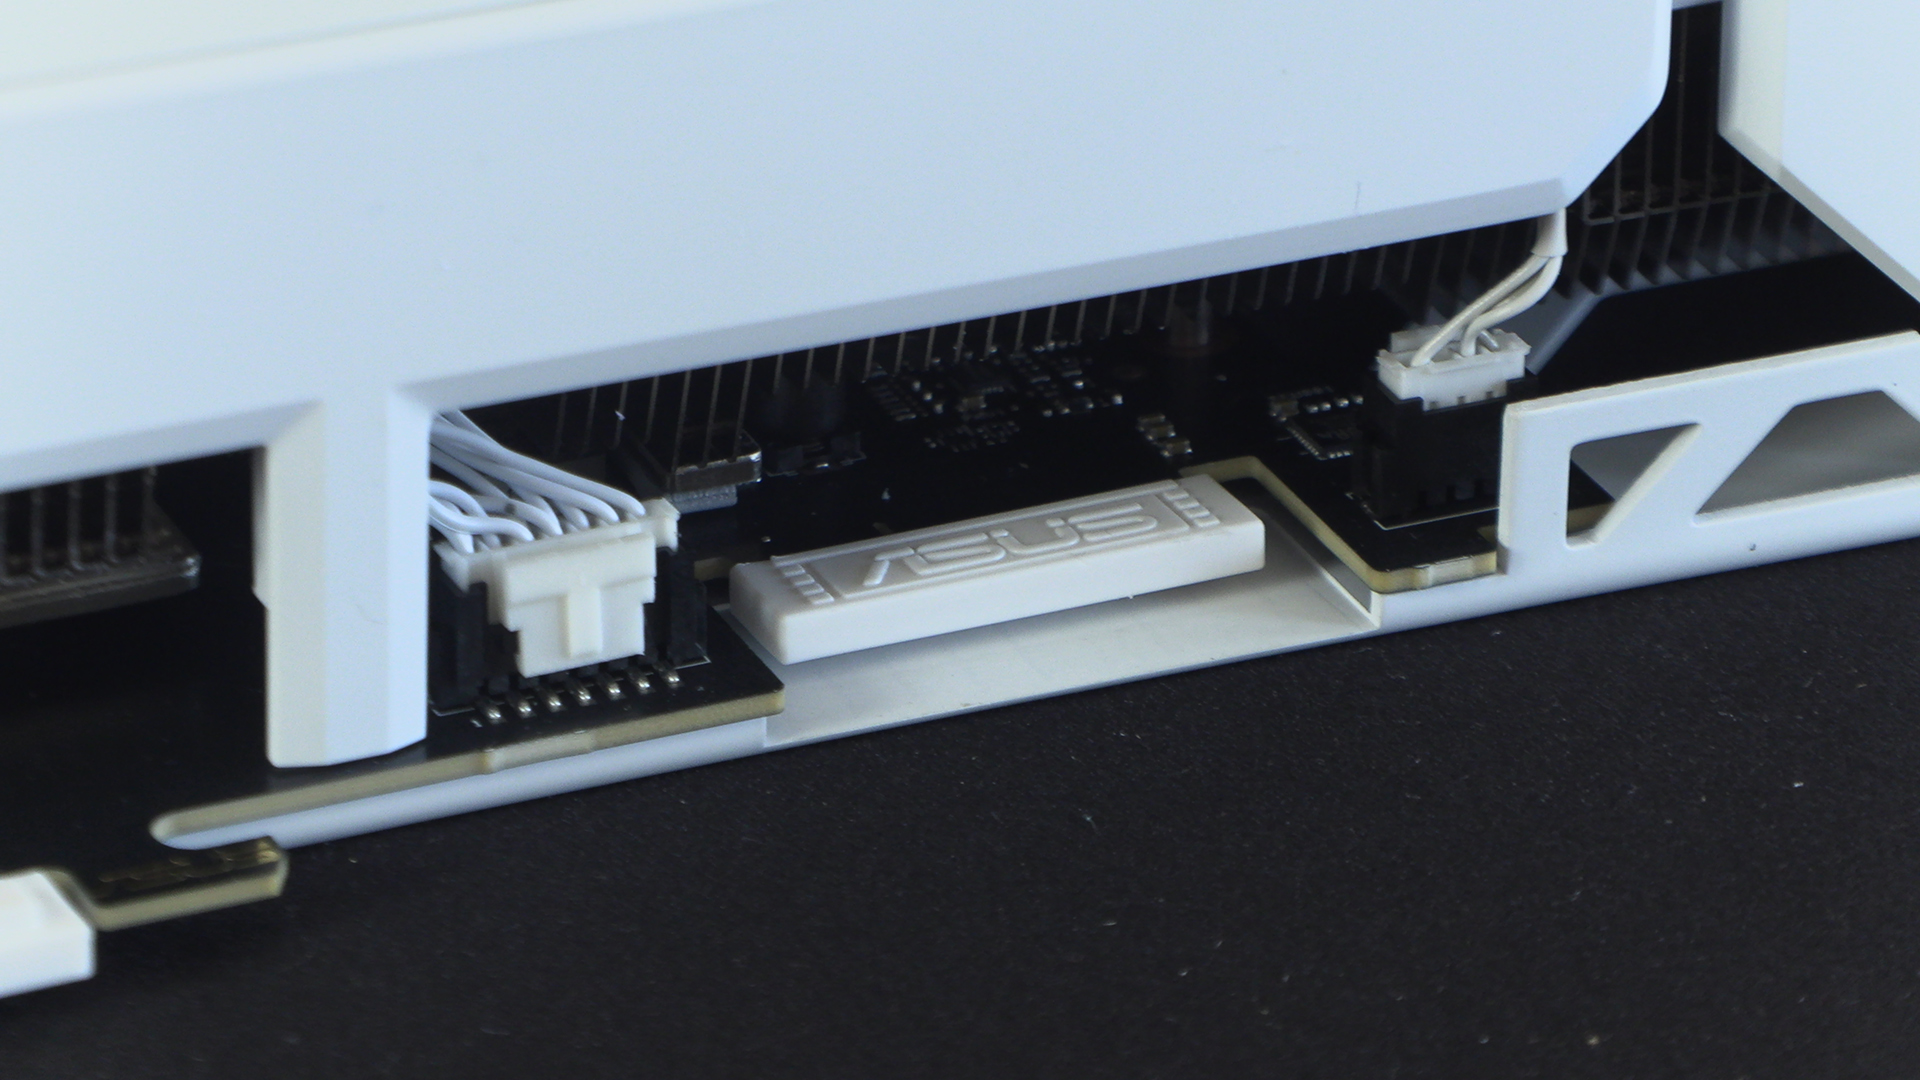
GC-HPWR Revealed
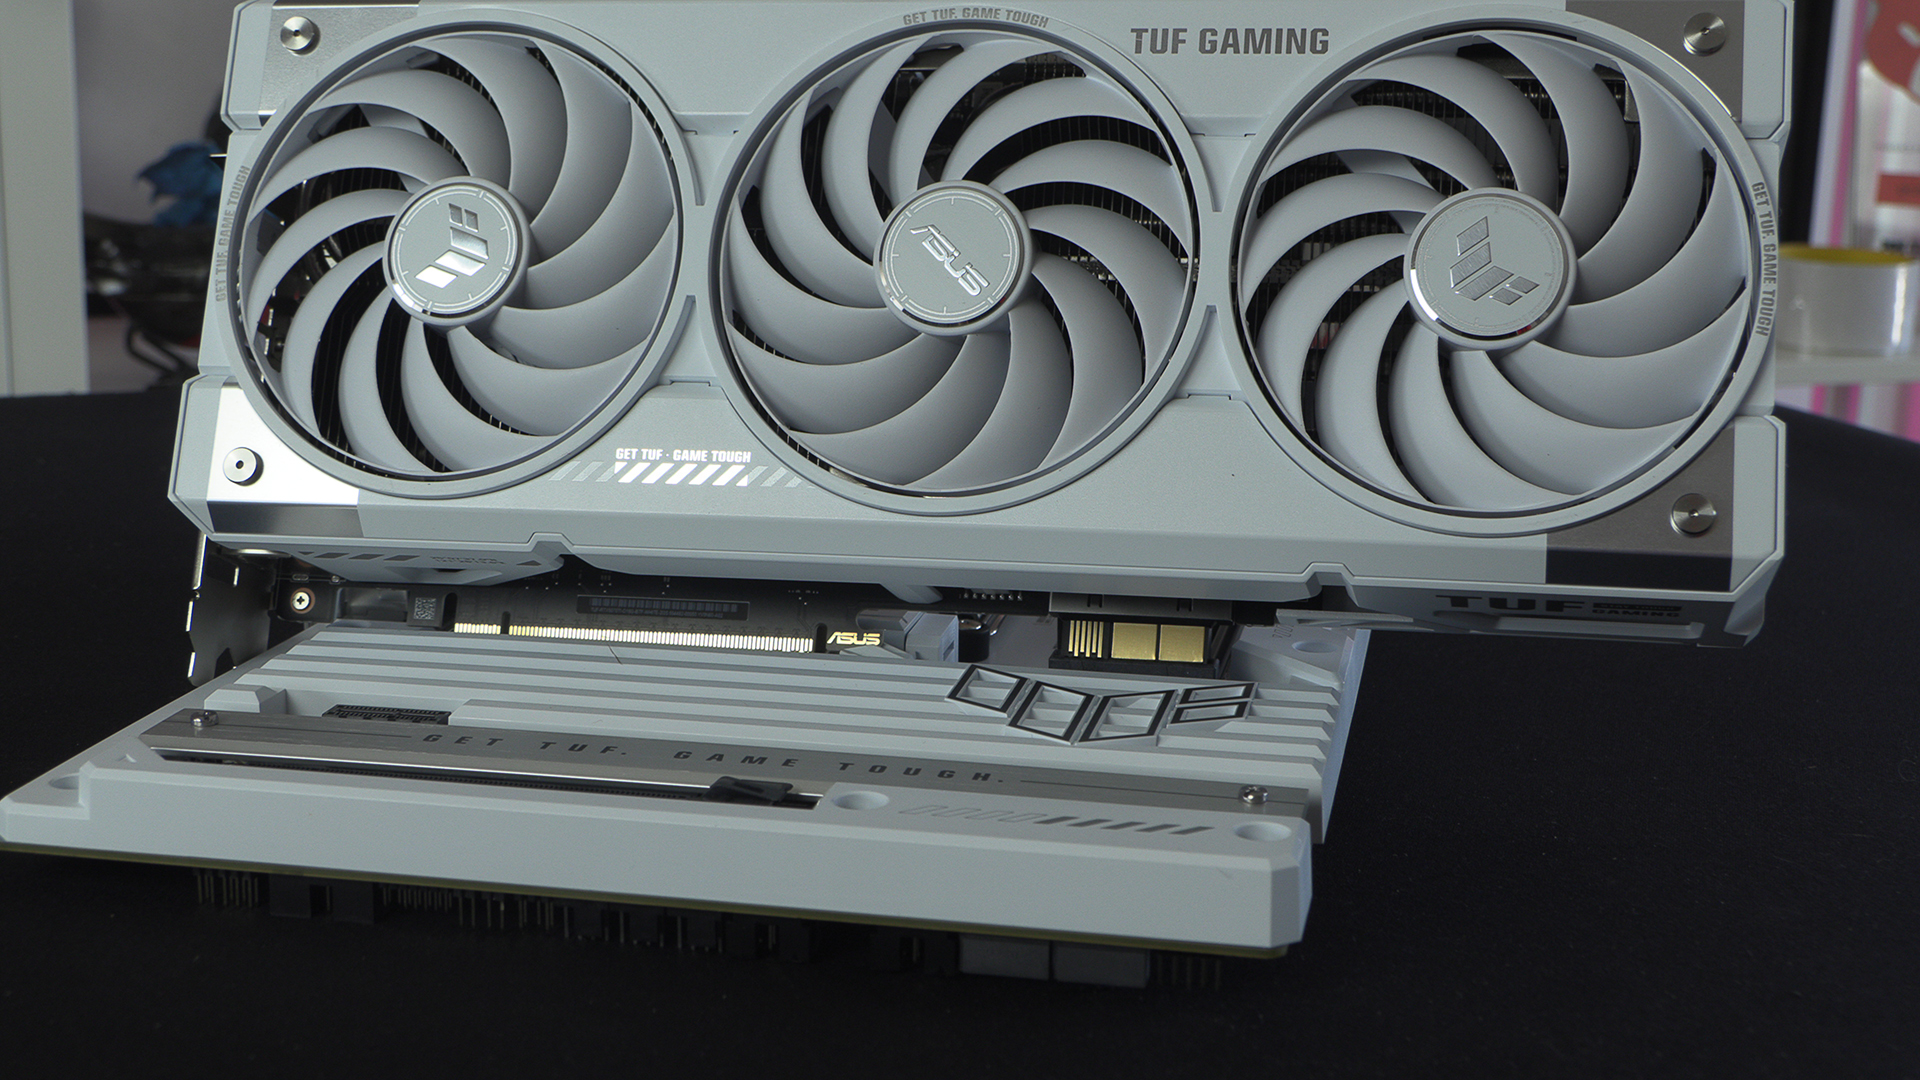
Remove the plastic cover and you find the tabs into which you can install the GC-HPWR. Graphics Card – High PoWeR. Rather obviously. This is the new BTF design capable of dispensing 1000 W should the card require it. The RTX 5090 tops out at 600W, so the design is futureproofed for years to come.
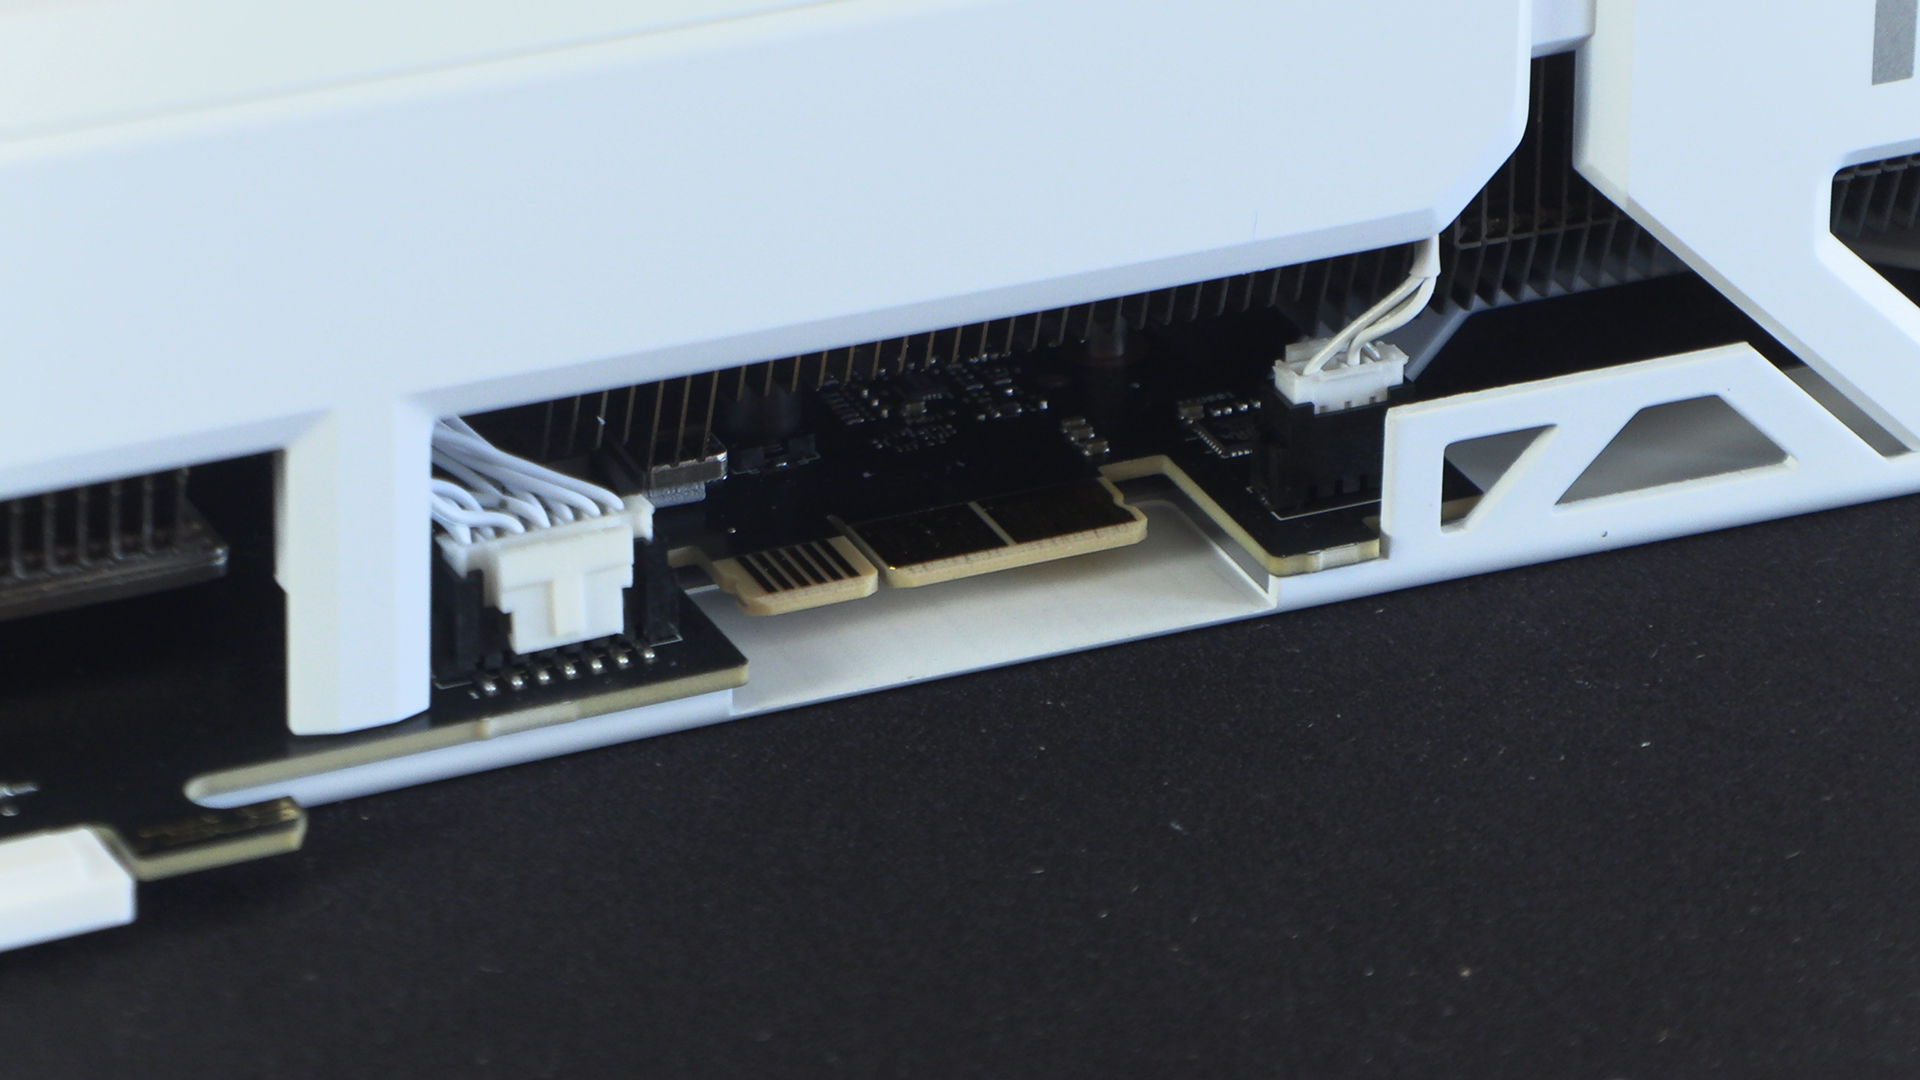
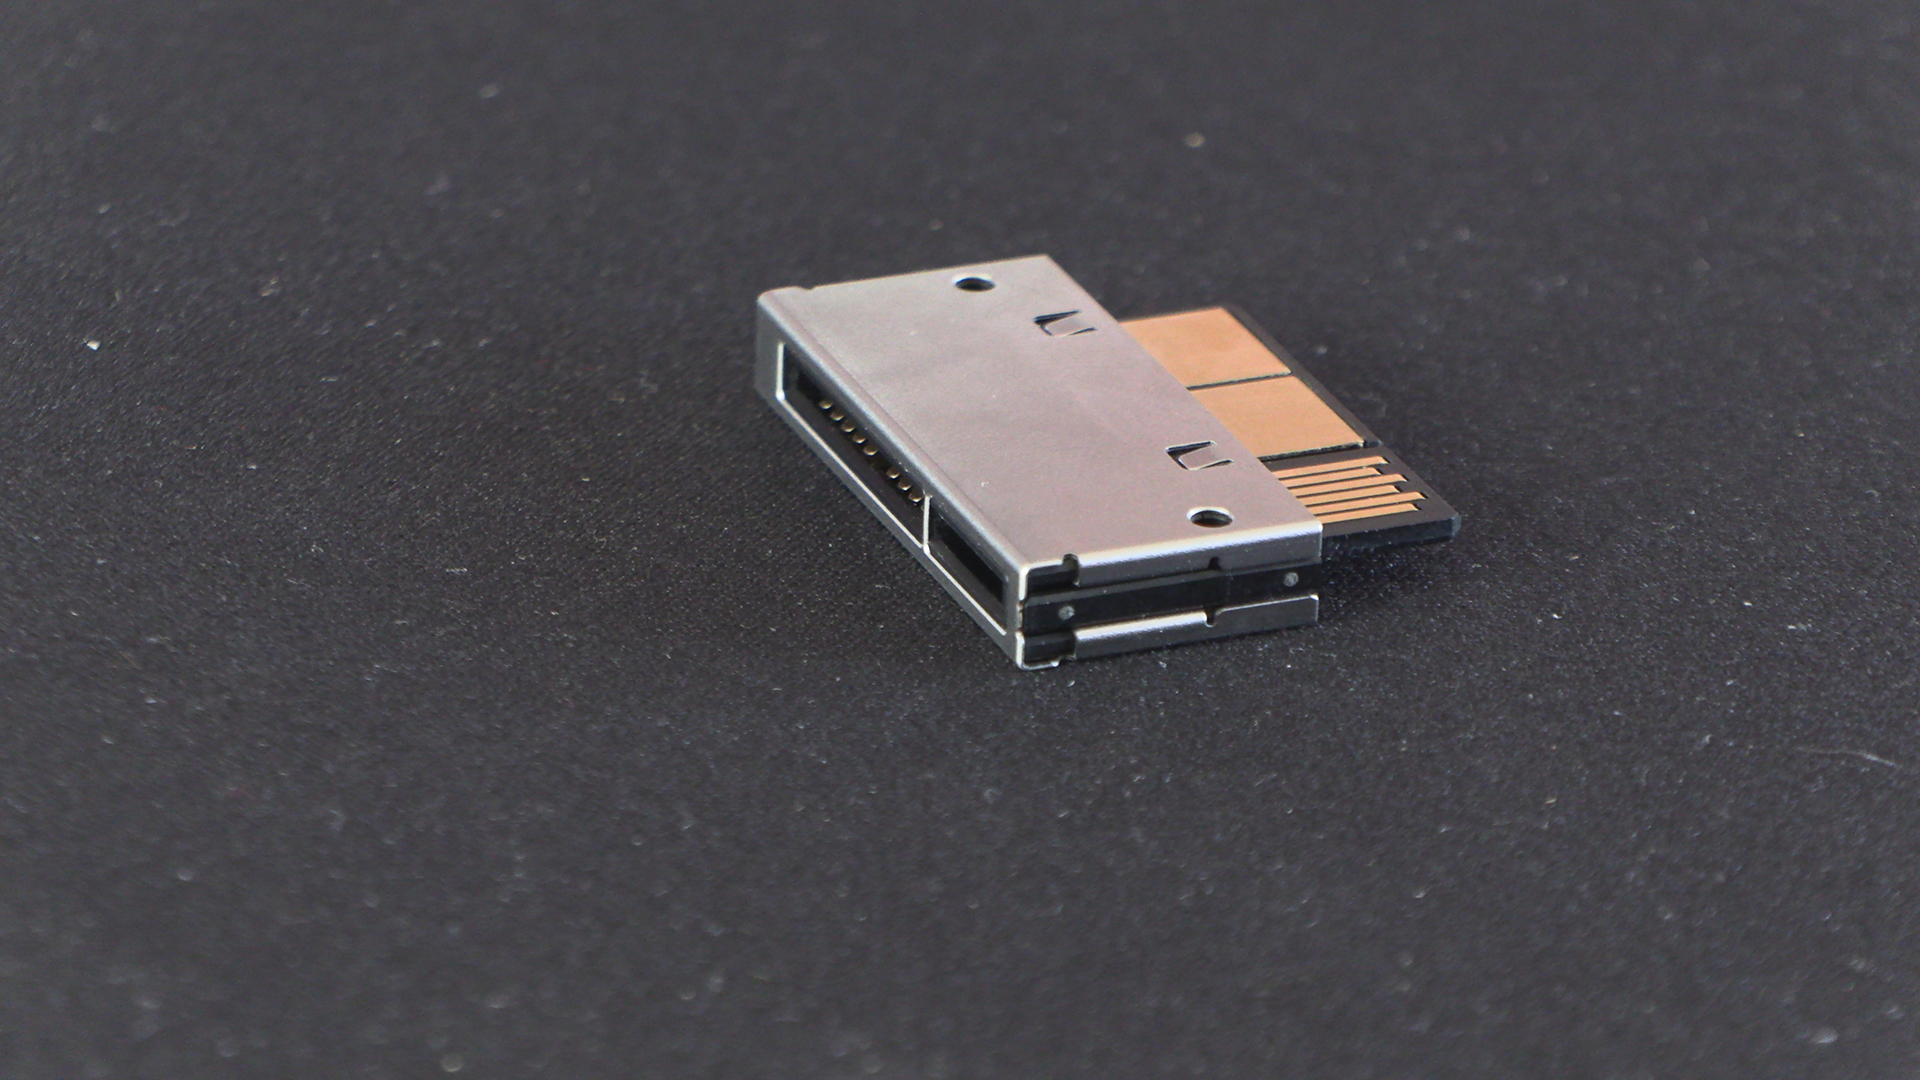
With an upgraded capacity to handle 1000W it’s no shock that ASUS have made the connector robust. Additionally it’s removeable, and so needs to be able to handle going on and off. It’s tiny, so if you do plan to use the regular power connector, keep this safe. It’s easy to lose if you stop paying attention.
As you would expect from ASUS the connector fits perfectly. No wobble. Just clips into place as if it’s part of the PCB.
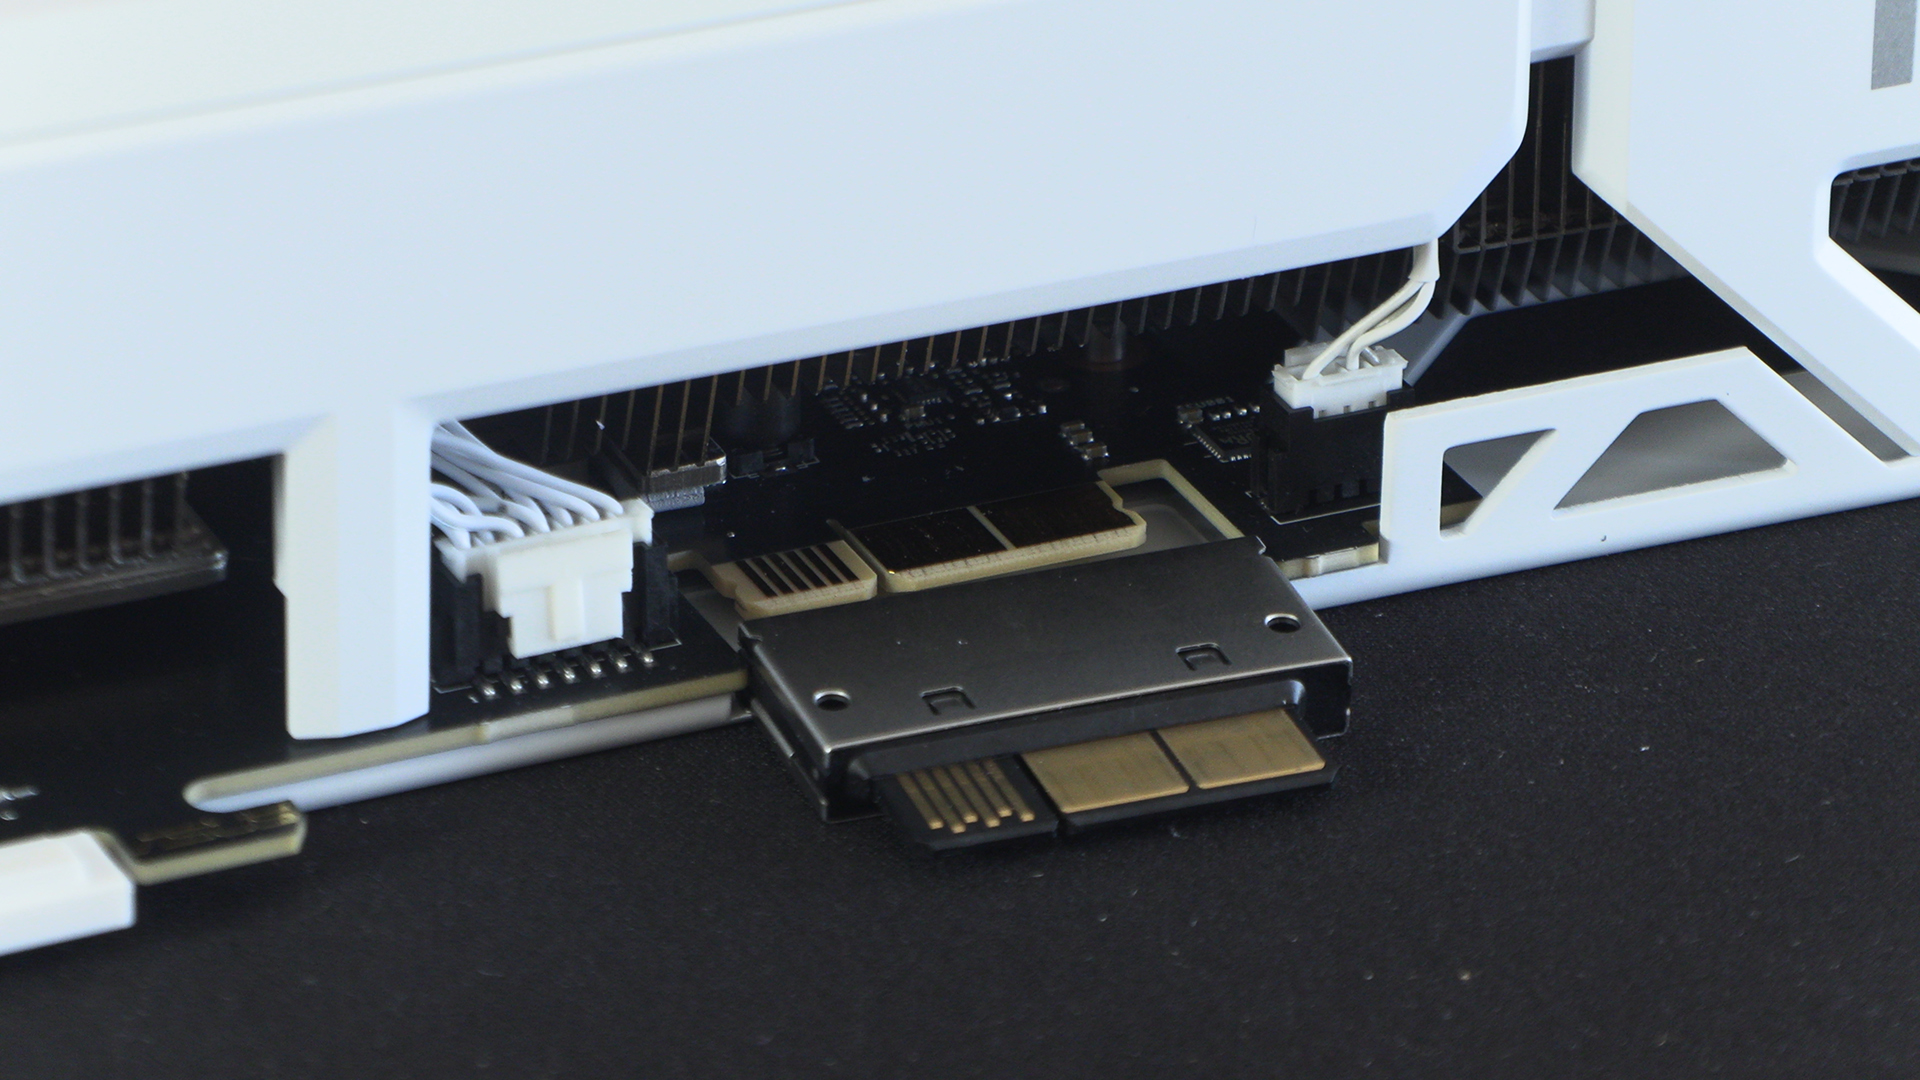
Although it might feel confusing, in actuality installing the card is simple. The power goes into the motherboard, and then runs through the connector. As you can see here, it just slides in as easily as the PCI Express connector. It couldn’t be simpler. No messing. No fuss. And no cables.