Elegoo Centauri Carbon CoreXY 3D printer review

Unboxing and first look
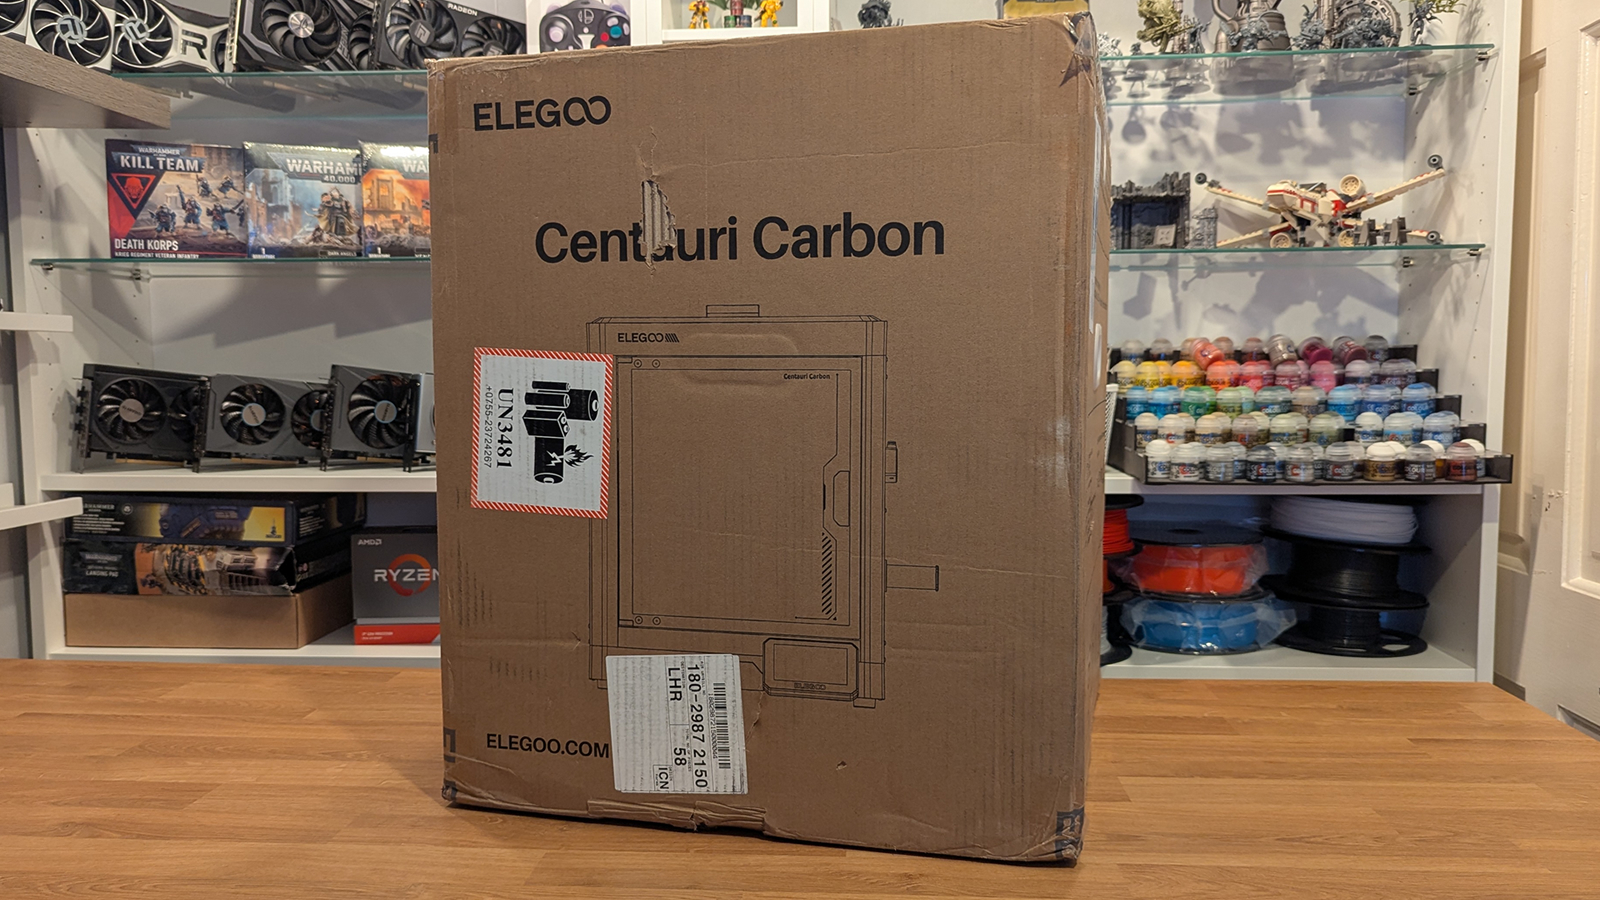
Unboxing the Elegoo Centauri Carbon
The first thing I will say about the Centauri Carbon is that it is weighty, satisfyingly so. This isn’t a flimsy piece of machinery; it is a solid piece of kit. Setup is simple: get the unit out of its box, set it on your desk, and remove any packing materials inside. After that, all you need to do is remove three bolts, all of which are clearly labelled. After that, you are ready to turn the unit on.
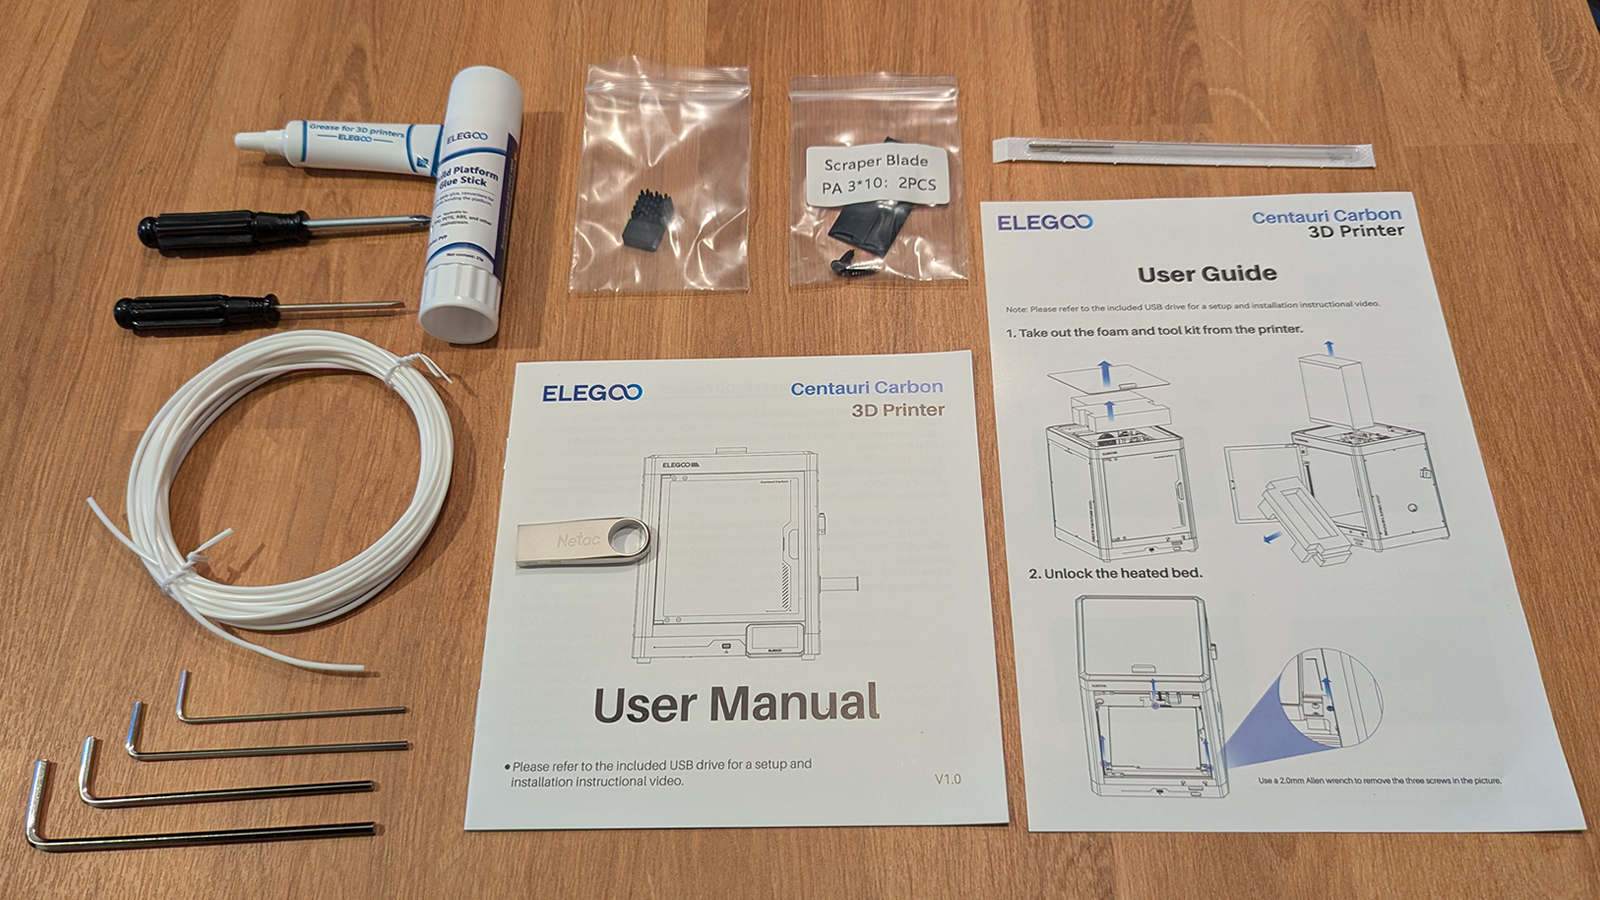
Inside the box, we have some grease (for re-lubing this printer’s rails during maintenance), a glue stick (which can improve bed adhesion during tricky prints), some user manuals, a nizzle cleaning tool, some Allen/hex keys, PLA, a USB stick, a set of screwdrivers, and replacement nozzle cleaners. There is also a scraper blade, which we will use later.
Within the printer’s included USB stick are some pre-sliced models, some printer documentation, a full setup video, and a copy of Elegoo Slicer. Using these models, we could start printing immediately after the Centauri Carbon’s calibration tests (which take less than 20 minutes).
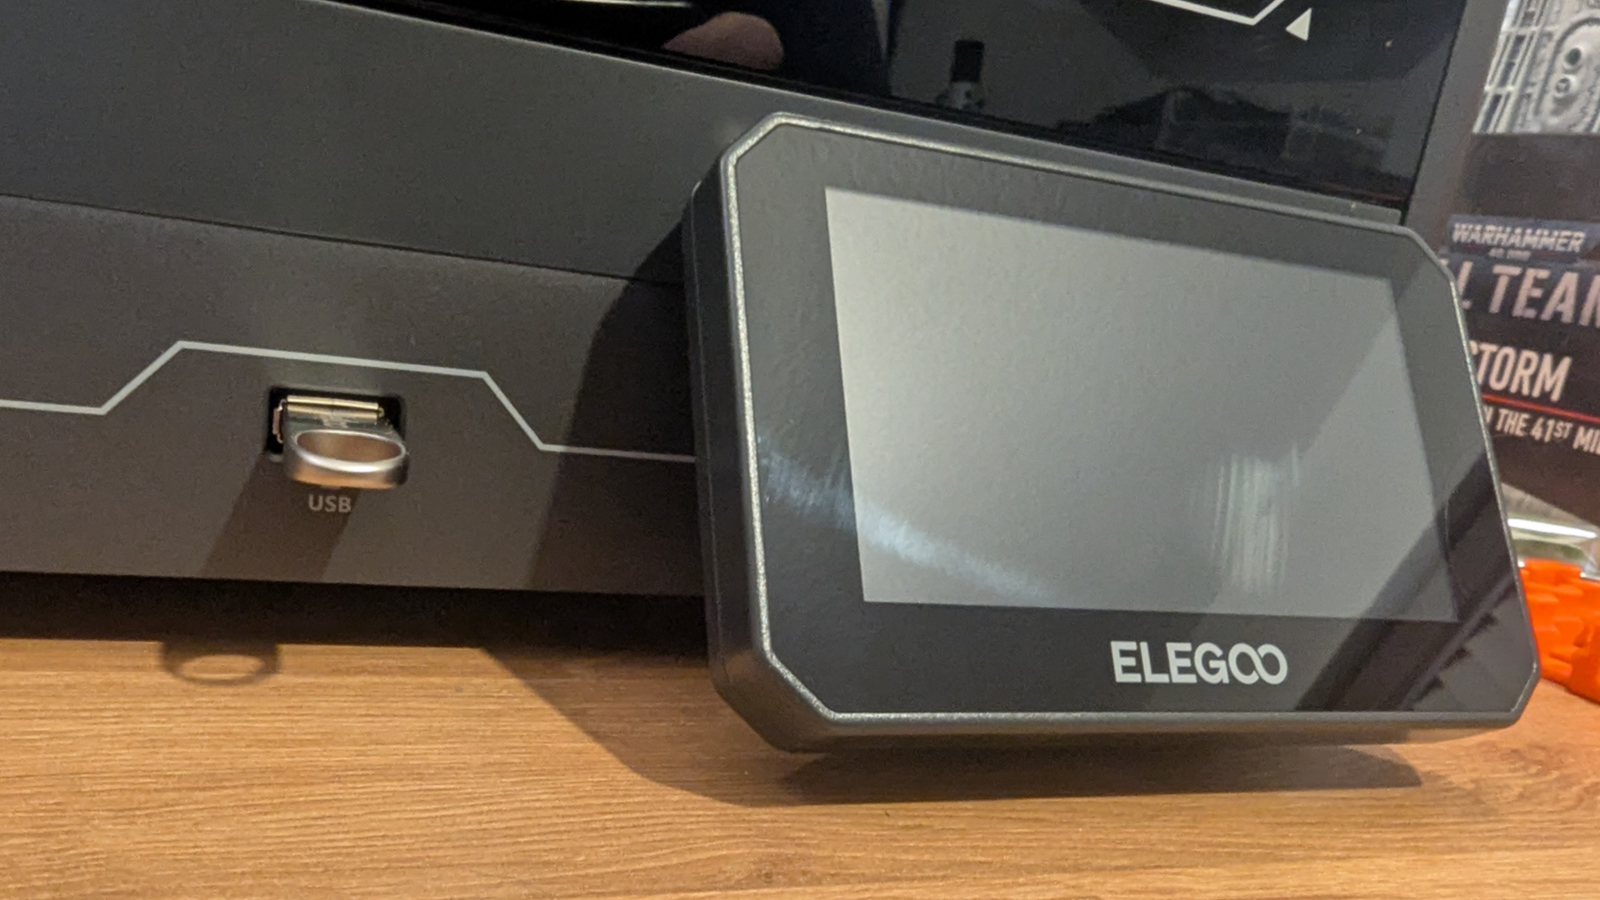
Control through USB or WIFI
While this 3D printer lacks a visible WIFI antenna, it does support WIFI. This allows users of the Centauri Carbon to control the printer through their local network. This allows users to start and stop prints remotely. Alternatively, users can transfer files to their printer using a USB stick. The printer also features integrated storage, allowing it to keep previously printed models on file and store video time-lapses (if you enable that feature).
Using Elegoo Slicer, users can slice models and immediately send them to their printer for printing.
Print Head
For the most part, the print head on the Elegoo Centauri Carbon is pretty standard. This part of the 3D printer melts filament and places it where it is needed. It features integrated fans to cool the filament after it is placed and to ensure that heat doesn’t creep to where it is unwanted. This is the most important part of any 3D printer.
One neat feature the Centauri Carbon includes is a filament cutter. This cutter enables the automatic cutting and retraction of filaments. This can lower wait times when changing filaments.
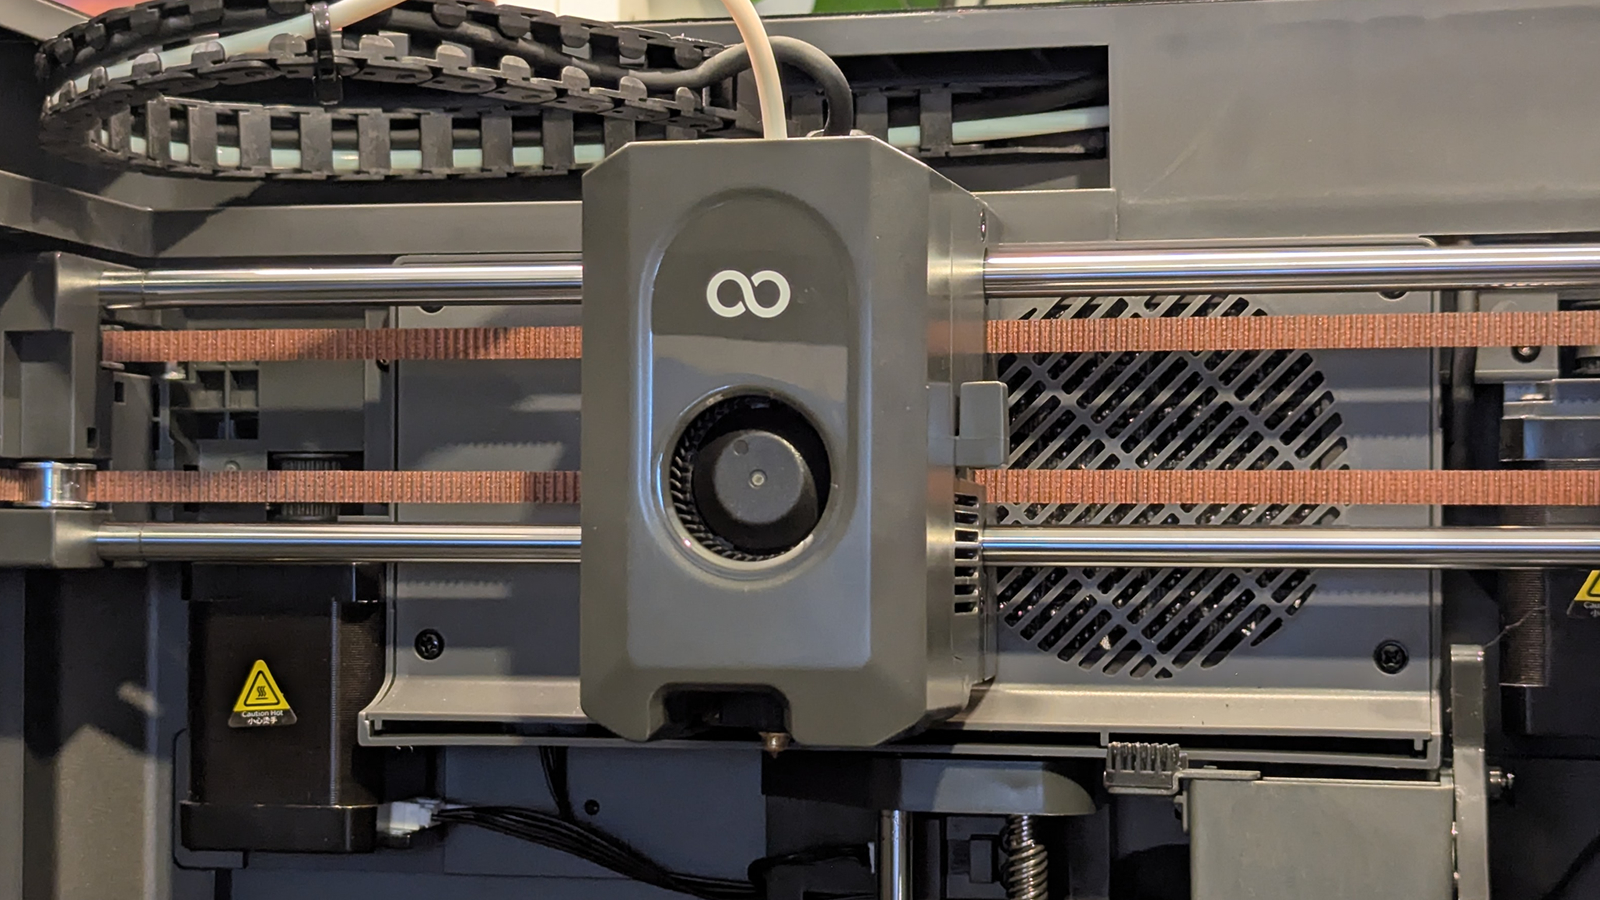
The front fan of the Centauri Carbon’s print head is magnetically attached. This makes it easy to remove for print heat maintenance. The Centauri Carbon’s nozzle can be removed by unfastening two bolts, allowing users to replace their nozzle with a new one in minutes.

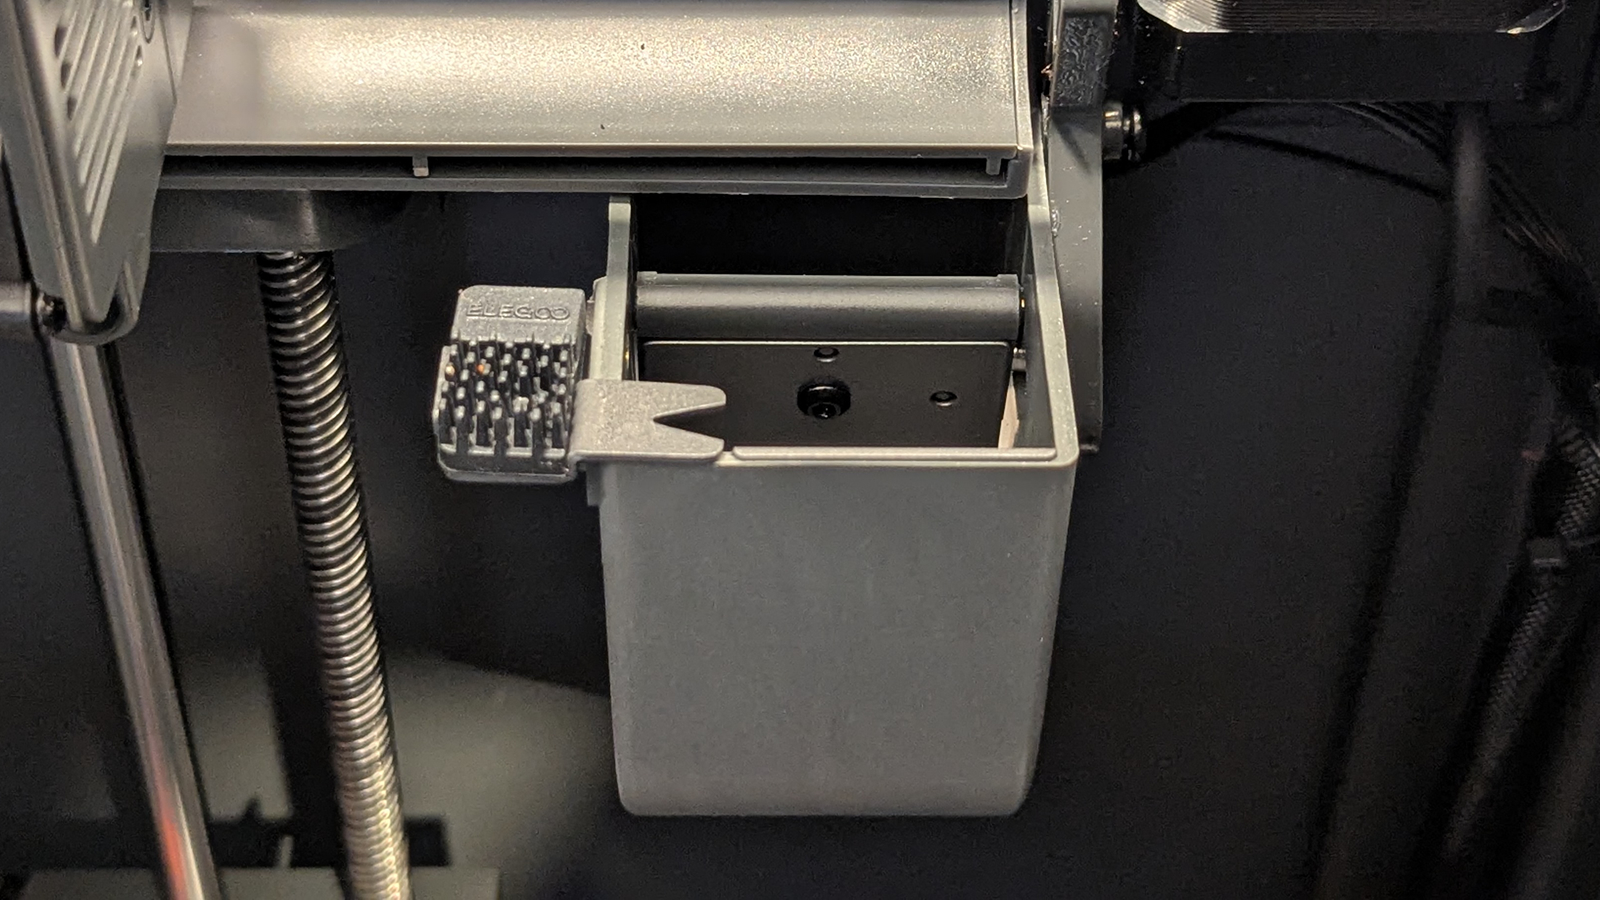
Print Head Cleaner
Integrated into the Centauri Carbon is a nozzle cleaner and filament waste bin. This prevents residues and waste material from ruining your 3D prints. The inclusion of this feature also suggests that Elegoo has a multi-material system in the works.
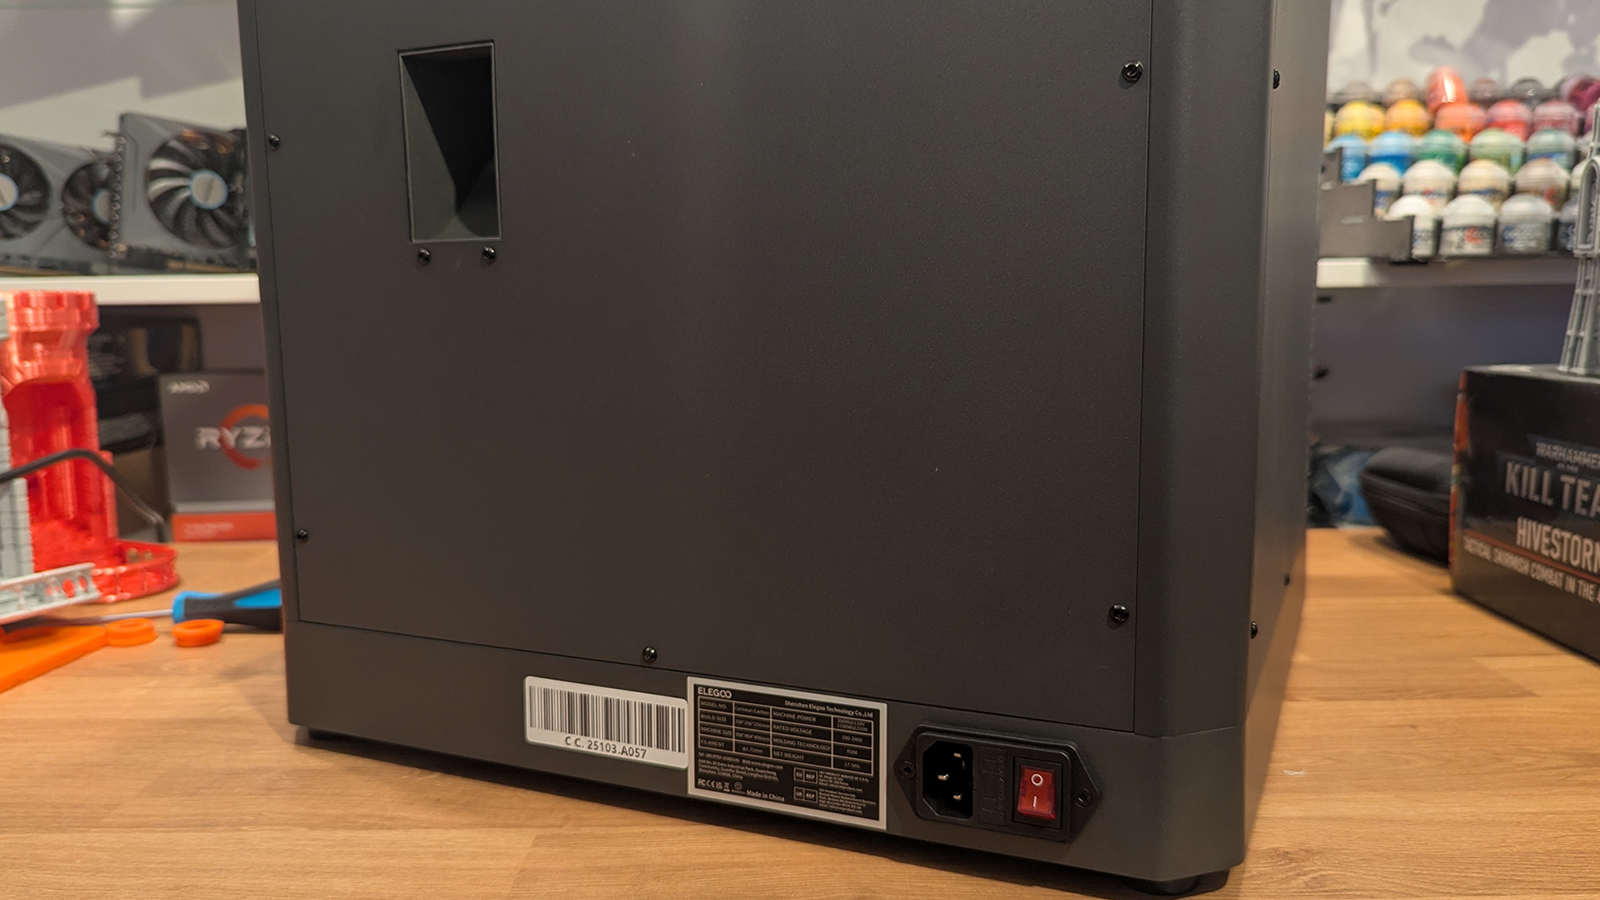
The “poop chute”
At the rear of the Elegoo Centauri Carbon is what we will call the “poop chute”. This sits on the other side of the filament waste bin inside the 3D printer. This is where waste material drops. This is somewhere we will likely place a waste bin in time, as before long, this chute will expel a lot of little filament bits behind this printer.
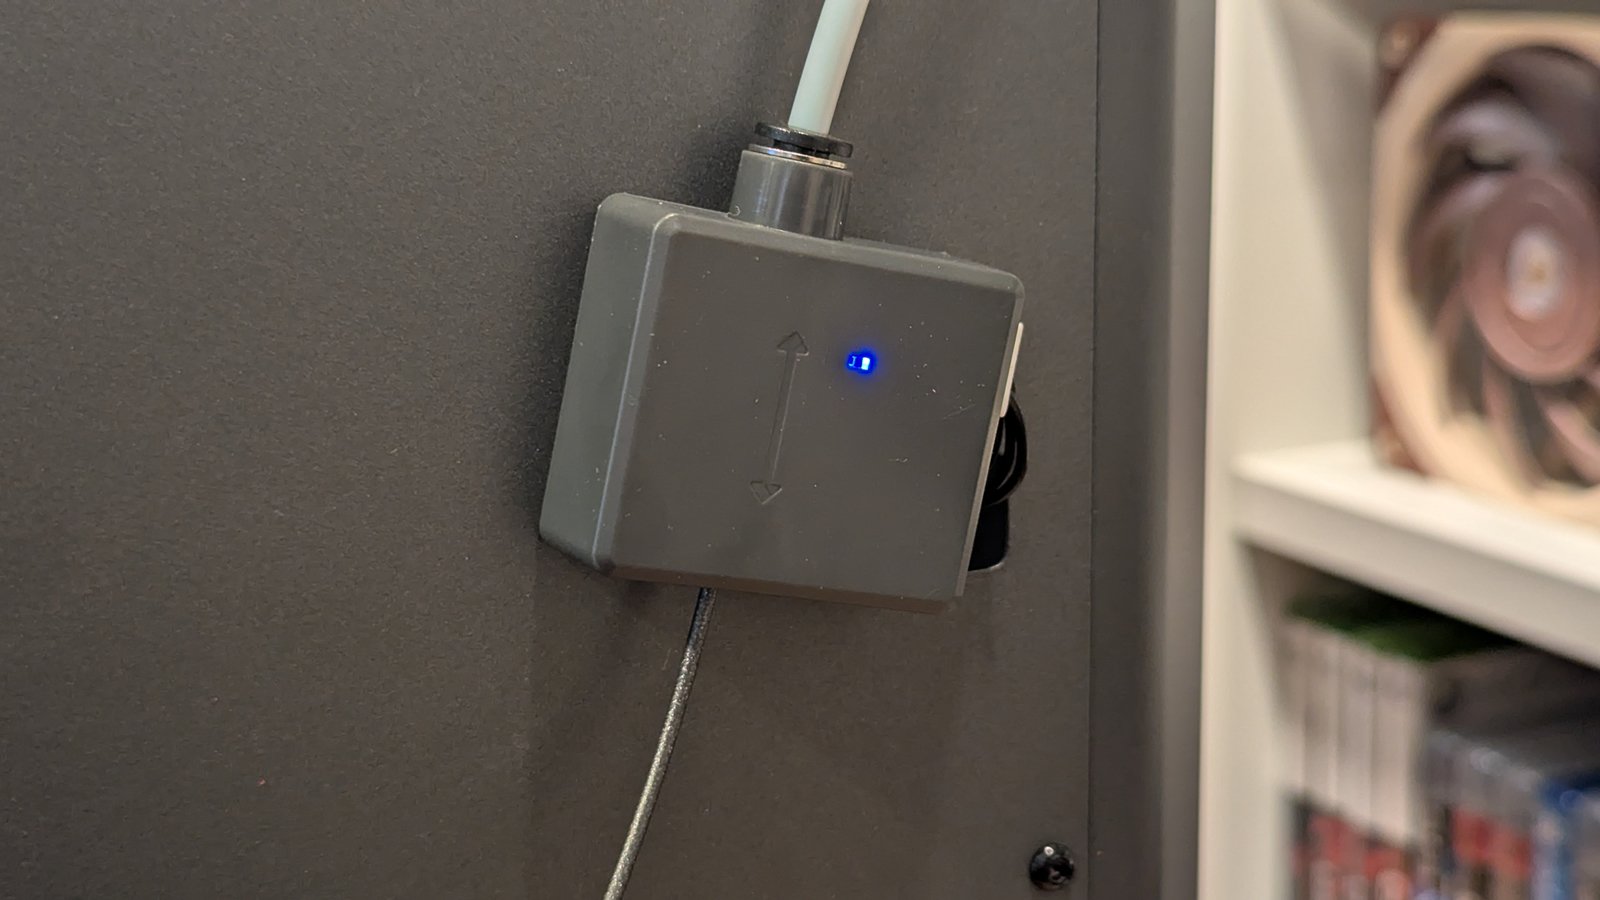
Filament runout sensor
One thing that we don’t like about the Centauri Carbon is the placement of its filament runout sensor. While the tool is useful for pausing prints when you need to change to a new filament roll, this placement leaves a lot of tubing between this sensor and your print head. That leads to wastage when you need to change your filament. Yes, the waste is small, but it is still waste. There’s a reason why some manufacturers have integrated filament sensors directly on their 3D printer’s printheads.