Elegoo Centauri Carbon CoreXY 3D printer review

Initial Prints

Initial prints with the Elegoo Centauri Carbon
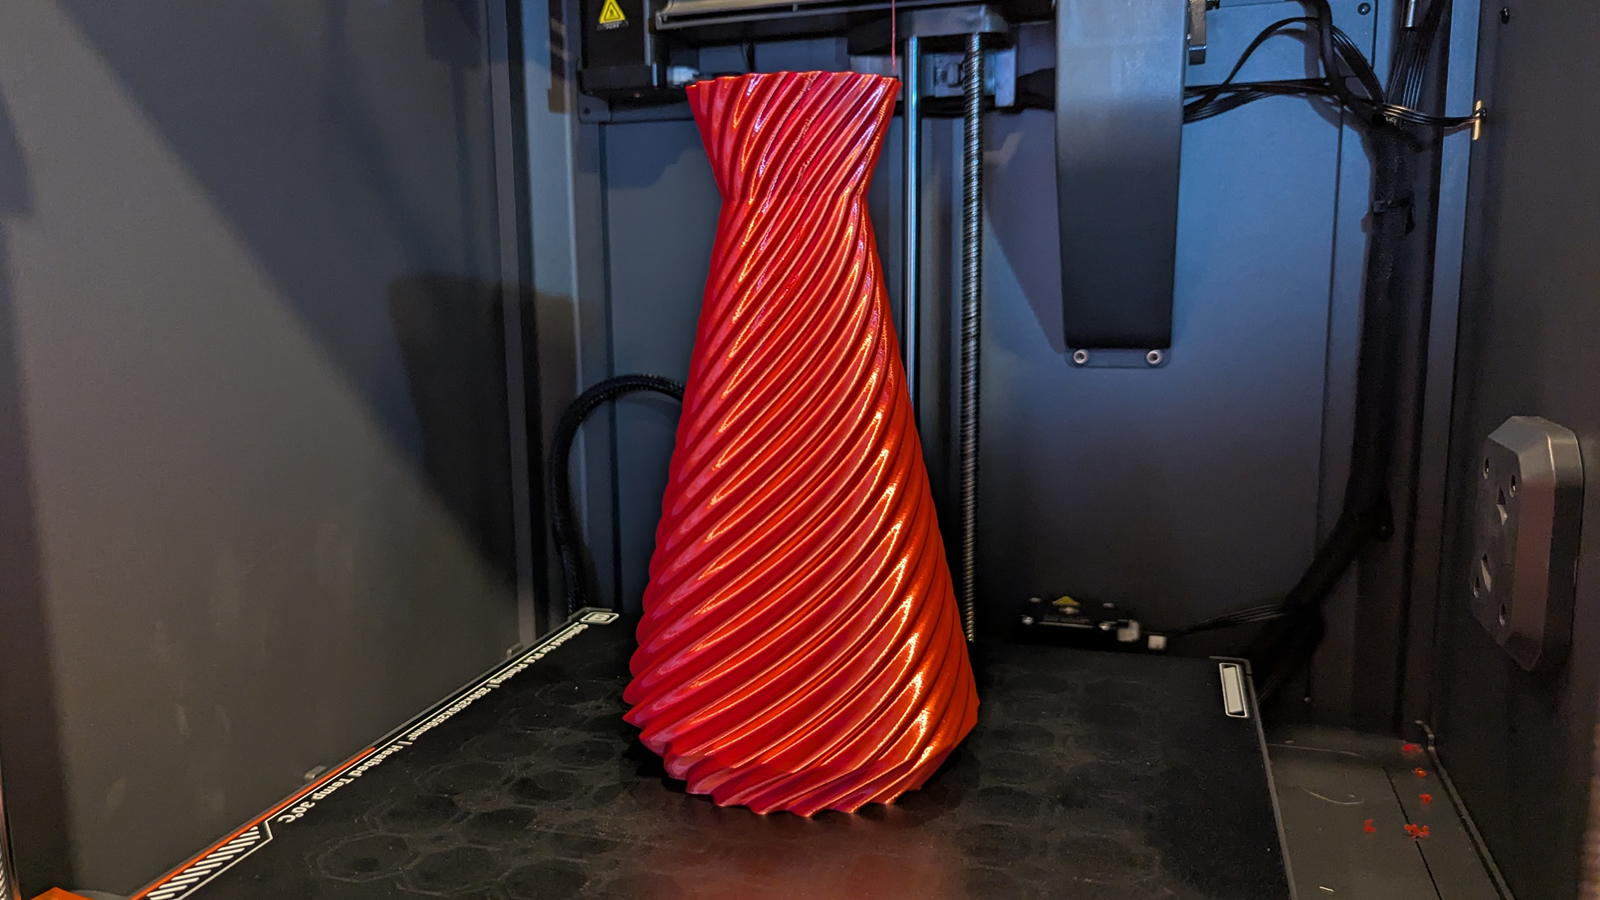
Now it’s time for the fun bit, printing! We started with some of the included 3D prints on the Centauri Carbon’s included USB stick. This included a 3D Benchy (which printed in a little over 15 minutes), a scraping tool (the blade was provided), and a vase.
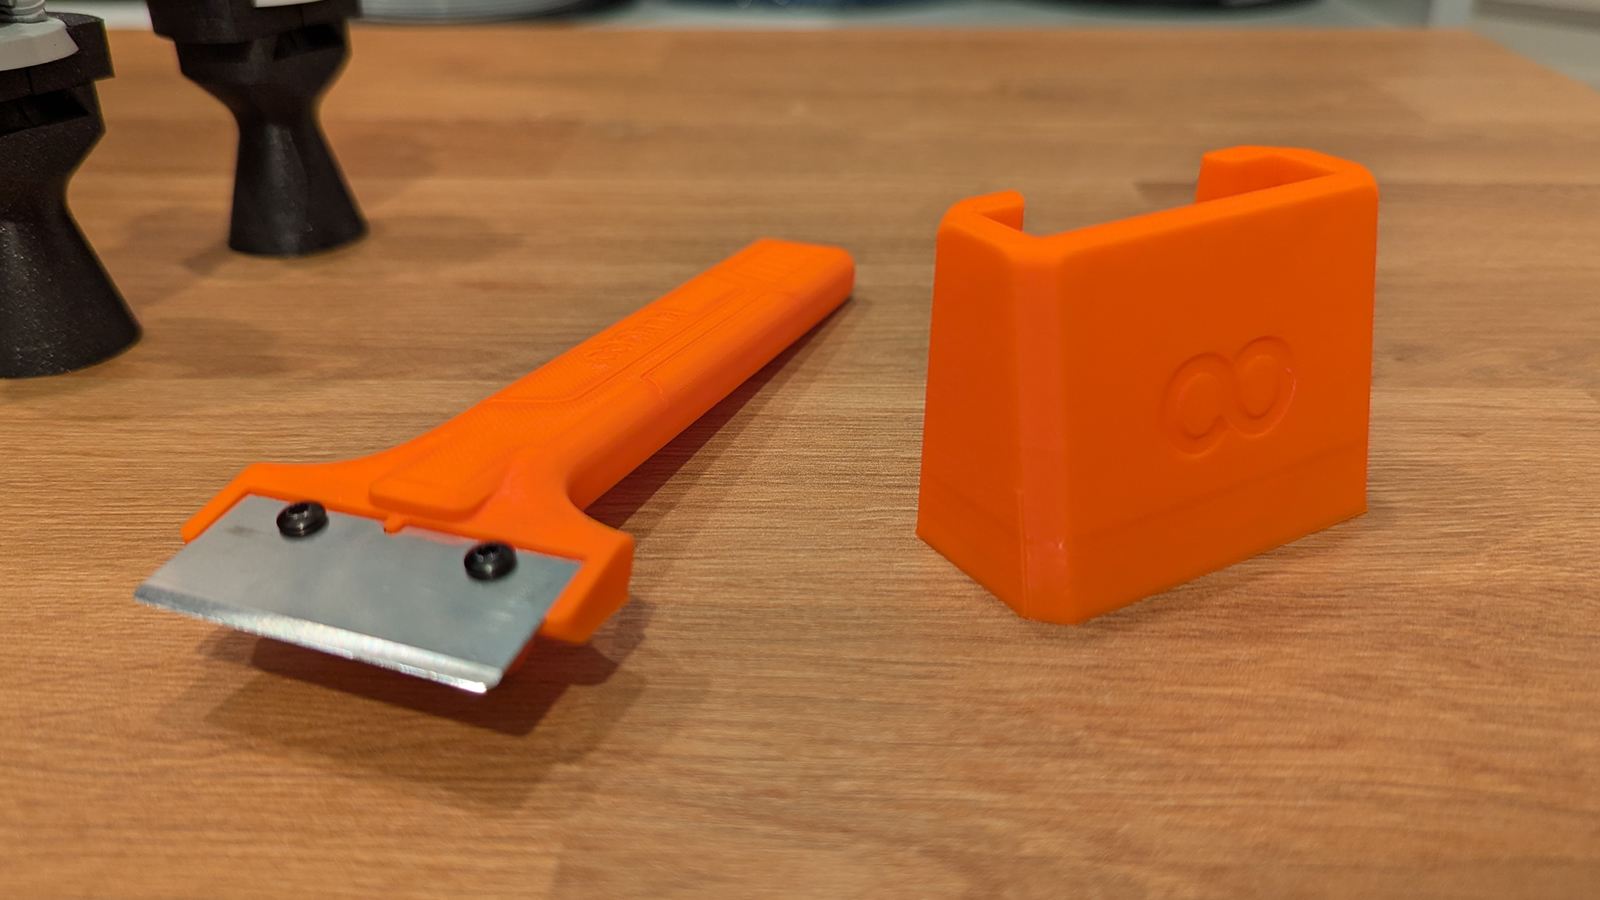
All of these prints were completed without any issues. However, I must confess that the image below comes from after our initial testing (hence the print bed’s obvious signs of use).
Prints that need accuracy
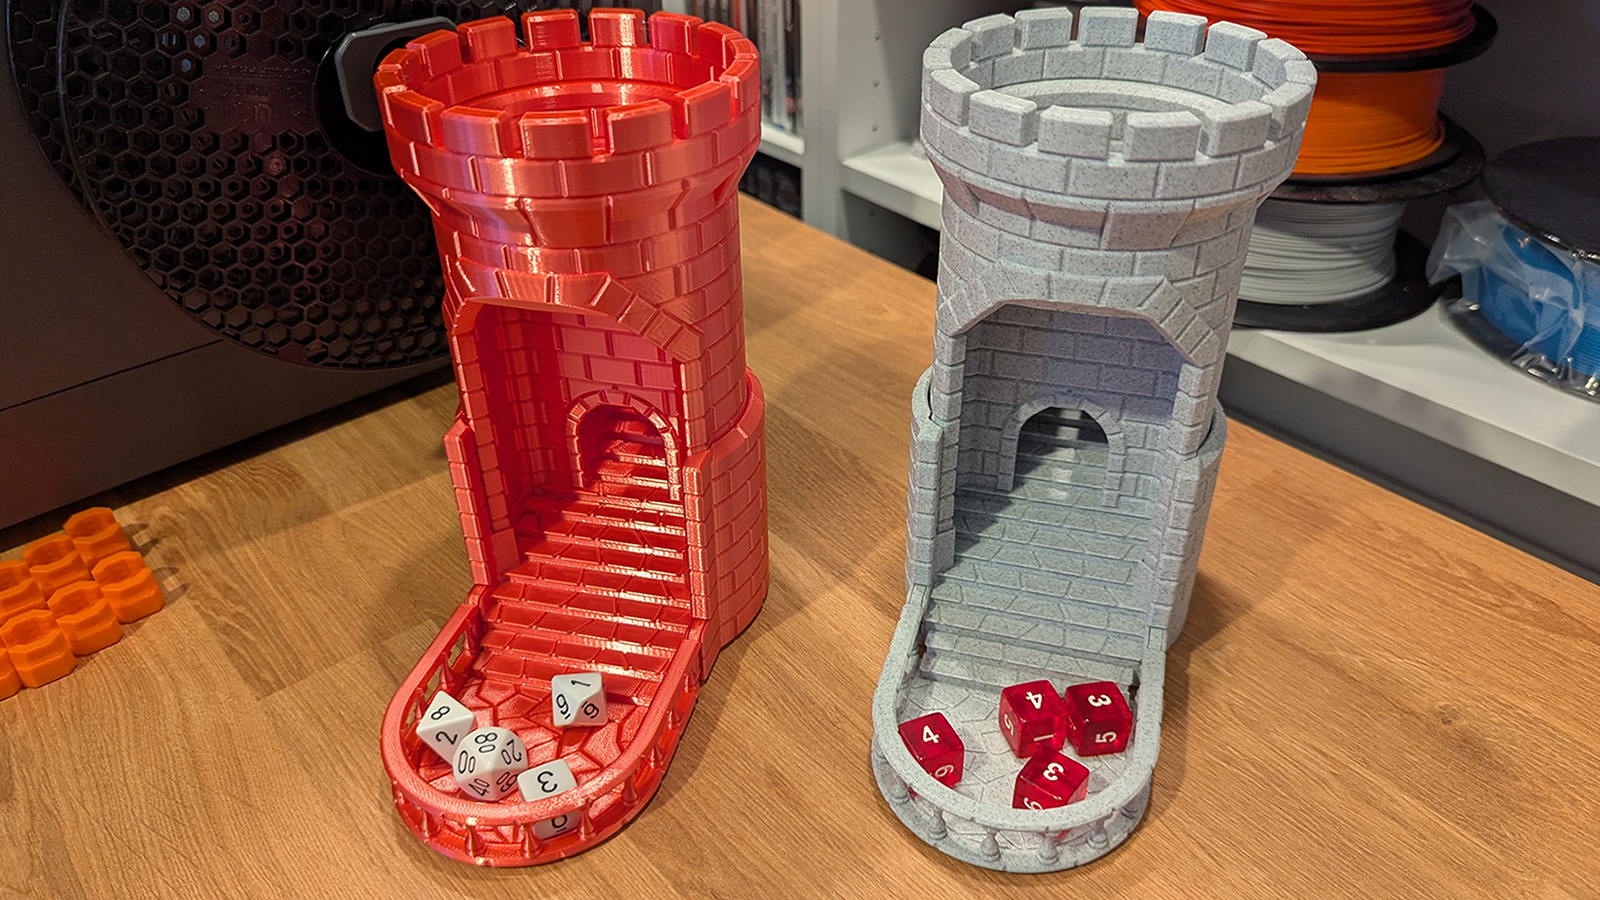
I’ve owned several 3D printers in the past, and I know that many 3D-printed objects need to be printed accurately to function correctly. Poorly calibrated prints will print parts that don’t fit together and are incorrectly sized.
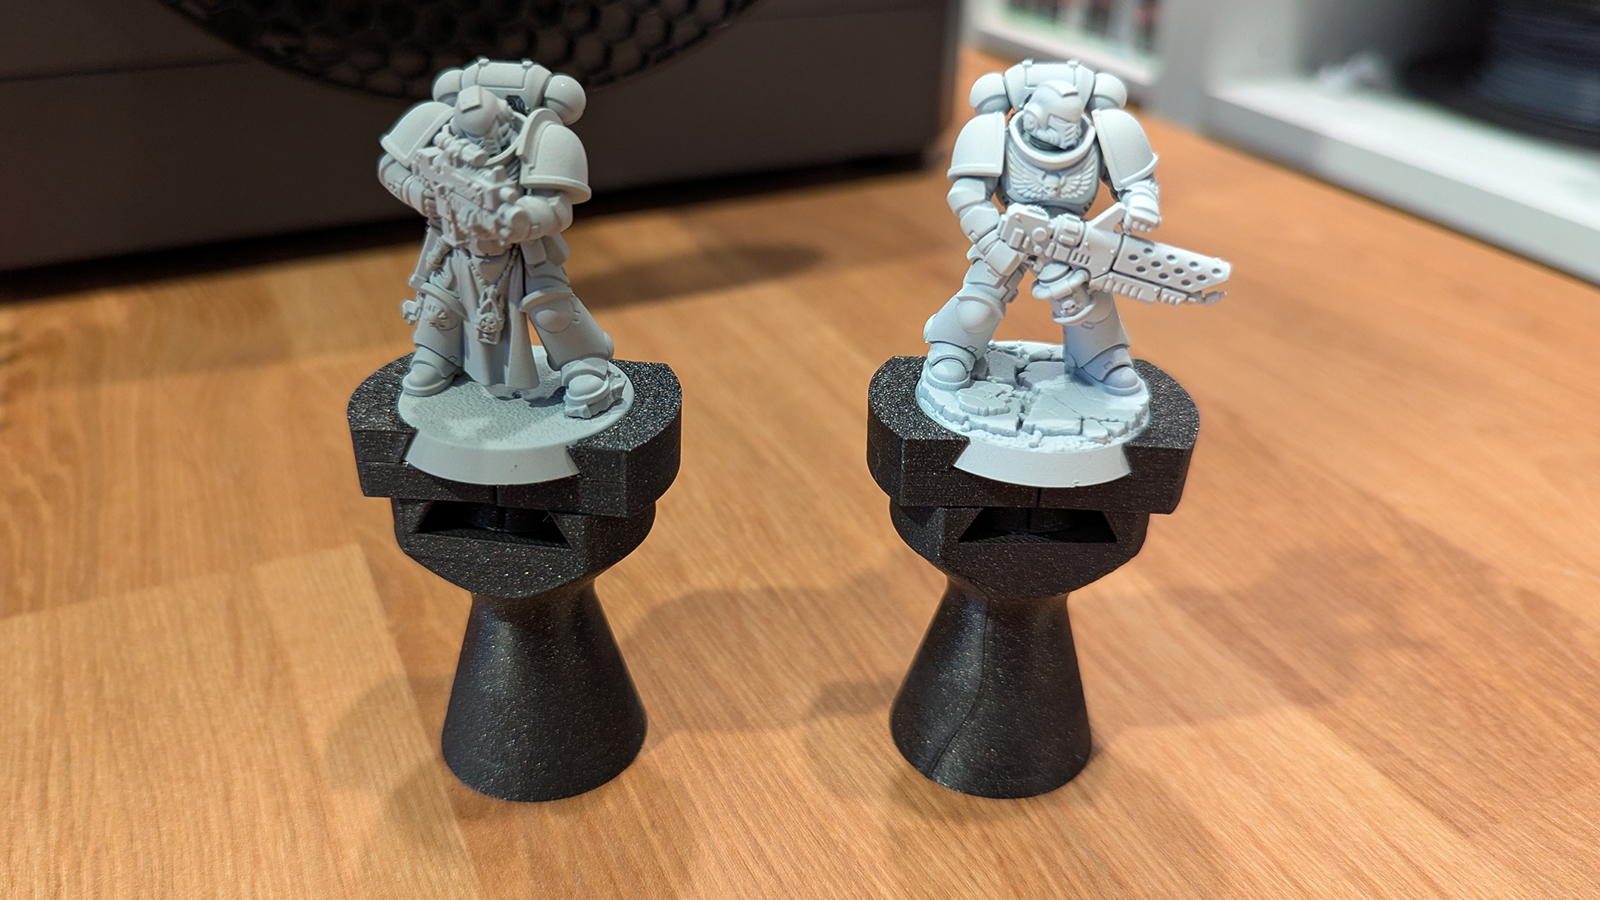
Our first real stress test for the Centauri Carbon was the “Smash! The Auto-Reload Dice Tower” from Rossero. This is a dice tower that can be smashed to reroll your dice. On the right, we have a previously printed model, and to the left, we have the same print from the Elegoo Centauri Carbon.
Aside from the obvious change in filament, both models look and function identically. Both reroll dice and reset to their original positions as intended. All moving parts move smoothly. Clearly, the Centauri Carbon is an accurate 3D printer.
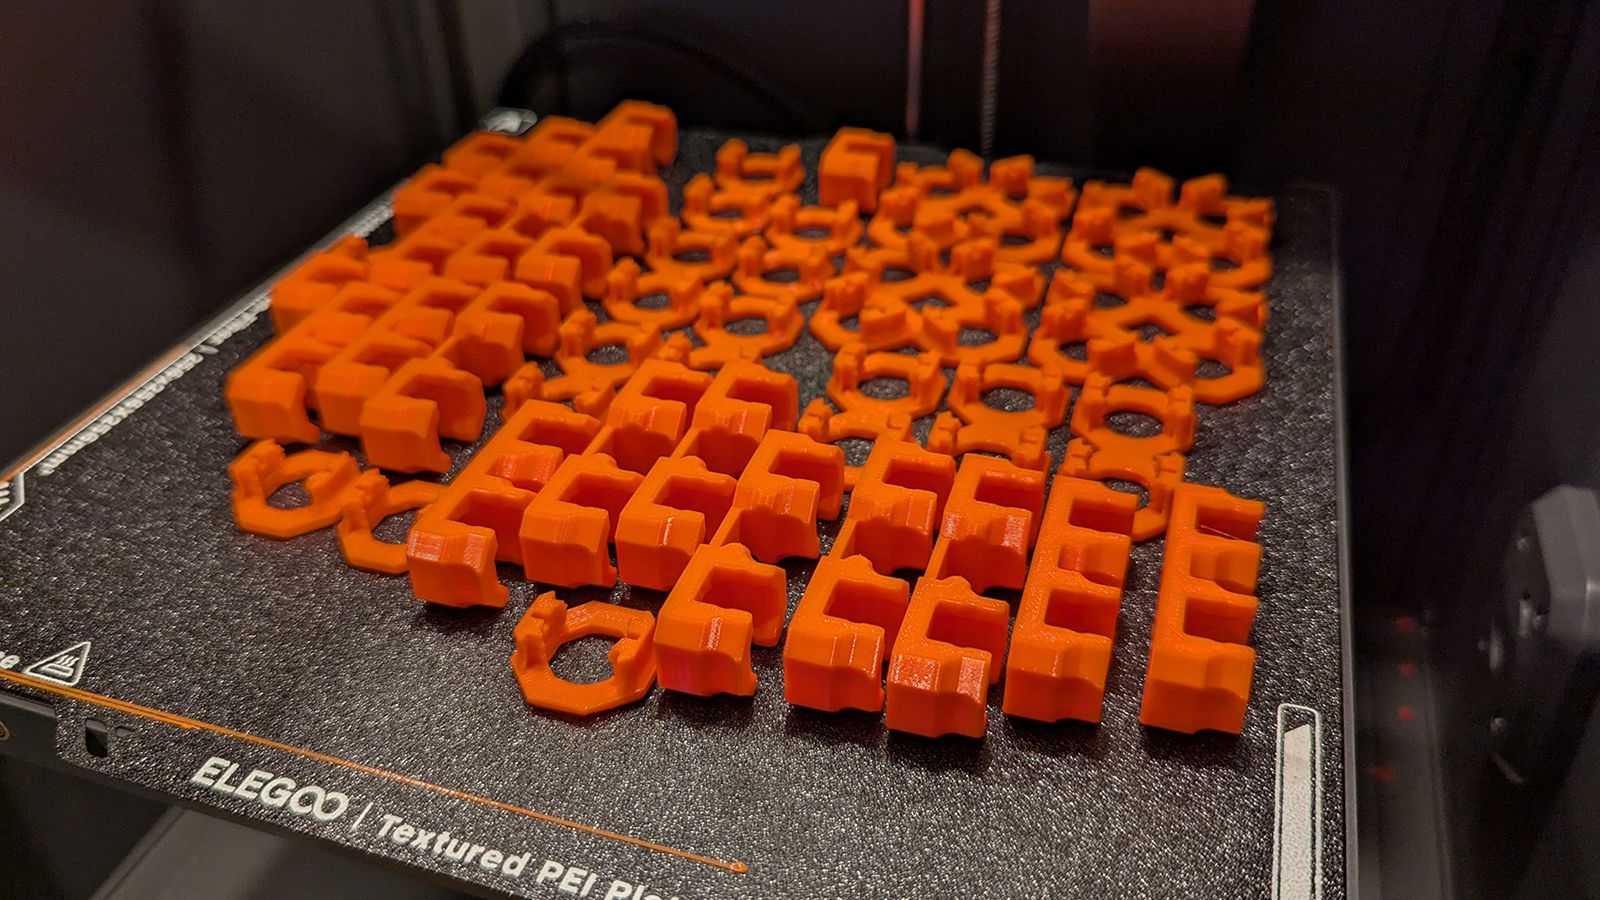
Next up, we have a small set of clamps, which are made of multiple parts that need to fit together without issue. Another pass for the Centauri.

Honestly, this next one was a personal print. Some painting handles for 32mm Warhammer minis. These handles rely on tight tolerances to work. If the 3D-printed parts are too loose, the painting handle is useless. If they are too tight, good luck adding and removing your models from the paint handles.
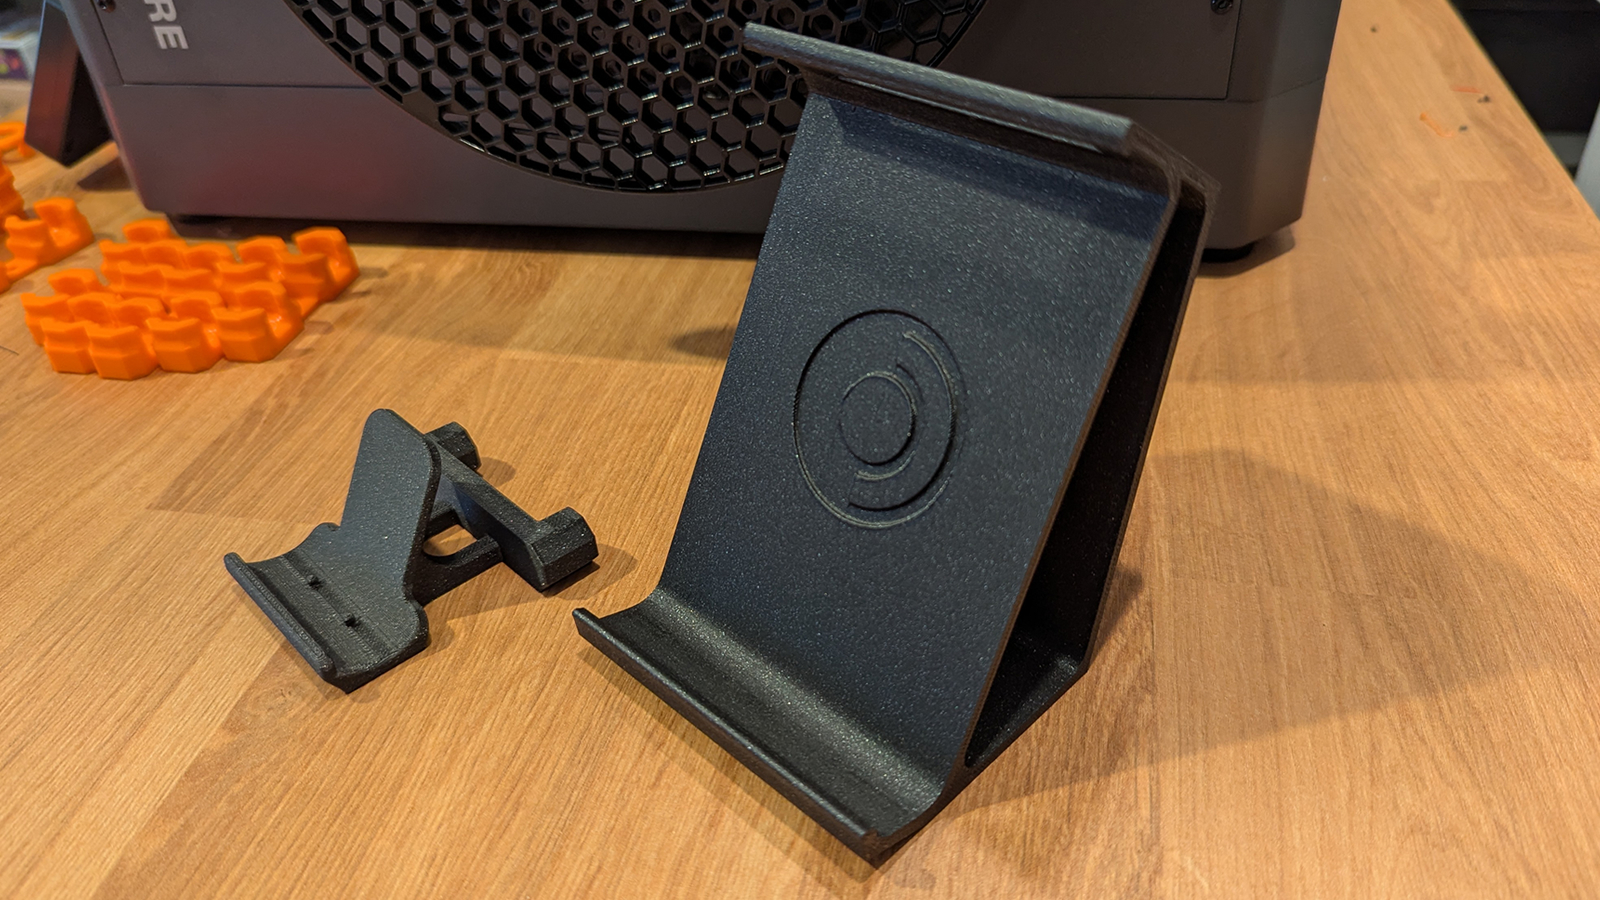
Next, we have some stands for our Multiboard project (we’ll talk more about that later). These are stands for an Xbox One controller and Valce’s Steam Deck.
What about bed adhesion?
Bed adhesion is a vital part of the 3D printing puzzle. If your prints do not stick to your build plate, they will not print; all you will get is a filament spaghetti monster.
To test bed adhesion, we used two prints. One was a Multiboard tile, and the other was a plate filled with small Multiboard pieces.
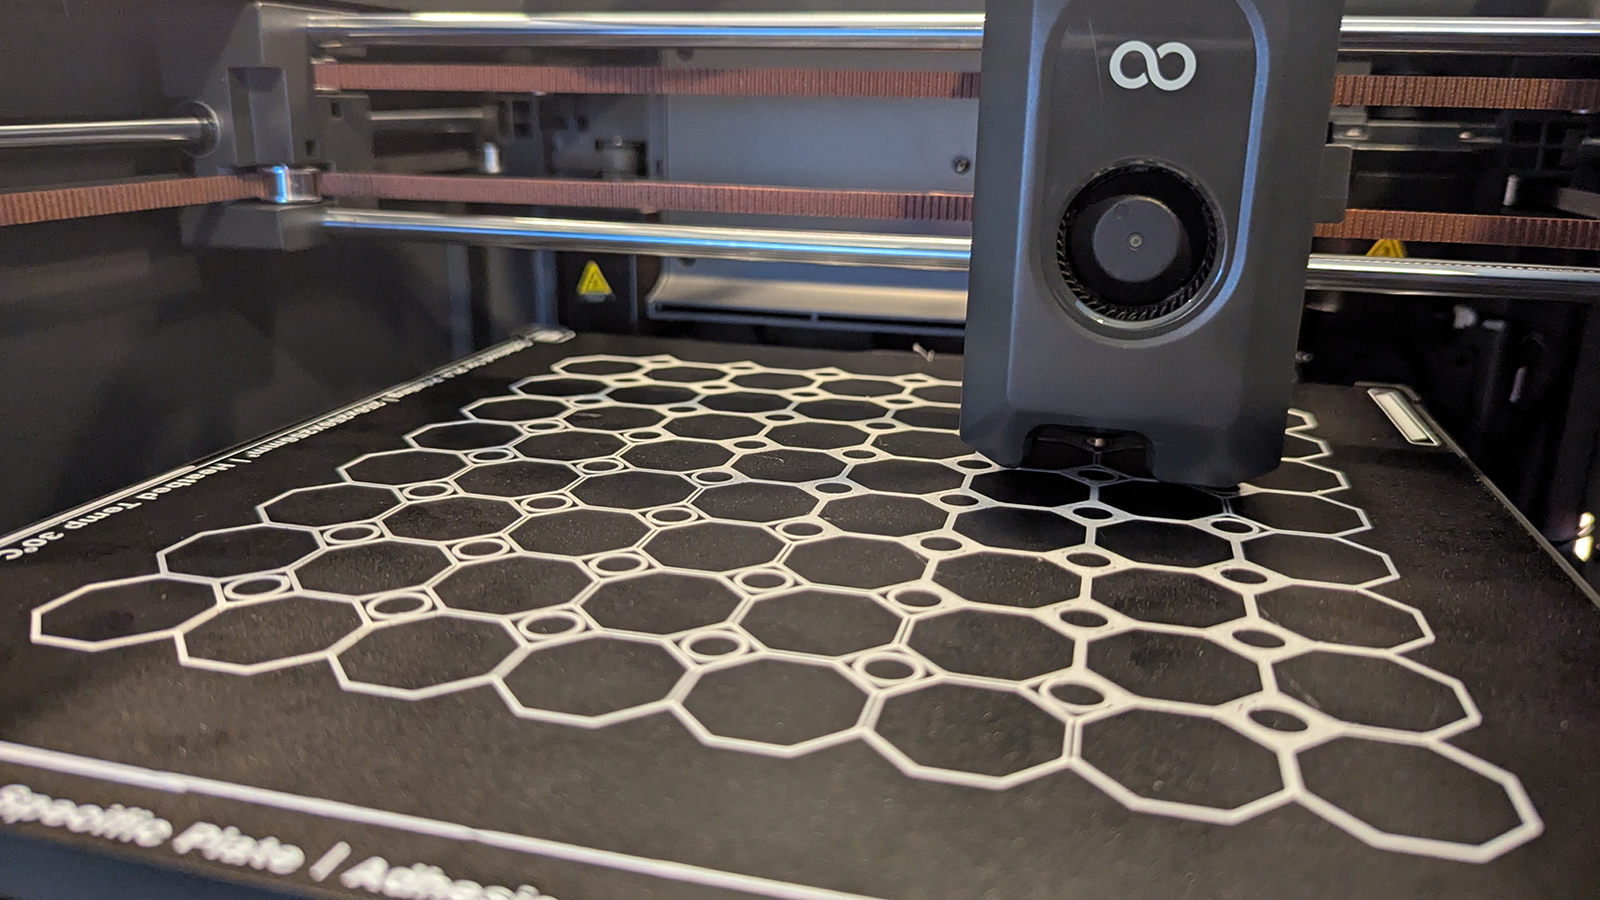
For these tests, we moved between the printer’s textured and flat build plates. All prints were done without brims, leaving plenty of room for poor bed adhesion to turn these 3D prints into nightmares. For the Multiboard tile, we have no warping or curling. For the Multiboard pieces, we had no dislodgement or other issues. All prints were completed without any issues.
Both build plates work well out of the box. However, remembering that all build plates will deteriorate over time is worth remembering. Build plates are consumable parts and will eventually need to be replaced.