CM Storm Sniper
Internals
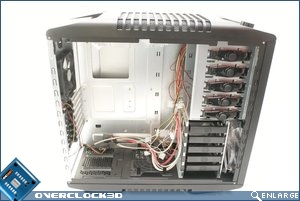
Obviously external appearances are only a small part of the decision when it comes to buying a case. The internals are where it all happens, and you want to make sure your new powerhouse has a nice place to live.
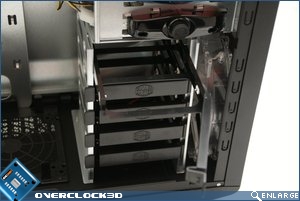
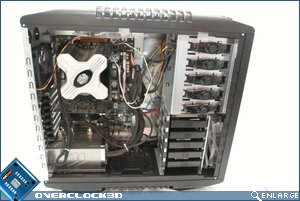
The internals are well laid out, with the hard disks mounted sideways just behind the big 200mm fan and the PSU at the bottom. We don’t normally commend sideways mounted hard drives as they tend to block off airflow from entering the rest of the case, but with the size of the front mounted fan we have a feeling that may not be a problem.
Â
Â
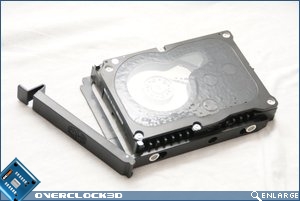
The hard drive holders are incredibly easy to remove. They are incredibly light and bend rather easily; treading on one of these will almost certainly break it, so be careful. You have to bend the caddy open and pop your disk in. Once it’s in, it’s held fairly securely, and then you just slide it back in the case and lock it in place.
Â
Â
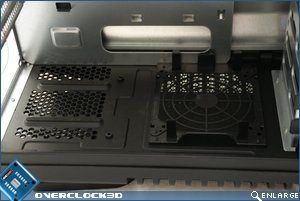
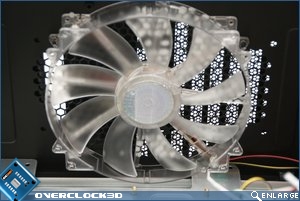
At the bottom of the case, we have room for another 120mm fan to be mounted. All the clips are already there, so you just need to push the fan into place. Unfortunately, this doesn’t leave loads of room for long PSU’s, so if you have anything much larger than standard, you will have to sacrifice this mount. Up the top we have the 200mm fan. It uses blue LED’s and is an absolute whopper. Behind it you can see the mounts for a dual radiator should you want to mount one.
Â
Â
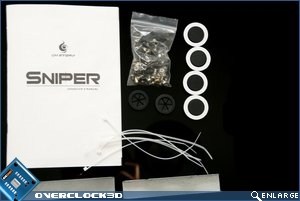
Inside the case was a small box, which included the following goodies: two metal plates for adapting a 5.25″ bay to 3.5″, 4 rubber feet (for even more silencing), two rubber push outs for the back of the case (for tubing), a few cable ties, a packet of screws and the manual.
Â
Installation
Installation was fairly straightforward, with the case accepting our hardware nicely. It didn’t take us long to get our PC in there and fired up ready for testing.
Â
As you can see, we didn’t manage to make a terribly neat rig. This was down to two things: The gap to route cables behind the motherboard tray is far too wide, making wires clearly visible, and our PSU doesn’t have cables long enough to route behind the motherboard and still reach their desired slots. In essence, hole placing around the motherboard for cable routing is a bit poor. Apart from that, installation was a doddle, and installing the hard drives was especially easy.
Â
Â
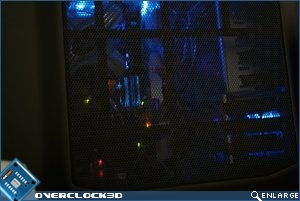
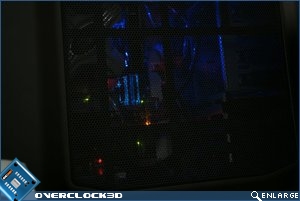
Here we have lights on (left) and lights off (right). The dial to control fan speed can be pushed in to toggle the LED’s on the two 200mm fans on or off. As you can see, it doesn’t have a massive effect on overall system lighting, but this is partially due to all the LED’s on the rest of our components lighting the case to a reasonable degree anyway.


