CoolerMaster MasterAir Maker 8 Review
Installed
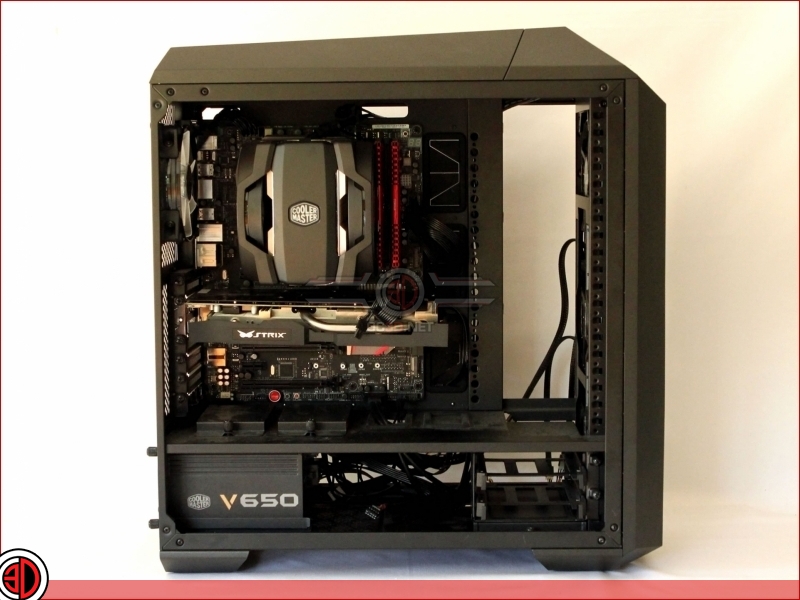
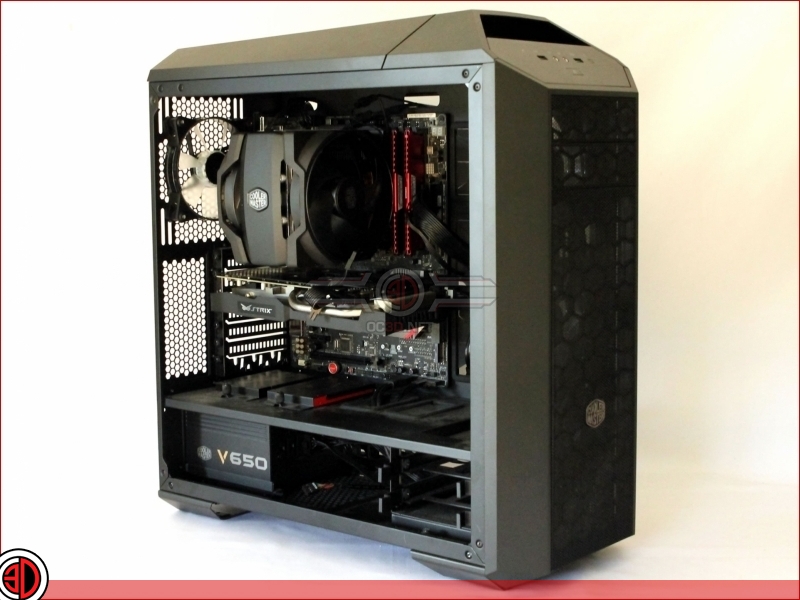
The installation process was simplicity itself, simply push  threaded back plate  pins through from the rear, clamp them down with nuts, fit the mounting brackets over the top, offer up the cooler and screw down in two places.  The fans are then simply and easily slid onto the fin stack and Robert’s your Mother’s Brother.
Â
We’ve opted to fit it with the solid Aluminium top cover as we think it looks a little more stylish. Â If you’re a fan of back lit smoked acrylic though then the other cover is more for you. Â To be honest, both look good, we just preferred this one.
Â
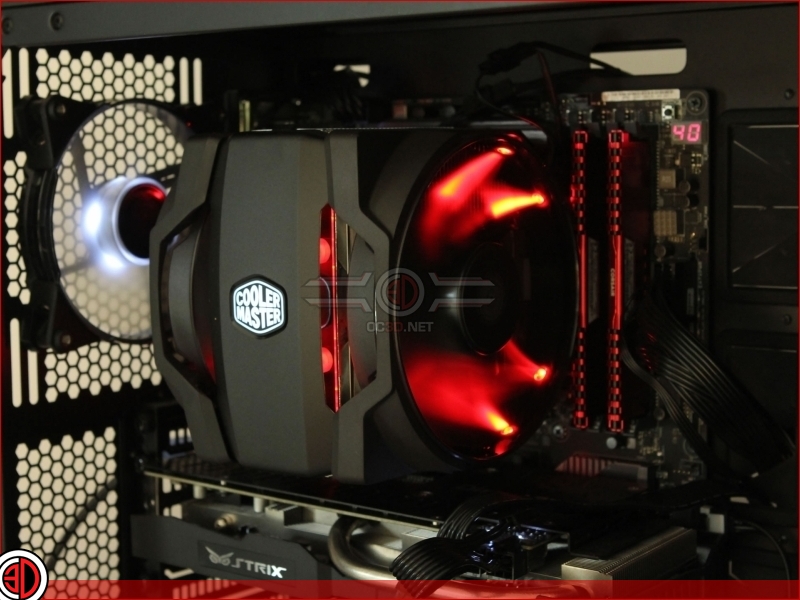
In use the cooler lights up with Red LEDs. Â The are four in each fan, and others illuminating the top cover. Â RAM encroachment wasn’t an issue, but you wouldn’t want to be using anything other than standard height RAM. Â Failing that you can always fit a 120mm fan on the front which should solve your problems.
Â


