Corsair Graphite 380T Review

The Build
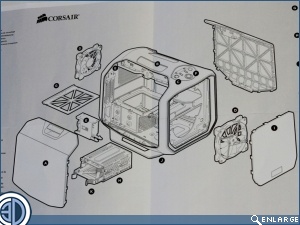
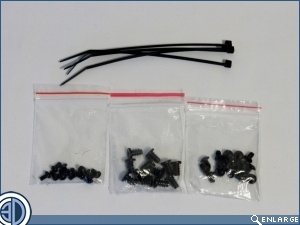
The 380T comes with the most basic set of instructions we’ve yet to see, simply offering an exploded diagram and some very large pictures of the three types of subtly differing screws that will be used to put it all together. Help is on hand though through the magic of the Inter-web you can head on over to Corsair’s website and download the full manual from there.
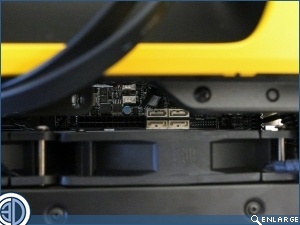
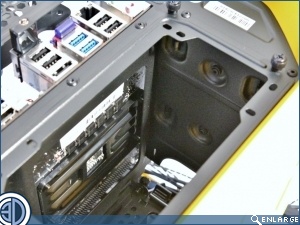
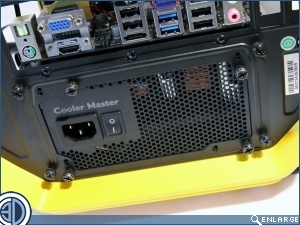
With the Motherboard in our thoughts are confirmed in that the aperture in the motherboard tray doesn’t line up with the rear fixing plate screws of the AMD boards. It’s probably going to be OK for Intel and in the scheme of things, if you’re doing a complete build isn’t a biggy, it just means that you’ll need to attach the cooler or at very least the back plate before you mount the board. Although you’re limited to 160mm the PSU does at least get some nice comfy rubber mounts to sit on.
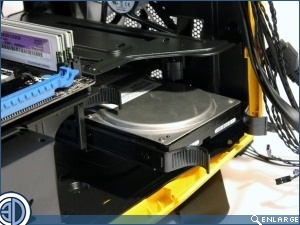
We found that the order you assemble the components in, and the way you route cables within the 380T not only to be important, but at times critical. Thankfully the 3.5″ drives slot in nice and easy, although, as we found when we came to mount our PSU we had to remove them altogether as the PSU we use in builds is over the minimum 160mm enabling use with the HDD rack. In removing the HDD rack it also irked us slightly that the power and data cables to the 3.5″ drives and 2.5″ drive racks are on opposite sides of the case meaning that you’d need to use either two power cables or one long one looped back on itself if you were to use both HDD SSD.
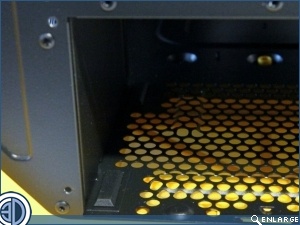
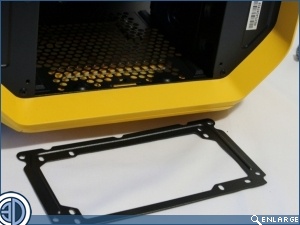
The PSU is mounted by means of a face plate adapter which is first attached to the PSU before the whole assembly is slipped into the cut out. The PSU slides in nicely and is well supported on the broad rubber pads.
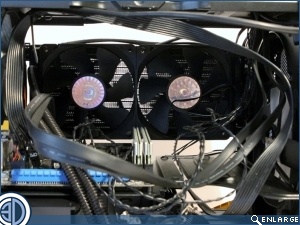
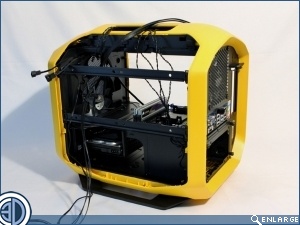
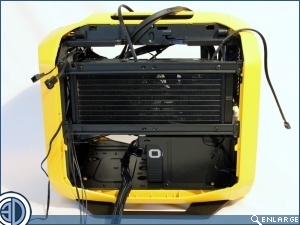
Although the 380T will take tower coolers up to 150mm in height, and a 120mm AIO in the rear fan position we opted to make best use of its ability to accommodate a 240mm radiator in the side panel location. As usual we’ve used our trusty Cooler Master Seidon 240M, although Corsair do point out on their website that the H100i will also fit in this position. Fitting the AIO is an easy enough job given that space is relatively limited as it is with pretty much all M-ITX cases. The fitting process is made easier in that the two horizontal bars on which the rad is mounted can actually be removed allowing you to mount the rad then clips and screw the whole assembly back into the case. We do though think Corsair have missed a bit of an opportunity here as a little more length on the case and a second bracket attachment point lower down would have permitted the use of 280 mm rads.
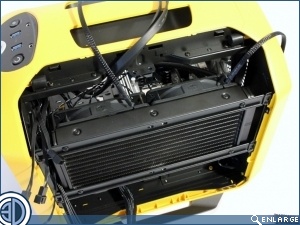
In saying that the Seidon 240M and the H100i will fit we should point out that they only just fit. Both these rads when combined with standard fans come in at 52mm deep and as such but right up against the motherboard edge. 52mm YES, 53mm NO. In saying that the case will also support the H75, H60 and H55 case must be taken in the location so as not to be placed where the fans will but up against the motherboard edge. So with everything in it’s time to sort out the wiring. There are plenty of stash points throughout the case, particularly as we’ve chosen not to install the HDD rack but we’re not really fans of obstructing airflow so will set about doing things properly.