MSI Maestro 700L PZ PC Case Review

Up close with the MSI Maestro 700L PZ
Up close with the MSI Maestro
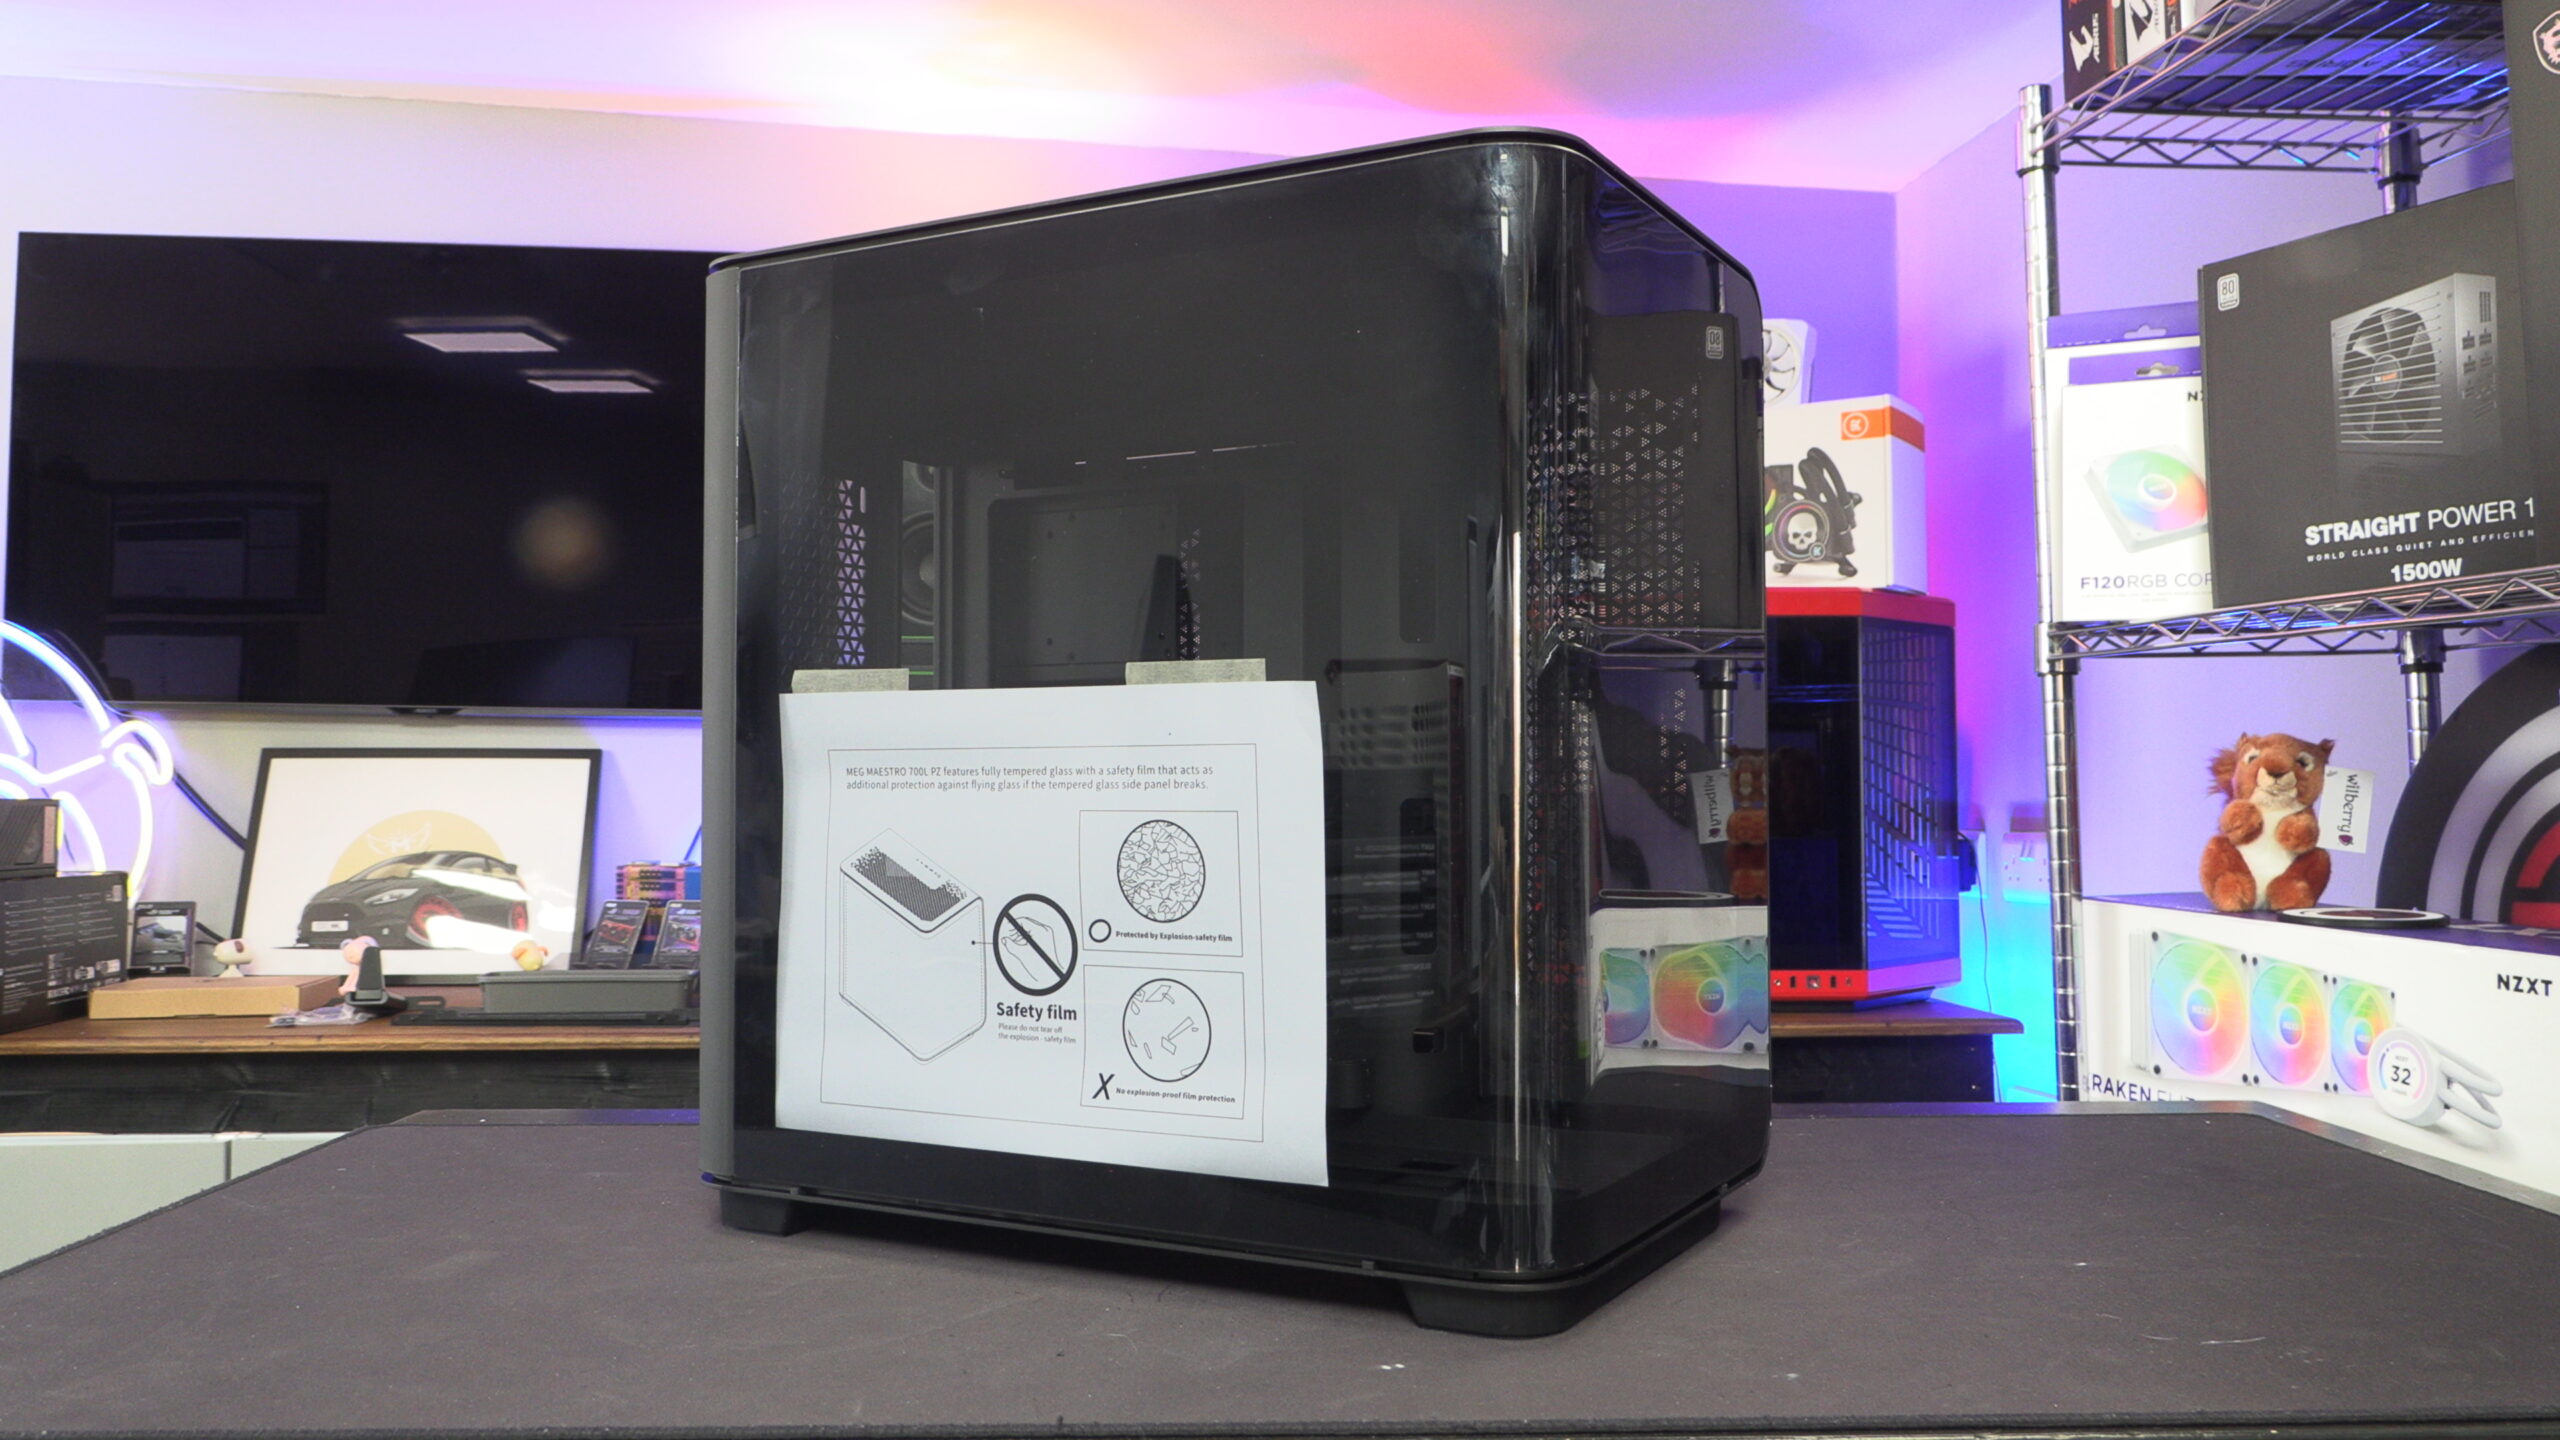
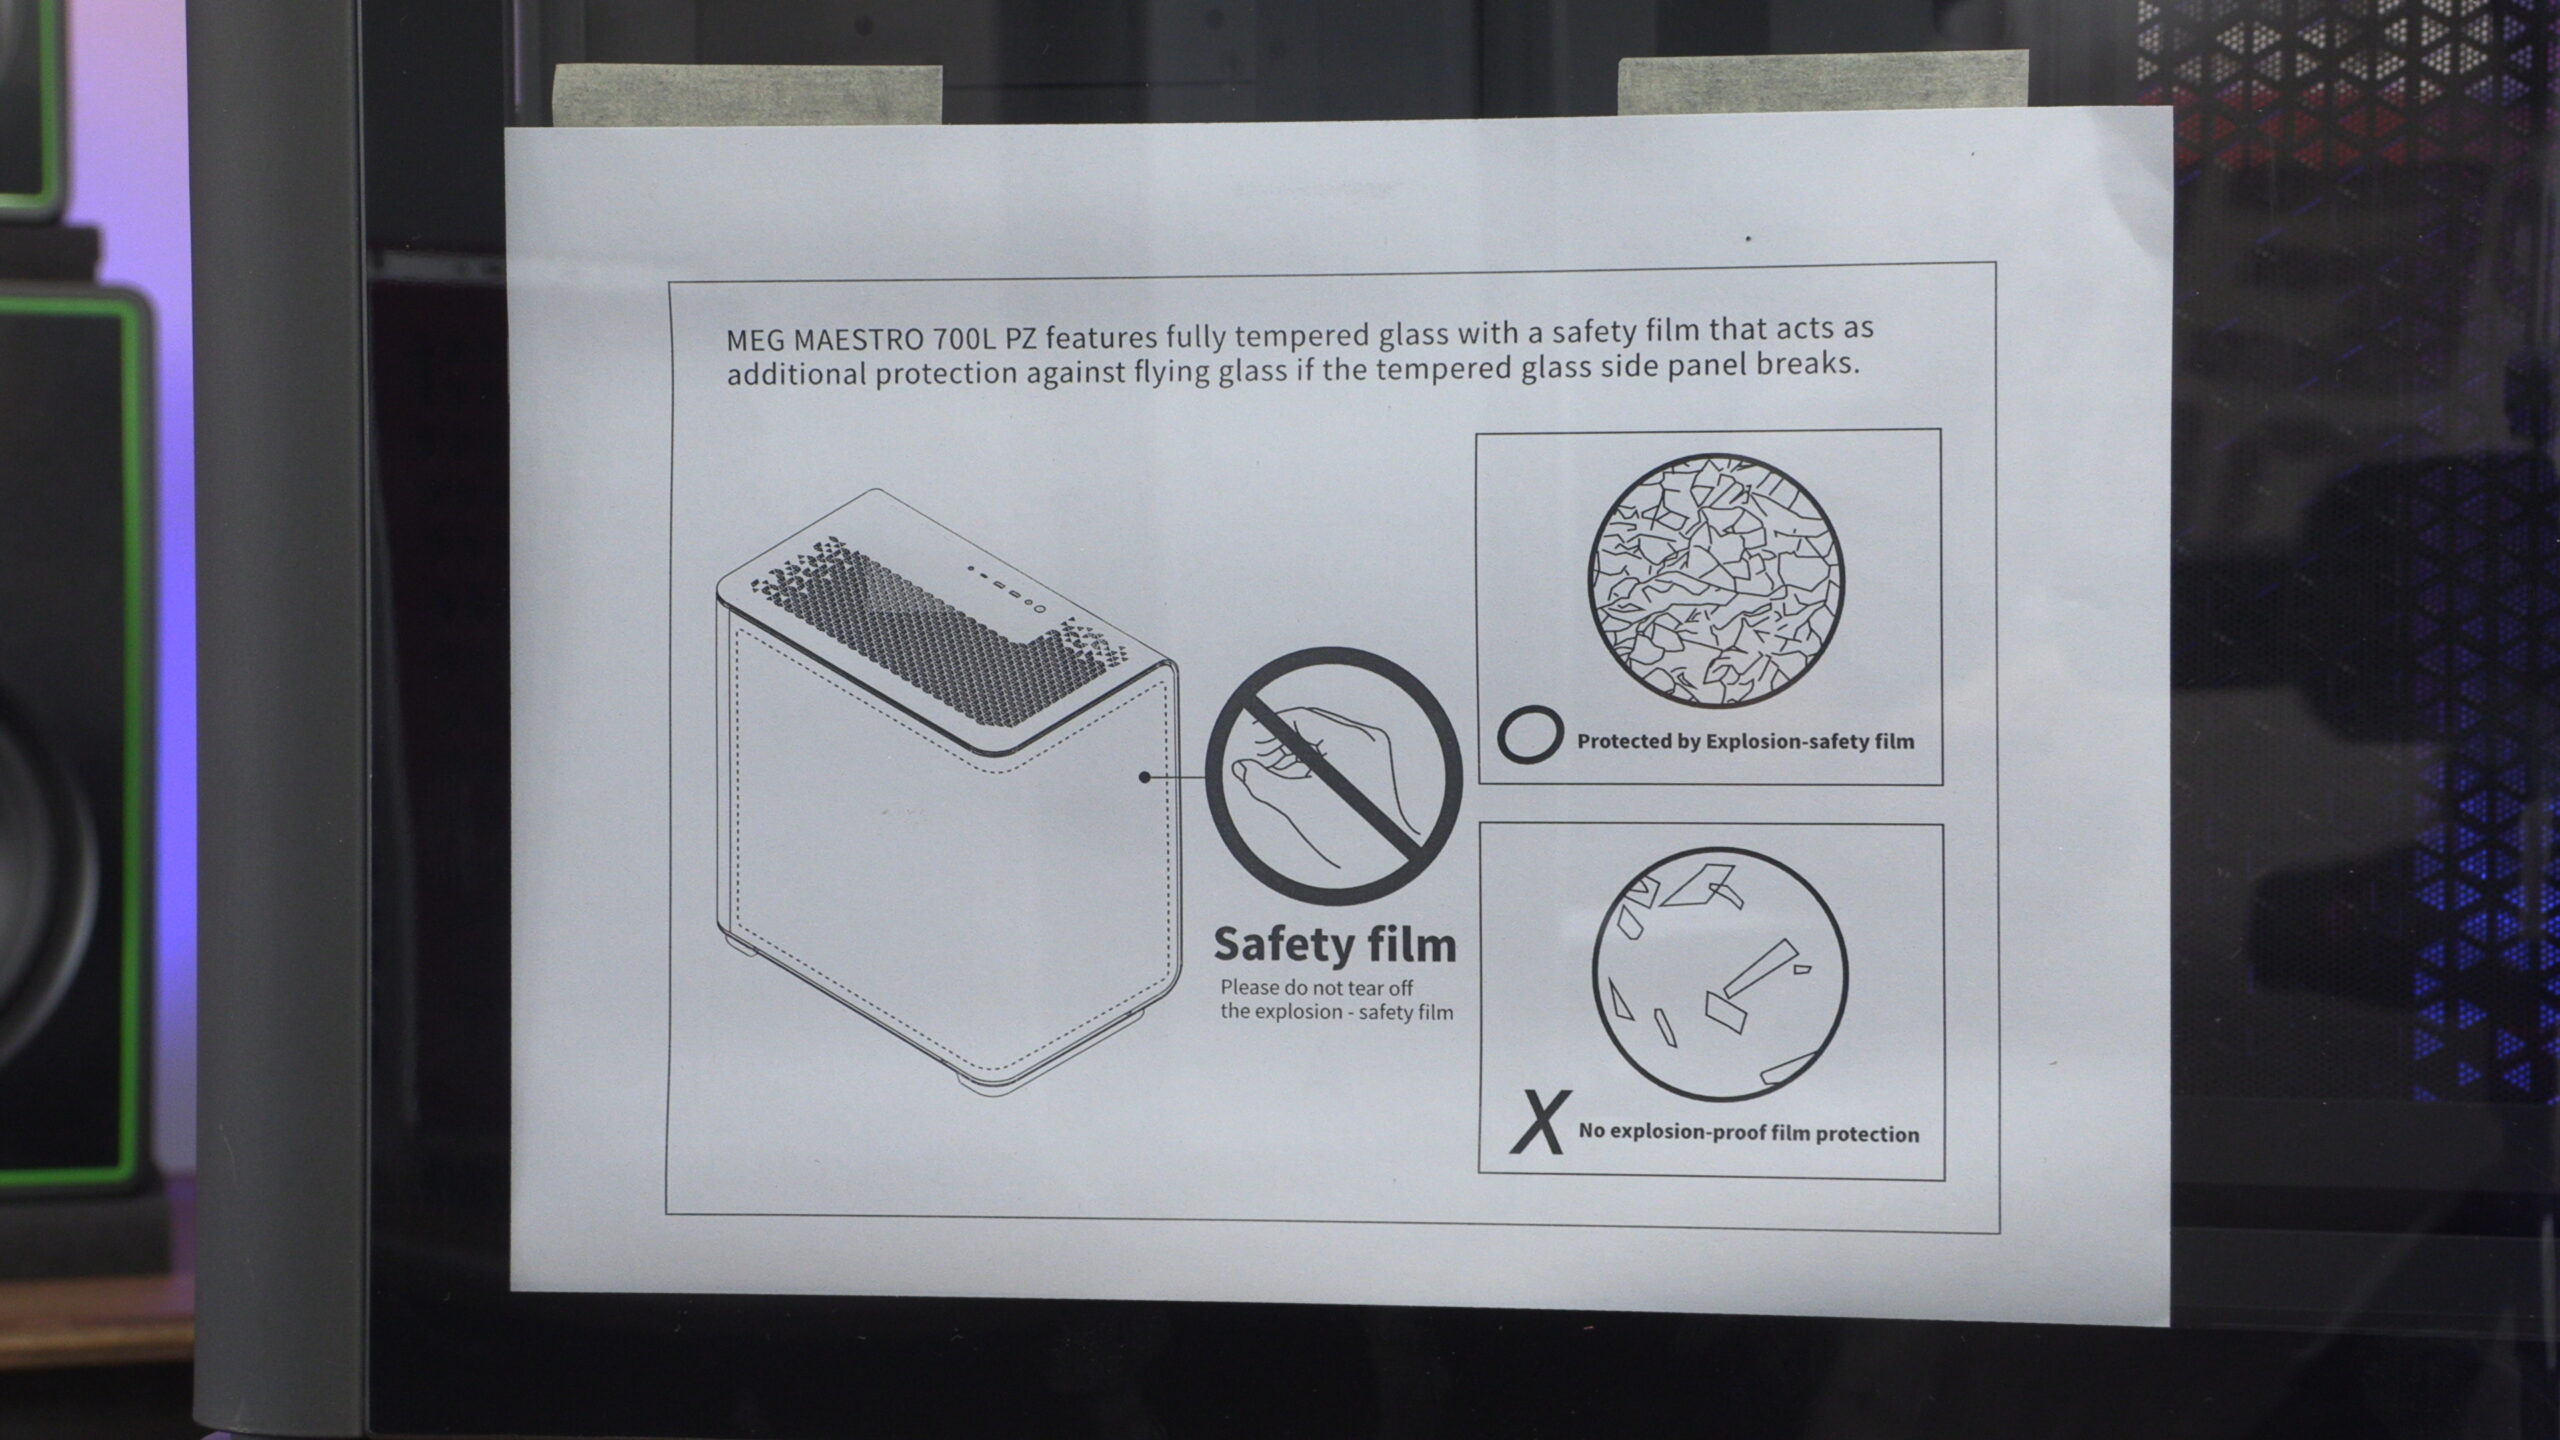
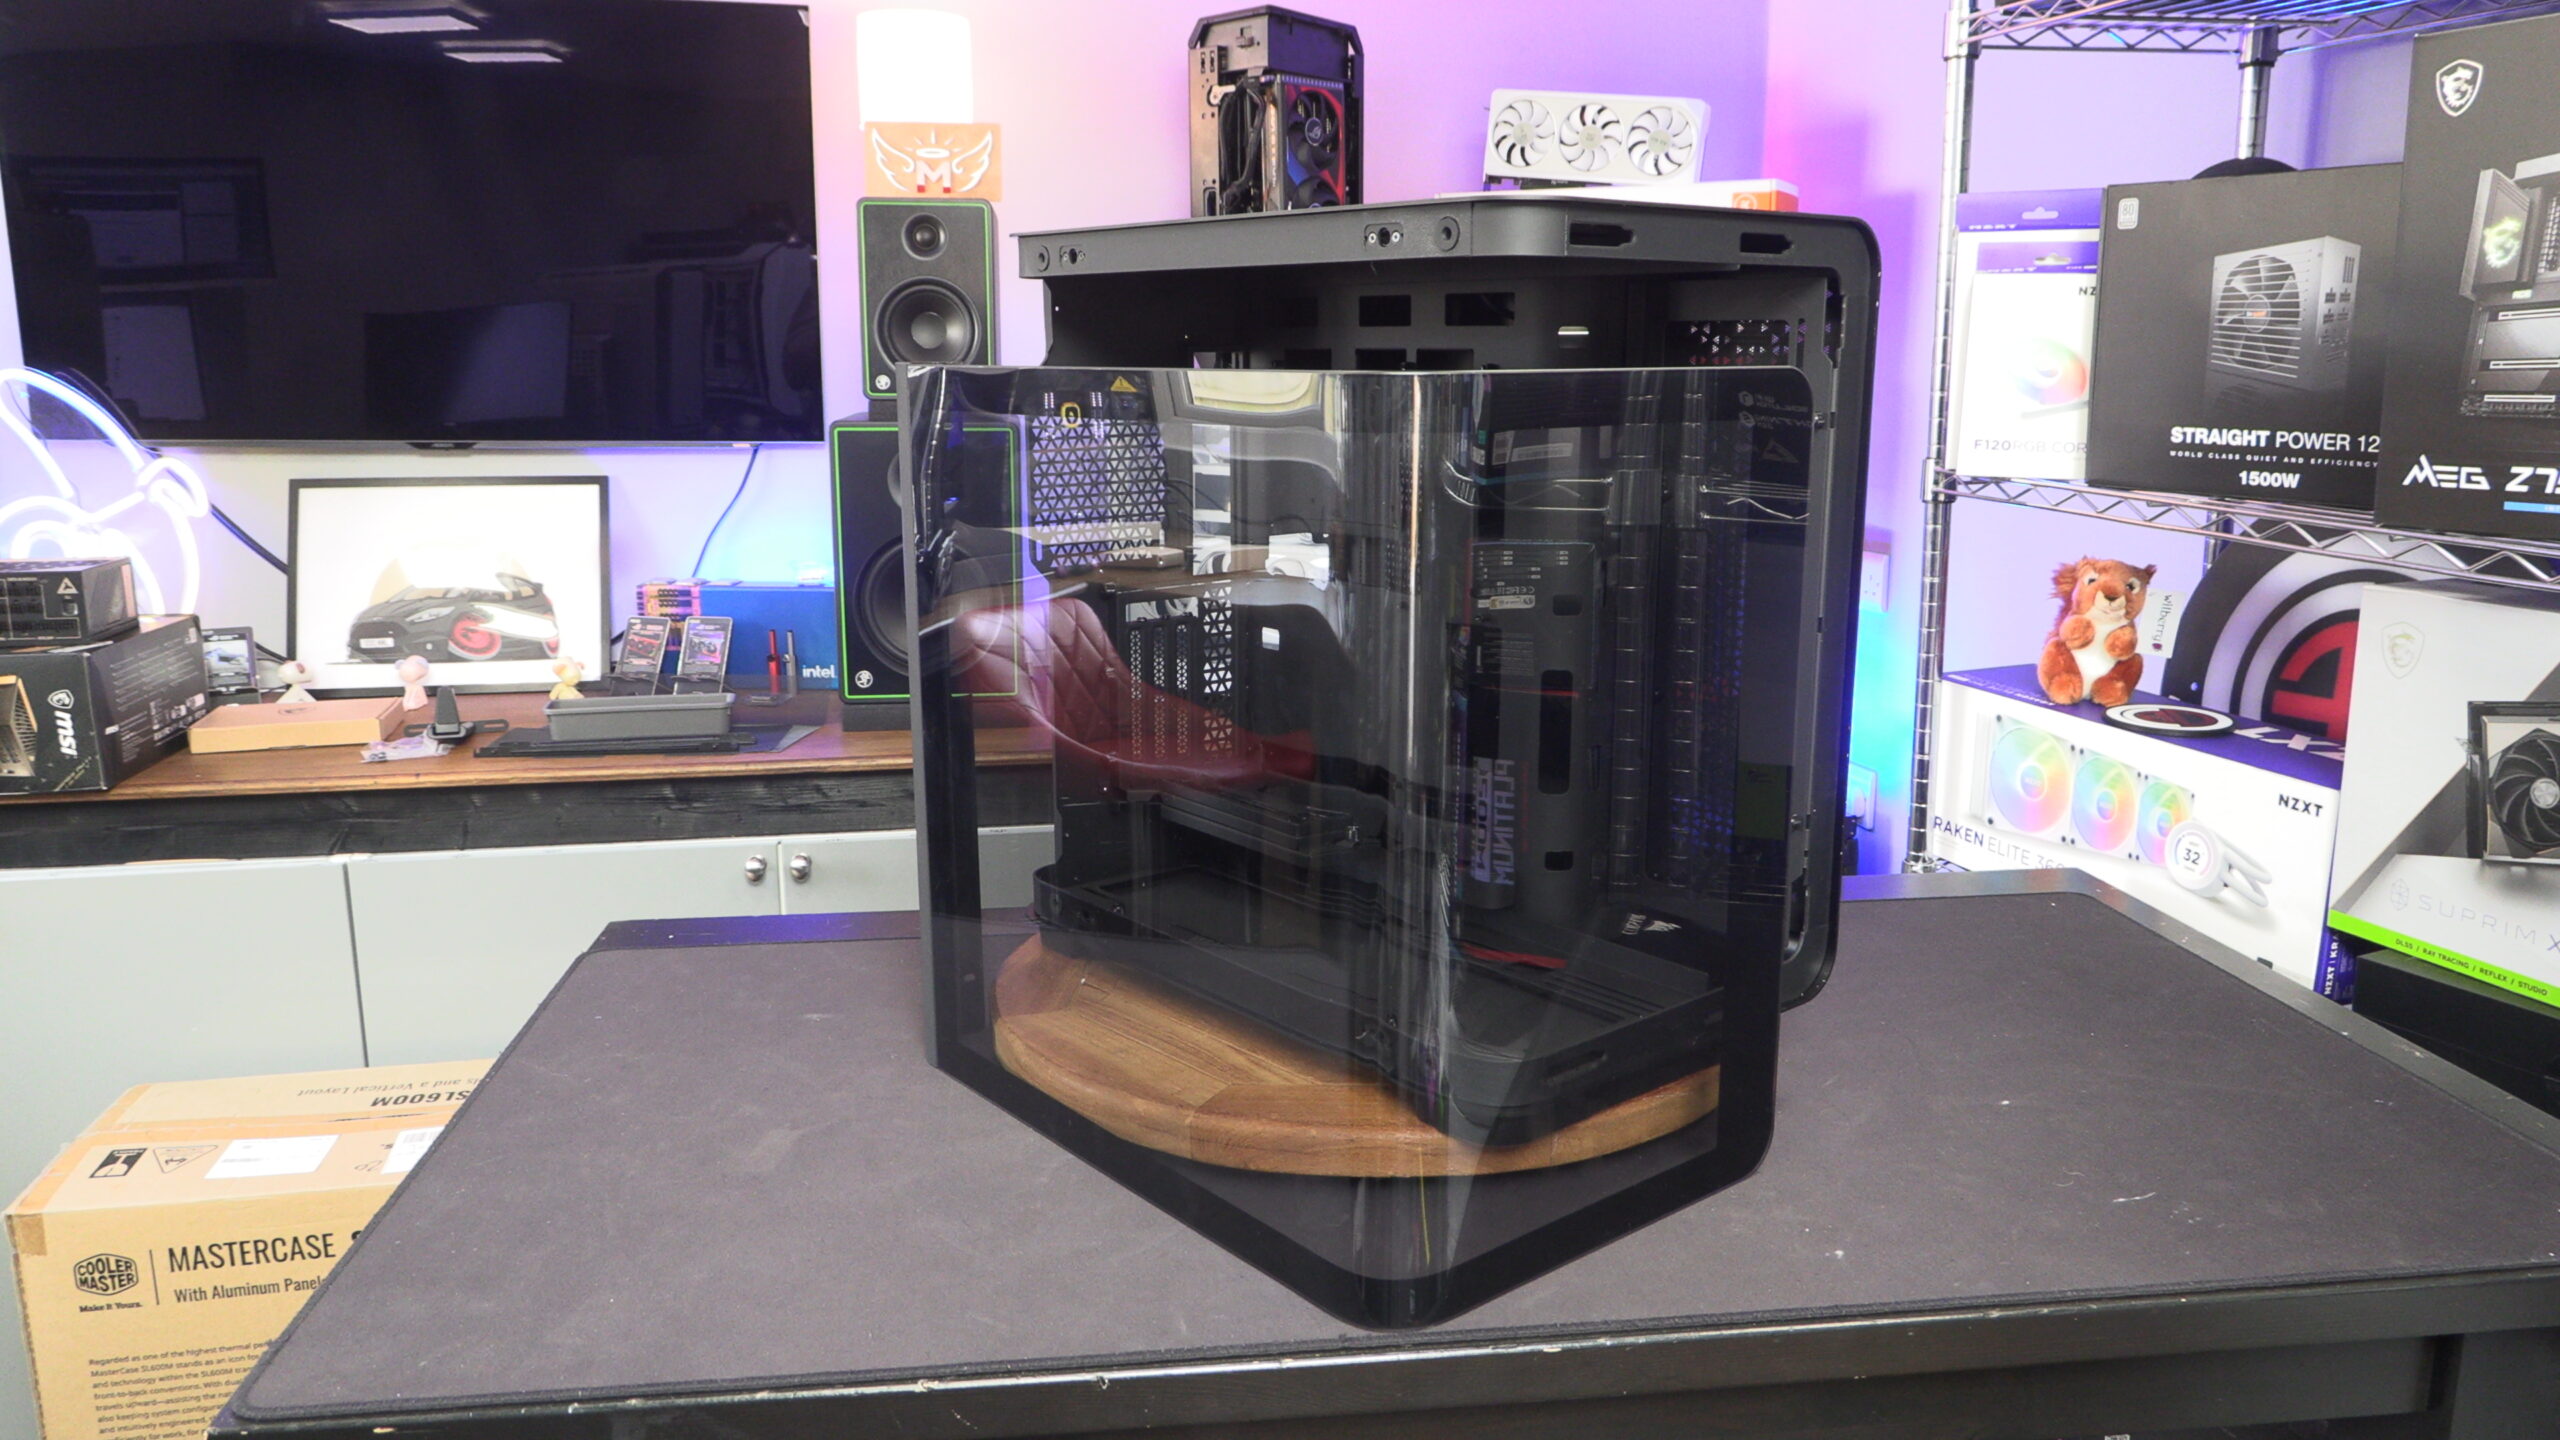
Let’s start off with the most striking part of this case, it’s tempered glass. This is a huge piece of glass, and MSI has given Maestro users an added layer of protection by adding a safety film to their case’s side panel. This prevents glass of this panel from flying around if the glass is broken. This protects users from tempered glass explosion.
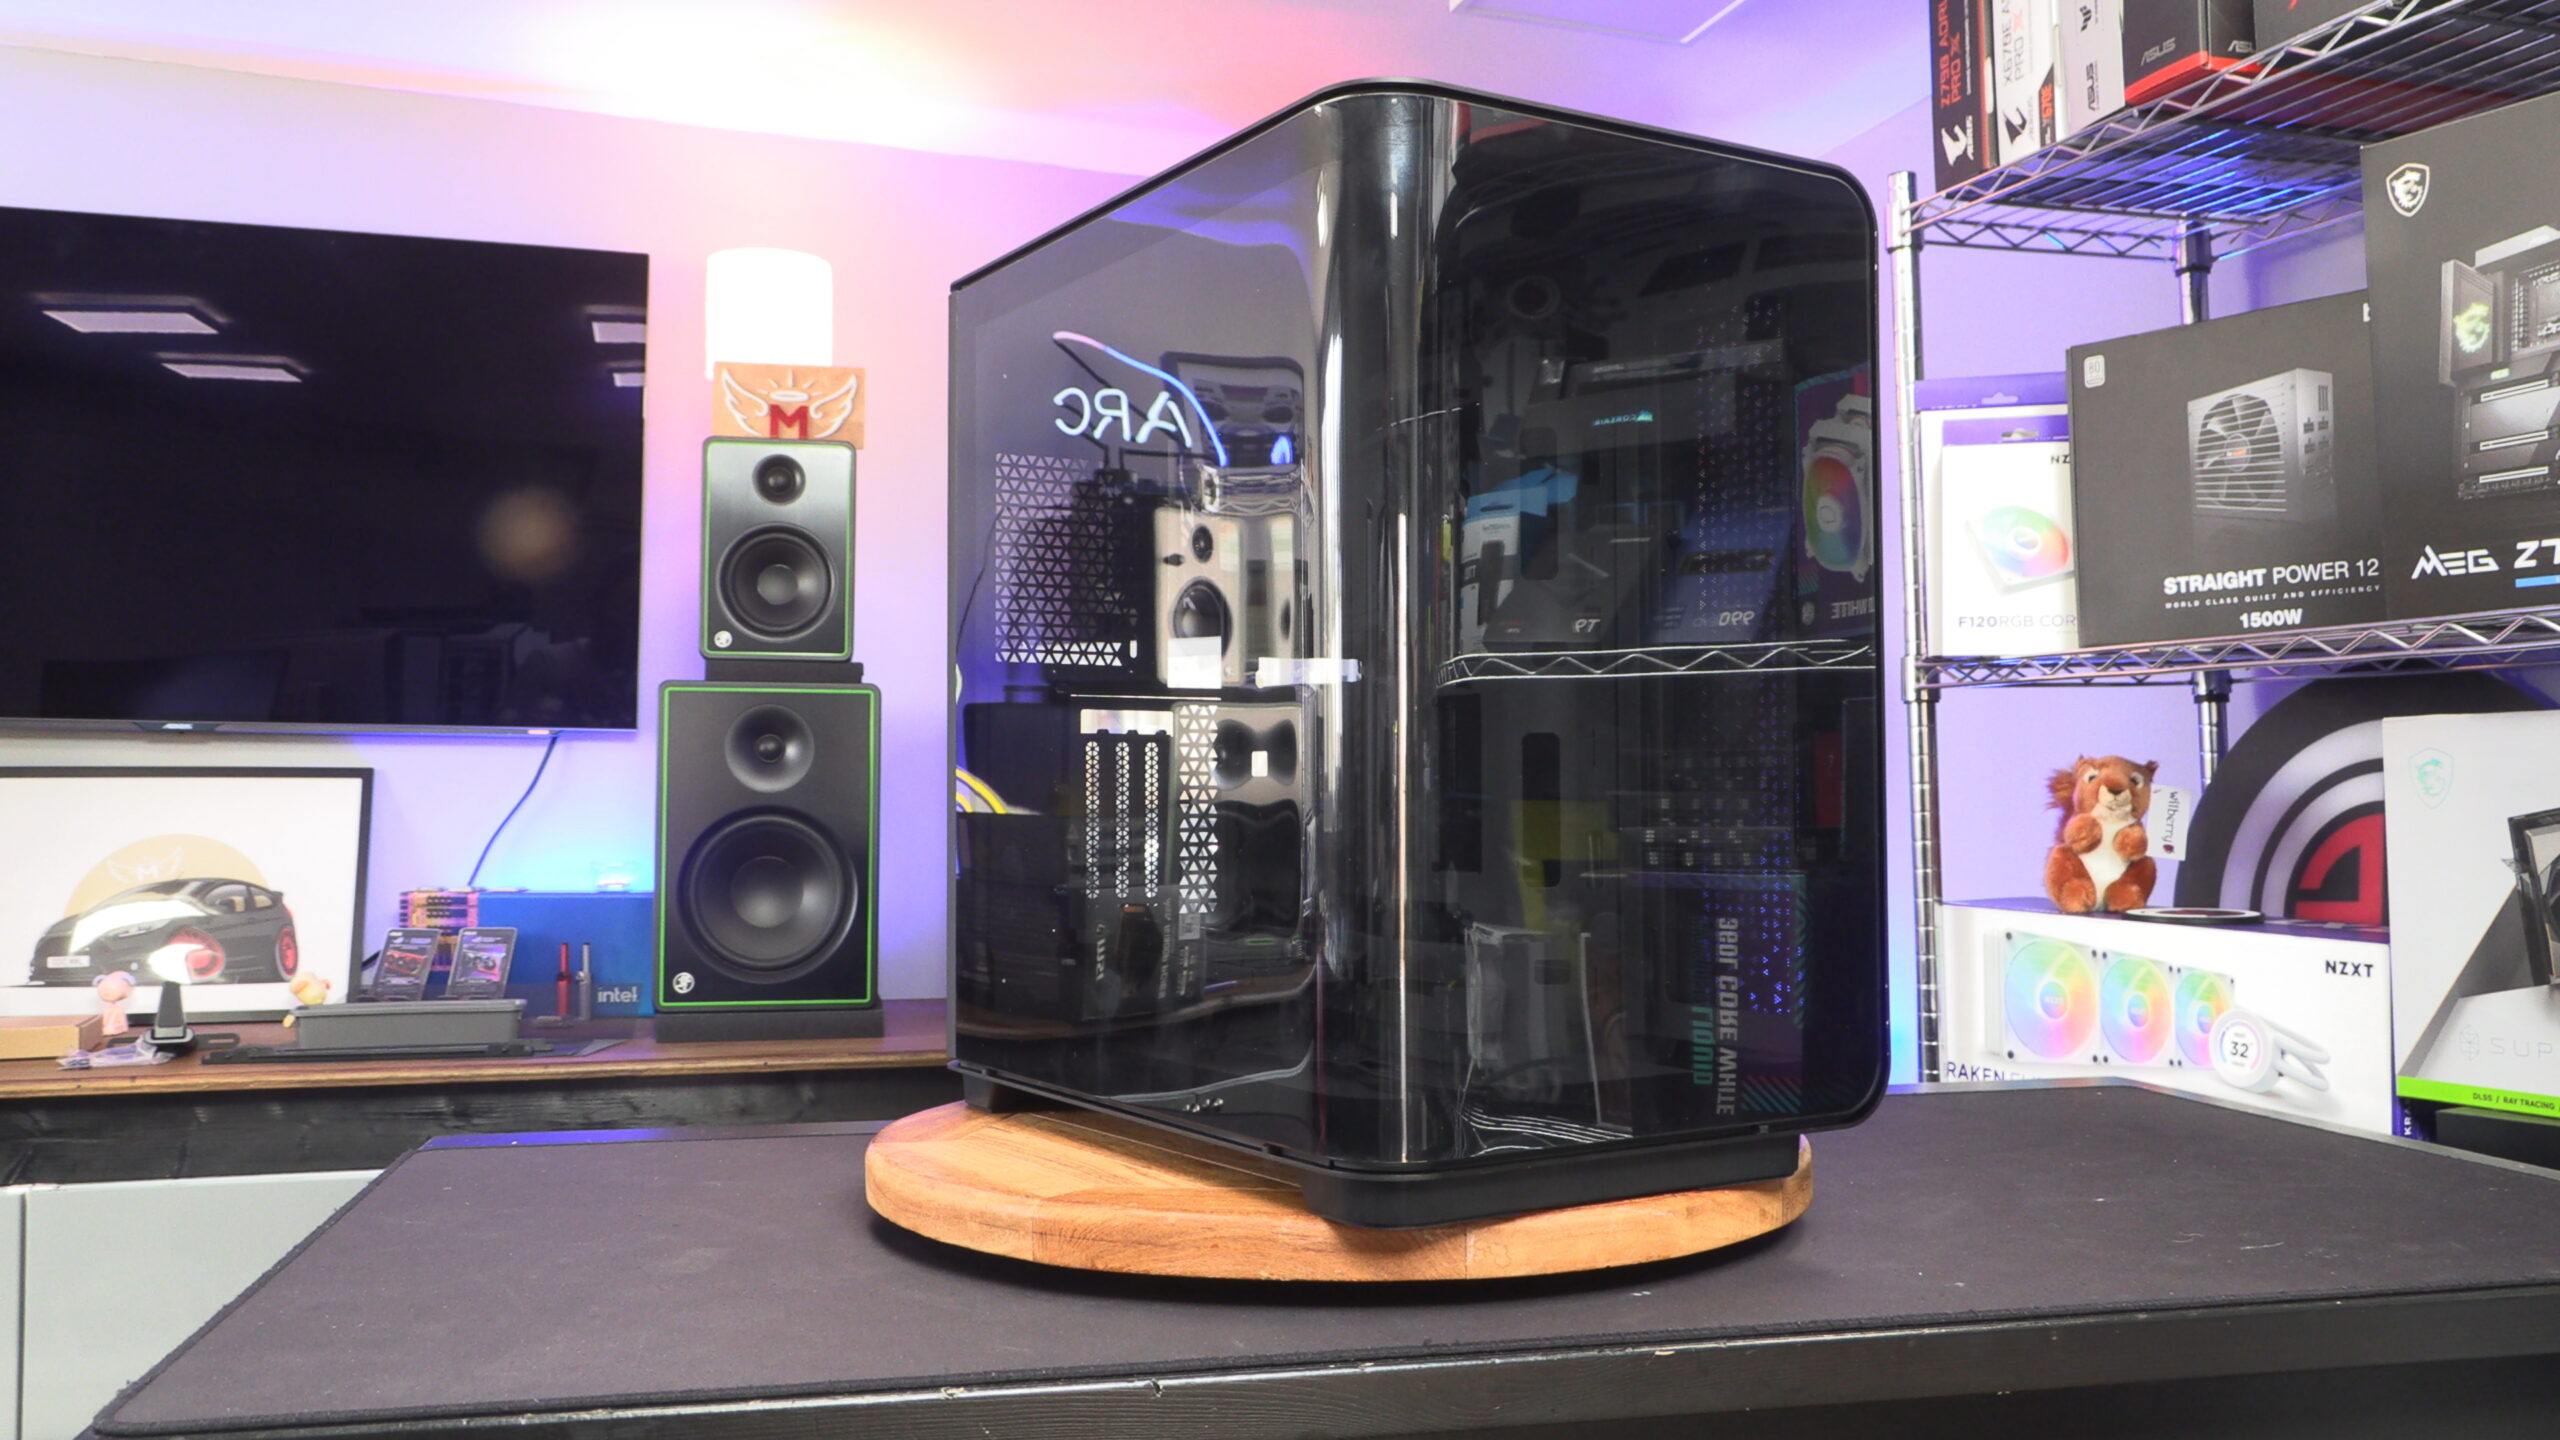
Unlike other cases with a wrap around tempered glass design, MSI has opted to utilise a single large piece of glass instead of multiple panels. This gives the 700L PZ a seamless window that is not broken apart with seams or metal braces. This gives the Maestro an elegant look that is less harsh than more angular PC case designs.
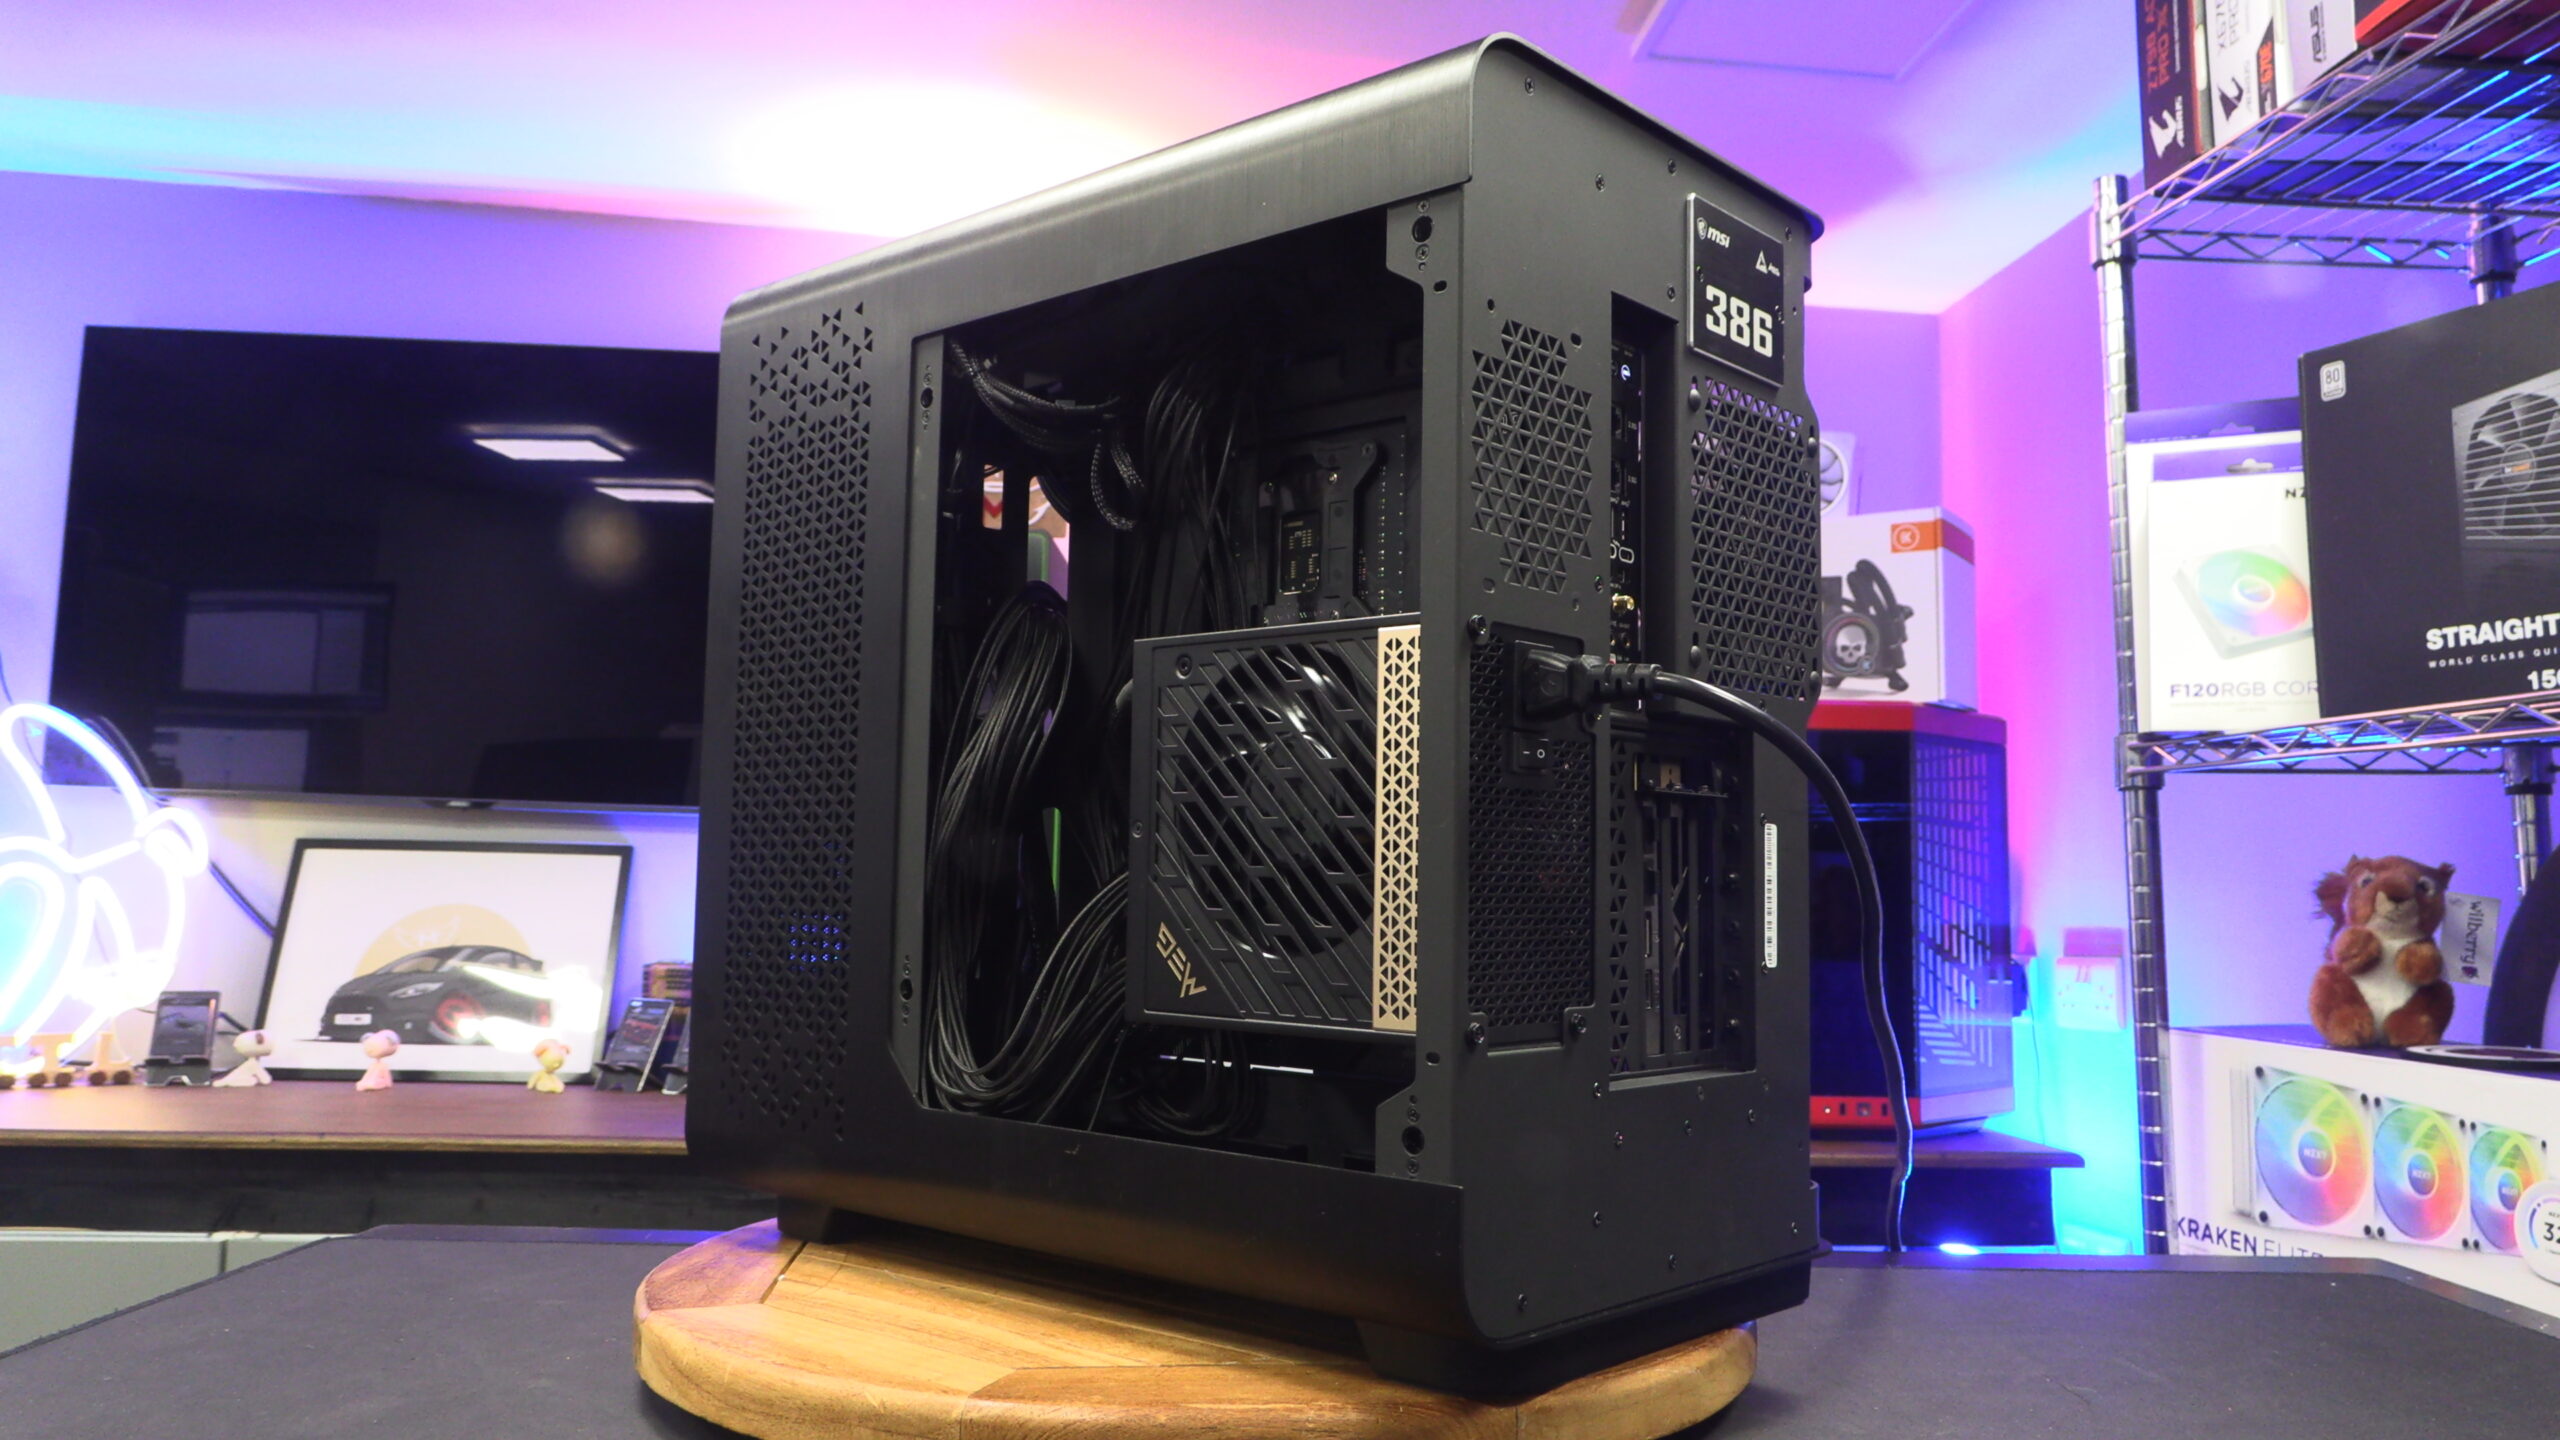
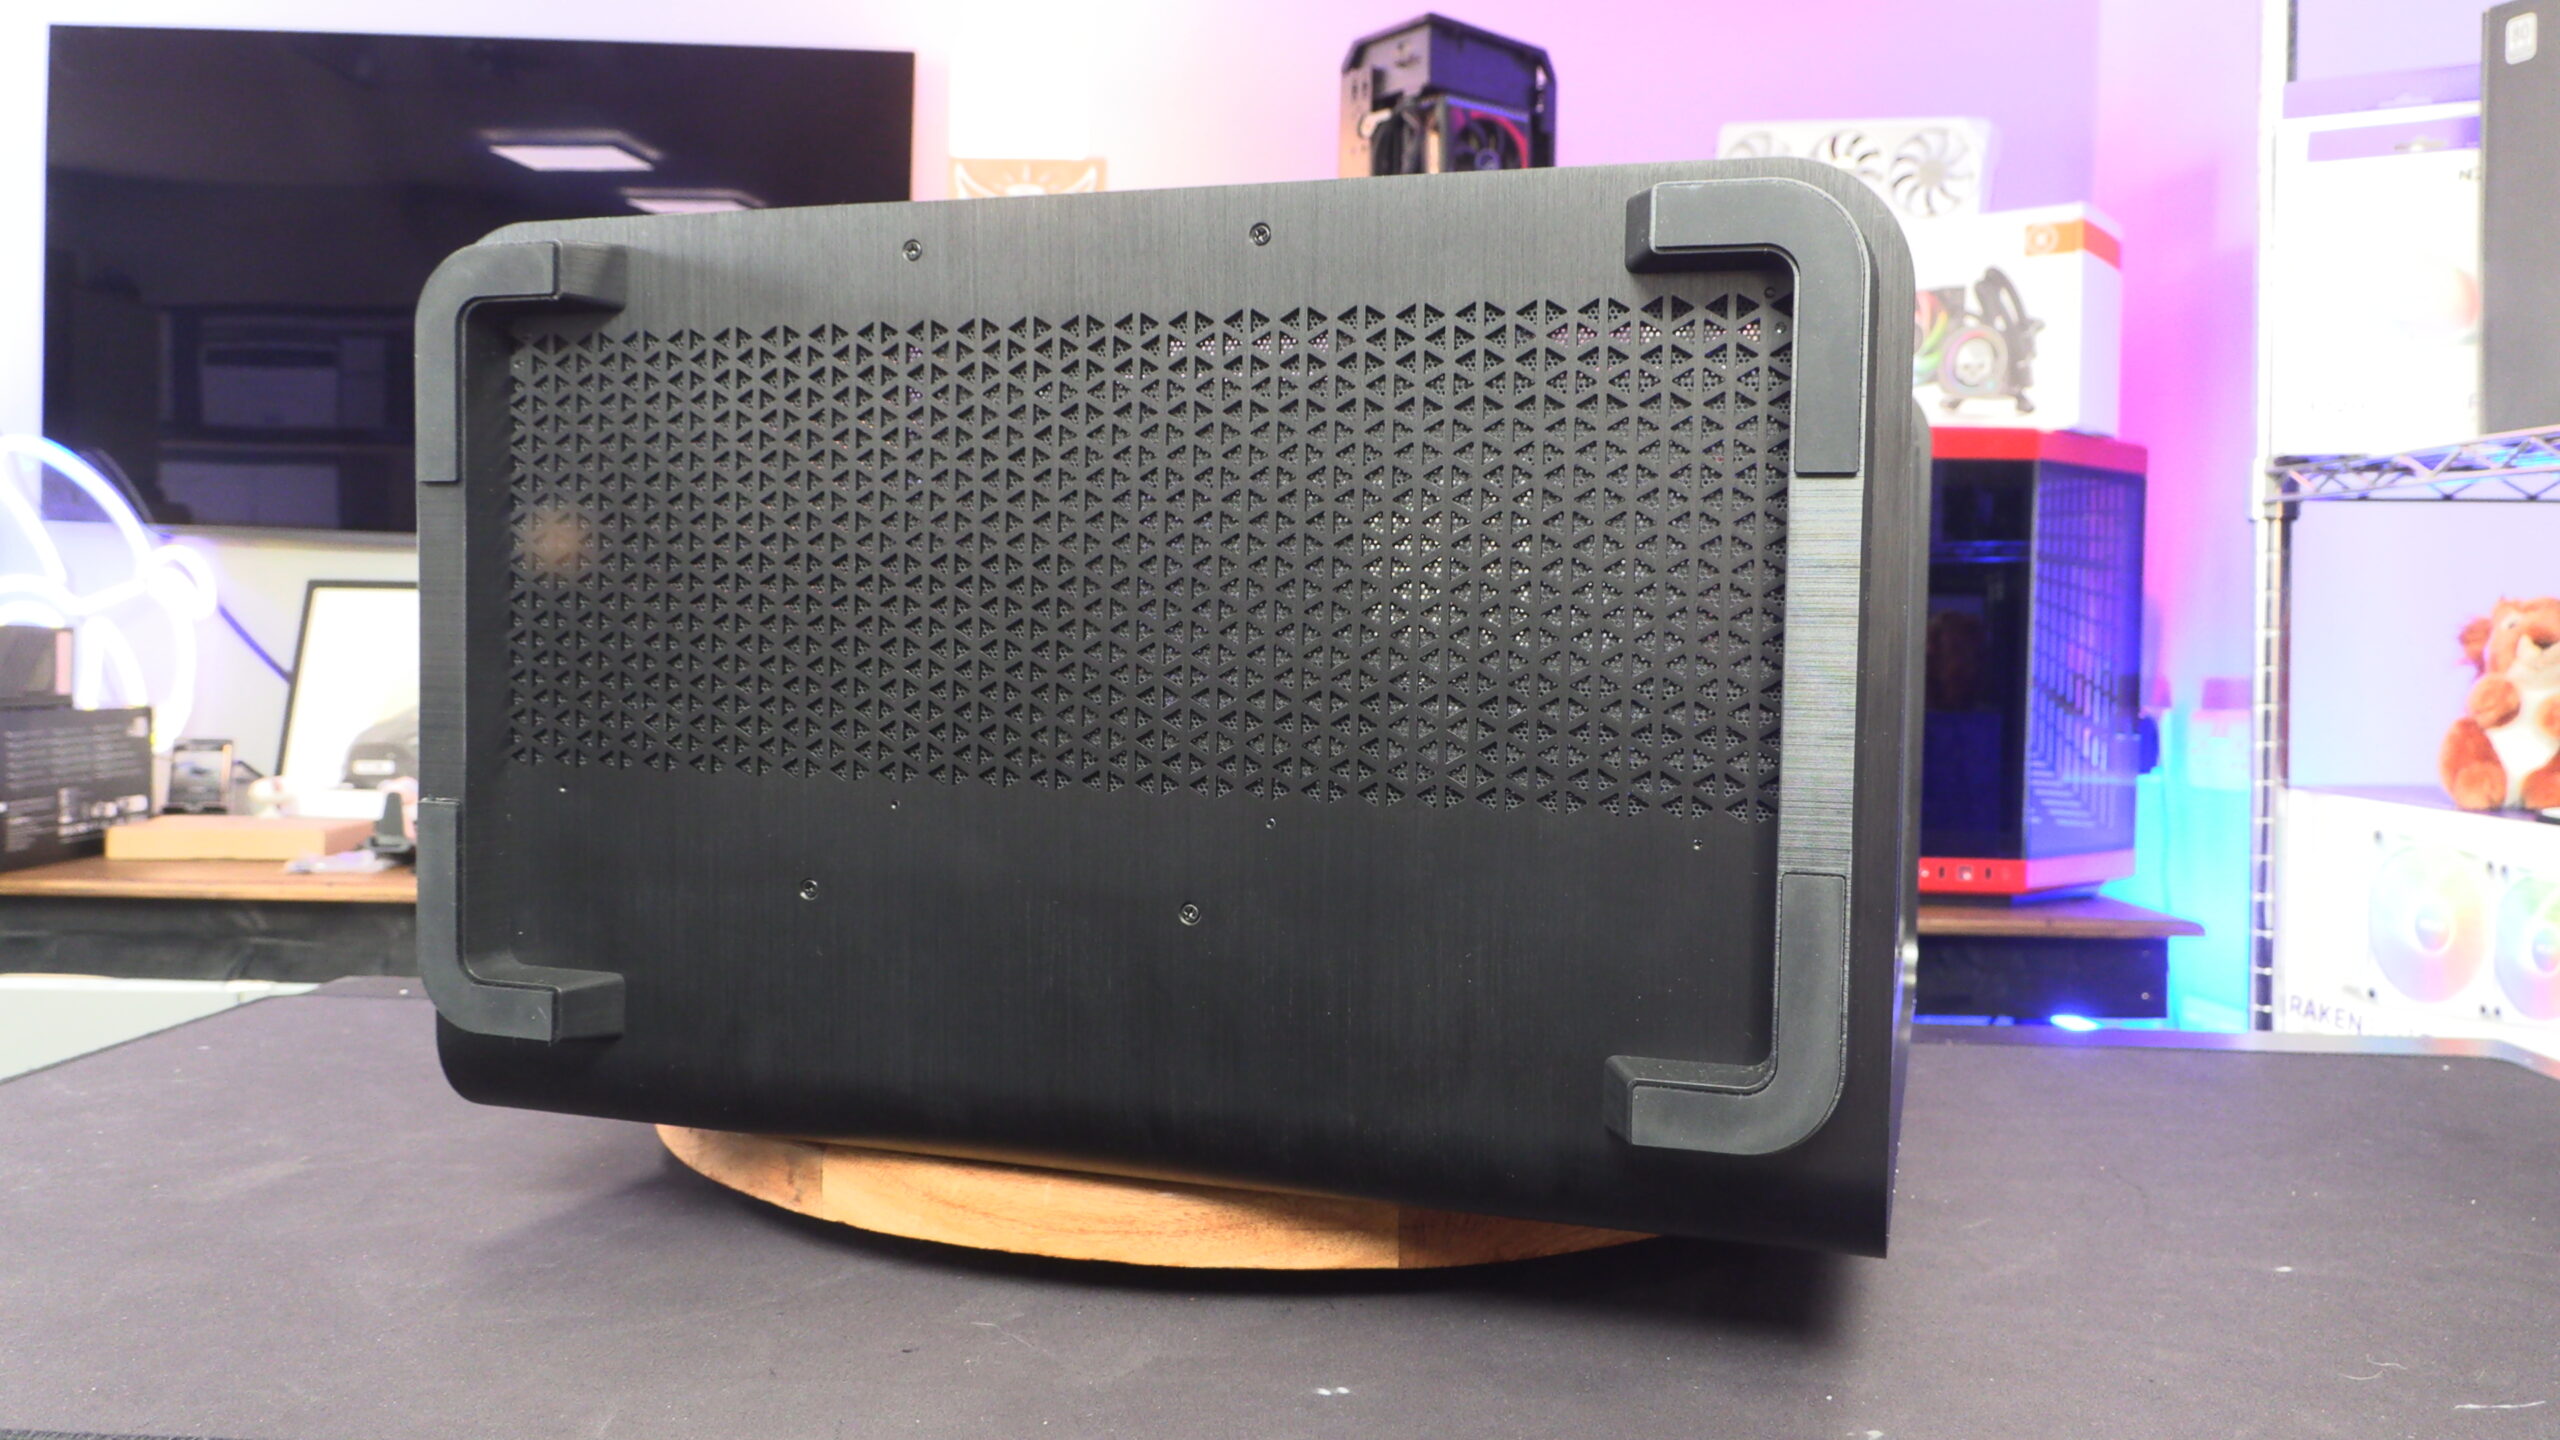
Moving to the other side of the case, we can see that MSI has continues their wrap-around design with this case’s brushed aluminium top/bottom/side panels.
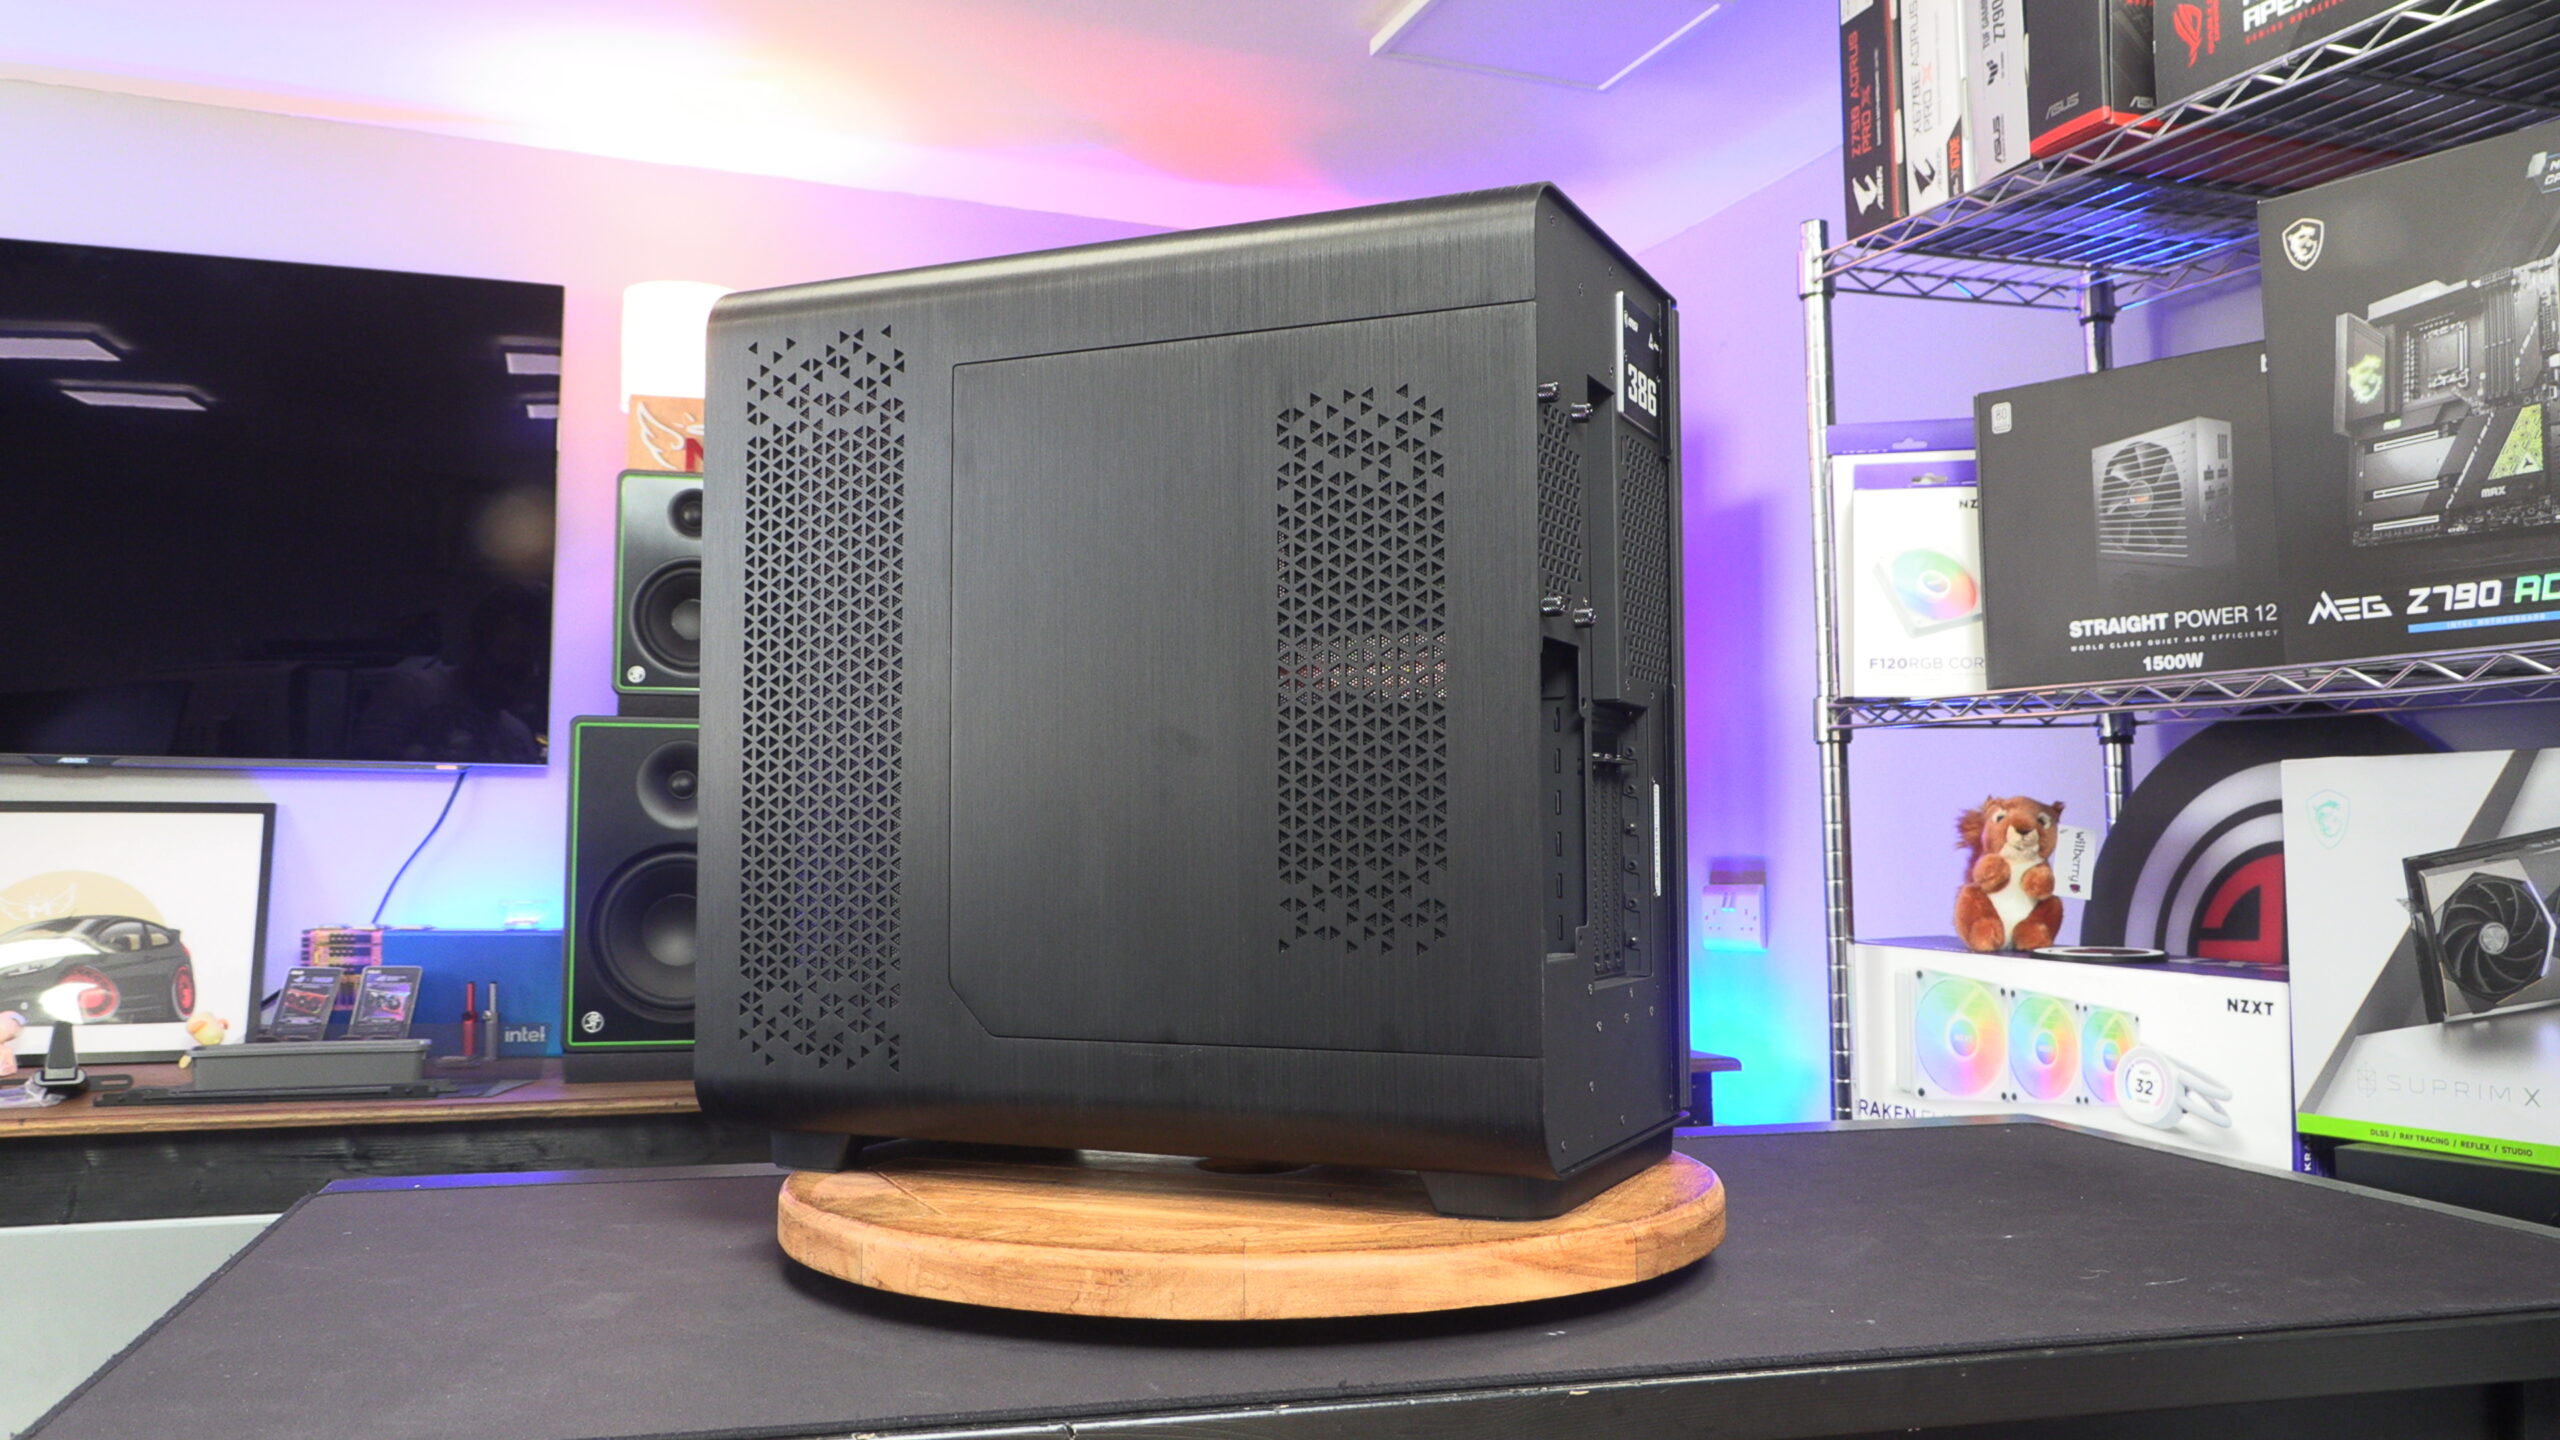
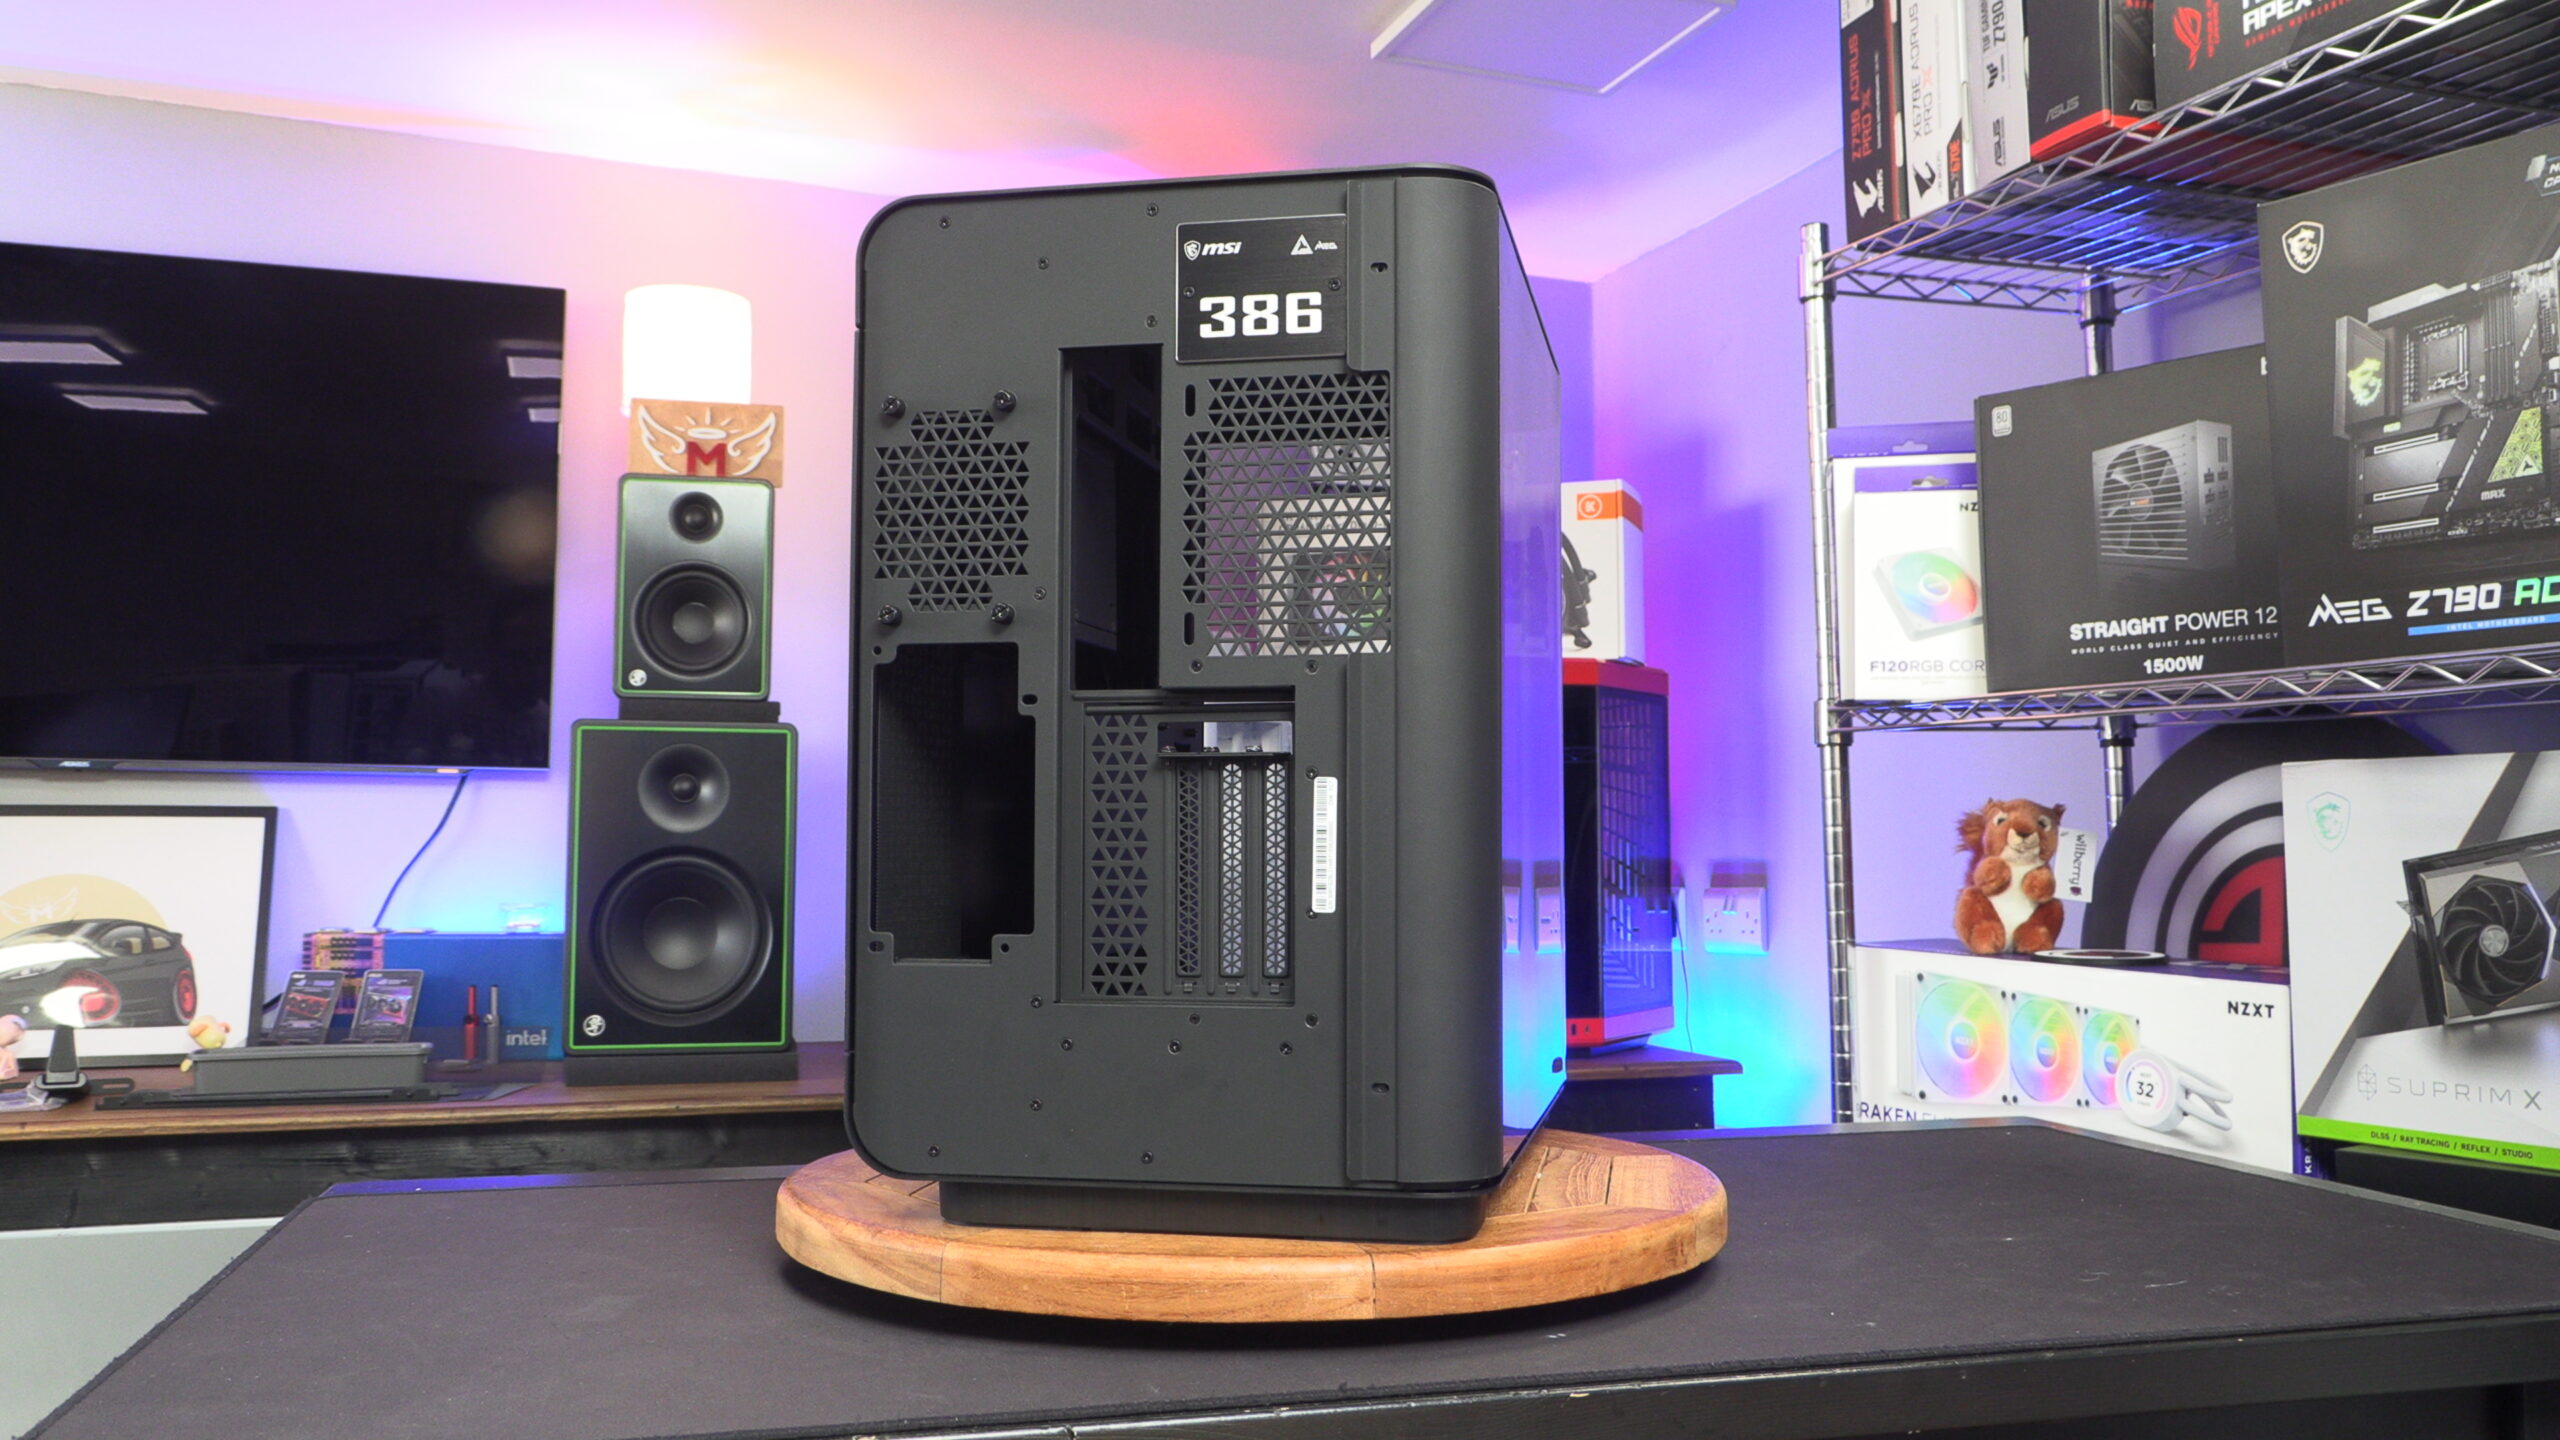
As far as we are aware, the Maestro 700L is not a limited edition PC case. Even so, this case is numbered. Perhaps MSI are only planning to make 1,000 of these PC cases? Either that or they plan to stop numbering these cases after 1,000 or simply plan to move to a smaller font.
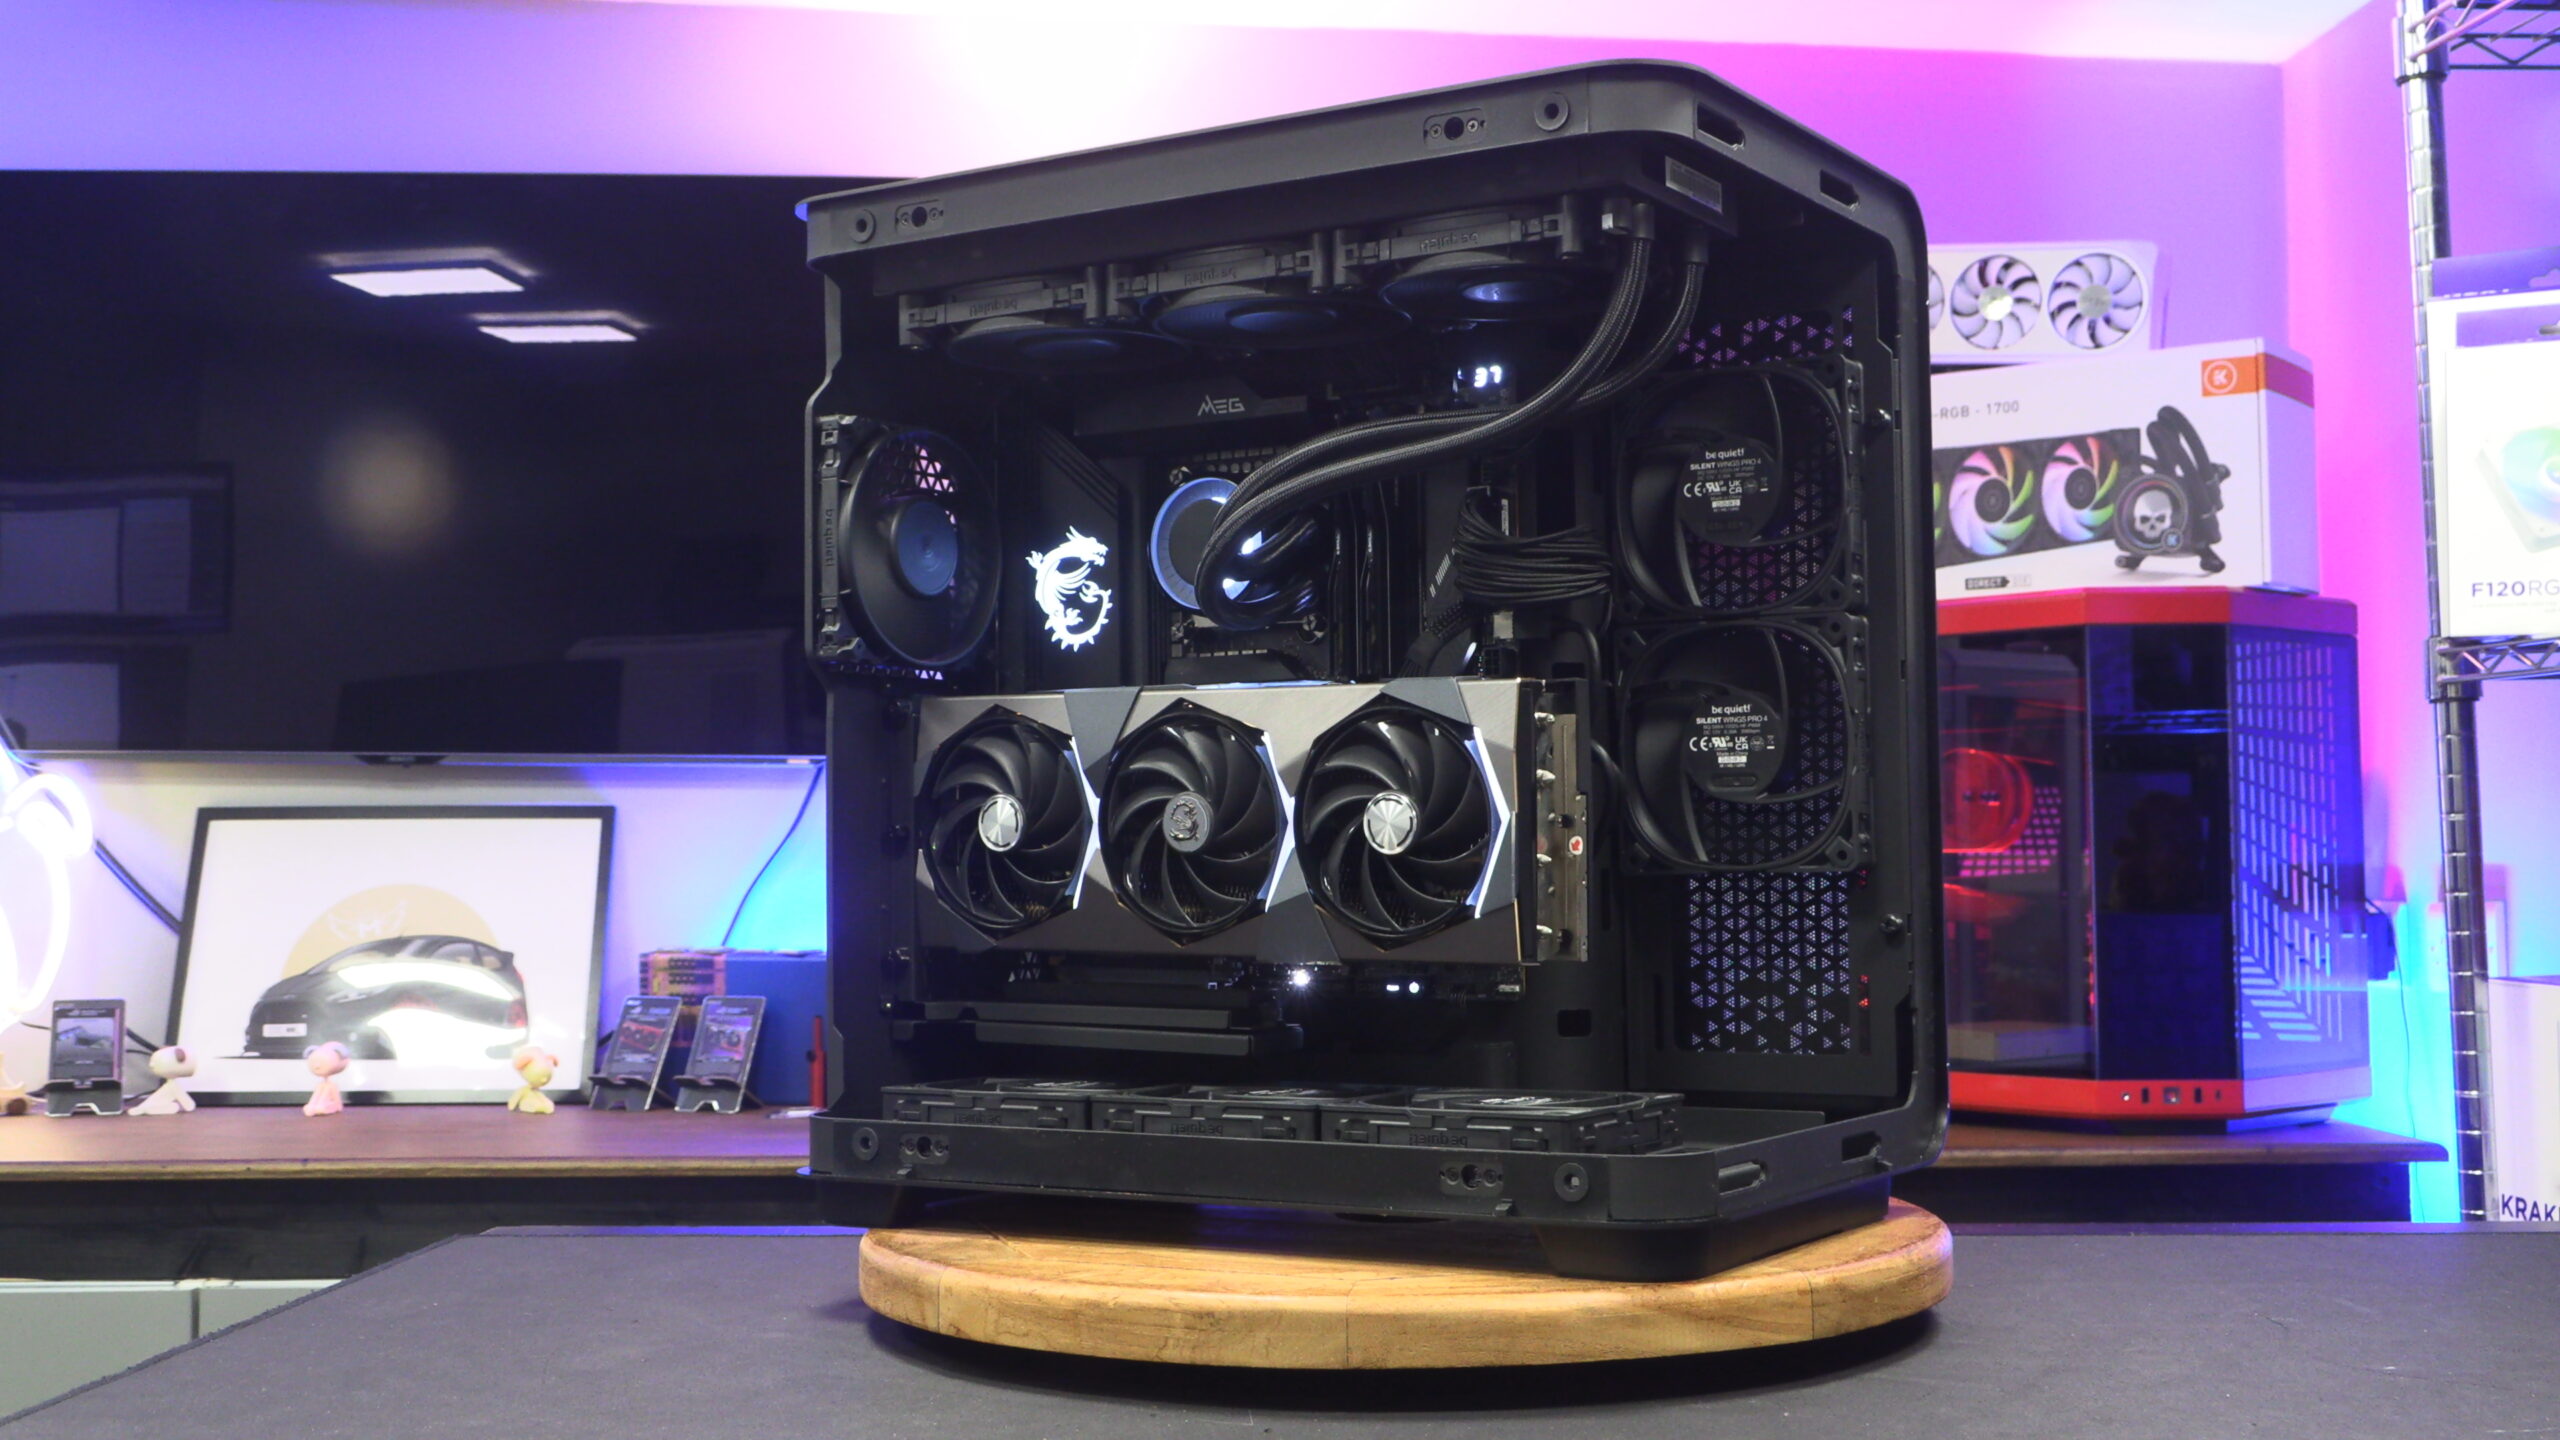
Pre-installed within this case is the Maestro’s vertical GPU mount. We can also clearly see where an ATX PSU can be mounted within this PC case.
Inside the Maestro
Strangely, MSI has not kitted out the secondary chamber of their PC case with cable tie mounts. This can make cable management more difficult for users. While users can but adhesive cable tie mounts for this purpose, it is a shame that MSI have not built this case with cable ties in mind.
The glass panel of the Maestro is easy to remove, as are most of the removable parts of this PC case. There are locating pins for PC builders to utilise, and push mounts that will hold the panel in place. Users can further secure the window to the case using a thumb screw mount at the rear of the enclosure.
The tempered glass on this case is lightly tinted. The tint isn’t overly dark, but it does give non-RGB PCs a stealthy appearance.
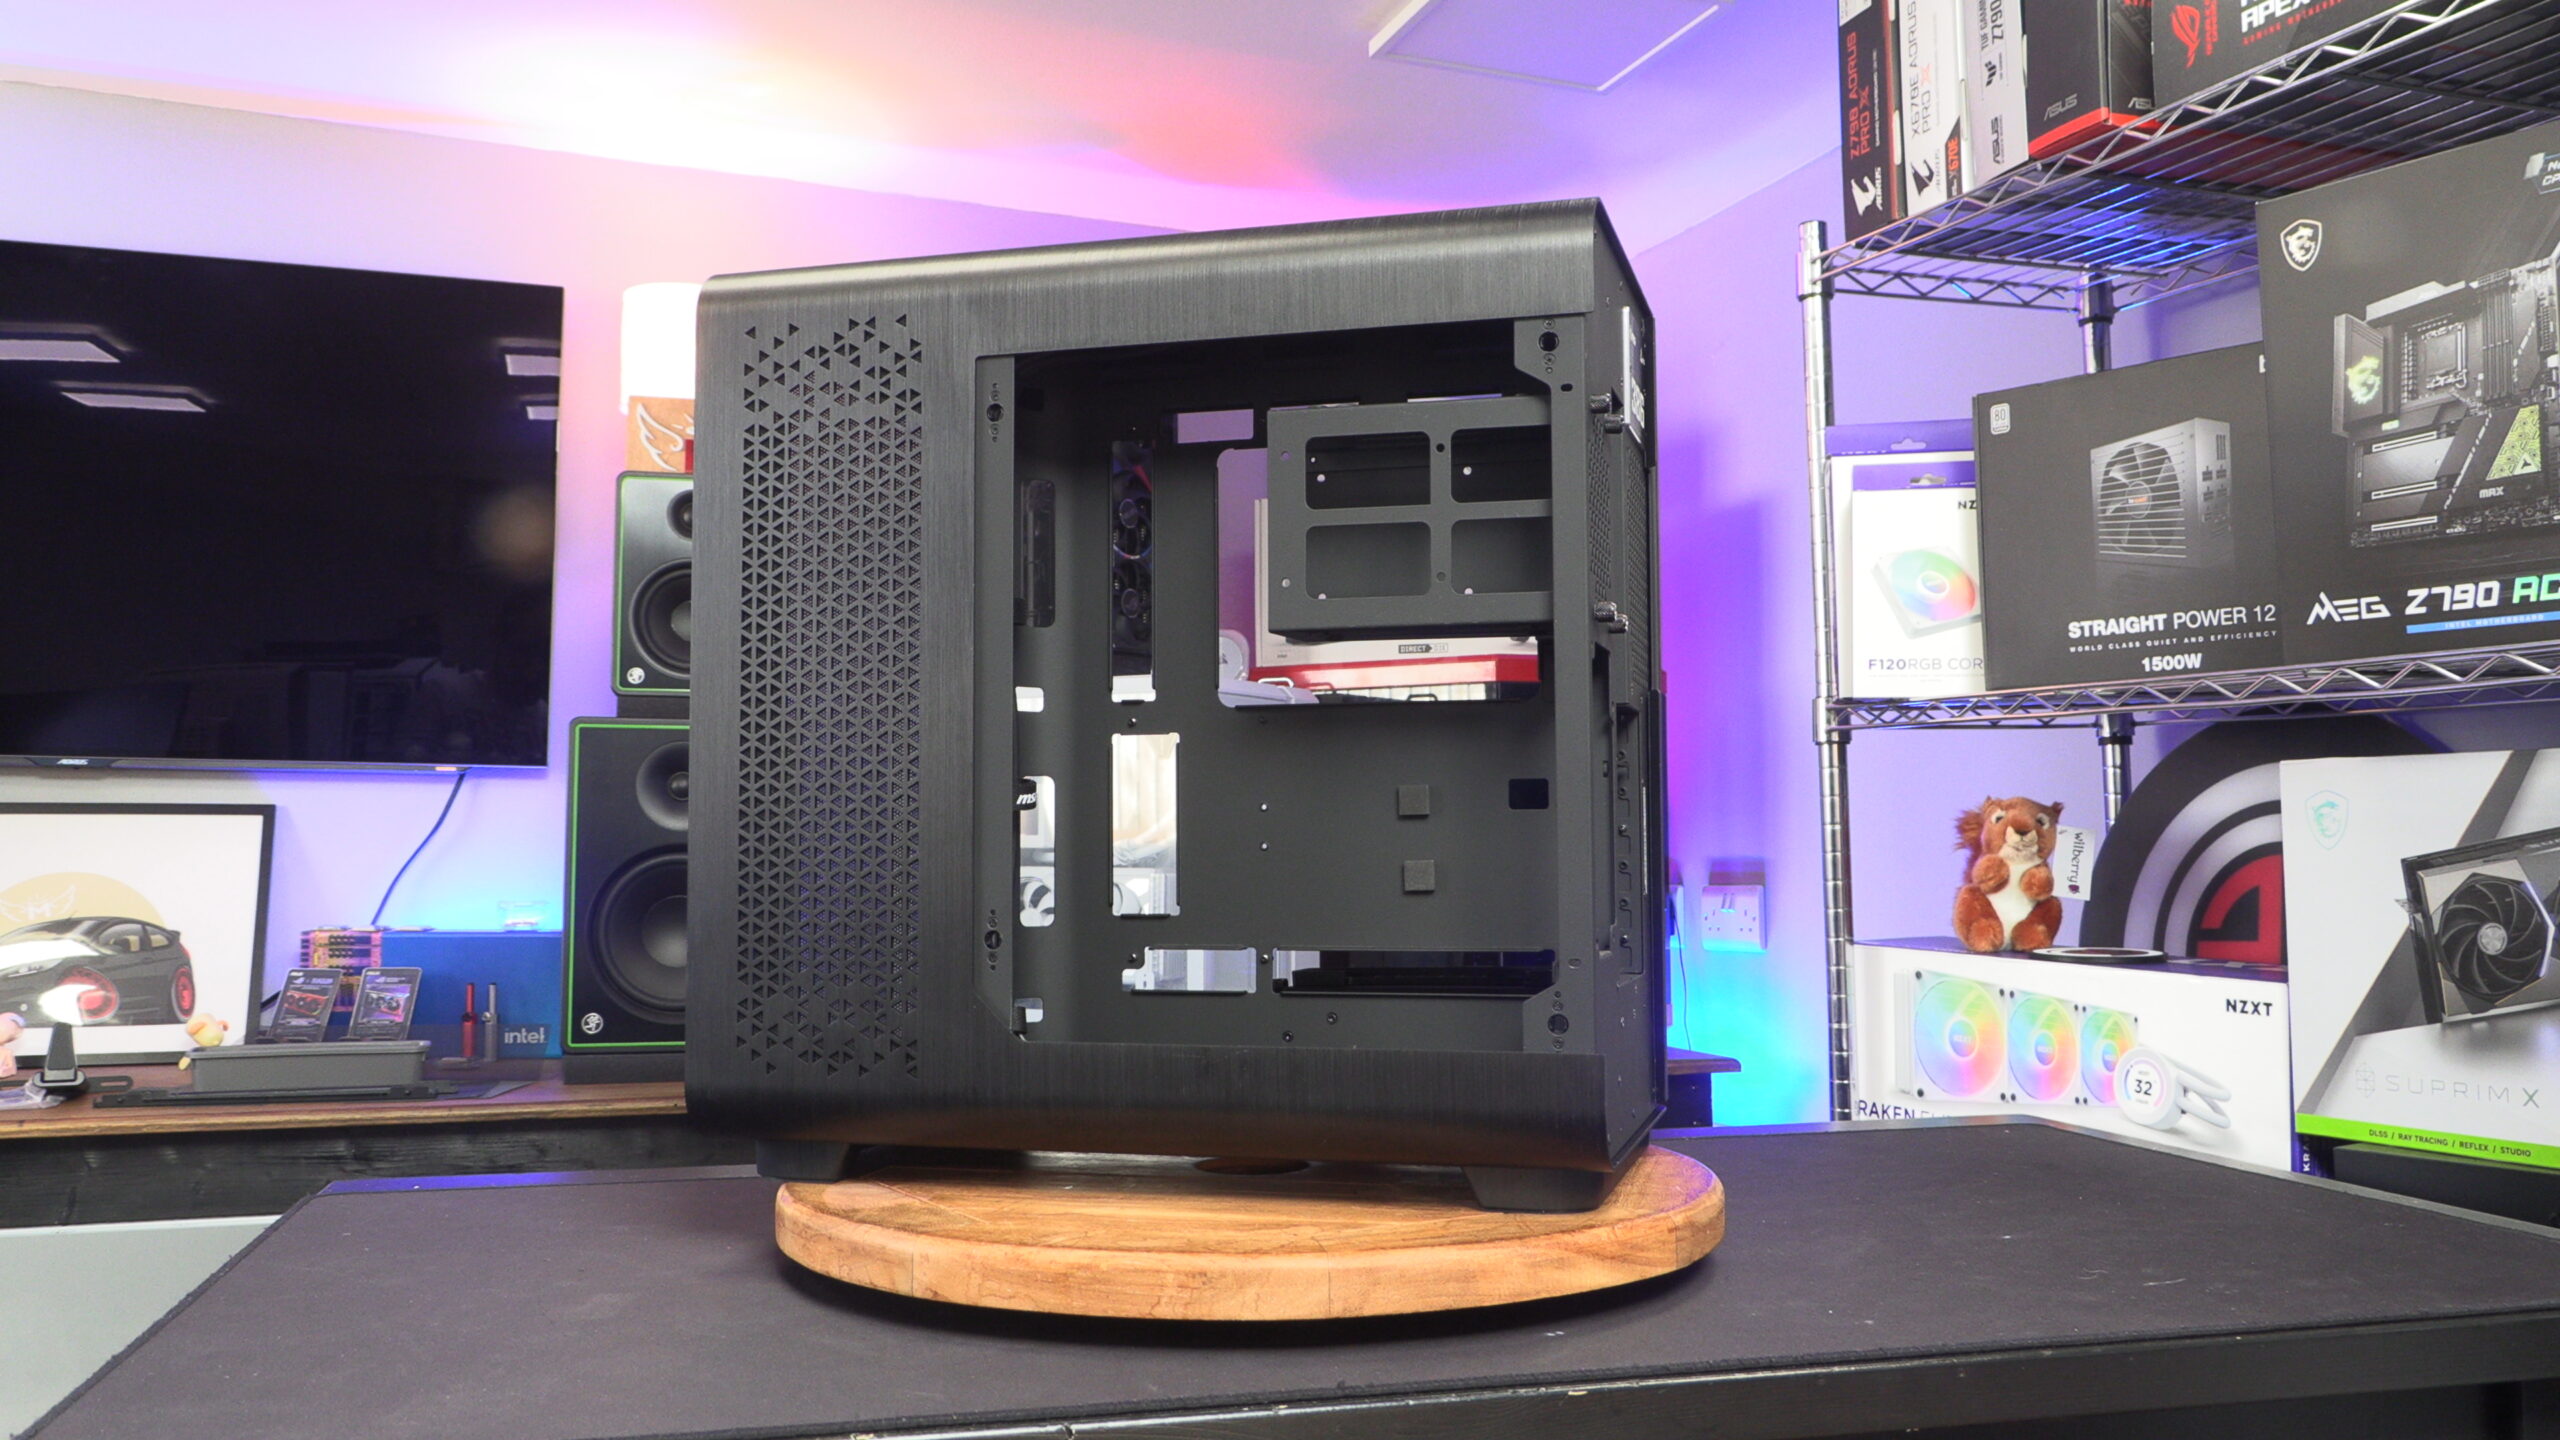
Inside, the Maestro has a clean overall appearance. Here, we can see the holes for back-connect/Project Zero motherboards, as well as cable routing locations for standard PC motherboard cables. Sadly, none of these cable routing holes for standard PC cases feature rubber grommets to hide the rear chamber of this case. This is especially annoying given this case’s lack of cable tie mounts to tie down/hide cables from view.
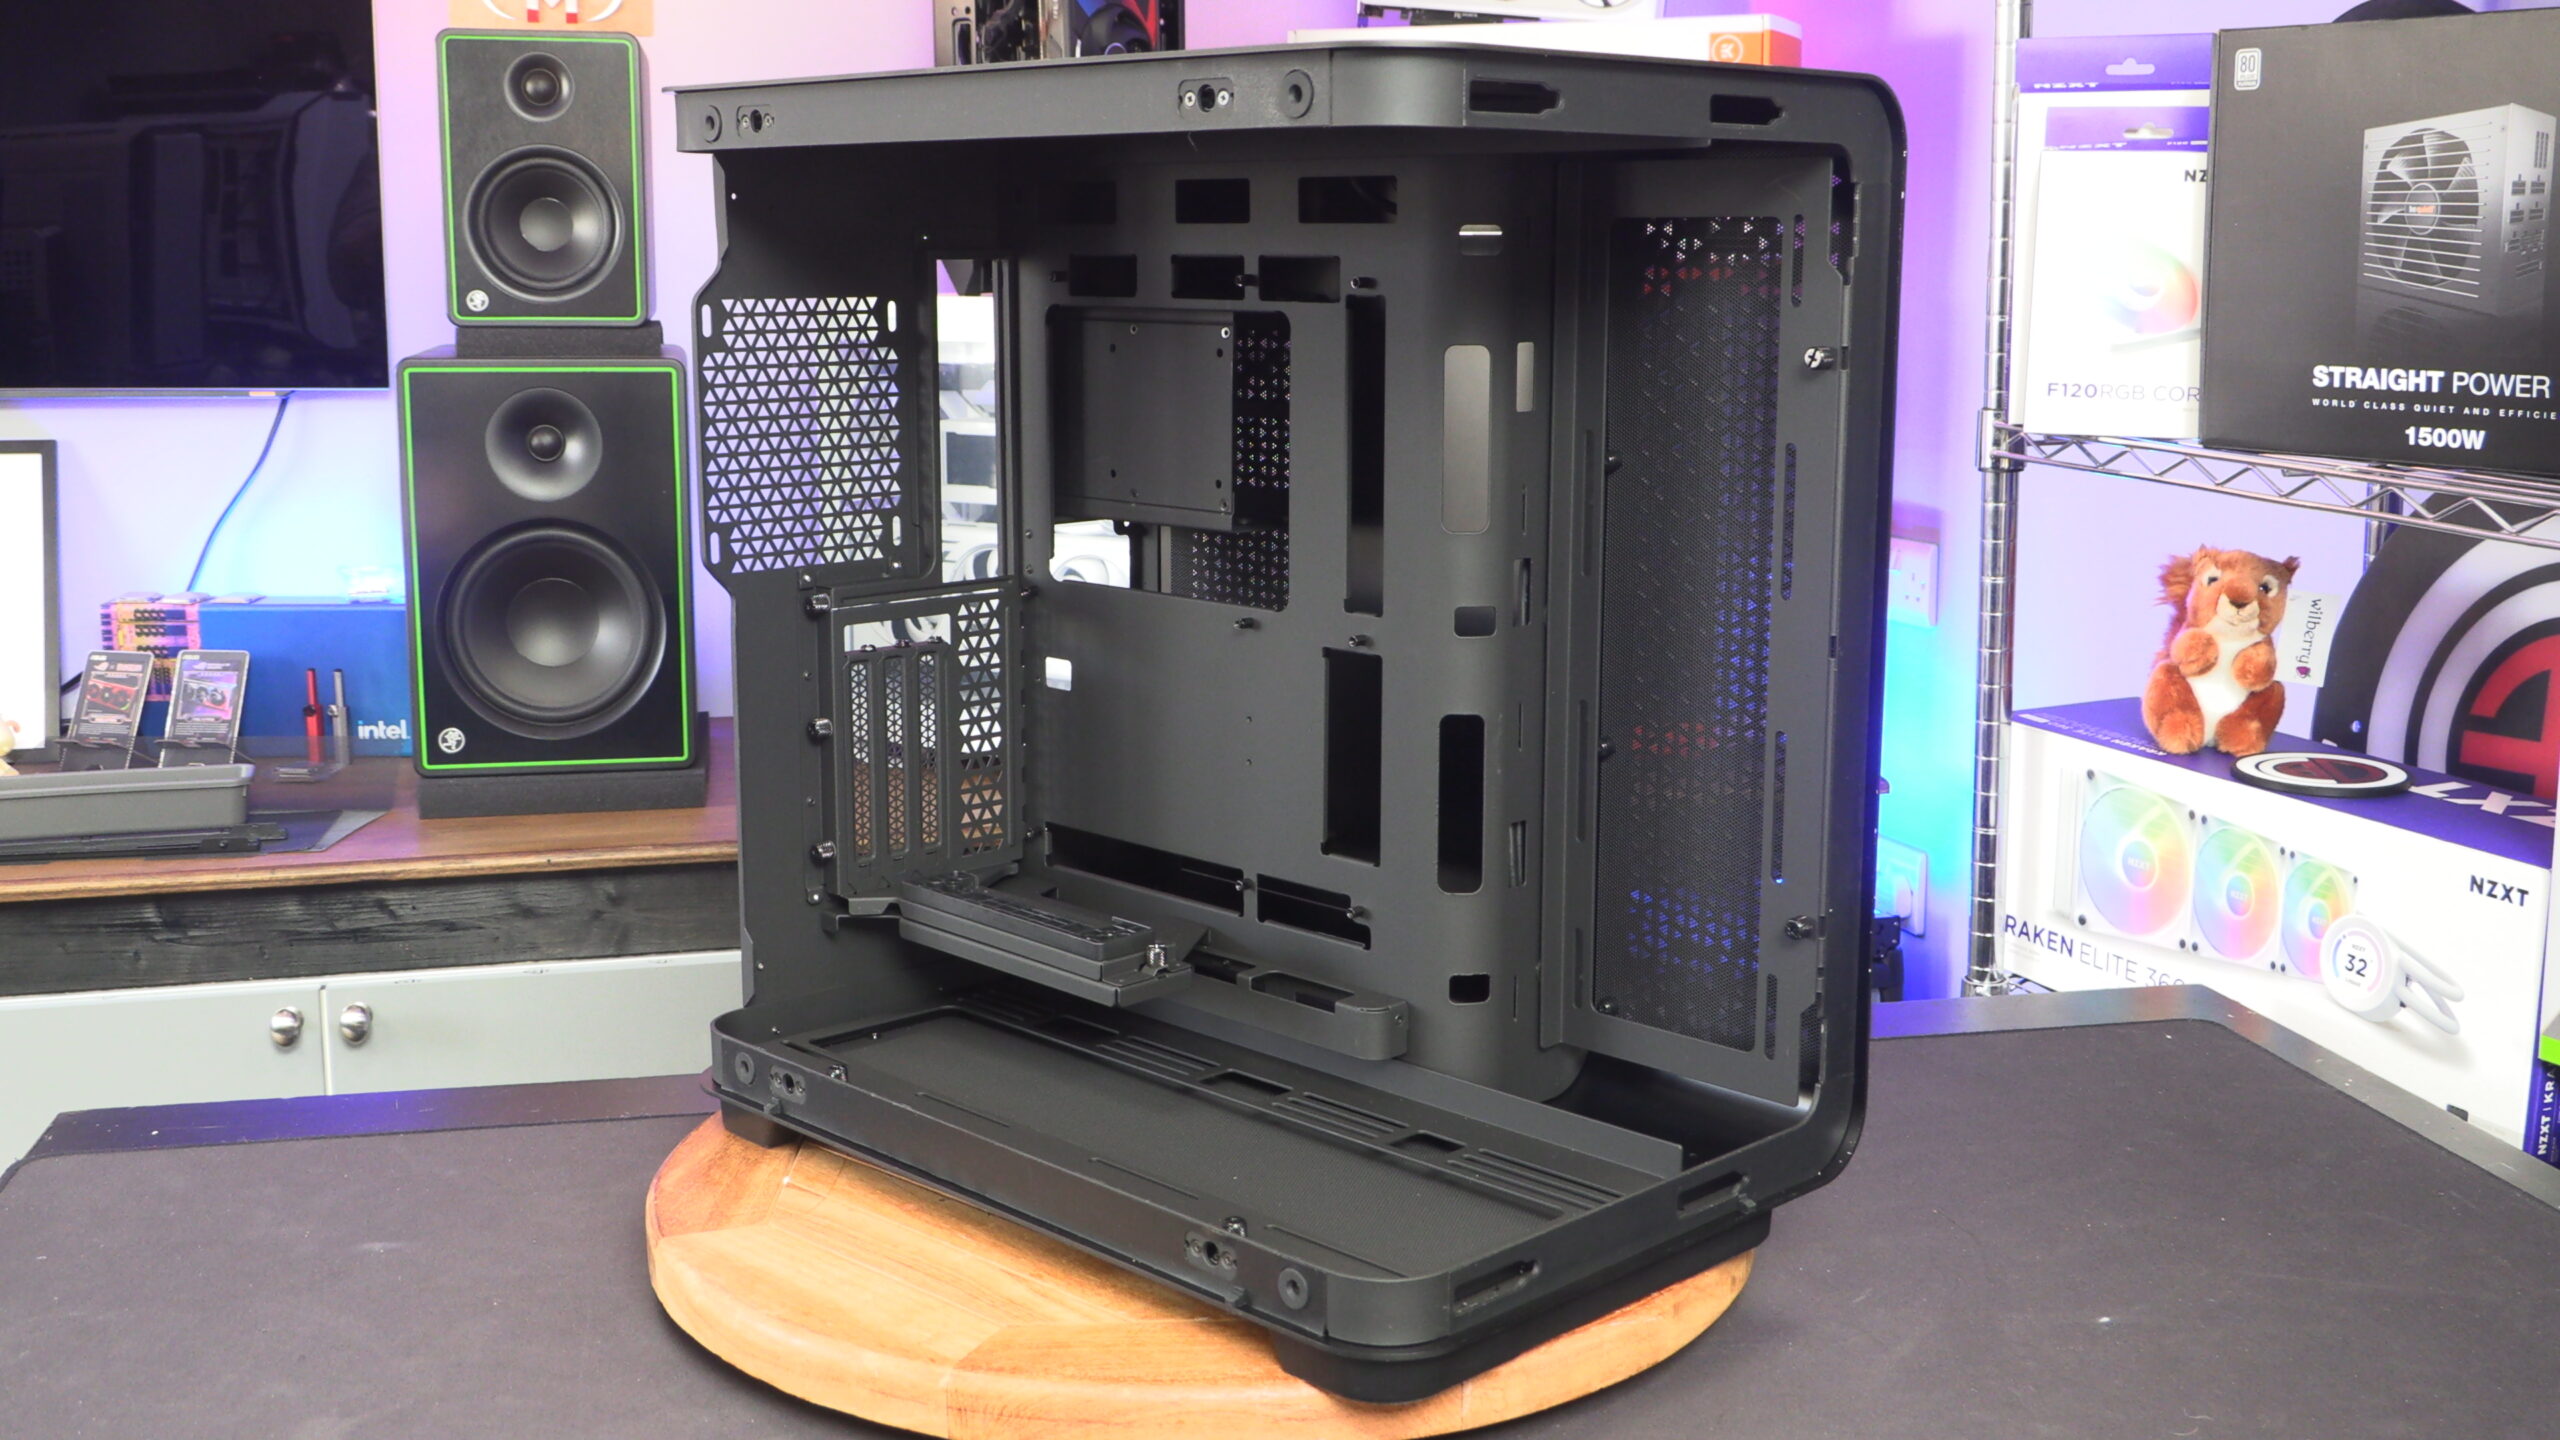
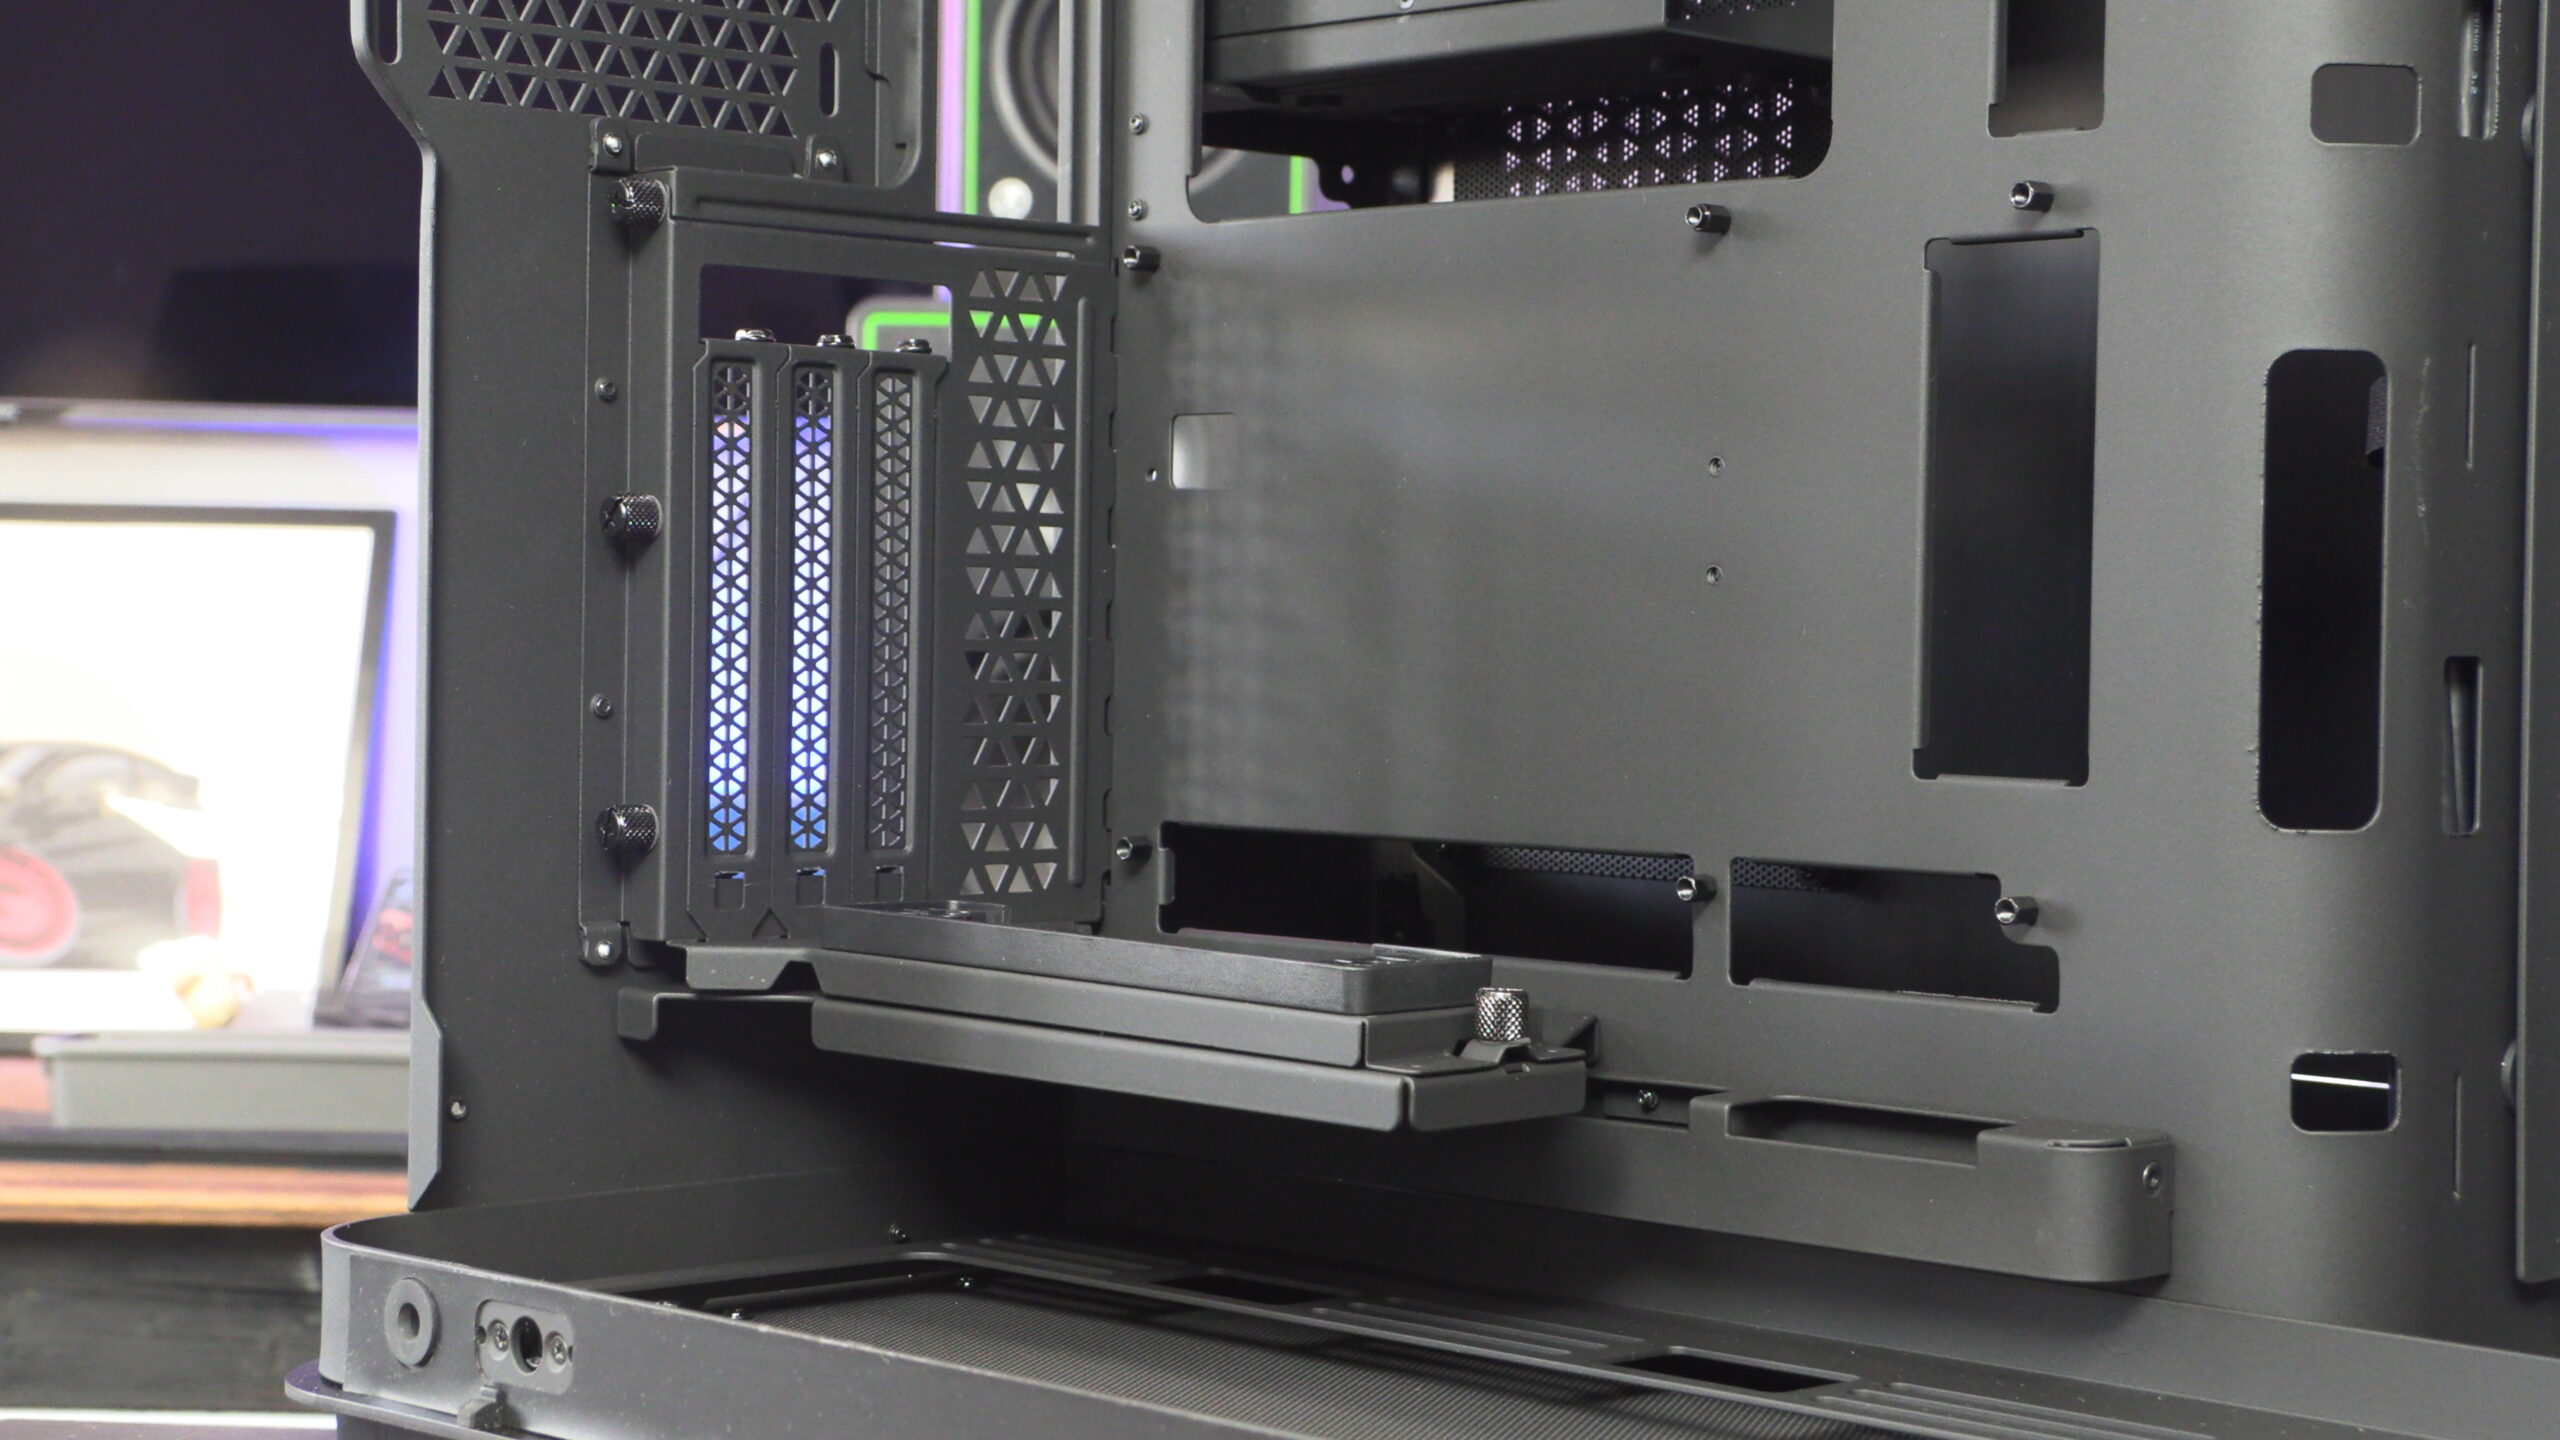
Pre-installed inside this case is a vertical GPU mount. This mount has two mounting positions for its PCIe riser cable, allowing users to move their PCIe slot forward one slot if necessary. This allows users of this case to locate their graphics card in an ideal position. Users of thicker graphics cards will want their GPU as far back as possible.
Up Top
At the top of the MSI Maestro 700L PZ, we have a power button, a reset button, two USB 3.1 Type-A ports, a USB 3.2 Gen 2×2 port, and a audio in/out jack. All of the ventilation for this PC case is provided though laser-cut triangular cutouts, as seen below.
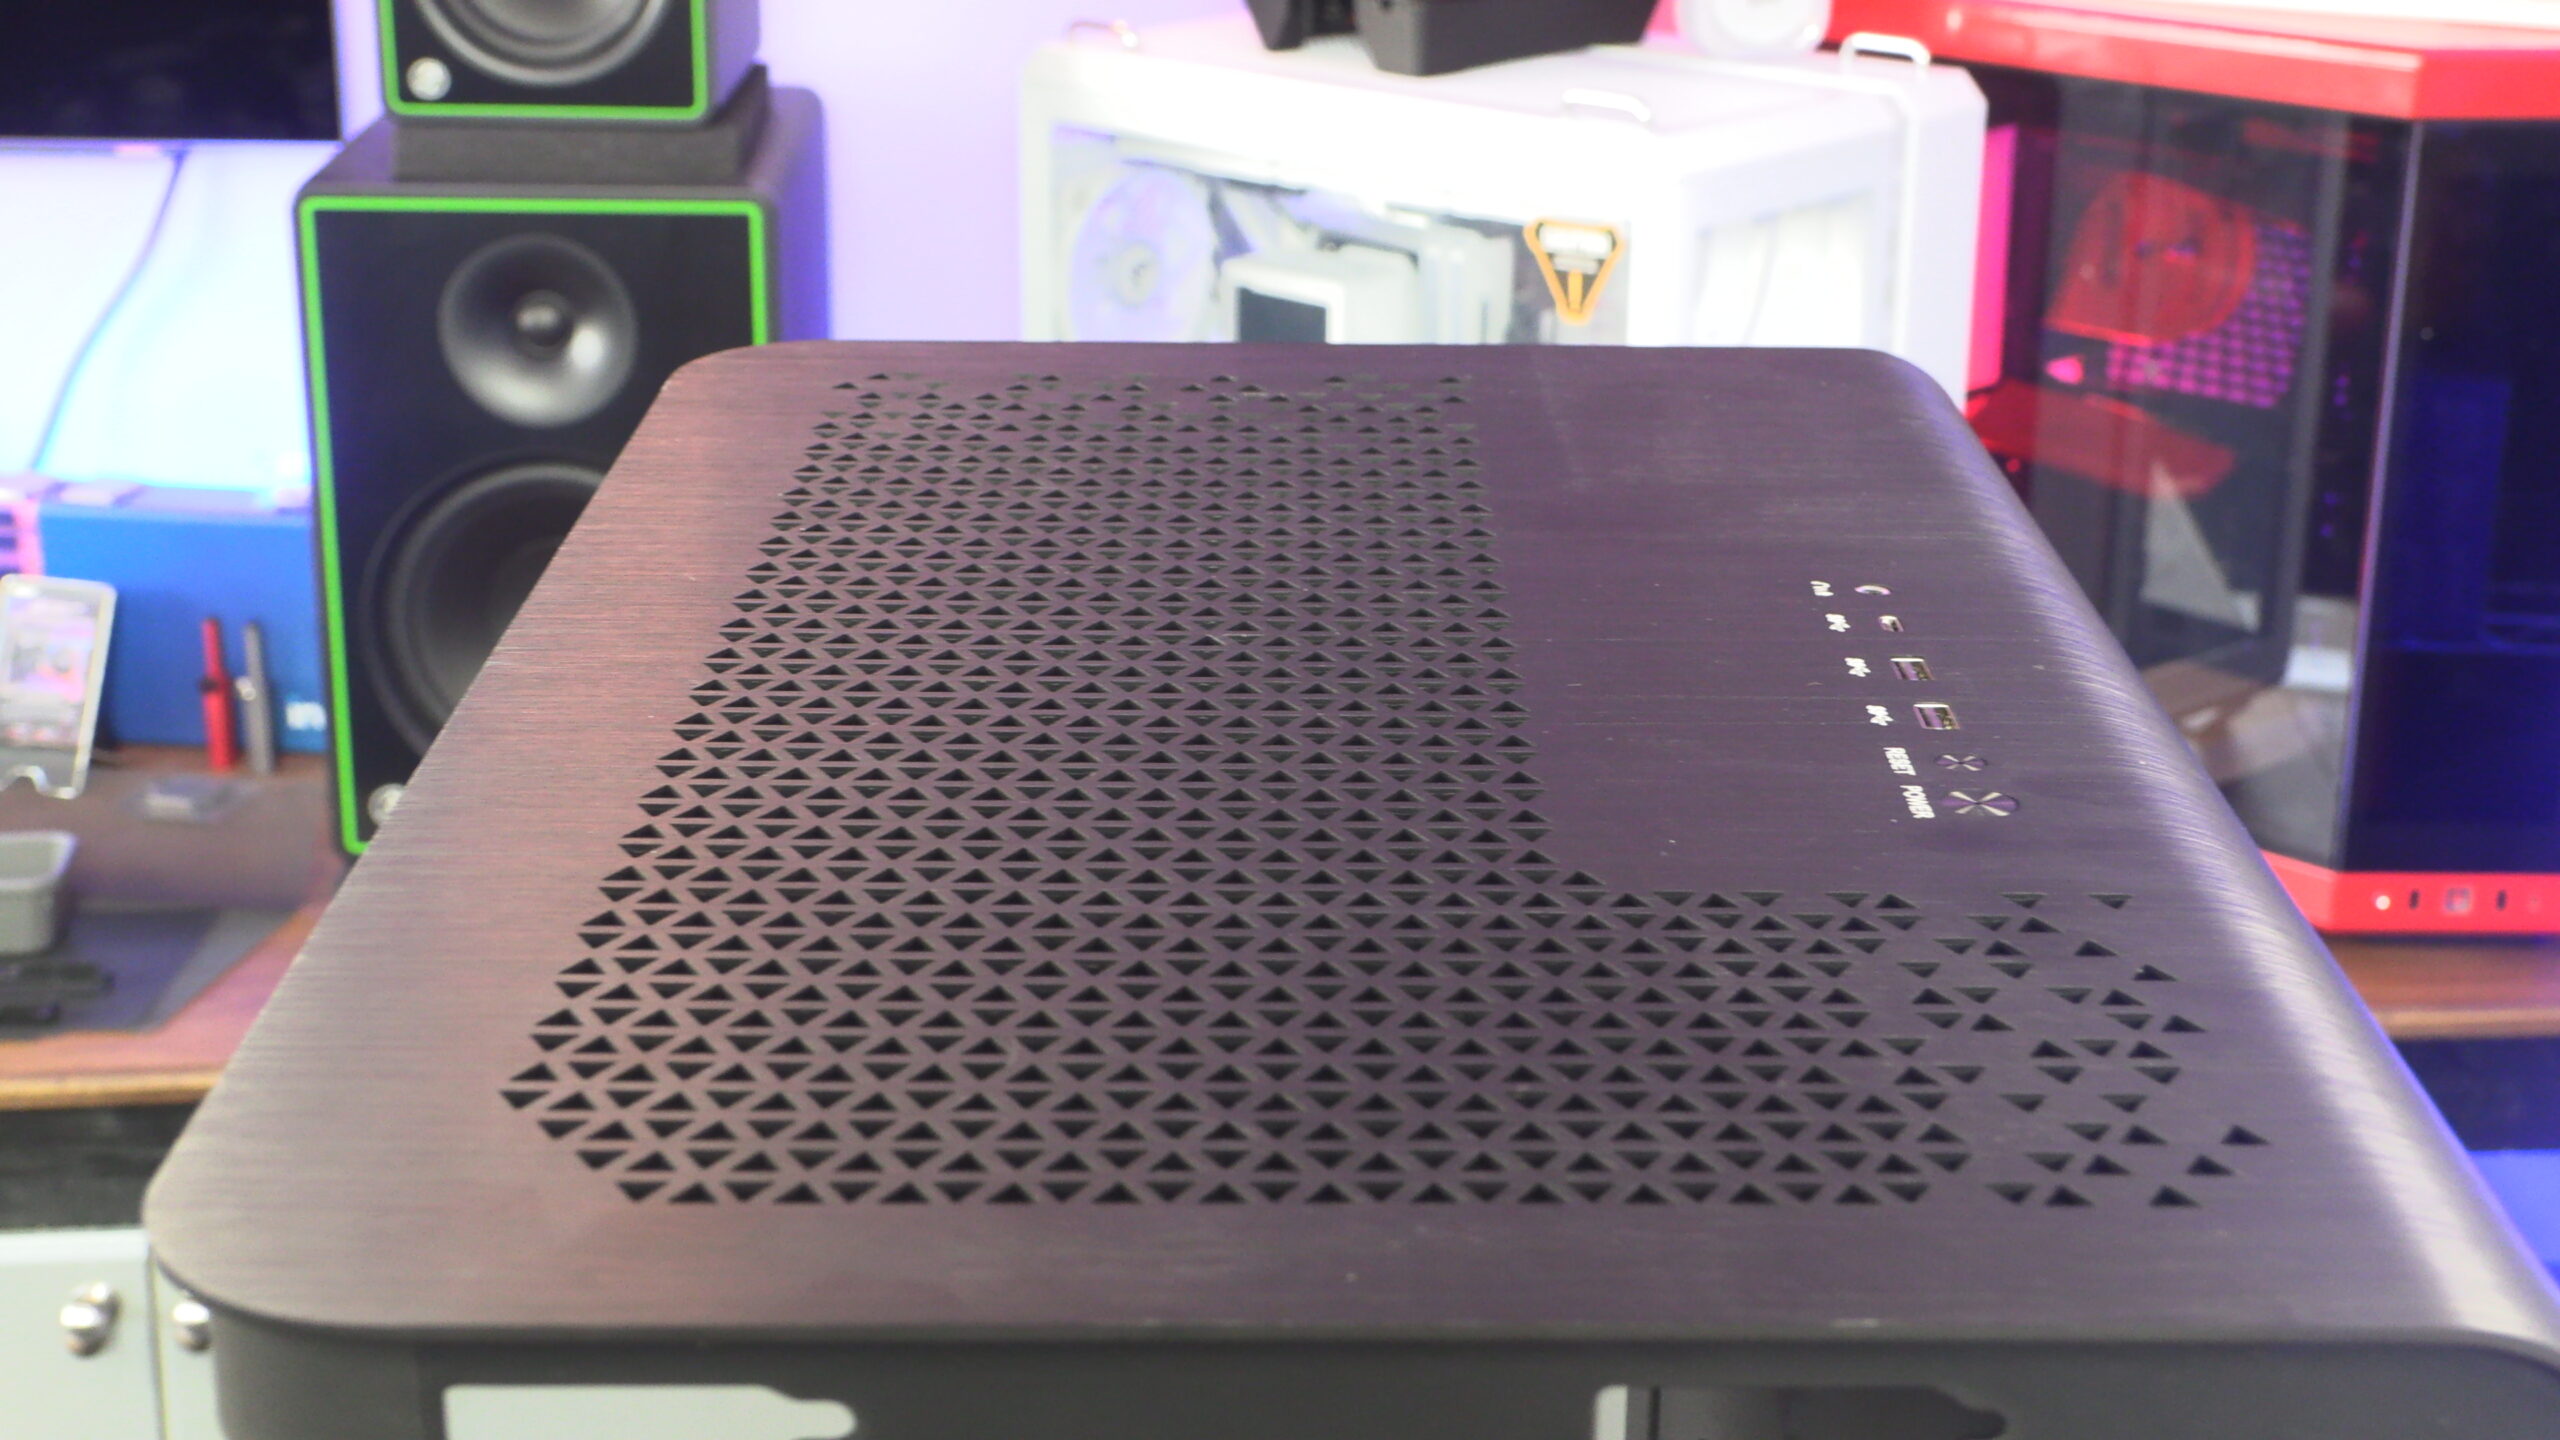
The top of the Maestro 700L supports up to three 120mm fans or three 140mm fans. The radiator mount is removable using the thumb screws in the image below. Note that this case only officially supports 360mm liquid cooling radiators, though 420mm radiators can be installed if they don’t have huge end tanks.

Filters in hard-to-reach places
One thing that we do not like about the Maestro is how difficult it is to remove this case’s dust filter. While I understand that MSI wants a clean design, did this really need to apply to the bottom? If you don’t want to remove your case’s bottom fans to access the Maestro’s fan filter, your only option is to simply use a vacuum to clean your filters from the outside of the case. Not an ideal way to clean these filters, but it is easy.
Another thing that we will note about this case is that MSI clearly has not placed one of their newer SUPRIM graphics cards inside it. When vertically mounted, our graphics card was touching the motherboard’s I/O cover plate when fitted. While the GPU still fits, and looks great, a few mm of clearance would have been nice to have.
Without cable tie locations, this was the best cable management that we could achieve inside this case. This is without the added cables from RGB fans or the cables of HDDs or SATA SSDs. If I was using this case outside of this review, I would add some adhesive cable tie mounts.