Riotoro CR1080 Review
The Build and Cooling
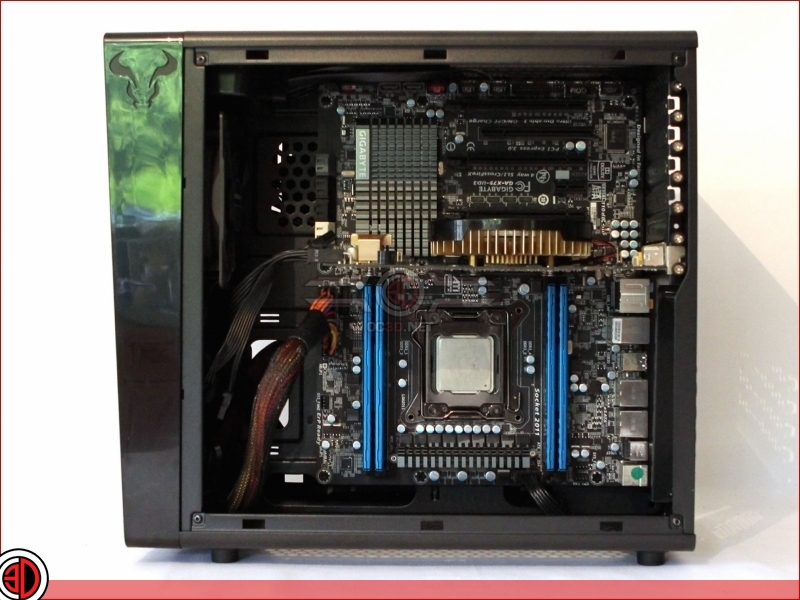
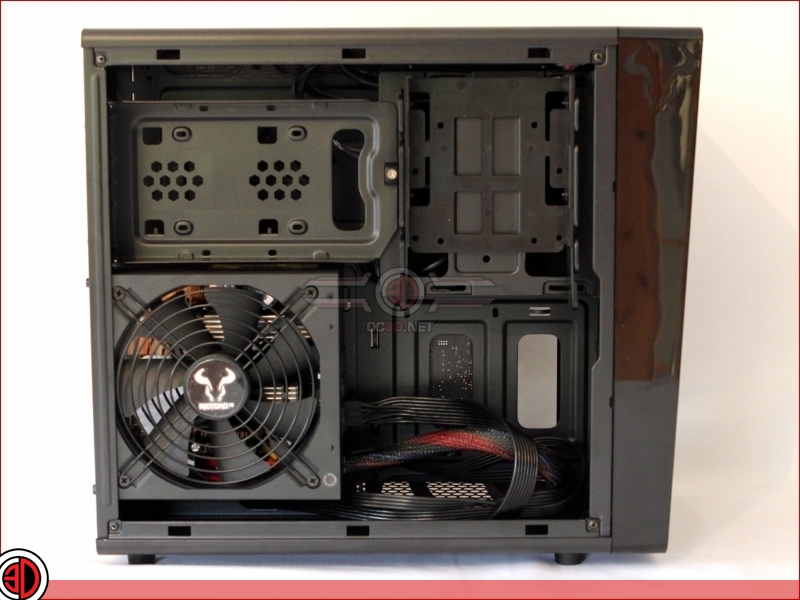
Building into the CR1080 is a reasonably simple affair, although there are a few issues that we want to raise, the main one of which is cable management.  Up in the top of the case is where you find all the attachments on the motherboard for front I/O as well as USB and Audio, yet there are only two small management holes up her to bring the cables through from the rear.  Not only are they small, but with the motherboard in place, they are largely occluded, all of which means, that you’re going to have put your PSU in first, and thing long and hard about which cables you want to bring through where.  One mistake and you’re going to have to unplug everything, take the motherboard out, and start again.  This is one of those instances where a little bit more thought at the design stage, and a few extra millimeters  on the height of the case would have made all the difference.
Â
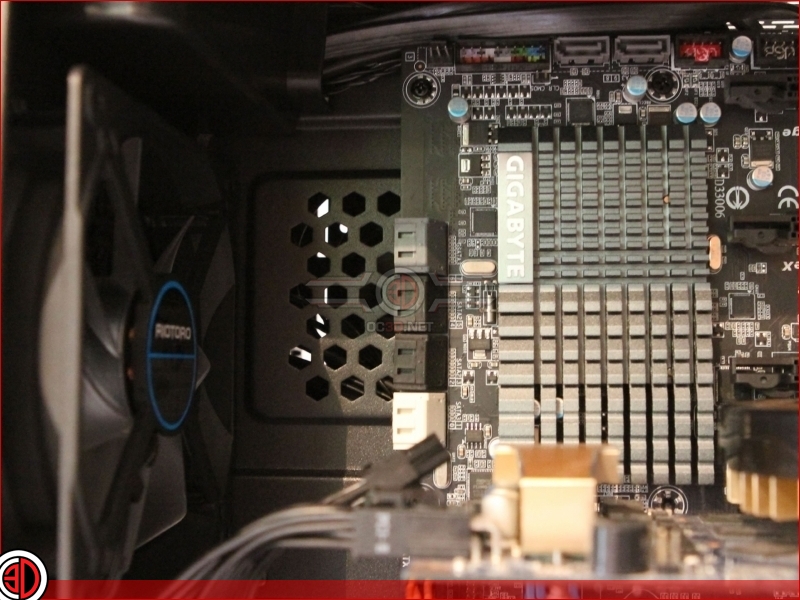
Another instance where a bit more planning would have been a good idea is the area where the SATA data cables attach. Â How nice would it have been to have had a cable management slit right here? Â But no, instead we get a bit of a ventilation. Â OK, so you could pre attach the SATA cables and feed them under the motherboard, but how much of a faff is that!
Â
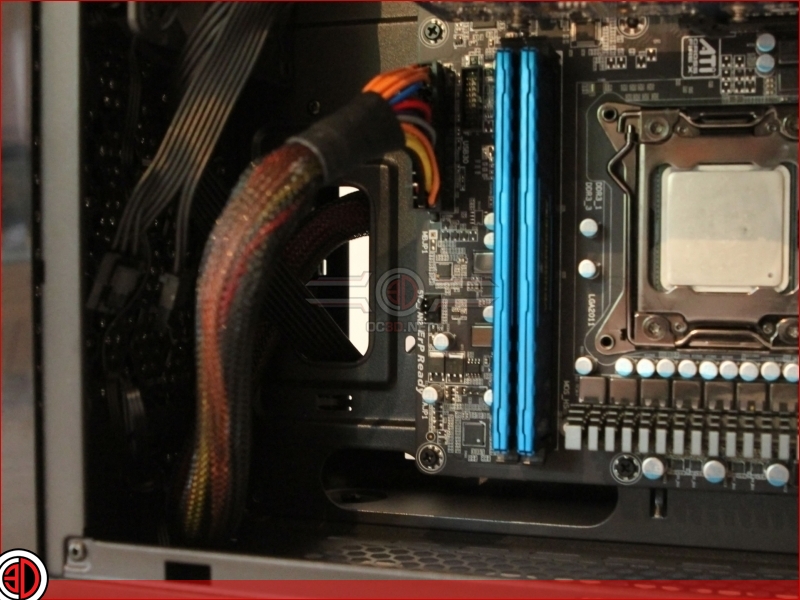
Down at the bottom there are more than enough management holes. Â Here you can see we’ve brought the main 24pin and the PCI cables through the forward most holes to mate them up with their respective sockets. Â Had we been thinking ahead we would have done things slightly differently, but more of that in a minute
Â
As the rear has plenty of room, you’re going to have to be a real nimrod if you struggle to fit all the cables in. Â Straight connections on power and data cables are though the order of the day.
Â
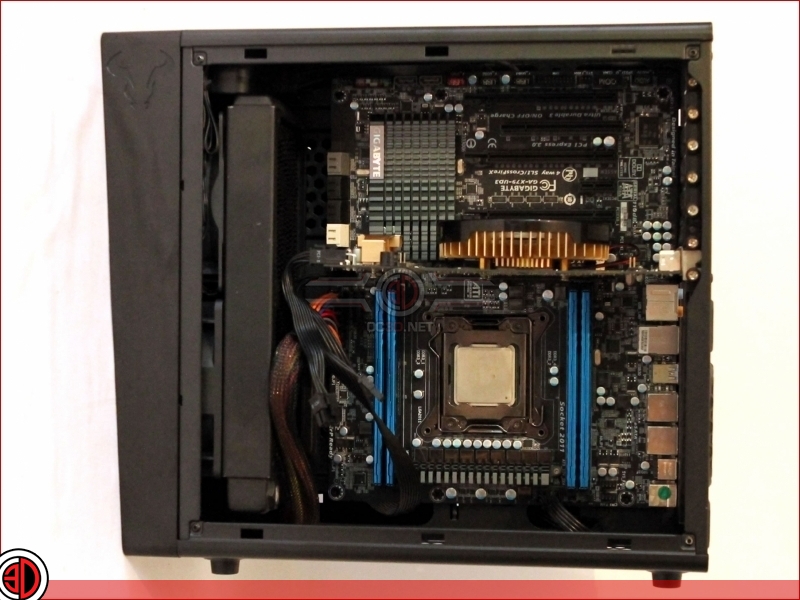
Riotoro don’t quote support for a 240mm rad, but as you can see, it’s entirely possible to fit one in. Â That said, you may have to get creative with your cable management. Â As you can see, we’ve now moved our main cables to the lower holes and brought them up from the bottom, to allow for the fan and rad combo. Â In total, there’s 75mm of space, but you are going to have to allow a bit for the SATA data cables, even if you do dremel through the mesh area and use 90 degree connectors. Â If you’re planning on using an air cooler, then things are quite a bit more limiting, with what we reckon to be just 135mm of height available.
Â


