OCZ Neural Impulse Actuator (nia) – The Log
The Software
Â
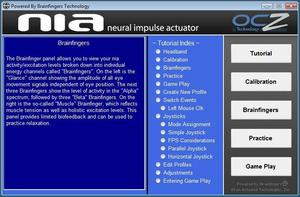
With the OCZ nia being such a revolutionary device, the pressure was obviously on OCZ to produce a comprehensive set of instructions that would allow users to get the most out of their purchase. Thankfully, after completing a fairly bog-standard “Click Next” installation of the nia software, the first screen you are presented with is a tutorial index.
Â
Â
OCZ have used an animated female CGI character to talk you through some of the basics, including an overview of what the device is and how the headband should be positioned on your head. At this point, we’d also like to mention that the side sensors on the headband do not appear to work very well through hair, so those of us with long hair may have quite a job getting the headband on without it getting trapped. This was clearly evident when we tested the nia on a female in the office who needed one person to hold her hair while she positioned the headband in accordance with the tutorial.
Â
The tutorial index itself is made up of 18 individual sections, some of which only have text-based information. Unfortunately, we couldn’t help but feel that the various stages of the tutorial should have really been integrated into the “Calibration” and “Practice” sections as more of a walk-through while configuring the device, rather than a separate area that you often find yourself referring to.
Â
Â
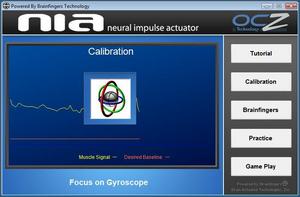
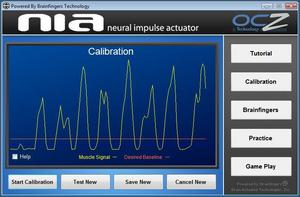
Calibration of the nia for muscle signals is fairly easy and consists of concentrating on a gyroscope in the middle of the screen for several seconds while the software measures your muscle activity. The spikes in the line graph shown above-right represent instances where we purposely tensed our facial muscles.
Â
Â
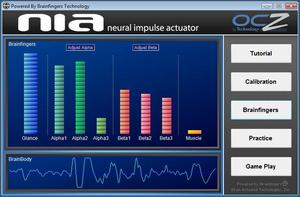
The next section, entitled “BrainFingers”, gives an overview of each of the nia’s sensors and their current activity in bar graph format. In all honesty, this section was quite baffling as both the Alpha and Beta signals danced up and down in fairly random patterns, while the “Glance” bar didn’t budge even slightly no matter how much any of us moved our eyes or glanced at different areas of the screen.
Â
Â
Â
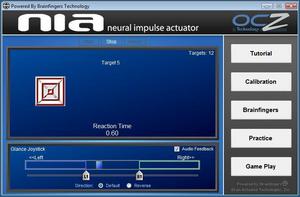
To test the configuration of the nia, OCZ have also provided three “Practice” programs. The first, named “Reaction Time”, allows you to test the configuration of the Muscle signal by providing a target that flashes up on screen which you need to click on using only muscle signals/movements.
Â
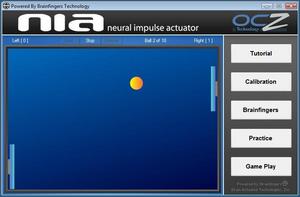
The second is a good old fashioned game of “Pong”, in which you need to move the paddle up and down the screen to return the ball. This was probably the most fun part of the entire configuration process and you can watch the videos of our progress over on the next page.
Â
Finally, “Glance Practice” tests your ability to control the glance aspect of the nia by flashing targets up on the left and right of the screen. By moving your eyes to the left and right (depending on the position of the target) the target disappears for several seconds displaying the time taken to react to each one of the targets.
Â
Â
Â
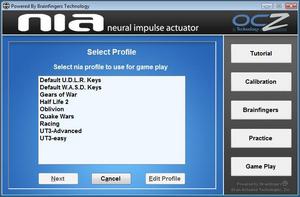
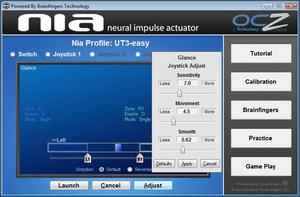
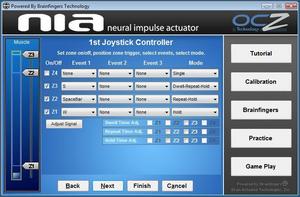
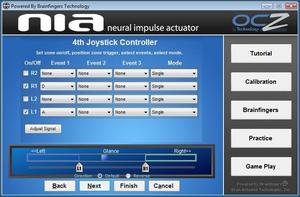
Once you’ve got to grips with each of the nia’s sensors, profiles can be created for each of the games you use. Some are already pre-configured, but in all honesty we found it best to start again with a brand new profile and assign the muscle, glance and brain activities you are currently able to perform on the nia to keys for use within the game.
Â
While we were only able to get one activity assigned to an in-game key during the first day of testing, we can imagine that over time you will undoubtedly assign more and more keys to activities as you gain experience with the device.


