be quiet Pure Base 500 Review
In the Nip and Accessories
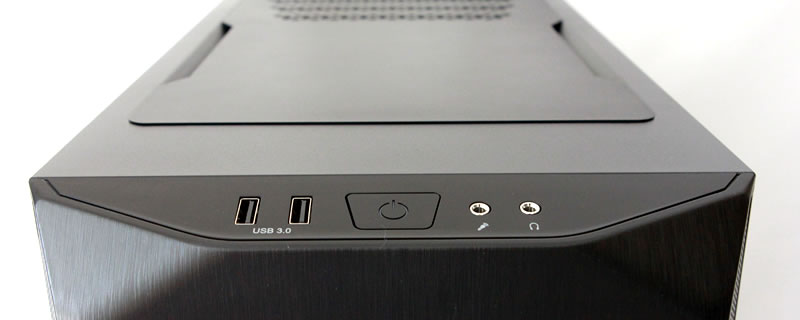
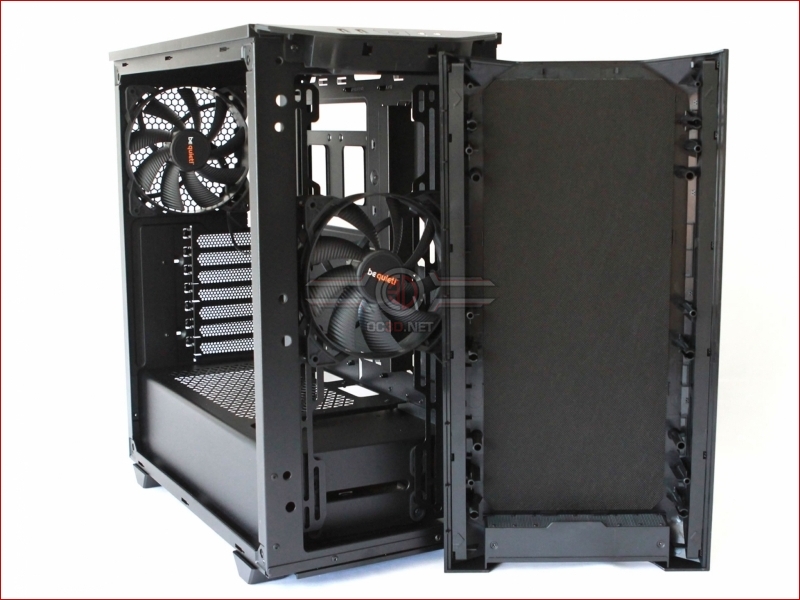
A bit of a tug on the bottom of the front panel sees it pull away from the chassis with little to no drama; unlike some cases where you’re only about 60% sure that you’re not about to shatter the whole thing or if you’re lucky, just break some fixings. Not that we ever have, it’s just that some cases make you feel very nervous, and the be quiet doesn’t. As the front I/O is contained in the roof section, there’s also no need to worry about trailing wires and connections etc.Â
Â
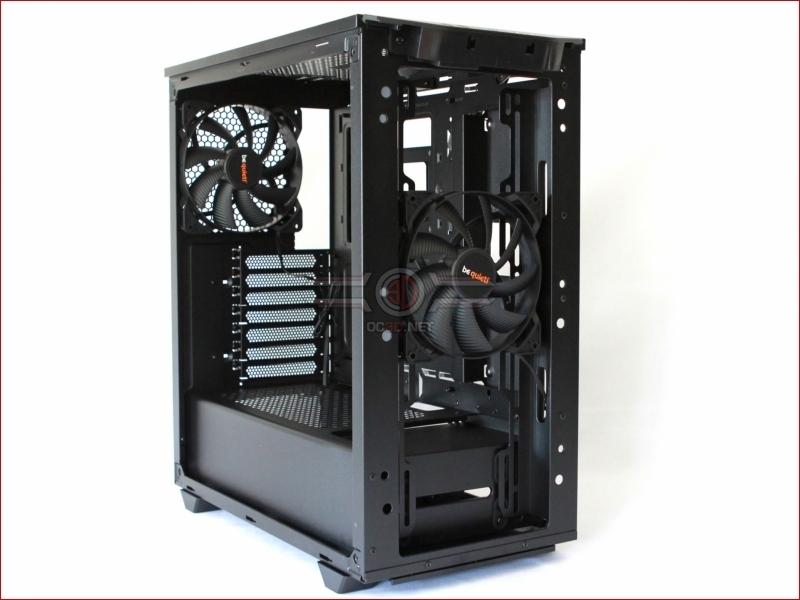
With the front removed we can see that as stated, it’s possible to get 3x120mm or 2x140mm fans in here. These are of course mounted forward of the chasis , which means that any space behind can be dedicated to rads. It’s looking good!Â
Â
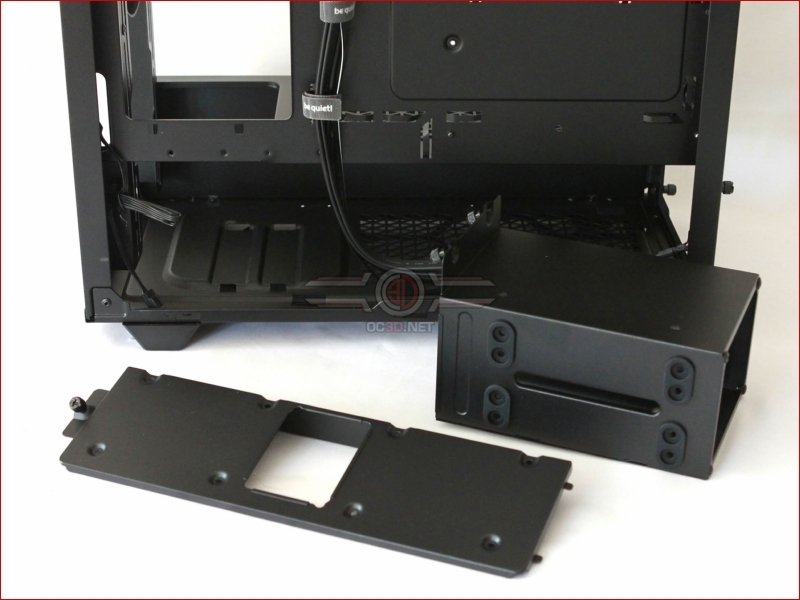
If you want to install a 360mm rad in the front, then you’re going to need to remove the HDD cage as we have here. We’ve also removed the bracket for mounting SSDs around the front to show you just how much you can strip this case down.
Â
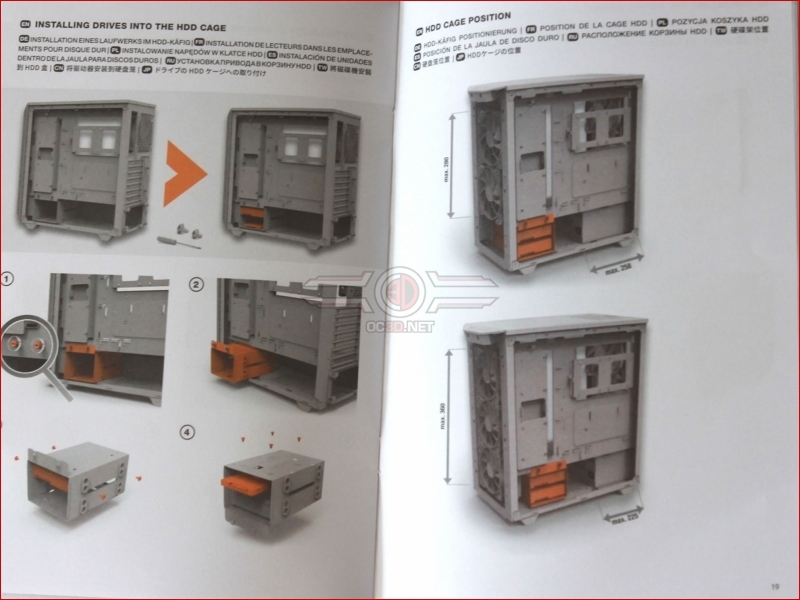
The instructions are good, and in a nice glossy booklet. We have to say that we’re especially impressed with the 3d diagrams used as they really help us to understand the layout and functionality of the case
Â
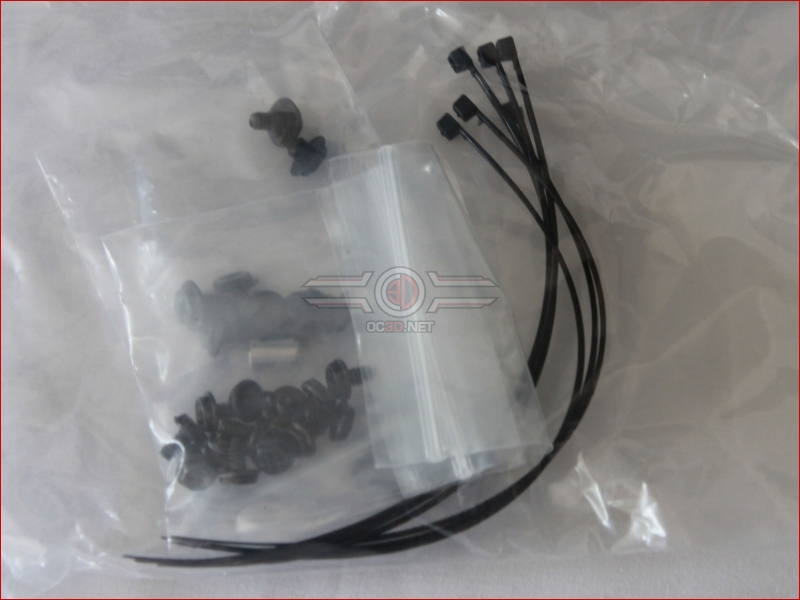
You don’t get a lot in the way of accessories with the 500, but you do get what you need, What’s interesting in a case that aims itself in the direction of noise reduction is that there are no rubber dampeners for the HDDs.
Â


