Cooler Master Eisberg 240L Prestige Review
Â
The Build
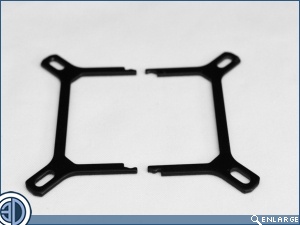
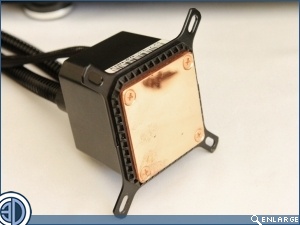
We saw when we looked at the package contents that fittings are provided for pretty much every contemporary AMD and Intel fitting. Whatever flavour your CPu the steps are the same. Simply clip together the requisite mounting bracket via the channels that run along the base of the contact plate. Couldn’t be easier could it, which is just as well as the instructions are next to useless.
Â
Â
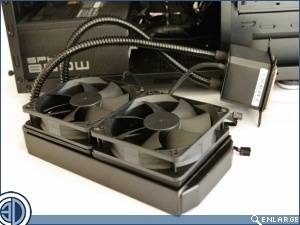
We found it easiest to mount the fans to the Radiator using the supplied screws and rubber baffles/anti vibration mounts, before trying to attach the Contact plate to the cooler, simply letting it dangle while we screwed the rad into the roof.
Â
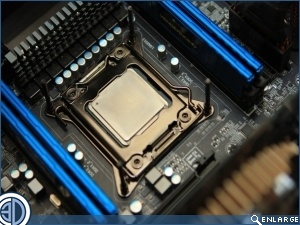
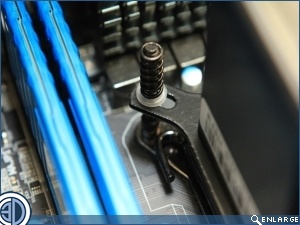
Specific double threaded pins are required dependant upon your socket type. Here we’re chosen the ones for the 2011 socket we have in our test rig. And yes, just like before we got the wrong ones first because they all look identical. With the pins in place, the contact plate, followed by a small nylon washer and a spring are placed over each of the four fittings
Â
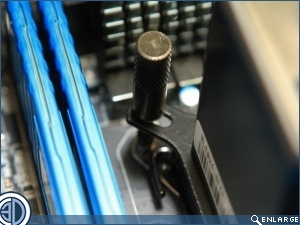
Finally blind ended bolt caps are placed over the springs and tightened down. The blind ended nature serves to give a clean look to the fixing where a plain bolt would not.
Â
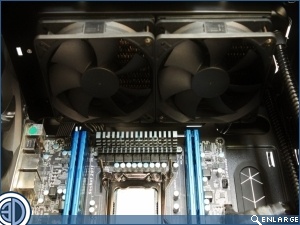
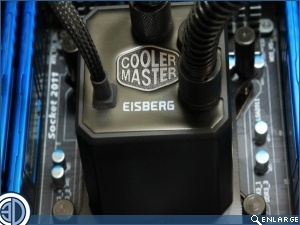
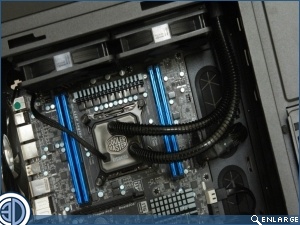
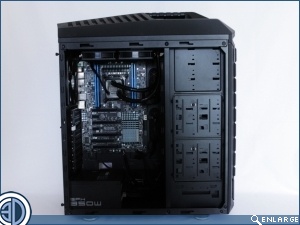
With everything in place we can have a look at the Eisberg 240 Prestige inside the Cooler Master “Test Trooper” case that we use for all of our heatsink testing. The 330mm of tubing means that the set up neither looks stretched or over stuffed with tubing. We’re not convinced of the need for the anto kink coils as their appearance is largly an aesthetic one, at least it’s easily removed should you feel you fancy a cleaner look.


