


CoolerMaster MasterAccessory LED Partition Plate Review

Assembly
As the LED Partition plate is intended as a replacement for the standard metal partition plate, the first thing you have to do is get the metal plate out of the case. Fortunately, this panel was designed from the start to be easily removable, so it’s just a matter of undoing four screws and the panel lifts and slides out.

It’s worth noting that if you do change the panel for the LED version, you are going to lose the two 2.5″ show off mounts and the grommeted cable management hole.

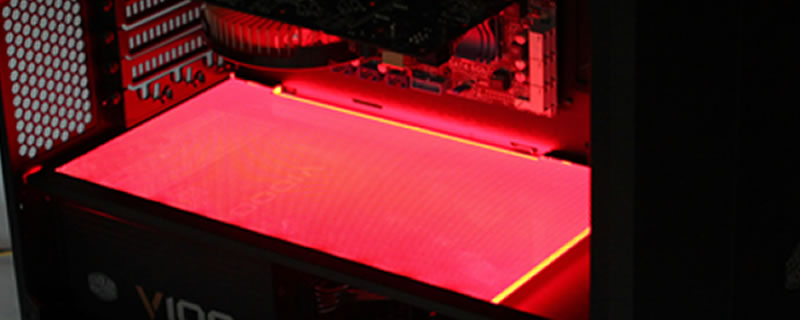
THE LED panel fits into exactly the same screw holes as the original panel, with the original screws being re used. In total we reckon it took about five minutes to swap the panels over. There’s no need to remove the Motherboard, GPU or PSU. It really is that simple. Of note is that in the “off” position, all of the panels appear as the one below, with no evidence of the colour they will become once powered.
