


CoolerMaster MasterAir Pro 4 Review

Installed
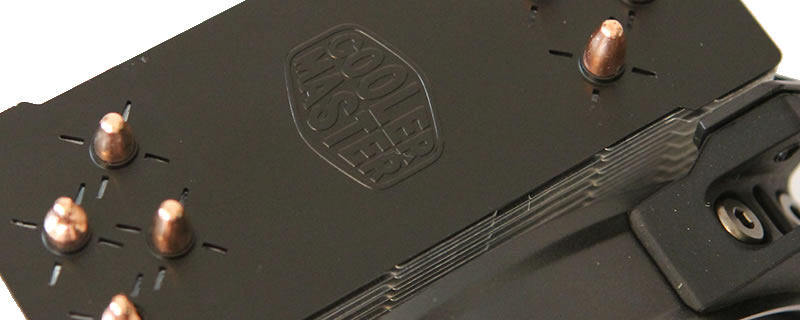
There are two ways of fitting the Pro 4, the first utilises the sort of plastic push pins we’ve all seen on stock Intel coolers, and the second utilises an X bracket that opens out to suit the socket type. Where the plastic pins are easy to fit and engage, we’ve never been convinced that they provide a firm enough contact for our needs, so we chose to use the X bracket, which unfortunately made the Pro 4 a bit of a fiddle to fit. After bolting through to the back plate, the contact plate is then rested on the CPU, with the X being collapsed and fed through to straddle the back of the base plate, locating into a central hole on the base plate. The four legs of the X bracket are then screwed down into the pins emanating up from the motherboard which have been previously anchored through to the back plate. Our experience would have been fine if it weren’t for the central pin of the X Bracket repeatedly popping out of its central location point, necessitating that we had to lift it off, re-locate it, and try again.

Once fitted, the Pro 4 does look smart despite is relatively small case presence. There are no bells and whistles with regards to LED sections or LED fans, but then, this cooler is only £40, so you Shouldn’t really grumble. If you really want a bit of LED bling, it would be easy enough to substitute the supplied fan for an LED unit of you choosing. Just make sure it isn’t all style over substance.

RAM issues??? None here matey, the Pro 4 stops well short of the RAM as can be seen below. And with the extra set of mounts, should you place this on a 2011 socet, you still won’t have a problem.
