Fractal Design Vector RS Review
In the Nip, Alternative Roof Package, and Accessories.
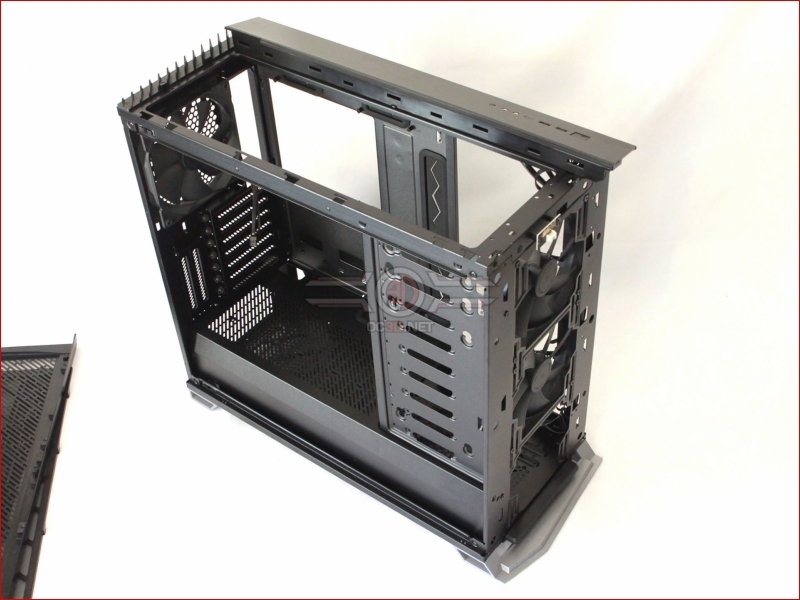
At first view, stripping down the RS seems quite daunting, however, if you happen to care to read the instructions it’s really not that bad. You just have to trust that when you tug on the appropriate panel it will come away cleanly, and not actually break or, in the case of the glass panels, actually shatter. Oh yeah, there are also a few screws to remove, but all is reveled in the instructions. For full conversion to Open layout, you can also remove the remaining roof panel and re configure the HDD mount and vanity panel over to the right hand side.Â
Â
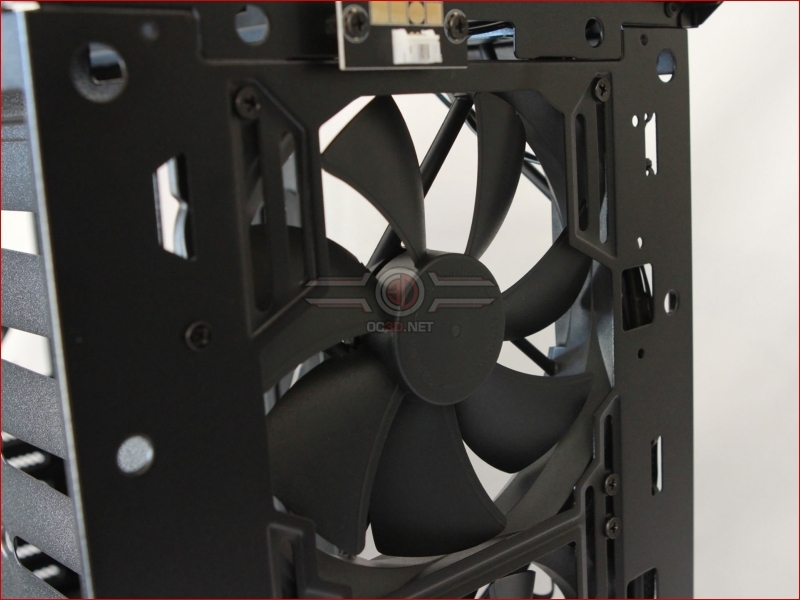
We have to be honest and say that for a case that costs the best part of £170 and which places so much emphasis on aesthetics and lighting, we’d hoped to have seen RGB fans that could be controlled with the same software as the exterior lighting. That’s not to say the 140mm units supplied with the RS aren’t capable, they are, but as part of the “modular” option, it might have been nice to see either “No fans” or “RGB LED Fans” as an option. but then, if it had RGB fans, it wouldn’t be a “Blackout” case any more would it?
Â
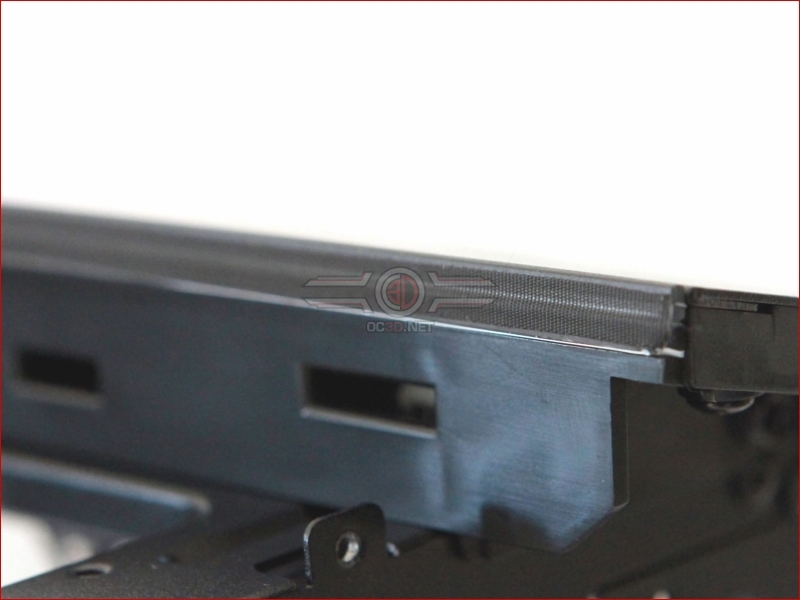
Only now do we get our first glimpse at the ARGB strip. It really is a thing of beauty, both in its inconspicuousness and its functionality. This strip is continuous with that on the front of the case, and is controllable via compatible motherboards and hard ware, or via the included Adjust R1 Controller.
Â
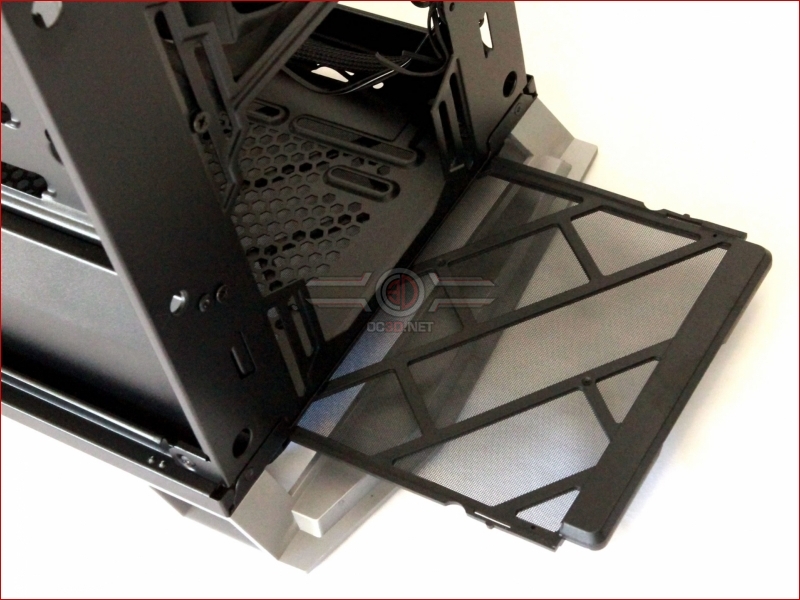
Having looked at the base of the case we were a little confused as to how the full length filter was accessed. Would you believe that rather than make it accessible from the rear, which would have been really easy to do by the way, fractal decided that the only way you can remove it is by first removing the front panel. Yes really.
Â
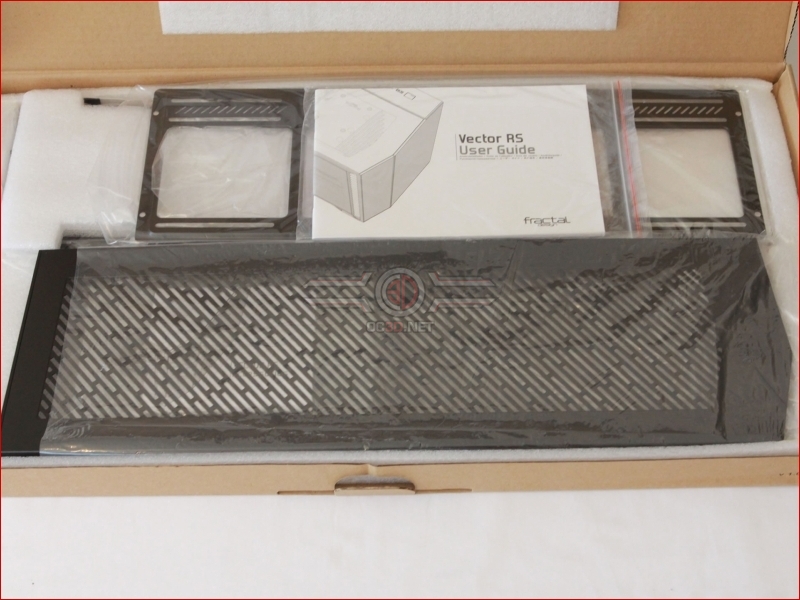
And so to the accessories box that comes with the RS. Inside here you’ll find everything you need to convert the glass roof into an airflow roof. You’ll also find the instructions, and fitting screws etc.
Â
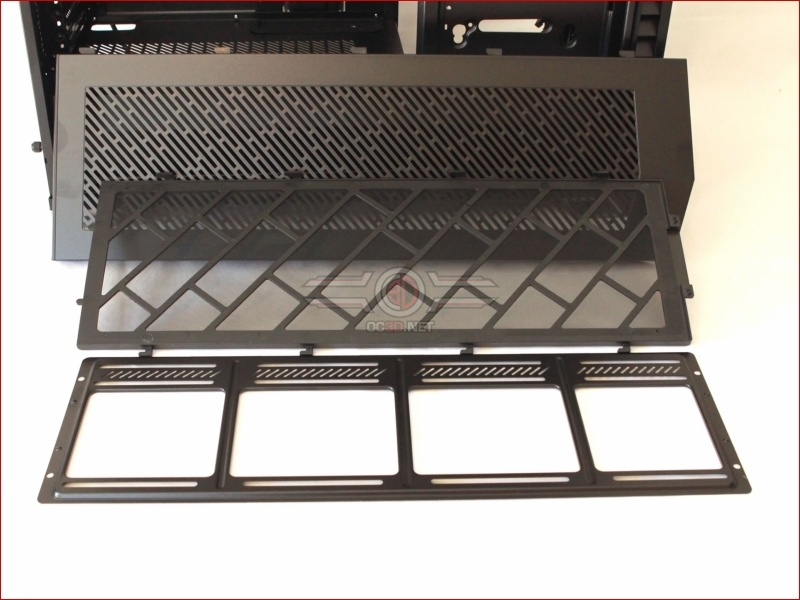
There are a total of three brackets and panels, each of which has to be be placed in a specific order.
Â
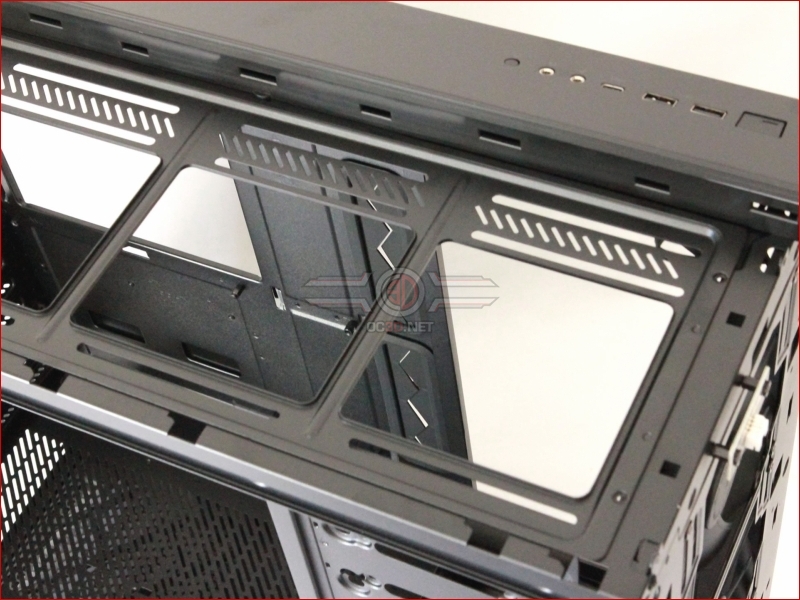
Having first removed the front and glass roof section of the roof the first bracket to be fitted is the rad/fan mounting plate. This simply clips into place and is secured by a handful of screws.
Â
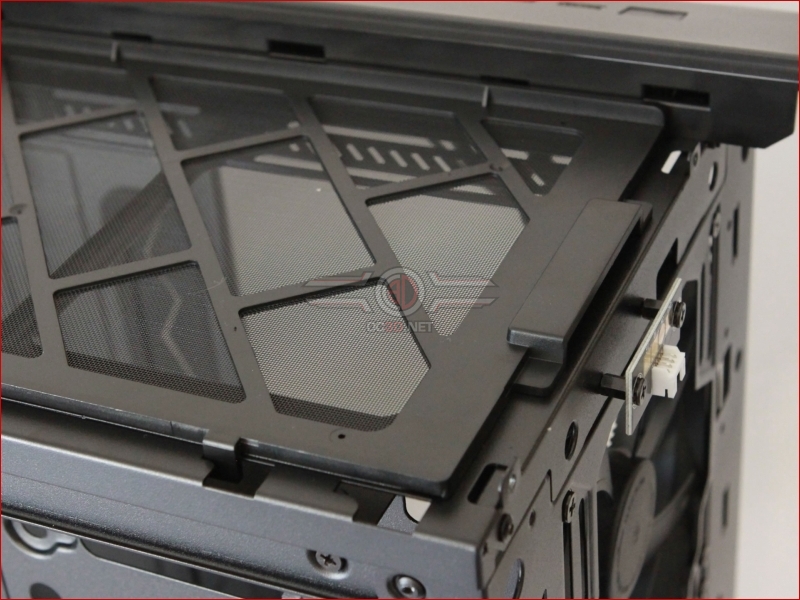
The filter is then placed. You don’t actually need to place this panel, especially if you’re using the roof fans on extract, but if you have them on intake then it’s advisable.
Â
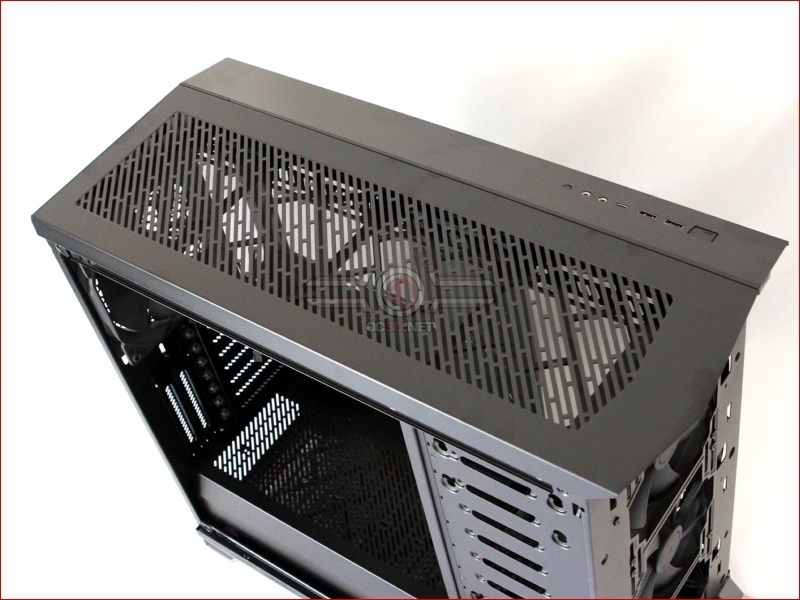
Finally the replacement ventilated roof section goes on to complete the look. Although undoubtedly not as glamorous as the glass section, we don’t think it looks out of place, and of course the ARGB light strip remains fully functional.
Â
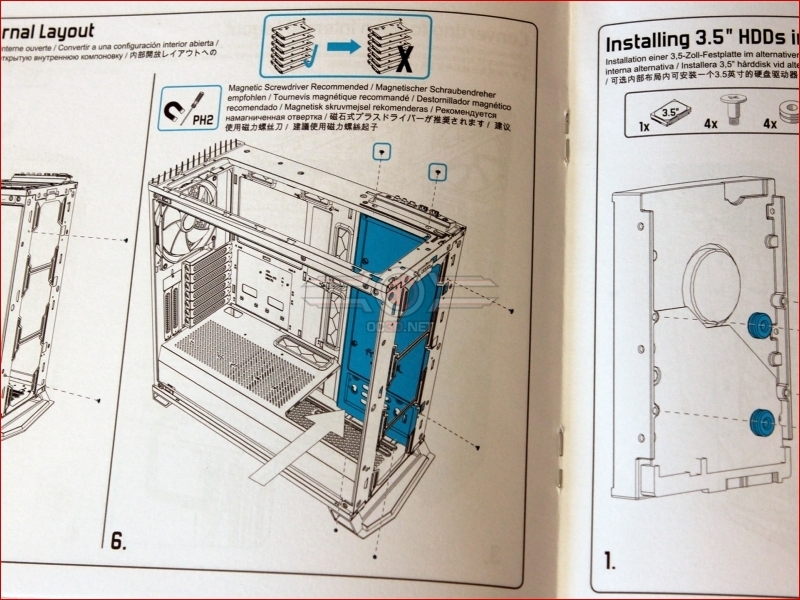
The instructions come in glossy booklet form and are mainly visual with a few bit of multi language text. In the image below you can see how you can move the storage rack and vanity plate over to the right side of the case to allow full visualisation of your front radage in all its glory.
Â
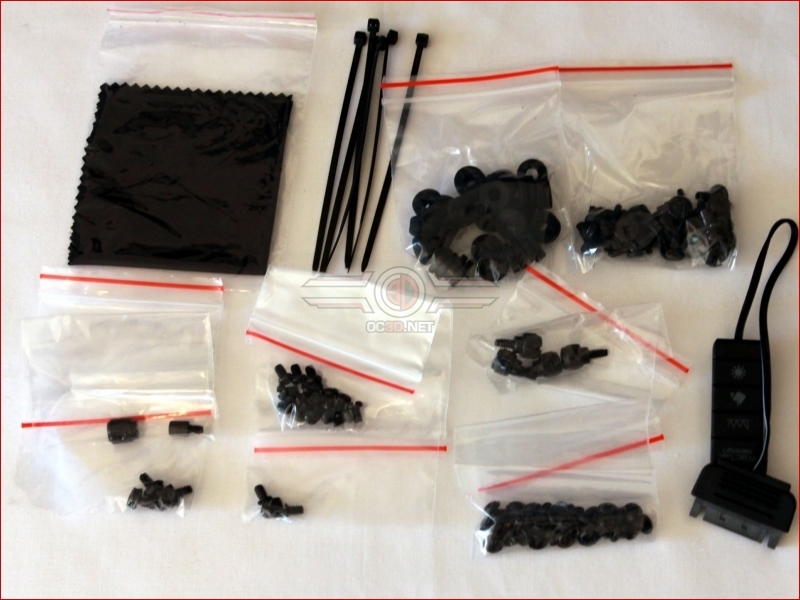
As you might imaging, the RS comes with all the screws and accessories you could possibly want. Fractal also throw in a glass gleaning cloth and a manual “Adjust R1” controller.


