Gigabyte EP45-DS3P (P45) DDR2 Motherboard
Packaging & Contents
Â
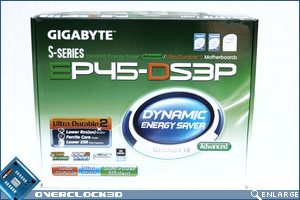
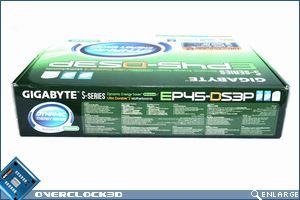
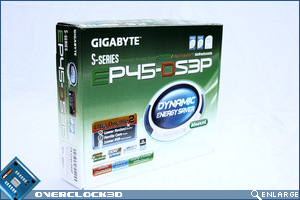
First impressions count so they say and if those impressions that the outer-box of the EP45-DS3P are anything to go by then I am impressed! The box is both sturdy and well presented with no gimmicky mothership from planet Zog plastered across the front as with old Gigabyte boxes of years gone by. Instead we have a classy yet fresh and appealing green and white affair.
Â
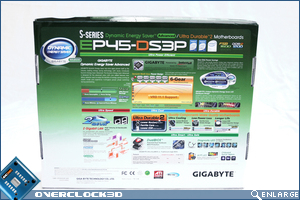
The font itself is embossed along with the main ‘Dynamic Energy Saver – advanced’ feature spread across the front of the box. To the rear of the box there is an in-depth account of the features complete with graphs with the emphasis is on energy saving once more. Overall a nicely presented product in a compact but robust box.
Â
Â
Â
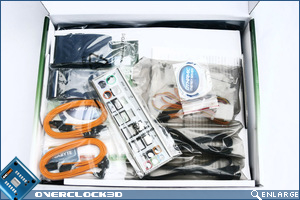
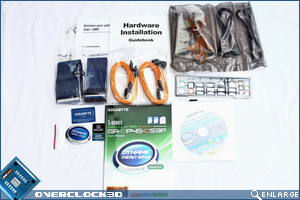
Upon opening the box we are immediately greeted with a plethora of accessories, most of which are also housed in packaging of their own. A common criticism of mine is that a lot of manufacturers still haven’t caught on to the fact that ribbon cables are now very old hat and for a little extra cost, rounded cables would be much more welcome. Sadly, Gigabyte are sticking with the former for the time being which while perfectly adequate is an opportunity missed.
Â
Apart from that, the rest of the package is of premium quality, the four SATA cables are latch type and much better quality then some other premium motherboard manufacturers. The motherboard manual is brief but straightforward enough for anyone to use for either reference or full blown instructions. The I/O shield is a colour screen printed type and much easier to read than the pressed metal ones of old. Also included is an e-SATA PCI bracket for two drives.
Â
 Â
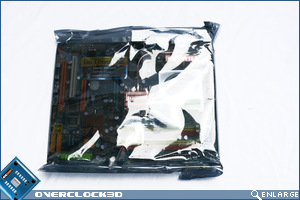
The board itself is contained in a very thick anti-static bag, ensuring there is zero possibility of static killing your motherboard before you handle it. The bottom of the box is padded out with a thin piece of foam that while adequate, could perhaps be more substantial. Nonetheless, our sample reached is in perfect condition despite the box being a little crushed, testament to the robust packaging from Gigabyte. Onto what you really want to know about – the board itself.
Â
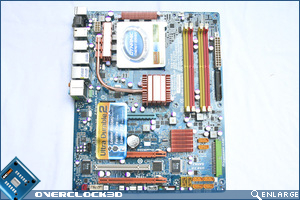
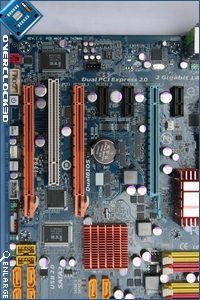
In typical Gigabyte style the board is adorned with almost every colour imaginable and while definitely not to my liking, must appeal to some. Gigabytes stalwart stance on the choice of the colour scheme appears to be past down from generation to generation. If only a more themed approach was taken instead of something resembling an explosion in a Crayola factory! I can’t help feel that more people would be attracted by the aesthetics of the board if the colours were cut down to two or three instead of the rainbow we have here. The PCB only adds to the garishness of the board being a Caribbean blue affair. Colour choice aside for one moment, the board is actually very well designed with all the right bits seemingly in all the right places.
Â
Â
Â
Â
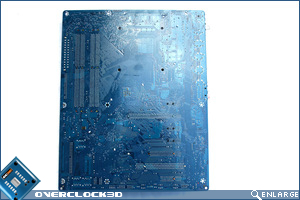
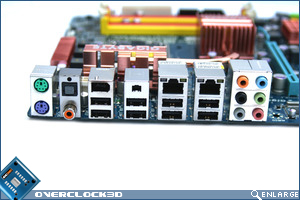
The rear of the board is clear from SMD’s allowing the use of backplates should you wish to use your own cooling solution. The I/O backplate area has a multitude of options available with 8x USB ports, 7.1 Audio, 2x Firewire, 2x Gigabit Lan ports, S/PDIF and Coaxial outputs as well as PS/2 mouse and keyboard ports.
 Â
 Â
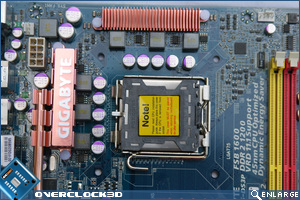
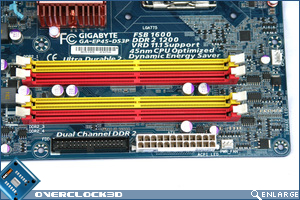
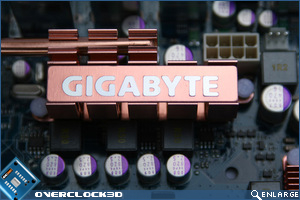
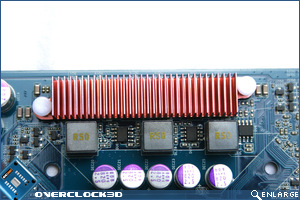
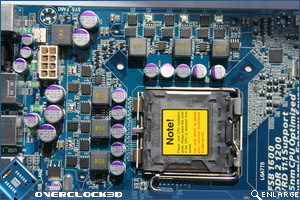
Below, we see the CPU socket area is relatively clean. The two heatsinks covering the Mosfet area are neither too high or too wide so fitting even the largest of CPU coolers should not be an issue. The chokes around the CPU socket may create a slight obstruction should you wish to add your own cooling blocks to the Mosfets but it is unlikely you will go that far on what is in effect an entry level board to begin with and the cooling already in place should be more than adequate for the modest overclocker. Speaking of overclocking I am a little concerned at the lack of phase power on show as with only six chokes, the power delivery may be a little unstable when high voltages are used. Whether this is actually the case, remains to be seen. The DDR2 slots are also placed far enough away from the CPU socket, again allowing the use of a large after market CPU cooler should you wish.Â
Â
Â
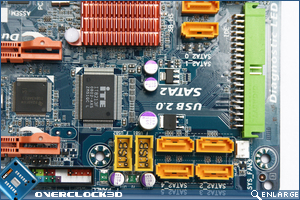
Below left are the PCI slots of the board, black being PCIe x1, Blue PCIe x16, white being standard PCI and the orange slots are PCIe x8/x4 slots. The layout is such that a single dual slot graphics card can be used while still allowing the use of the lower PCIe slots. Gigabyte have used two methods for releasing the GPU cards from the slot, the top PCIe x16 slot being different from the bottom 2 latch design slots. Moving on to the connectivity of the board we see that there are 6 SATA slots along with a single IDE port. There is also a floppy port located further along the same edge of the motherboard. Next to the SATA ports are two USB internal headers and further along we see the front panel connector which is colour coded for ease of connectivity.
Â
Â
Gigabyte have also included ‘quick switches’ which enable the end-user to power/reset the motherboard without having to use the front panel headers. There is also a clear CMOS switch should you need to reset the BIOS settings after a failed overclock results in a non-boot scenario. These all light up blue when powered on and are found on most high end boards from other manufacturers so it is a very nice addition from Gigabyte to include this feature on an entry level board. I would however have preferred the CMOS reset switch to be located on the I/O backplate area for ease of use when the board is actually installed but this is a minor issue. It is also worthwhile at this point to note that the board also features a number of diagnostic LED’s which I will cover in more detail in the features section.
Â
Â
 Â
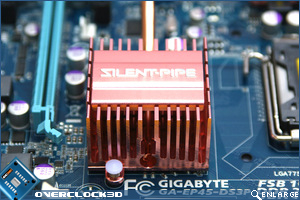
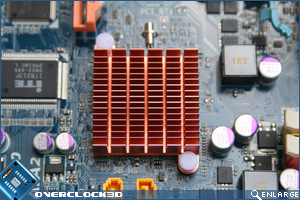
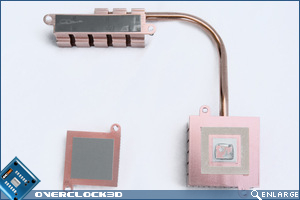
The left Mosfet and Northbridge heatsinks are cooled via Gigabytes SilentPipe solution encompassing a heatpipe linking the two. The uppermost Mosfet area and the Southbridge are both separate. Gigabyte should be applauded for this as all too often motherboard manufacturers link all the heatsinks together with a copper pipe meaning that if you wish to add your own aftermarket cooling all four sections require replacement – not so with the Gigabyte.
Â
I would however had liked to have seen copper heatsinks used as the ones on display here are simply Copper coloured Aluminium. While still cheaper, efficient and light, Aluminum doesn’t have the cooling capacity of Copper. The use of push pins is also an area which could be improved as some manufacturers are now moving towards the use of screw down type which should give a better mount. Let’s take a look under those fake copper sinks shall we?
Â
Â
 Â
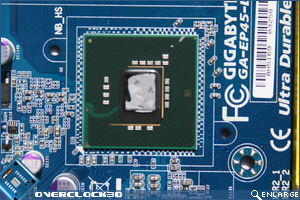
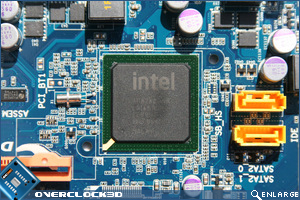
Top left, we see the Northbridge chip. This was the only chip that had TIM applied, the other sections having a thermal pad in preference. The Thermal Interface Material used on the Northbridge can only be described as cement! It was both difficult to remove the heatsink and difficult to remove the TIM from the chip itself. That could perhaps be forgiven, however the TIM did not cover the whole of the chip which is simply not acceptable. This is why a lot of manufacturers have made the switch to screw-down heatsinks and non semi-permanent TIM as the mounting can sometimes lead to this uneven scenario. The other areas of the motherboard were cooled via the thermal tape which, while adequate, again is not the best solution of which to transfer heat to the heatsink.
Â
So while the colour co-ordination of the board leaves a lot to be desired, the cooling methods could be improved and the use of Aluminium is frowned upon, that actual board and its layout is actually very good. With most of the connectivity around the edges of the board and the use of on board switches a very welcome addition to the Gigabyte range of boards, the whole package is one that I would expect to be positioned at a higher price point. Let’s see what else the board has to offer…Â


