Gigabyte EX58-UD4P X58 Motherboard
BIOS Features
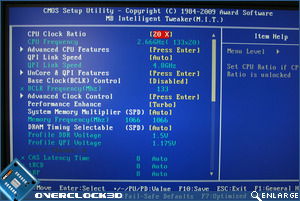
Starting the board up, the first screen we come across after the VGA has initialized is the Full Screen Logo which in effect is the same as the UD5 albeit a red/pink blur instead of a purple one. The section we are most interested in is the MIT (Motherboard Intelligent Tweaker) as this is where we find all the overclocking options and performance tweaks for the UD4P.
Those who are familiar with the Gigabyte BIOS of old will feel right at home here despite the lack of FSB controls. These are replaced with a combination of Base Clock (Bclk), QPI and Uncore controls. For all intents and purposes just adjusting the Bclk will serve most needs, leaving the QPI and Uncore settings on Auto which auto adjusts depending on your clockspeed. All of the major CPU features can be enabled/disabled in it’s own section.
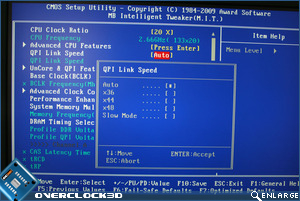
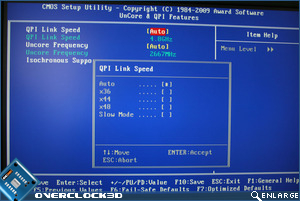
The BIOS is very user friendly and can be navigated by the arrow keys. Pressing enter on the required setting will bring up a new window as with the QPIÂ Link speed below showing all the available options. To save time if you know your required setting you can simply scroll through them via +/- keys or input the setting directly as with the voltages. One noteworthy point IÂ would make however, is that some settings are repeated depending on which section of the BIOS you are in at that time (See both screenshots below).
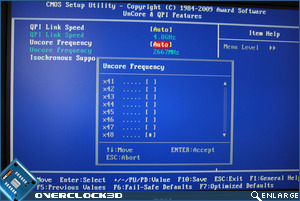
The Uncore frequency is adjusted by the means of multipliers with a maximum of x18 available. Once this multiplier is used then the readout is changed to reflect this new value below the adjustment. A ridiculous Base Clock value of 1200 is available should you be an overclocking Deity but the base clock increases/decreases by single numbers for the mere mortals out there.
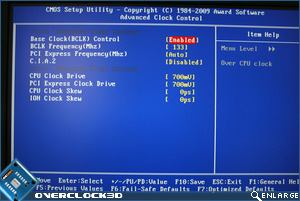
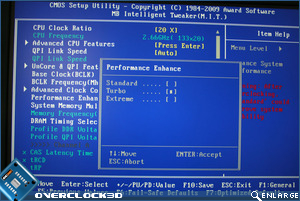
The Advanced Clock Control section fine tunes some of the motherboards frequencies such as the PCIe bus speed. Clock drives and skew can also be fine tuned in this section too along with C.I.A.2 (CPU Intelligent Accelerator 2) which allows automatic overclock to values of Disabled, Cruise, Sports, Racing, Turbo and Full thrust,overclocking your CPU by 0, 5-7%, 7-9%, 9-11%, 15-17% and 17-19% respectively. Another auto overclocking utility is the Performance enhance setting (Stand, Turbo, Extreme) which Gigabyte claim changes your PC’s performance to basic, Good and extreme performance respectively.
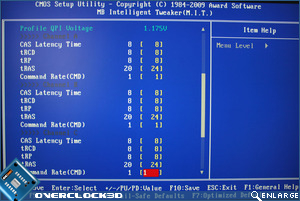
As with Uncore and QPI, Memory bandwidth is controlled by multipliers numbered 6 through 18 i.e a 200 Bclk with an 8x Multi will results in your memory running at 1600MHz – simples! (insert Meerkat wink here). Memory timings are very thorough thanks to the Gigabyte method of setting the latency for each individual channel. While only the main 5 options are available, opening up the advanced DDR timings selection allows a multitude of sub-timings for you to fiddle with until the early hours.
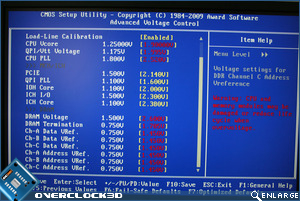
The Voltage section is very comprehensive allowing a massive amount of on-board device configuration. Not only that but the serious amount of voltages allowed could very easily damage your components and motherboard so use with extreme caution. Thankfully Gigabyte remind you when you are being a tad ambitious with colour coded warnings, yellow, purple and red depending on the severity of the voltage selected.
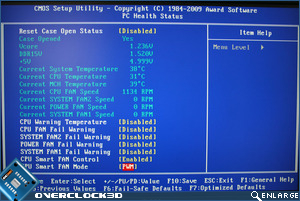
The PC Health screen is perhaps the one section IÂ was a little disappointed in due to the lack of configuration for the 6 on board fan headers. The fan speeds are either controlled by the motherboard or set to run full tilt. Warning are given should your fan fails which is a welcome inclusion but I wish they had actually considered the fact some fan headers might need extra configuration with true adjustable speeds. A screen missing from other motherboards is the security chip configuration screen (default = disabled). Enabling this screen will allow you to make use of the TDP features of the UD4P.
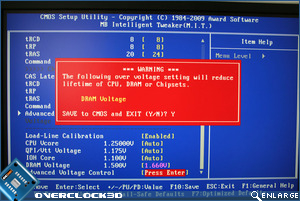
Notice IÂ mentioned earlier that Gigabyte remind you of excessive voltages used by colour coding the resultant setting, well they also present a nice little reminder on the save CMOS screen depicting which setting is causing concern. In my case I had set my DDR3 voltage to 1.66v, this reminder would have been welcome were it not for the fact that this board seemed incapable of setting the Vdimm to the recommended value of 1.65. 1.64 or 1.66 were my only choices. Plucking up the courage I decided to risk it for a biscuit and saved the settings regardless.
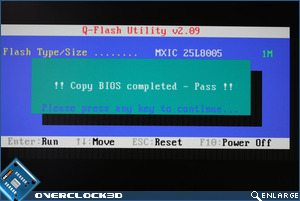
Flashing the BIOS was a breeze and perhaps the best method I have encountered thus far with a motherboard. Simply download the BIOS to your desktop, unpack the contents to a USB stick and on reboot hit F8 which takes you to the BIOS flash screen allowing you to save your current BIOS or flash to a new one. I did not flash the BIOS via windows although Gigabyte do allow for this method. After a number of failed BIOS flashes, I would not recommend using this method, especially when flashing via USB stick is so straightforward.
Well thats about it for the BIOS so I’ll move straight on to the Test setup and overclocking section where we will find out exactly how this board performs…


