Icy Box NAS IB-NAS2000

Installation

It goes without saying that setting up a NAS does involve a little more work than simply plugging in a USB pen drive. However, credit has to be given to RaidSonic for producing a well written and detailed manual for getting everything up and running – and I must admit referring to the manual on a few occasions when the Icy Box got the better of me.

In case you didn’t already know, the Icy Box IB-NAS2000 requires an IDE hard disk and unfortunately doesn’t provide support for the newer SATA standard. IDE is not likely to hinder the performance of the unit, as USB and especially 100Mbit networks will create more of a bottleneck but SATA compatibility would be useful in future versions of the Icy Box as availability of high capacity IDE drives is becoming sparse.
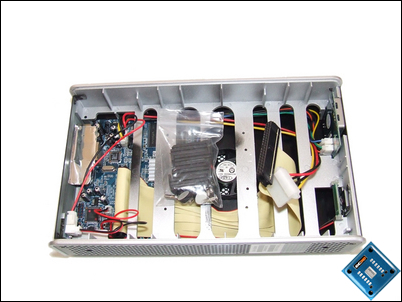
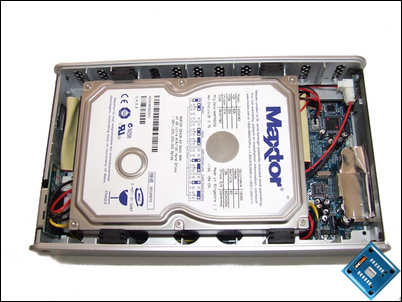
icy Box NAS Inside
In order to open up the Icy Box, 2 screws from the base of the unit and 2 from the back need to be removed. Once inside the unit, you will find a small plastic bag containing the screws and plastic mounts required for installing your hard disk.
Icy Box NAS Hard Disk Icy Box NAS Installed
Two rubber mounts need to be screwed into both sides of the hard disk. The not only provide an effective way of keeping the hard disk in place but also help to dampen vibrations and noise. Once these are installed, the hard disk can be plugged in and seated inside the Icy Box.
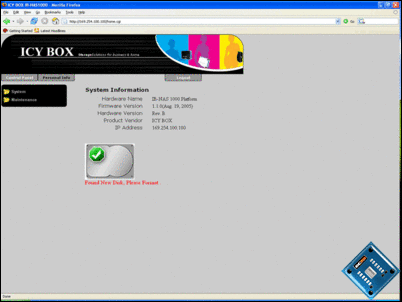
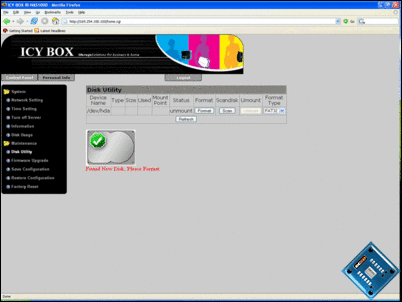
Home Format
Providing your network is able to assign devices IP addresses via DHCP and DNS is configured correctly, you will be able to connect to the Icy Box administration web page by visiting http://icybox. Should this not work, the manual provides instructions on how to configure the Icy Box to work with your network. You will also find a utility for detecting the Icy Box on the included CD.

Once you have logged in to the administration site, the first thing to do is format your hard disk (if it doesn’t already contain data). The Icy Box is able to read FAT32, EXT2 and EXT3 file systems but unfortunately not NTFS or some Linux-Based file system such as Reiserfs or XFS. If your hard disk is already formatted in an unsupported filesystem, the Icy Box will fail to power on as I found out first hand when trying to use it with an XFS formatted disk.

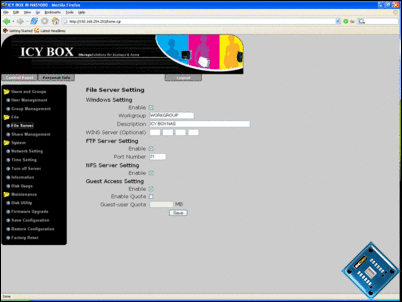
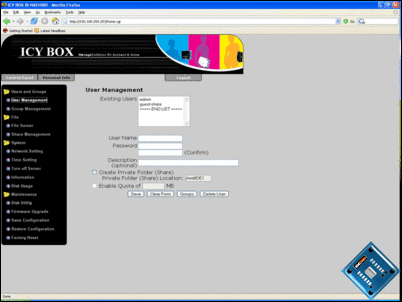
Network Users
Should you need to manually configure the IP address of the Icy Box, change its hostname, change the FTP server port or enable/disable services this can also be done easily from the admin panel.
New Share File Server
Adding new users and groups to the system is a breeze, and can be done by simply entering the desired username and password. Each user or group can also be assigned their own storage quota to prevent them from consuming all of your hard disk space. Setting up passworded folders (or ‘shares’) can also be performed in a similar way as seen above.