


BitFenix Shogun Review

Stripped
The unofficially named “In The Nip” part of the review has to be our favourite, as it’s here that we really get to see what a case is all about. If you’re reading reviews on other sites, and they don’t strip the case down, then you’re being sold short ladies. So what do we find when we strip the Shogun down? Well for starters, it strips down pretty easily, with only the top panel needing a bit of firm encouragement to get it off (don’t we all), and the front I/O remains fixed, which is good as it means you’re not going to have to release shed loads of cables. The front of the case comes with a pair of 120mm fans, but has mounts for 140s, although strangely these don’t go all the way up to the top, it actually possible to get 3x120mm fans in there.

The roof of the case is also slotted for a pair of 140s or three 120s. The panel has also been lifted up in order to maximise the roof space for water cooling.

If you want to fit an E-ATX board, the Shogun comes with an additional panel, which can be fitted once all the HDD racks and GPU support shelves have been removed. This panel then gives an additional set of cable management holes for use with the larger board.

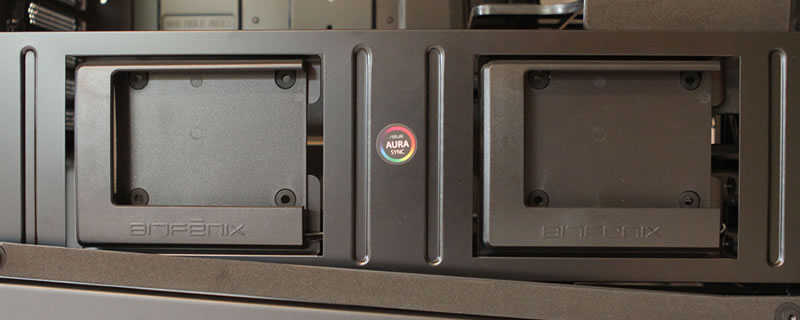
OK, so 18 thumb bolts later and we have all the internals out. We’ve even removed the SSD panel. Doing so got us thinking how great an idea it would have been if the panel could be placed vertically over at the front of the case where the E-ATX panel fits, giving you the option of having your show off mounted vertically or horizontally. Sadly it doesn’t but if you’re handy with a dremel it could be made to fit quite easily.

These last couple of fittings on the floor can also be removed should you so desire, but by this time our thumbs were numb and bleeding so they stayed where they were.
