CoolerMaster MasterLiquid 240 AIO Review
The Build
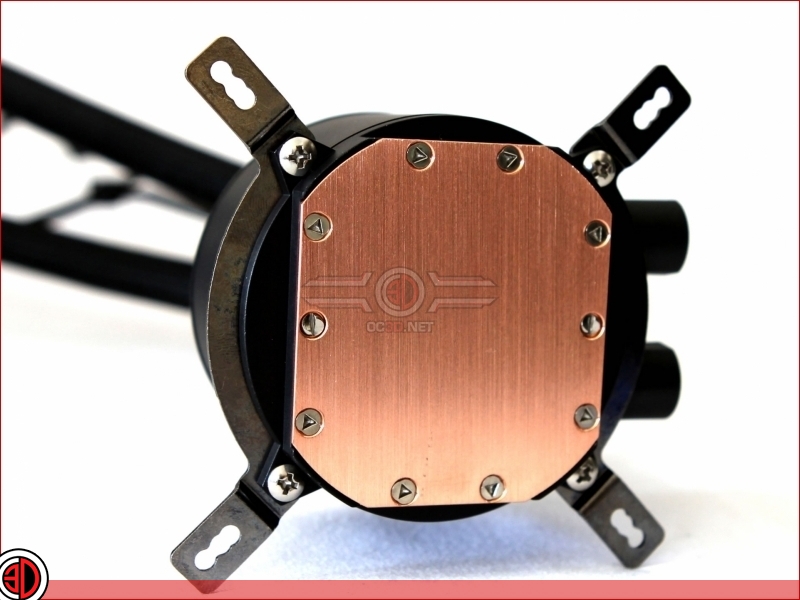
Step one in the build is to attach the required mounting brackets to the pump. Â In this case we’ve gone for our usual Intel brackets.
Â
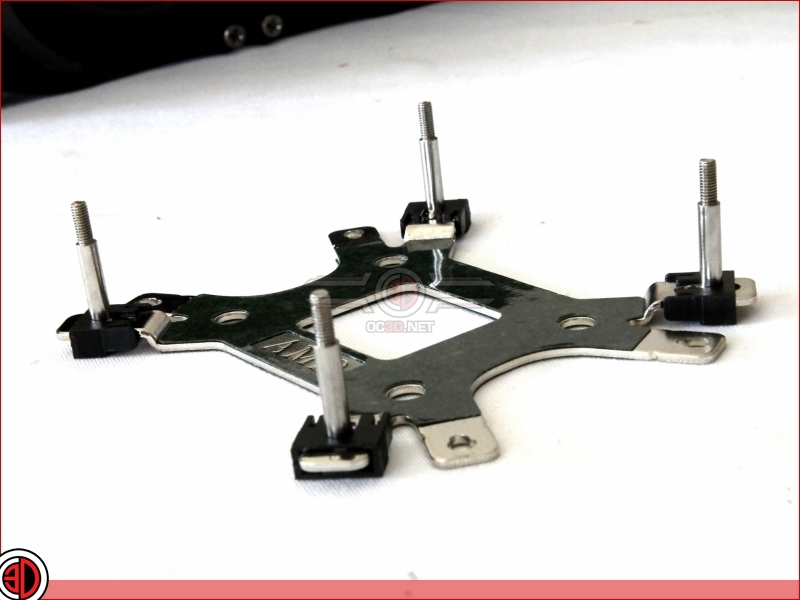
The cooler comes with a universal back plate mount which caters for just about anything including the new AM4 mount. Â For Intel, all you’ve got to do is make sure the pins are in the right place so that they line up with the holes.
Â
The pump then slips over the pins and is secured in place with thumb bolts. Â The thumb bolts can then be tightened down with a flat head screw driver. Â For Bob’s sake, why a flat head? Â Are we turn of the century carpenters, or do we just like the added risk of it slipping off when it’s right next to the motherboard?Â
Â
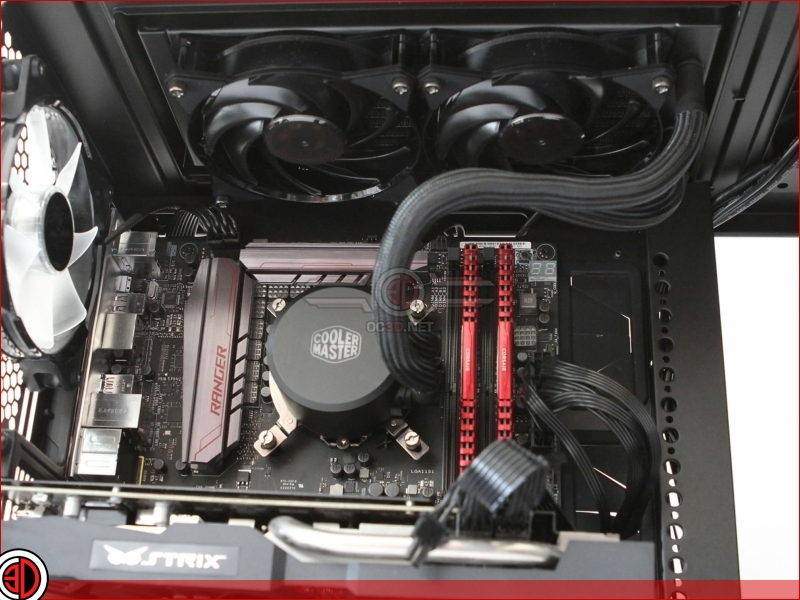
The Tubing curves quite naturally in the right way, but if you felt the urge to make it curve the way you wanted it to, all can be easily adjusted by means of moving the rotating elbow joints on the pump.
Â
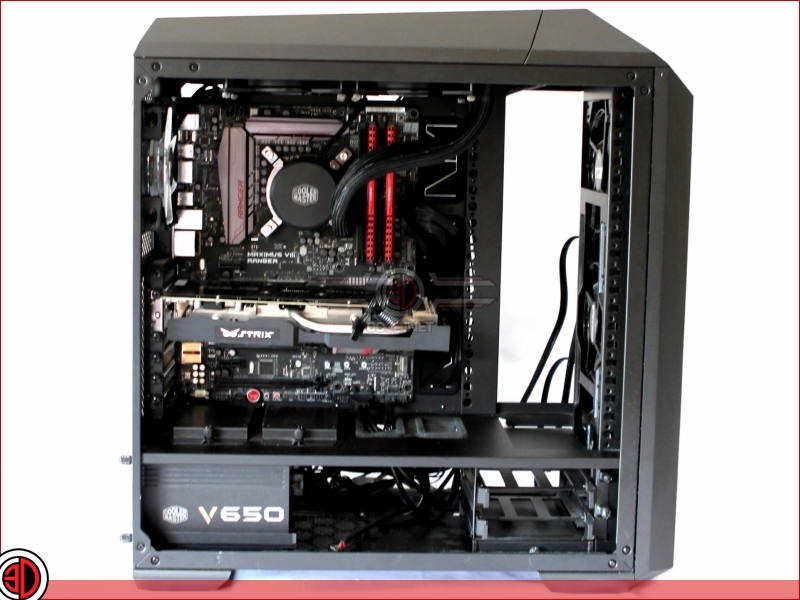
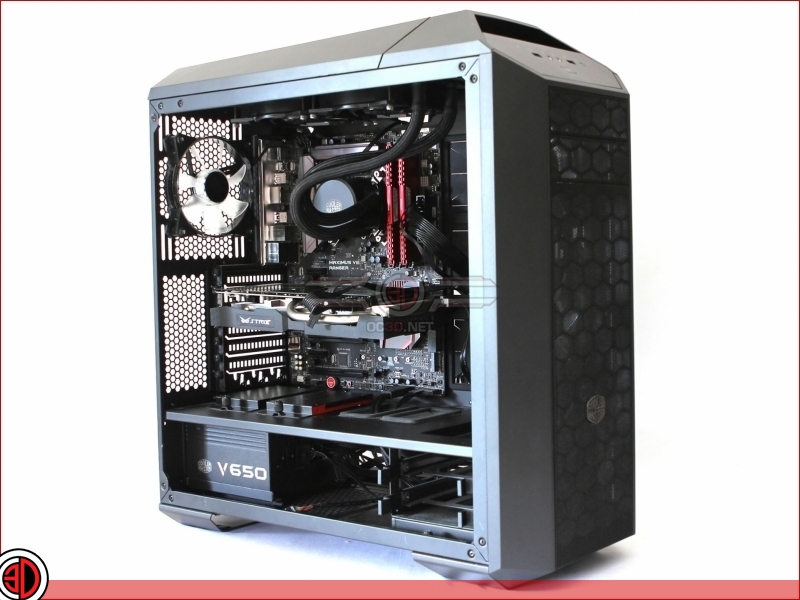
With an overall depth of 52mm including the fans, the MasterLiquid 240 should fit into a great may cases, not least of which is our trusty CoolerMaster Master Case 5 test bed.
Â


