Kolink Phalanx Review
Stripped and Accessories.
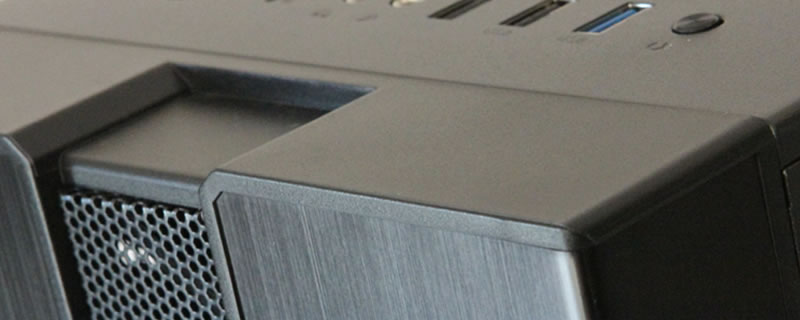
Aside from the brushed Aluminium front panel and the magnetically attached top filter, there’s not really a lot to strip off the Phalanx, which, for us is always a positive as it means that we don’t have a chassis covered in a sh1t load of “aesthetic plastic”. If you needed to, you could always lift off the suicide glass door panel, but we managed to complete our build without needing to do this.
Â
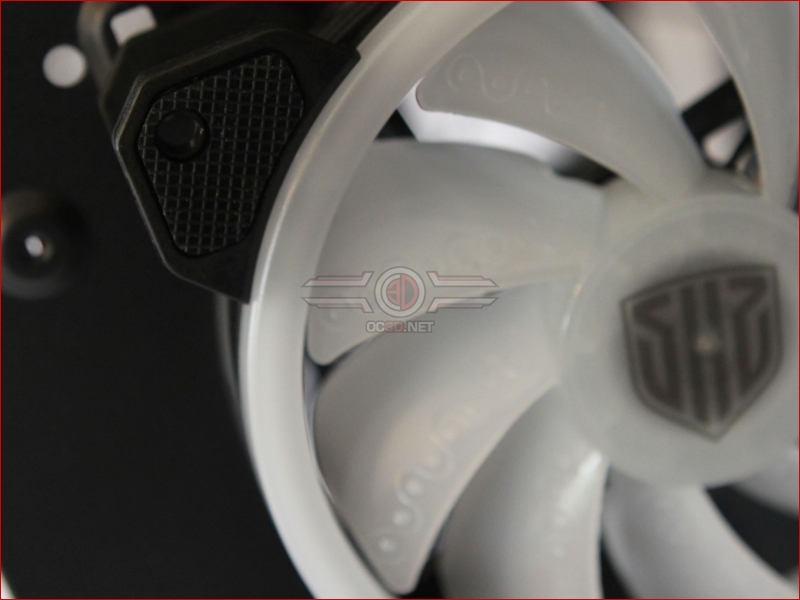
The four DRGB fans that come with the Phalanx are quality items, with rubber anti-vibration pads and thick well crafted, good quality blades.
Â
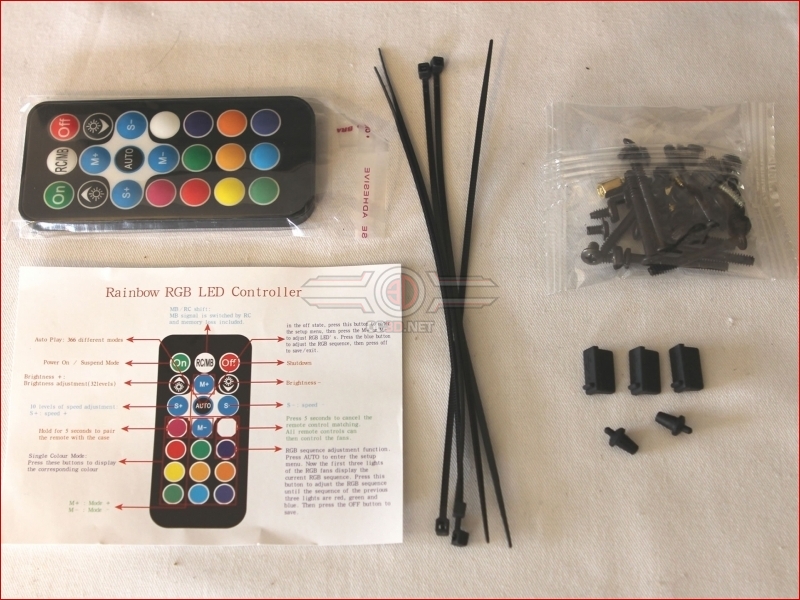
We couldn’t actually find any instructions in the sample case we have for review, which could mean it’s a pre production sample, or just that Kolink don’t think you need any, which is quite a presumption to make. Granted, if you’ve built 100s of cases before, it’s not such a biggy, but if this case is your first rodeo, then you’d probably appreciate some guidance. What it does come with though is an accessory pack that bulges so much that an 80s Rock Star could shove it down the front of his jeans to impress the ladies. On a more practical note, what we have is the remote that controls the DRGB lighting, all the screws and fixings you’ll need for your build, some cable ties, and some rubber things, which if you haven’t already realised are designed to be inserted into the front I/Os when they’re not in use. Not sure why you’d want to do this, but hey ho. Some may think they help to “Stealth” the front I/O, while other might well argue that they actually draw attention to it by saying “Hey look at me, i’m a fairly inconspicuous hole, but now you’ve had to look twice because you’re not used to seeing bit of rubber sticking out of me”. Each to their own we guess.
Â
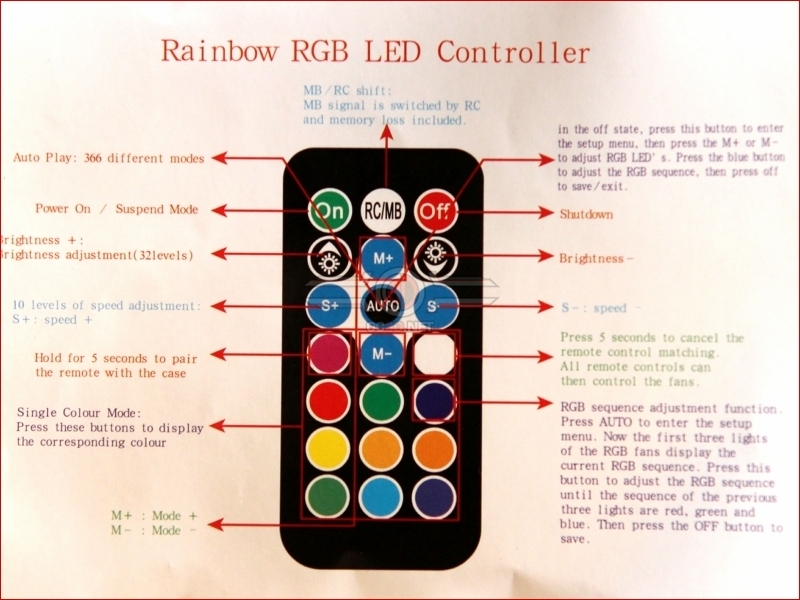
They say a picture speaks a thousand words, so rather than spend time describing the inner workings of the DRGB remote control in infinite detail, we thought we’d show you a close up of it’s functionality.


