


Raijintek Orcus 360 AIO Review

Conclusion
OK, so the fizzy feeling in our pants that we felt at the outset of this review has, its fair to say, somewhat subsided now. Why has the fizzy feeling subsided? Well sadly we don’t have a new Torture Test champion. Close, but no cigar as they say. That’s not to say the Raijintek Orcus failed to perform, it did in fact perform very well, particularly in the Skylake testing, being bettered only by those with larger radiators and faster, and indeed noisier fans.
So what does the Orcus have to offer that the competition doesn’t? Well for starters it’s got full LED RGB functionality. Although rare, in itself this isn’t unique, but the ability to control your lighting from either a suitably enabled motherboard, or, from the remote control that comes with the cooler, isn’t something that many, if any others offer. The main outstanding feature of the Orcus though is that it performs as well as it does with fans that according to our own testing kick out just 51.3dB(A). This figure places the Orcus extremely well in the Noise testing graphs, making it the quietest AIO we’ve ever tested, and in fact only the two spots off being the quietest cooler of any description we’ve ever had come through our hands, missing the top spot by a mere 0.3dB(A)
If the Orcus has a failing, it’s not in the AIO itself, but in the instructions that come with it. Where do we start? Well for starters, the images are small and not very clear, and the multi language text that accompanies them does not really appear to relate to the images, but rather represents secondary instruction in fitting. Two examples of this are that you are required to fit four spacer blocks between the motherboard and the top mount bracket. These spacers are threaded on either end, with one end being concave, and the other flat. The size of the images in the instructions however make it impossible to tell which end is meant to be which, leaving it up to trial and error to determine the correct orientation. The second example is that the assembly instructions clearly give guidance on how to add the supplied coolant fluid to the loop, leading you to, not unreasonably believe that this is an integral part of the assembly, and further causing you to wonder why they didn’t fill the loop before shipping, or if they did, are they expecting such leakage and evaporation rates so as to deem it necessary to include a top up mechanism. Nope, the guidance is there in the installation instructions, so for some odd reason it must be necessary for us to have to add coolant as part of the build process, right??? Wrong. Having taken the plug out of the cold plate, I can reveal that the loop is shipped absolutely brim full of coolant, leading us to the natural conclusion that on one hand, the instructions are a pile of Dingo’s Kidneys, and on the other that Raijintek are expecting a certain amount of coolant loss, though why the latter is the case is beyond us as the braid Covered Teflon tubing is par for the course.
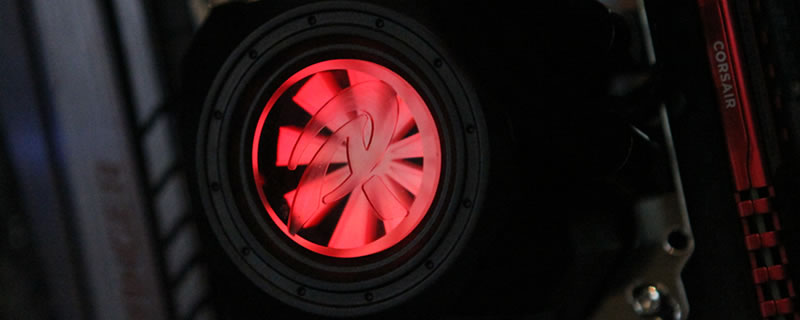
Installation woes aside we have to say that we actually quite like the Orcus 360. Why? well you’re only going to install it once, and to be honest even without clear instructions it’s not that hard to work out how. The main reason we like it though is that it’s one of the only AIOs we’ve ever come across that can maintain a high end Kaby Lake Overclock without making your ears bleed. Of, and did we mention it looks damn sexy too!
From an awards perspective, we’re garnering the Orcus 360 with the OC3D Approved award.
You can discuss your thoughts on the Raijintek Orcus 360 AIO on the OC3D Forums.