Intel Undervolting Guide

Gigabyte Motherboards
Gigabyte Motherboards
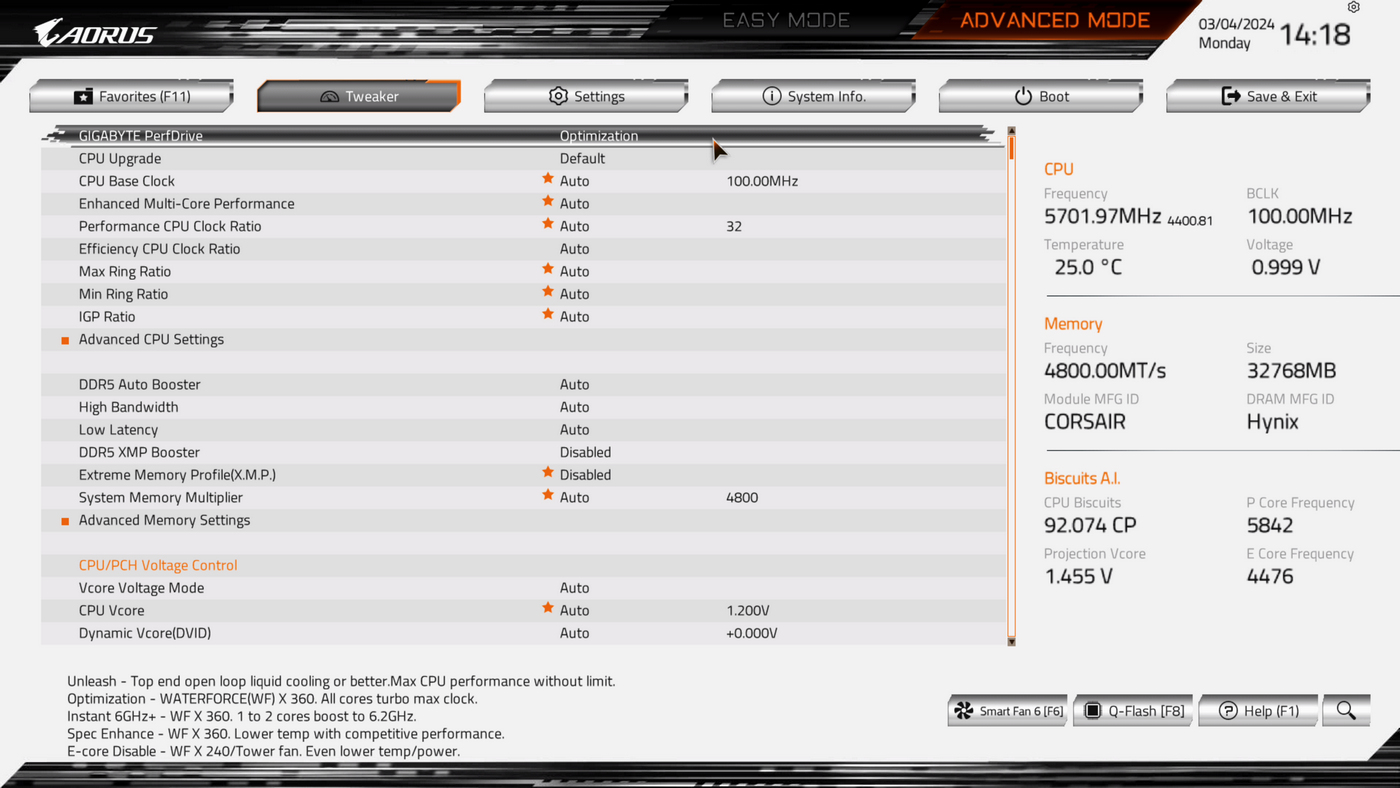
This is the default screen you’ll see upon first pressing Delete. If you’re really new to this then turn on your PC and just tap delete until this screen appears.
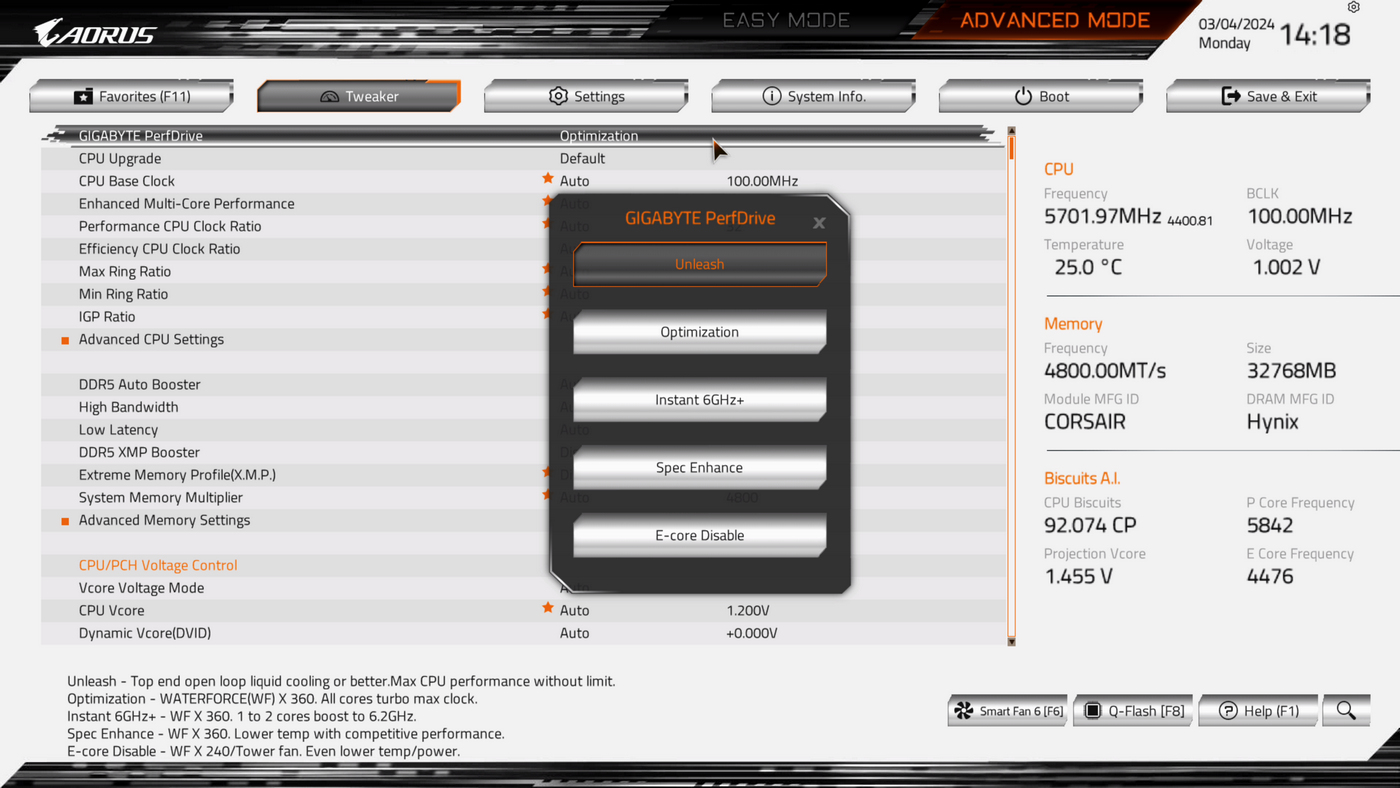
To open the taps and allow your Gigabyte motherboard to flex its muscles and let you adjust everything perfectly, pick Unleash from the PerfDrive option at the top of the screen.
Now we want to set the load-line calibration which is tucked away beneath Advanced Voltage Settings…
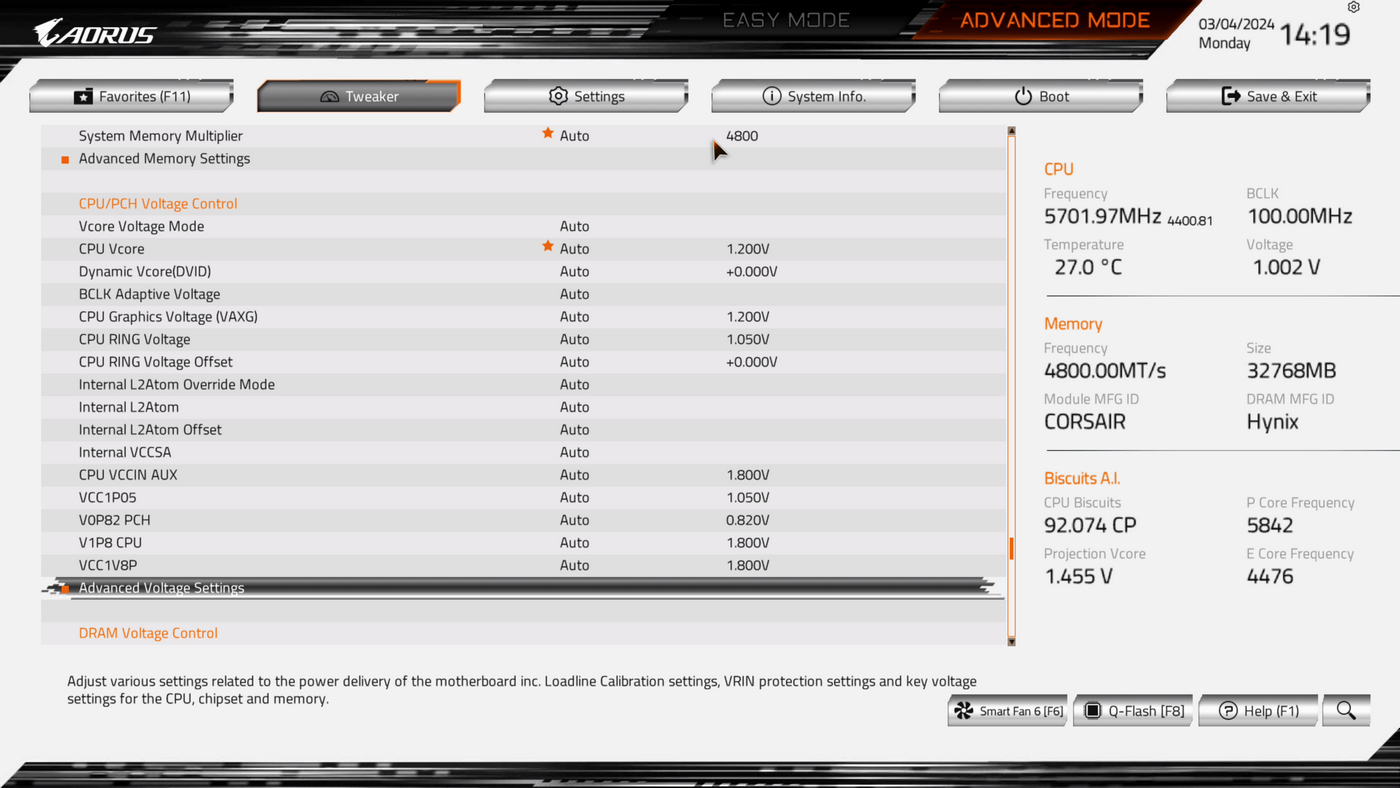
CPU/VRM Settings…
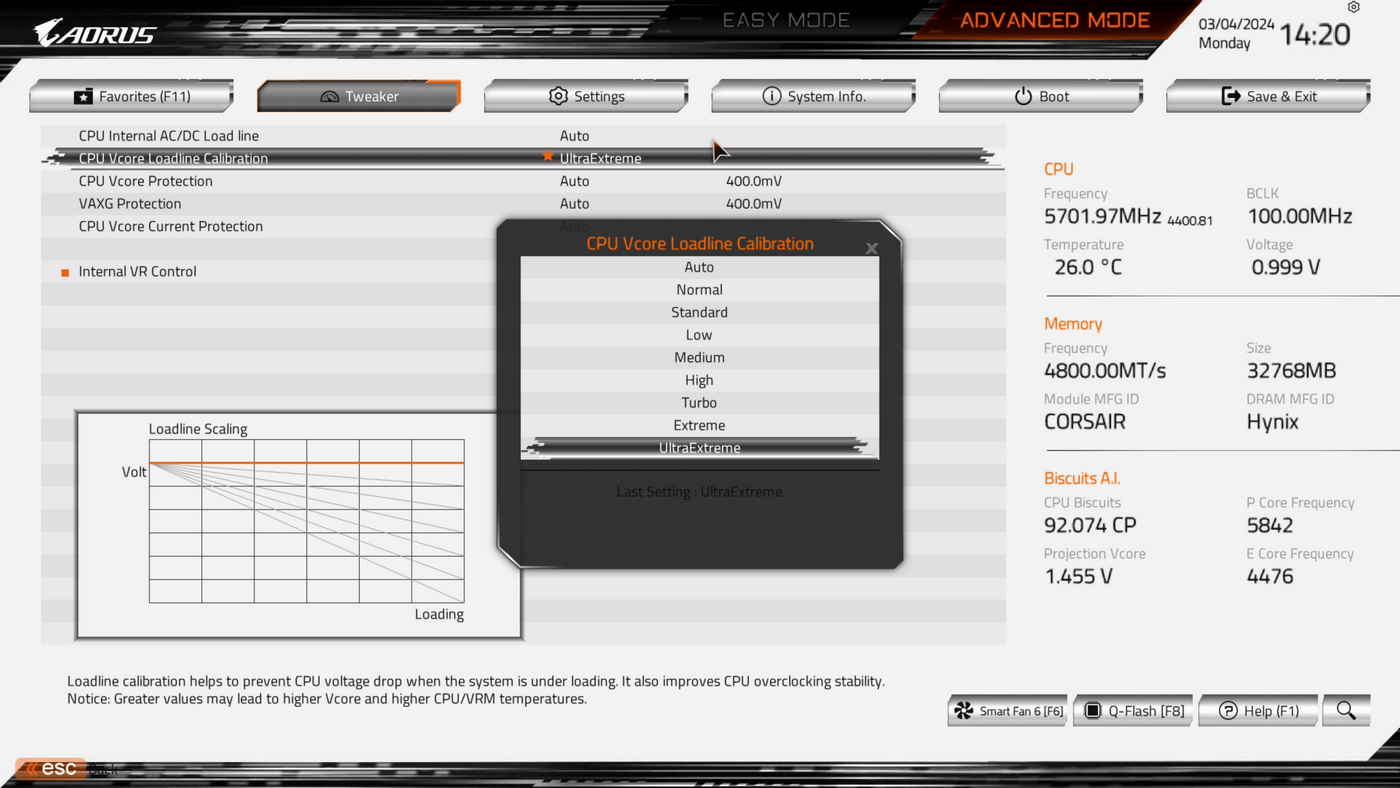
Here is where you can adjust the load-line calibration. This will be the key thing you’ll adjust in the beginning of your experiments. It reduces Vdroop, vital when we’re setting a fixed voltage so we get consistent performance. Generally you’ll need up near the top but, as we said on the methodology page, if the voltage is above that you’ve set then you can drop down a level. We’d start one from the top and then fine-tune as necessary.
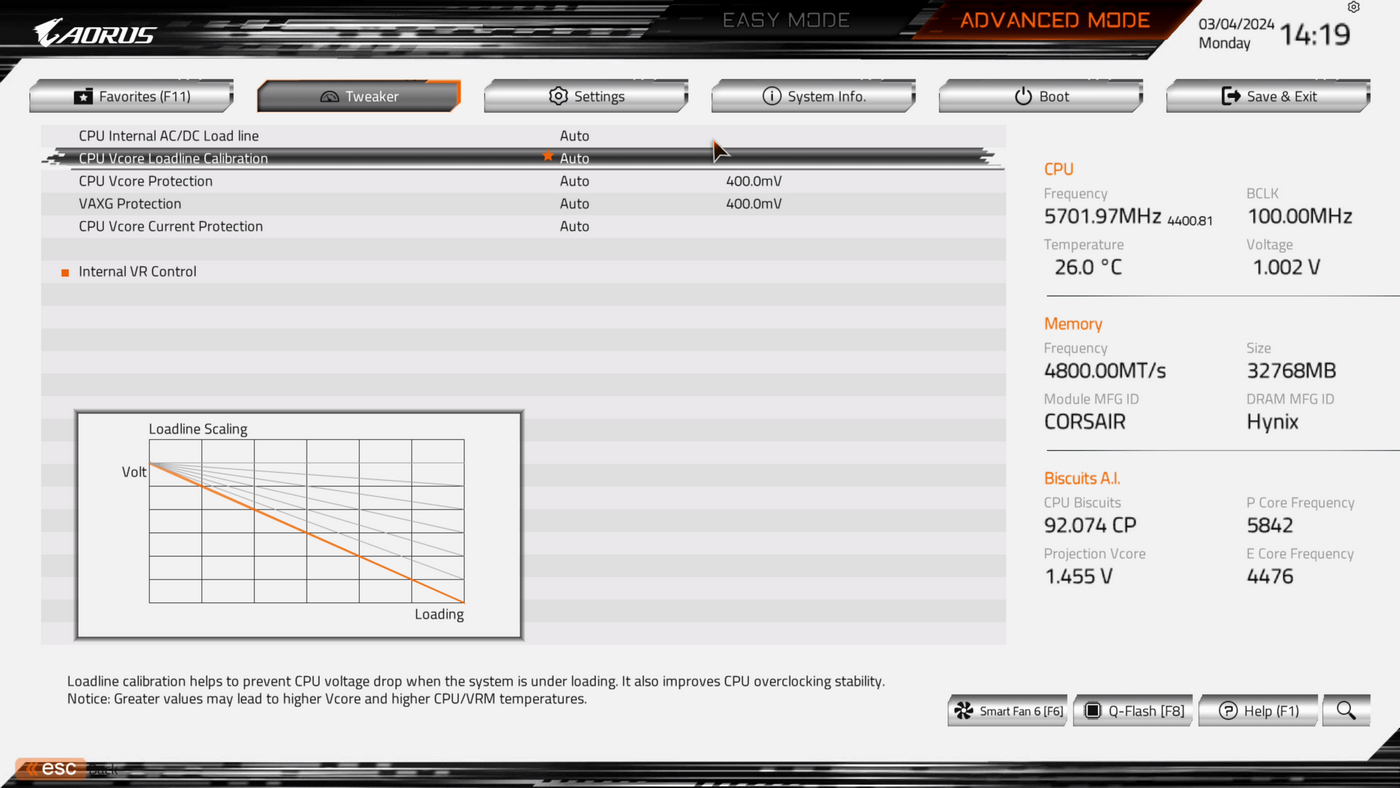
There are many options available on a Gigabyte motherboard. You might have even more than are shown here. We’d stick to Extreme to begin with and adjust as necessary.
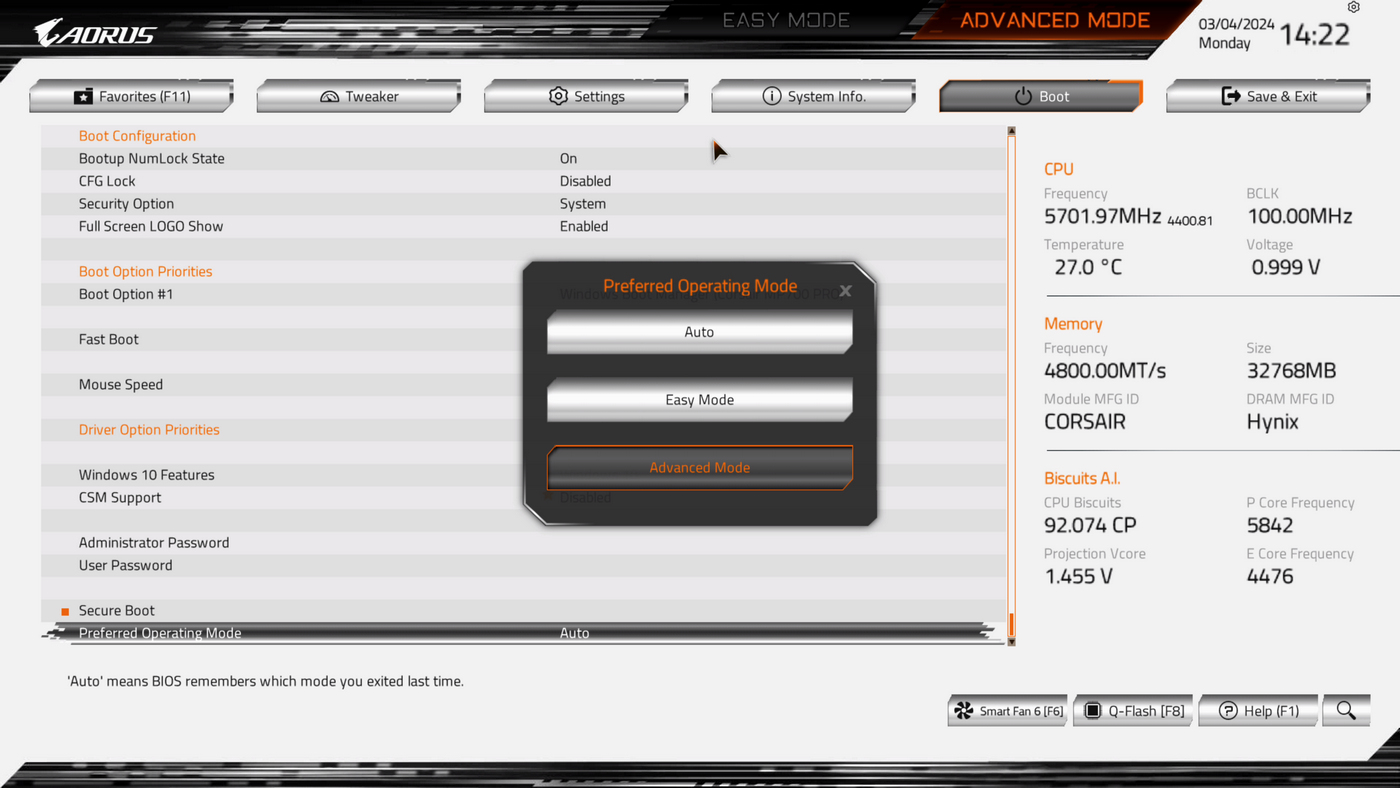
If you want to make things easier on yourself when returning to the BIOS to make further changes you can go into the Boot menu, and at the bottom beneath the Preferred Operating Mode pick Advanced mode. This stops you having to select it each time.
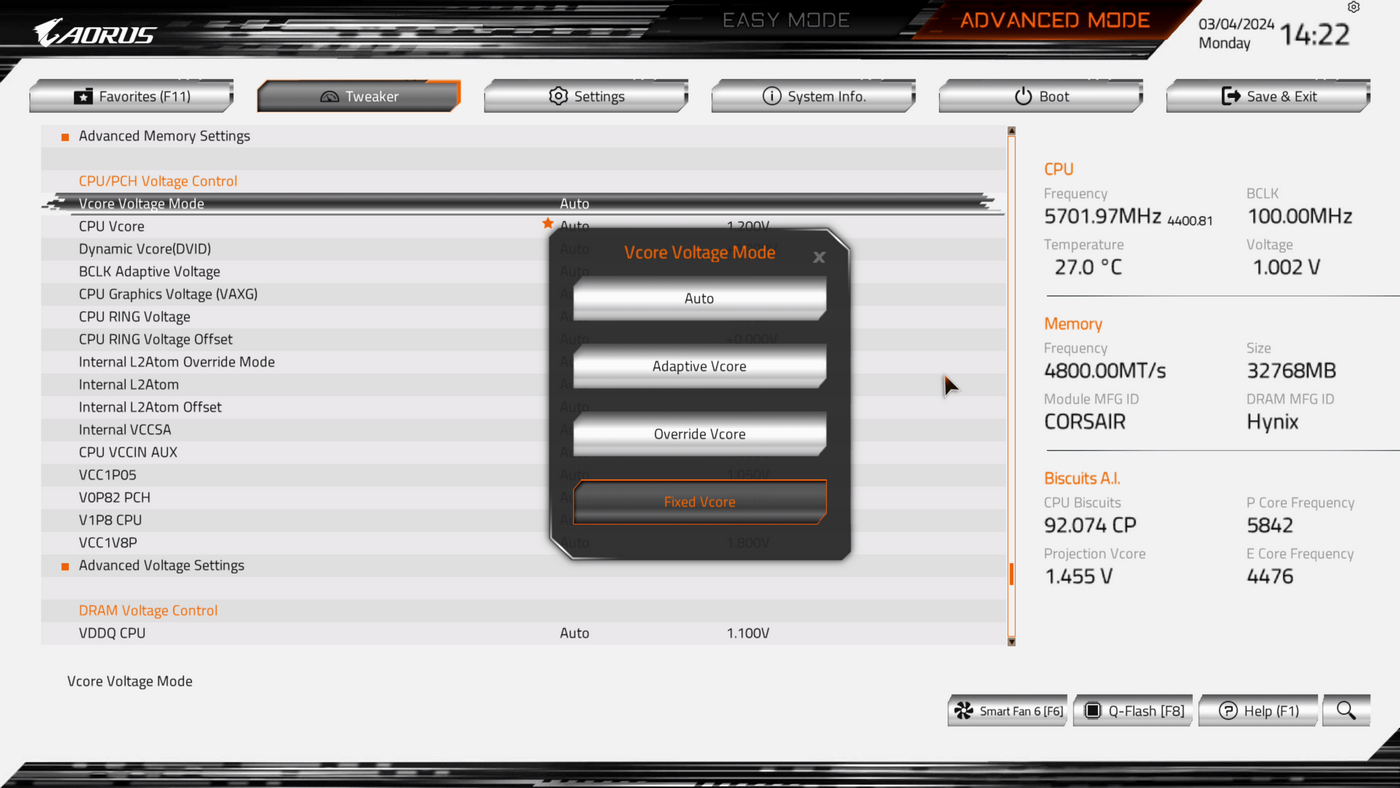
Lastly, after you’ve set all that up and done a single Cinebench run you’ll know the peak voltage your CPU runs at. So we can go into Fixed VCORE and set that voltage 0.05v below the peak you saw in HWMon before. This is the screen you’ll return to a lot until you’ve hit the floor, after which you might lose consistent performance.