

Makera Z1 Review – CNC Machining for the Masses

CNC Projects
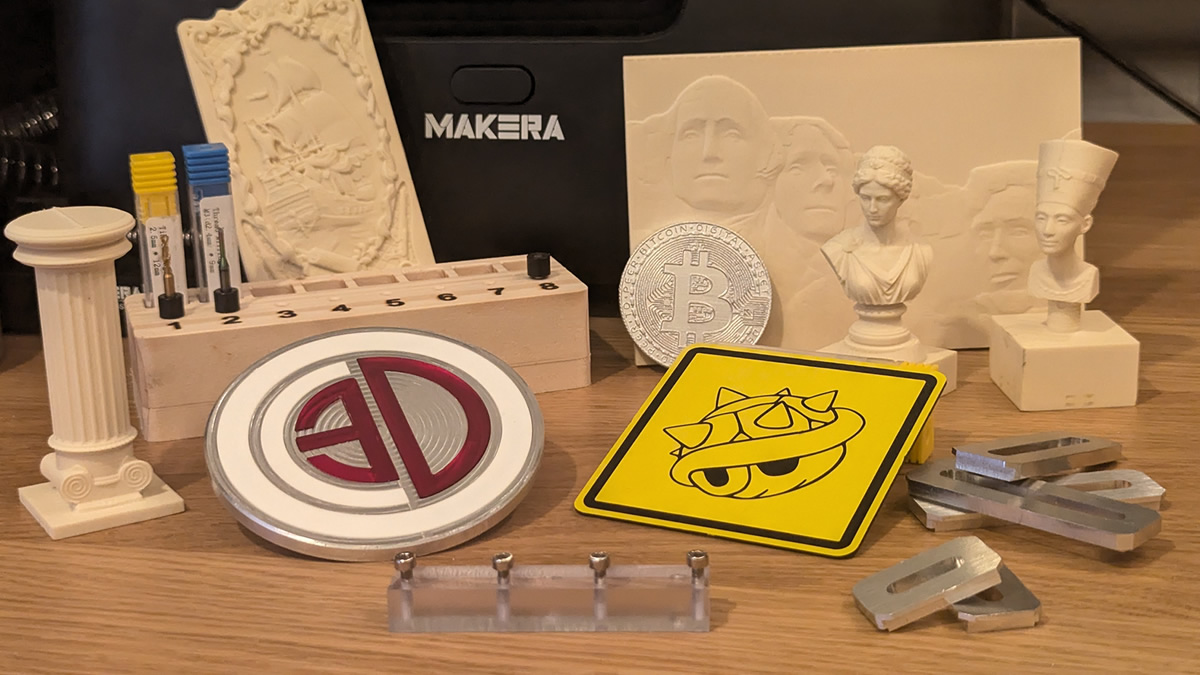
Completed Projects
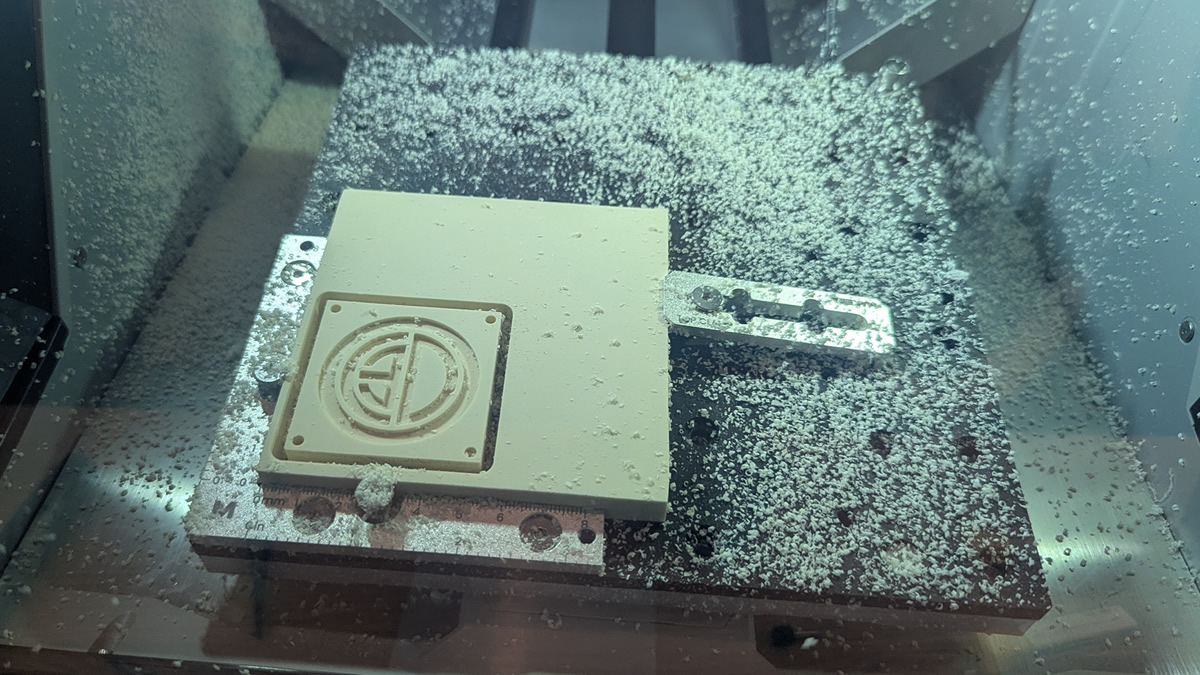
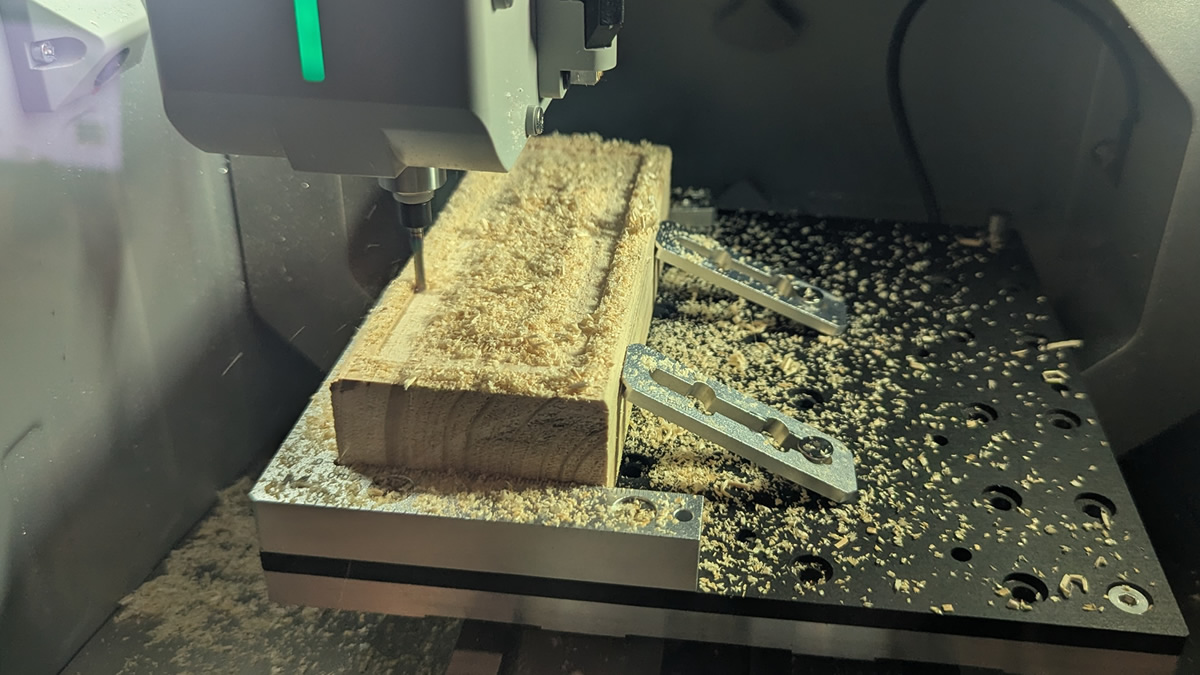
Ok, so we have a CNC machine. So what are we going to do with it? First, we started small. A simple OC3D logo, some drilled holes and a full external cut. We used Makera’s online resources to learn how to use their Makera CAM and Control Software (as Makera Studio wasn’t available when we first received our review unit).
With Makera’s plentiful online resources, this was a very simple job to complete. Between Makera’s Wiki and YouTube channels, it is very easy for beginners to learn how Makera’s hardware works.
Next up, METAL
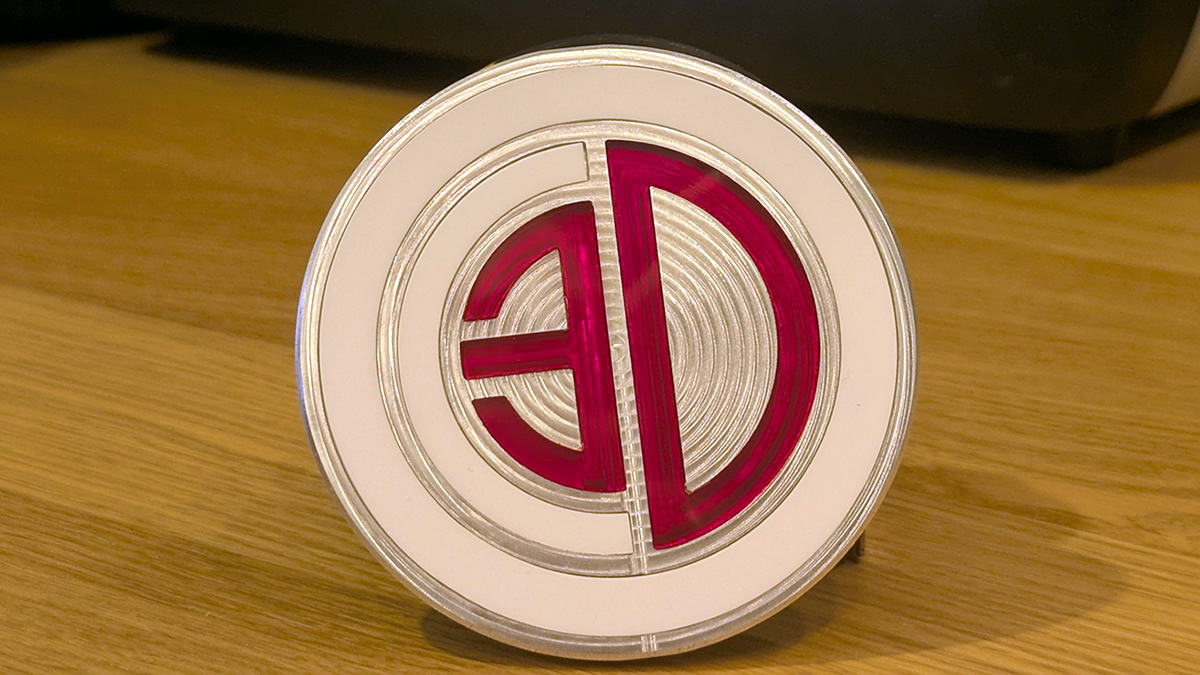
Next, I wanted to do something with a harder material. I’ve had a 3D-printed OC3D coaster on my desk for a while now, and maybe it needs an upgrade. While it did take a while (CNC machining metal takes time), I was able to cut an OC3D logo into some aluminium, cut it out, and give it a chamfered edge. Then I thought it needed proper OC3D colouring. So my next job was cutting some acrylic inserts for this aluminium piece. Once I did that, all I needed to do was press everything together and voila!
Thankfully, Makera’s software sets the speeds and feeds for its tools if you tell it which bits and what materials you are using. This makes using Makera CAM and Makera Studio an easy process. You can use Makera’s pre-defined presets, or add your own settings for custom materials or alternative milling/engraving/cutting bits.
A custom engraving
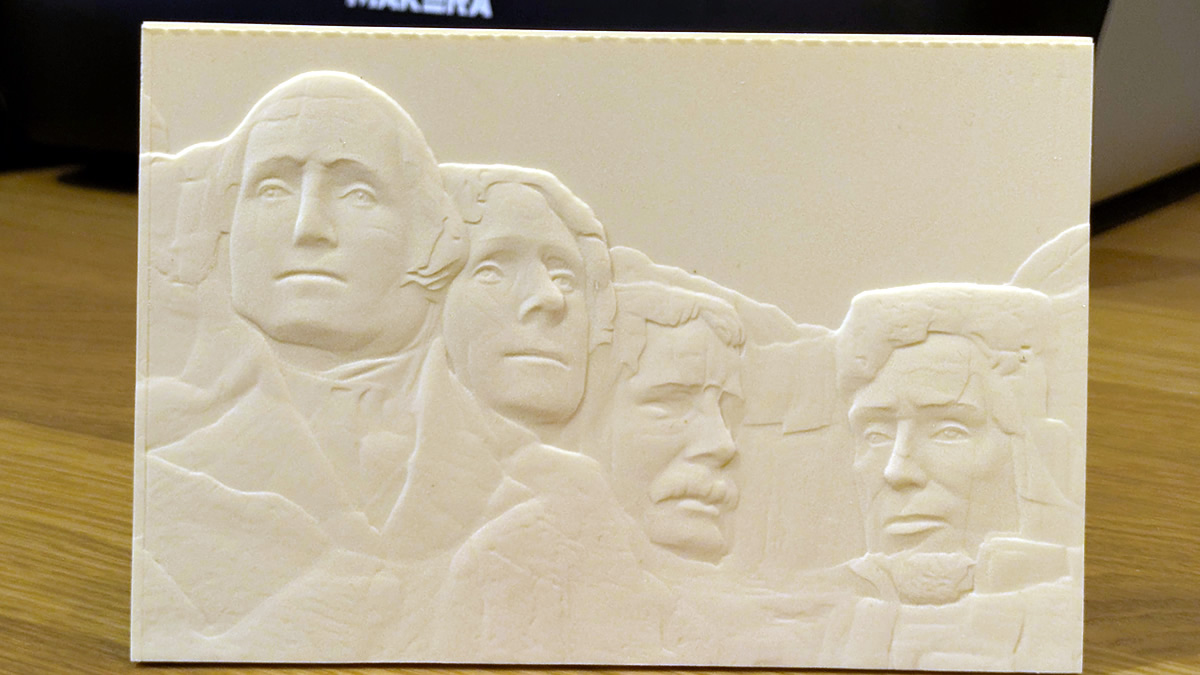
This month marks America’s birthday, so let’s celebrate by turning this image of Mount Rushmore into 3d engraving. Just get an AI tool to turn the image into a 3D file, insert it into Makera CAM (or Makera Studio), and get engraving.

Overall, I think this turned out well. With the Makera Z1, anyone can turn an image into a 3D engraving.
Custom Bits holder
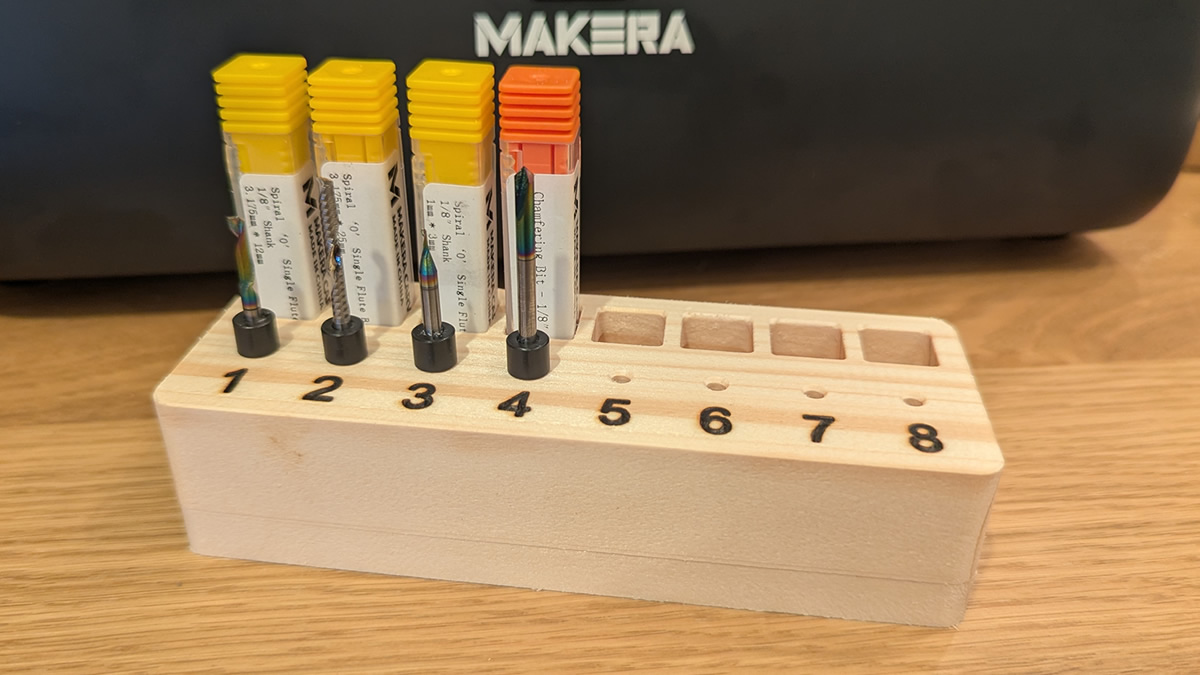
After completing a few small projects, I found that keeping track of bits can be a little tedious. When you are in the middle of a job, your machine/software will prompt you to switch to specific bits: “Switch to Bit 1”, “Switch to Bit 4”, etc. That means users need to keep track of which bits they are using.
To make things easier for myself, I designed a block that could store up to 8 bits when they were not in use. Each slot is numbered, making it easy to keep track of which bit is which. Each numbered section has a slot for the bit itself and its container, making both easy to keep track of.
Using the laser add-on, I burned the numbers into the wood. While I could have machined these out, lasering them provided some much-needed contrast. All I need to do is add some varnish and some rubber feet, and this little project will be complete.
Threads
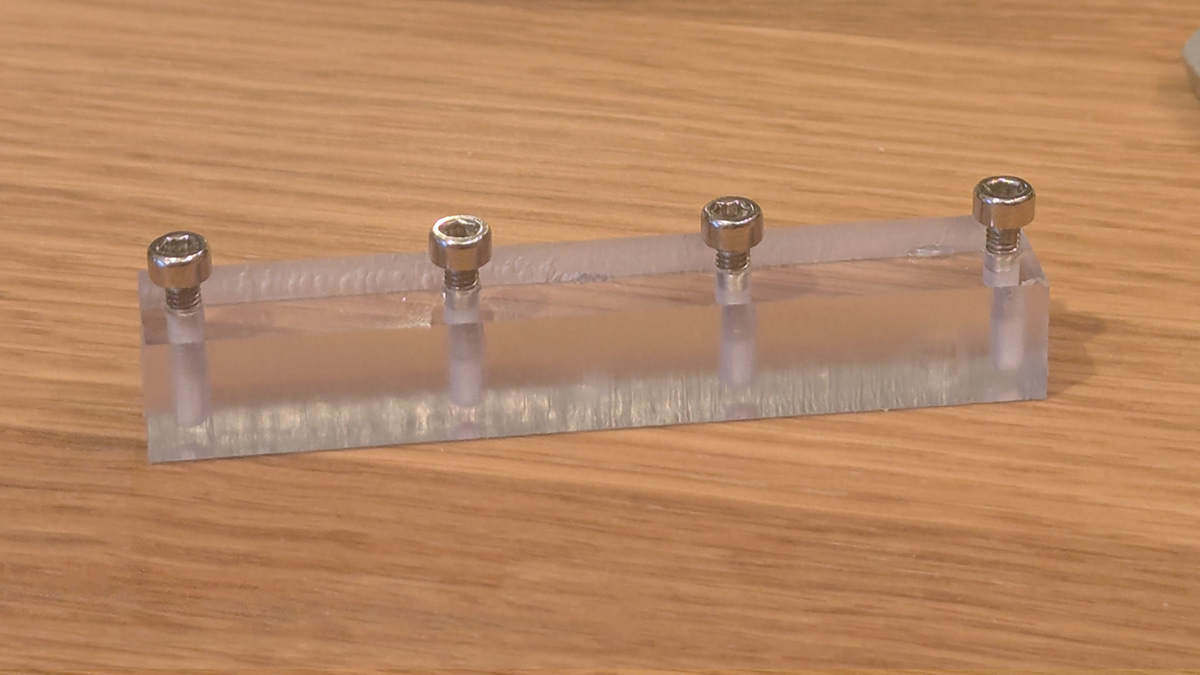
One neat aspect of CNC machines is their ability to precisely tap threads into holes. Below is a simple project that I used to test this capability. Simple M3 holes in polycarbonate. What can I say, it works!
Can you ever have too many clamps?
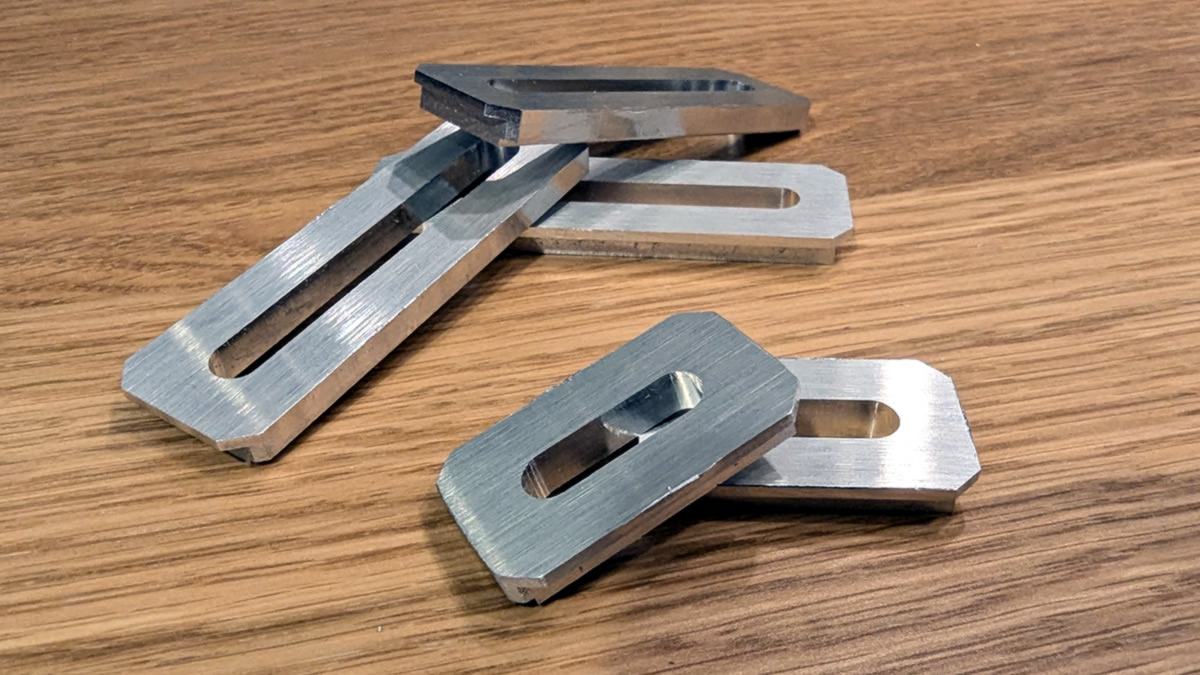
While the Makera Z1 includes clamps, I am cautious and like to use as many as possible to secure my work. There’s no kill quite like overkill when it comes to clamps.
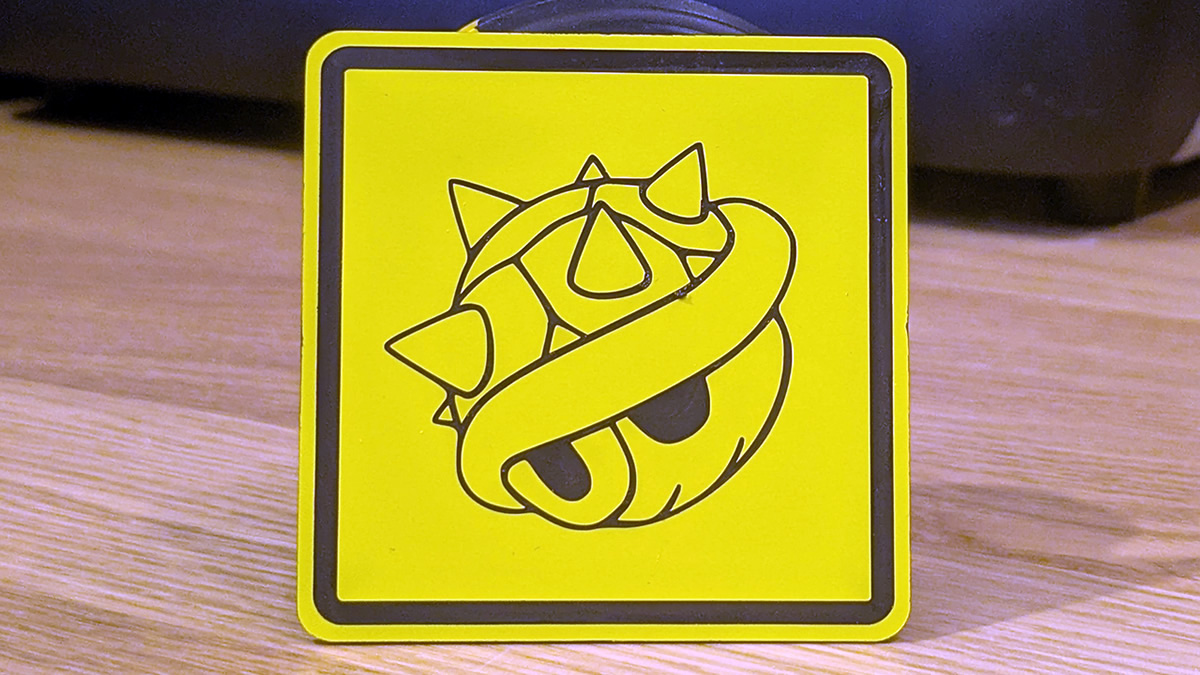
Bi-coloured material
With bi-coloured acrylic, it is very easy to make simple but effective signs and logos on the Makera Z1. This example came from Makerables, and will come in handy when it comes time to play some Mario Kart.
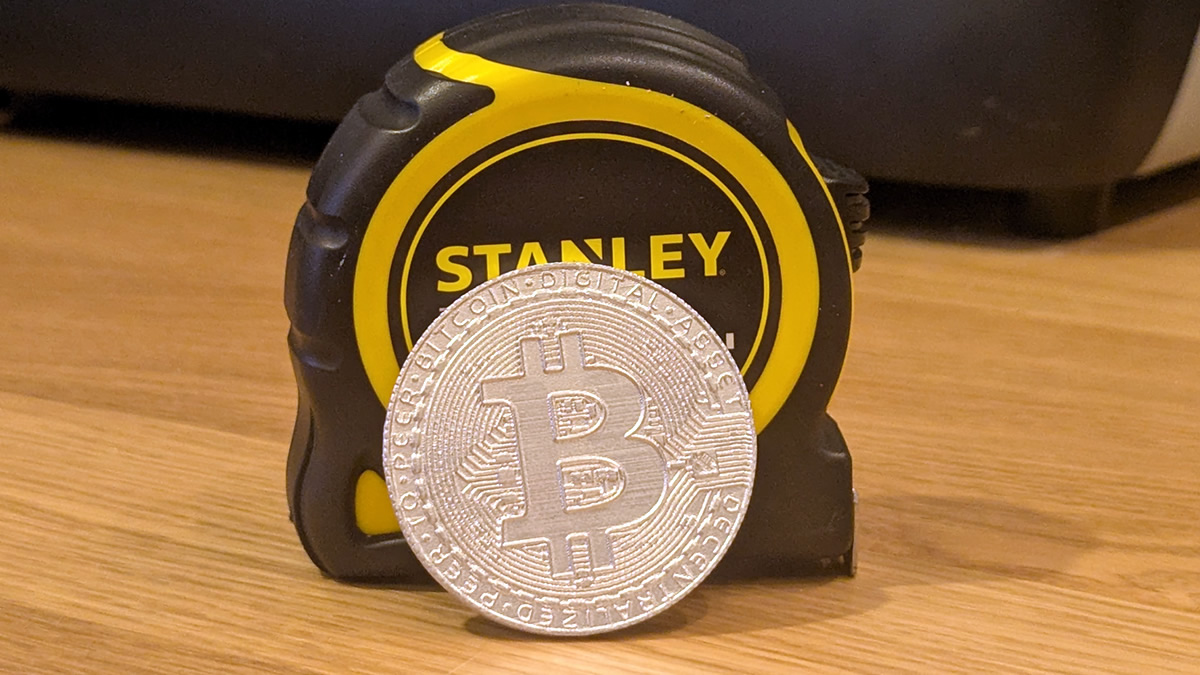
Am I rich now?
As a quick test of this machine’s engraving capabilities, I machined this Bitcoin design. As you can see, the final item is very detailed. Just a shame that this aluminium bitcoin isn’t as valuable as the real thing…
4-Axis Machining
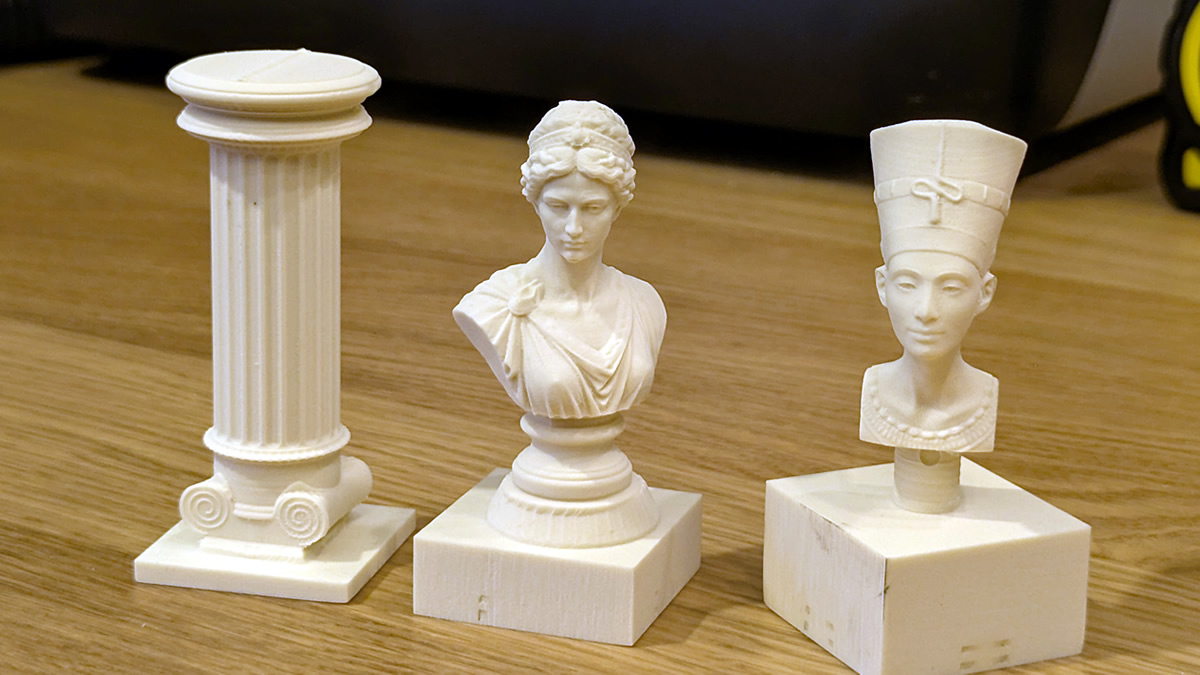
Using the 4-axis add-on, I was able to machine these three designs. As you can see, the 4-axis add-on allows 3D objects to be created. This is great for detailed items like these.